 this weekend went by very fast! up here in the southern berkshires we had our first frost the leaves have been whipping around and their colors… …oh my, their colors! I’m talking b-e-a-u-t-y folks.
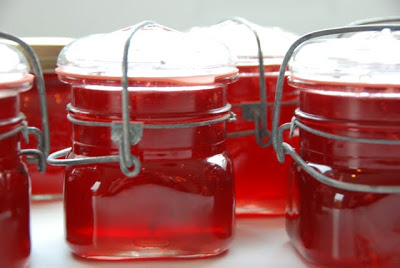
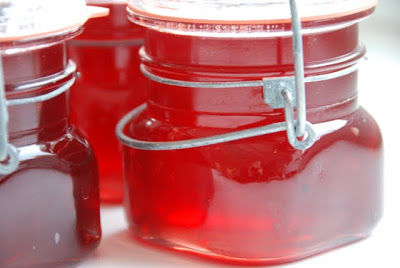
and since we are talking about beautiful colors… (we are, aren’t we?) this jelly holds one of the most beautiful colors i’ve yet witnessed in a jar.
ruby red to be exact. but it’s not because of it’s color that i am writing to you about this, or because of it’s tingling flame-like heat
(that pairs superbly with any cheese – yes, i did just say any cheese).
although both of those attributes are enough to make me plumb hot excited about this jelly (i’m writing home about it as we speak)!
what i really love about this jelly is it tastes like october in a jar. that is if your october has that one farmer at last saturday’s market with a table full of heirloom tomatoes spread out like an antiques collector displaying his wares.
that is if your october has your local farmstand or organic market with a last wooden barrel, or possibly two, whittled down to the bottom of this year’s plums and all the rest of them bulging to the brim with just picked apples. all types.
that is if your october’s garden not only has a bunch of root veggies waiting to be pulled from the ground quite expectantly, but also has in one corner a bevy of little hot chile plants that finally pulled through and have some red, purple & green orbs and trinkets hanging in it’s leaves just ready to be plucked.
you see, i’m not quite ready for the cinnamony, clove-scented stuff that winter is made of. i want more of this mixed up beautiful month. i want to make it last… and this my friends, is it.
 Plum hot jelly! adapted from in season: cooking with vegetables and fruits by sarah raven there are a couple of things that need to be said before we get on with this recipe; one is that in season: cooking with vegetables and fruits is a beauty of a book. sarah is a master gardener and a masterful cook. it is a treasure of simple, delicious recipes organized by season. i know that is nothing new at the moment but this book is most definitely a cut above.
second is that you need one of these: trust me. i know we all be jammin’ and who am i to complain but
when it must be jelly ’cause jam don’t shake like that
well then all that gorgeous fruit needs to be strained. so i do suggest a jelly bag and strainer as it keeps it all neat and tidy and the bag is reusable. there are other ways to drain jelly – if you have butter muslin or really good, tight weaved cheese-cloth and can devise a way to hang the filled pouch over a large bowl then you are in business.
2 lbs tart or crab apples
2 lbs any variety plums (i used a damson variety)
3/4 cup cider vinegar approximately 8 cups sugar (i use raw)
chiles (i used 6 one-inch long hot firebird chiles, you can use 3 two-inch long thai or cayanne, or even 3 jalapeno if you don’t like the bite too hot). 6 1/2-pint canning jars, or more smaller jars
yields approximately 3 pints
Day 1
1. pit plums and coarsely chop unpeeled apples. place them in a large non-reactive (no iron) preserving pan and 7 cups water. bring to the boil, cover and simmer for 1 hour. add the cider vinegar and boil uncovered for 5 minutes.
2. while this is happening take your jelly bag and boil for 10 minutes in a little pot all its own.
3. place the jelly bag on its holder set over a bowl and use a ladle to transfer the apple/plum mixture to the jelly bag
4. let the fruit drain on its own for 8 hours or overnight. important: do not press the bag or you will have cloudy jelly. depending on how large a bowl you used you may need to do some transferring, so keep an eye on it.
Day 2
1. place 8 cups of sugar in a large bowl in a very low oven (about 120 degrees) for 30 minutes.
2. place water-filled jars in your canning pot and bring to the boil, boil for 10 minutes to sterilize. place 3 or even 4 small plates in the freezer to test set later on.
3. cut chiles in half and slice very fine. you can leave the seeds in or out, depending on how hot you like your jelly.
4. measure the jelly juice and for every 2 1/2 cups of juice you’ll need 2 1/2 cups of sugar.
5. pour juice and warmed sugar in preserving pot and over low heat continue stirring until all the sugar has dissolved. once the sugar has completely dissolved add the chiles and turn the heat up to a vigorous boil.
important: do not stir. the key to successful jelly making is to get to the jelling point as quickly as possible to save as much of the fruity flavor. over-cooking means lack of flavor. if you stir you will most likely need to cook longer to get to the jelling point. of course adjust the heat if you need to, but keep it at a strong boil.
6. you should come to the jelling point after 15-20 minutes of boiling. check the set by placing 1 teaspoon of jelly on a frozen plate and placing plate back in freezer for one minute. then slide your finger through jelly and it should wrinkle underneath your finger. you may need to try a couple of times, if you think you are getting close turn the burner off while you do your testing.
7. let jelly stand for 15 minutes and then give it a stir to distribute chiles evenly.
8. place jelly in jars and process in a hot water bath for 5 minutes.
there you have it – october – all year long!
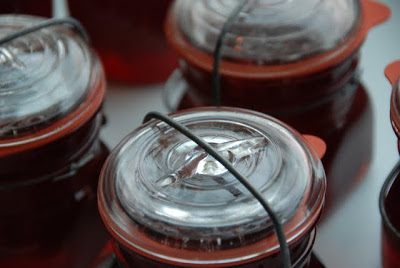
 one last thing, cause i know you’ll all be askin’ about these very cute old fashion jars. yes they are vintage jars, yes i used weck rubber rings, yes i am now addicted to ebay and… I owe it all to marisa at food in jars and her fateful post.