You have just crushed an intense leg day. Your muscles ache, your energy is depleted, and as you make your way out of the gym, a familiar question arises: “What comes next?” You’re aware that refueling is essential, yet the idea of forcing down another tasteless, chalky protein shake makes you think about avoiding recovery entirely.
The struggle between discipline and desire is the silent graveyard for many fitness aspirations. A study published in the Journal of the International Society of Sports Nutrition reveals that nearly 30% of gym-goers experience “flavor fatigue,” a significant obstacle to maintaining consistent post-workout nutrition, which frequently results in inadequate recovery and hindered progress.
Imagine if your post-workout routine became something you looked forward to, an enjoyable time that actually helps with muscle recovery. Devotion Nutrition aimed to address this problem, leading us to an important question: Could a protein powder that tastes like rich brownie batter be the secret weapon your recovery routine has been missing?
Why Protein Matters for Muscle Recovery?
Before we get into the tasty details, it’s important to grasp the reason behind this ritual. When you exercise, particularly with resistance training, you cause tiny tears in your muscle fibers. This isn’t negative; it’s actually a crucial driver for growth. Muscle recovery involves healing those tiny tears, and it’s in this healing phase that your muscles grow stronger and larger.
The repair process, known as muscle protein synthesis (MPS), relies heavily on a single essential component: amino acids. Amino acids serve as the critical building blocks that make up proteins. After a workout, your muscles feel like a construction site in need of some essential bricks. When insufficient amino acids are available, the rebuilding process tends to be sluggish, ineffective, and not fully realized. This results in ongoing soreness, tiredness, and an inability to adjust to your training.
This is where a high-quality brownie batter protein powder transforms from a nice-to-have into a smart choice. However, not all proteins are the same. The Devotion Brownie Batter Protein Powder features a carefully crafted blend of ingredients: It’s a blend of 80% whey protein isolate and 20% micellar casein.
- Whey Isolate is the quick-acting king. It is quickly absorbed, saturating your bloodstream with amino acids to promptly initiate muscle protein synthesis and halt muscle breakdown.
- Micellar Casein stands out as the champion of sustained release. It creates a gel in your stomach, digesting gradually and delivering a consistent flow of amino acids for several hours, ensuring that the recovery process persists well beyond the time your shake is consumed.
This dual-phase delivery system guarantees that your muscles obtain both an immediate and sustained supply of essential building blocks, which makes it more effective than a single-source protein for thorough recovery.
What Makes Brownie Batter Protein Powder Unique?
With an abundance of protein powders available in the market, what distinguishes this particular chocolate brownie batter protein powder from the rest? It’s the convergence of exceptional nutrition, genuine ingredients, and unmatched taste.
To start, let’s take a closer look at the overall profile. With each scoop, you receive:
- 20g of Protein: From the high-quality blend of whey and casein mentioned earlier.
- 4g Carbs & 2g Fat: It serves as a wonderfully lean source of protein.
- 110 Calories: It effortlessly integrates into any nutrition plan, whether you’re cutting or bulking.
- No Added Sugar: This really sets Devotion brownie batter protein powder apart. Many powders flavored like “dessert” often contain sugar alcohols or artificial sweeteners, which can cause digestive discomfort. This powder offers a naturally sweet taste, which provides that indulgent flavor you crave without the crash or any stomach discomfort afterward.
But the real charm lies in its versatility. This is more than a mere shake powder. It’s a culinary ingredient. Its amazing flavor makes it a wonderful addition to oatmeal, waffles, Greek yogurt, protein pancakes, and even baking recipes, which transforms ordinary meals into delightful recovery-focused treats. This versatility is essential for sticking with it over time, to help you stay engaged and motivated to reach your daily protein goals.
When to Take Brownie Batter Protein Powder?
While timing may not be the only factor, it certainly is a significant tool you can use to enhance outcomes. After your workout, there’s a special 30-60 minute period known as the “anabolic window,” which is the best time for your body to absorb nutrients.
Your muscles are like a thirsty sponge, ready to soak up nutrients and initiate the repair process. Using your Devotion brownie batter protein powder during this time really helps in easing muscle soreness and speeding up repair.
Yet, its usefulness extends beyond just the time after a workout. Here are some other strategic times to consider using it:
- Between Meals: As a high-protein snack to keep you full, support muscle protein synthesis throughout the day, and assist you in achieving your overall daily protein target.
- As a Pre-Bedtime Snack: The micellar casein component positions it as an ideal option for nighttime consumption, delivering a gradual release of protein that supports recovery during sleep.
- As a Pre-Workout Boost: Consumed 60-90 minutes before training, it offers sustained energy while remaining light on the stomach.
To achieve optimal post-workout results, it is advisable to combine your shake with a source of simple carbohydrates. The carbs help replenish the glycogen stores you burned during your workout and spike insulin, a hormone that helps shuttle the amino acids into your muscle cells. And remember to stay hydrated! Water plays a crucial role in every metabolic process, particularly in the recovery phase.
Steps on How to Use Brownie Batter Protein Powder for Muscle Recovery
Using this protein powder brownie batter is simple, yet a few expert tips can enhance its performance.
Step 1: Take Measurements of Your Scoop
Begin with a single level scoop (or one packet). This provides the perfect 20g dose of protein to stimulate Muscle Protein Synthesis (MPS) effectively.
Step 2: Select Your Liquid
- Water: The quickest and most effortlessly digestible choice. Perfect for a clean, fast post-workout boost.
- Milk or Milk Substitute (Almond, Oat): Enhances the shake with additional protein, carbohydrates, and creaminess, which results in a more fulfilling and nutrient-rich shake.
Step 3: Amplify with Recovery Enhancers (Optional but Recommended)
Turn your shake into a super shake by blending in additional recovery-friendly ingredients.
- A banana: For potassium and fast-digesting carbs to replenish glycogen.
- A Spoonful of Peanut Butter: Incorporates nutritious fats and additional protein for lasting energy.
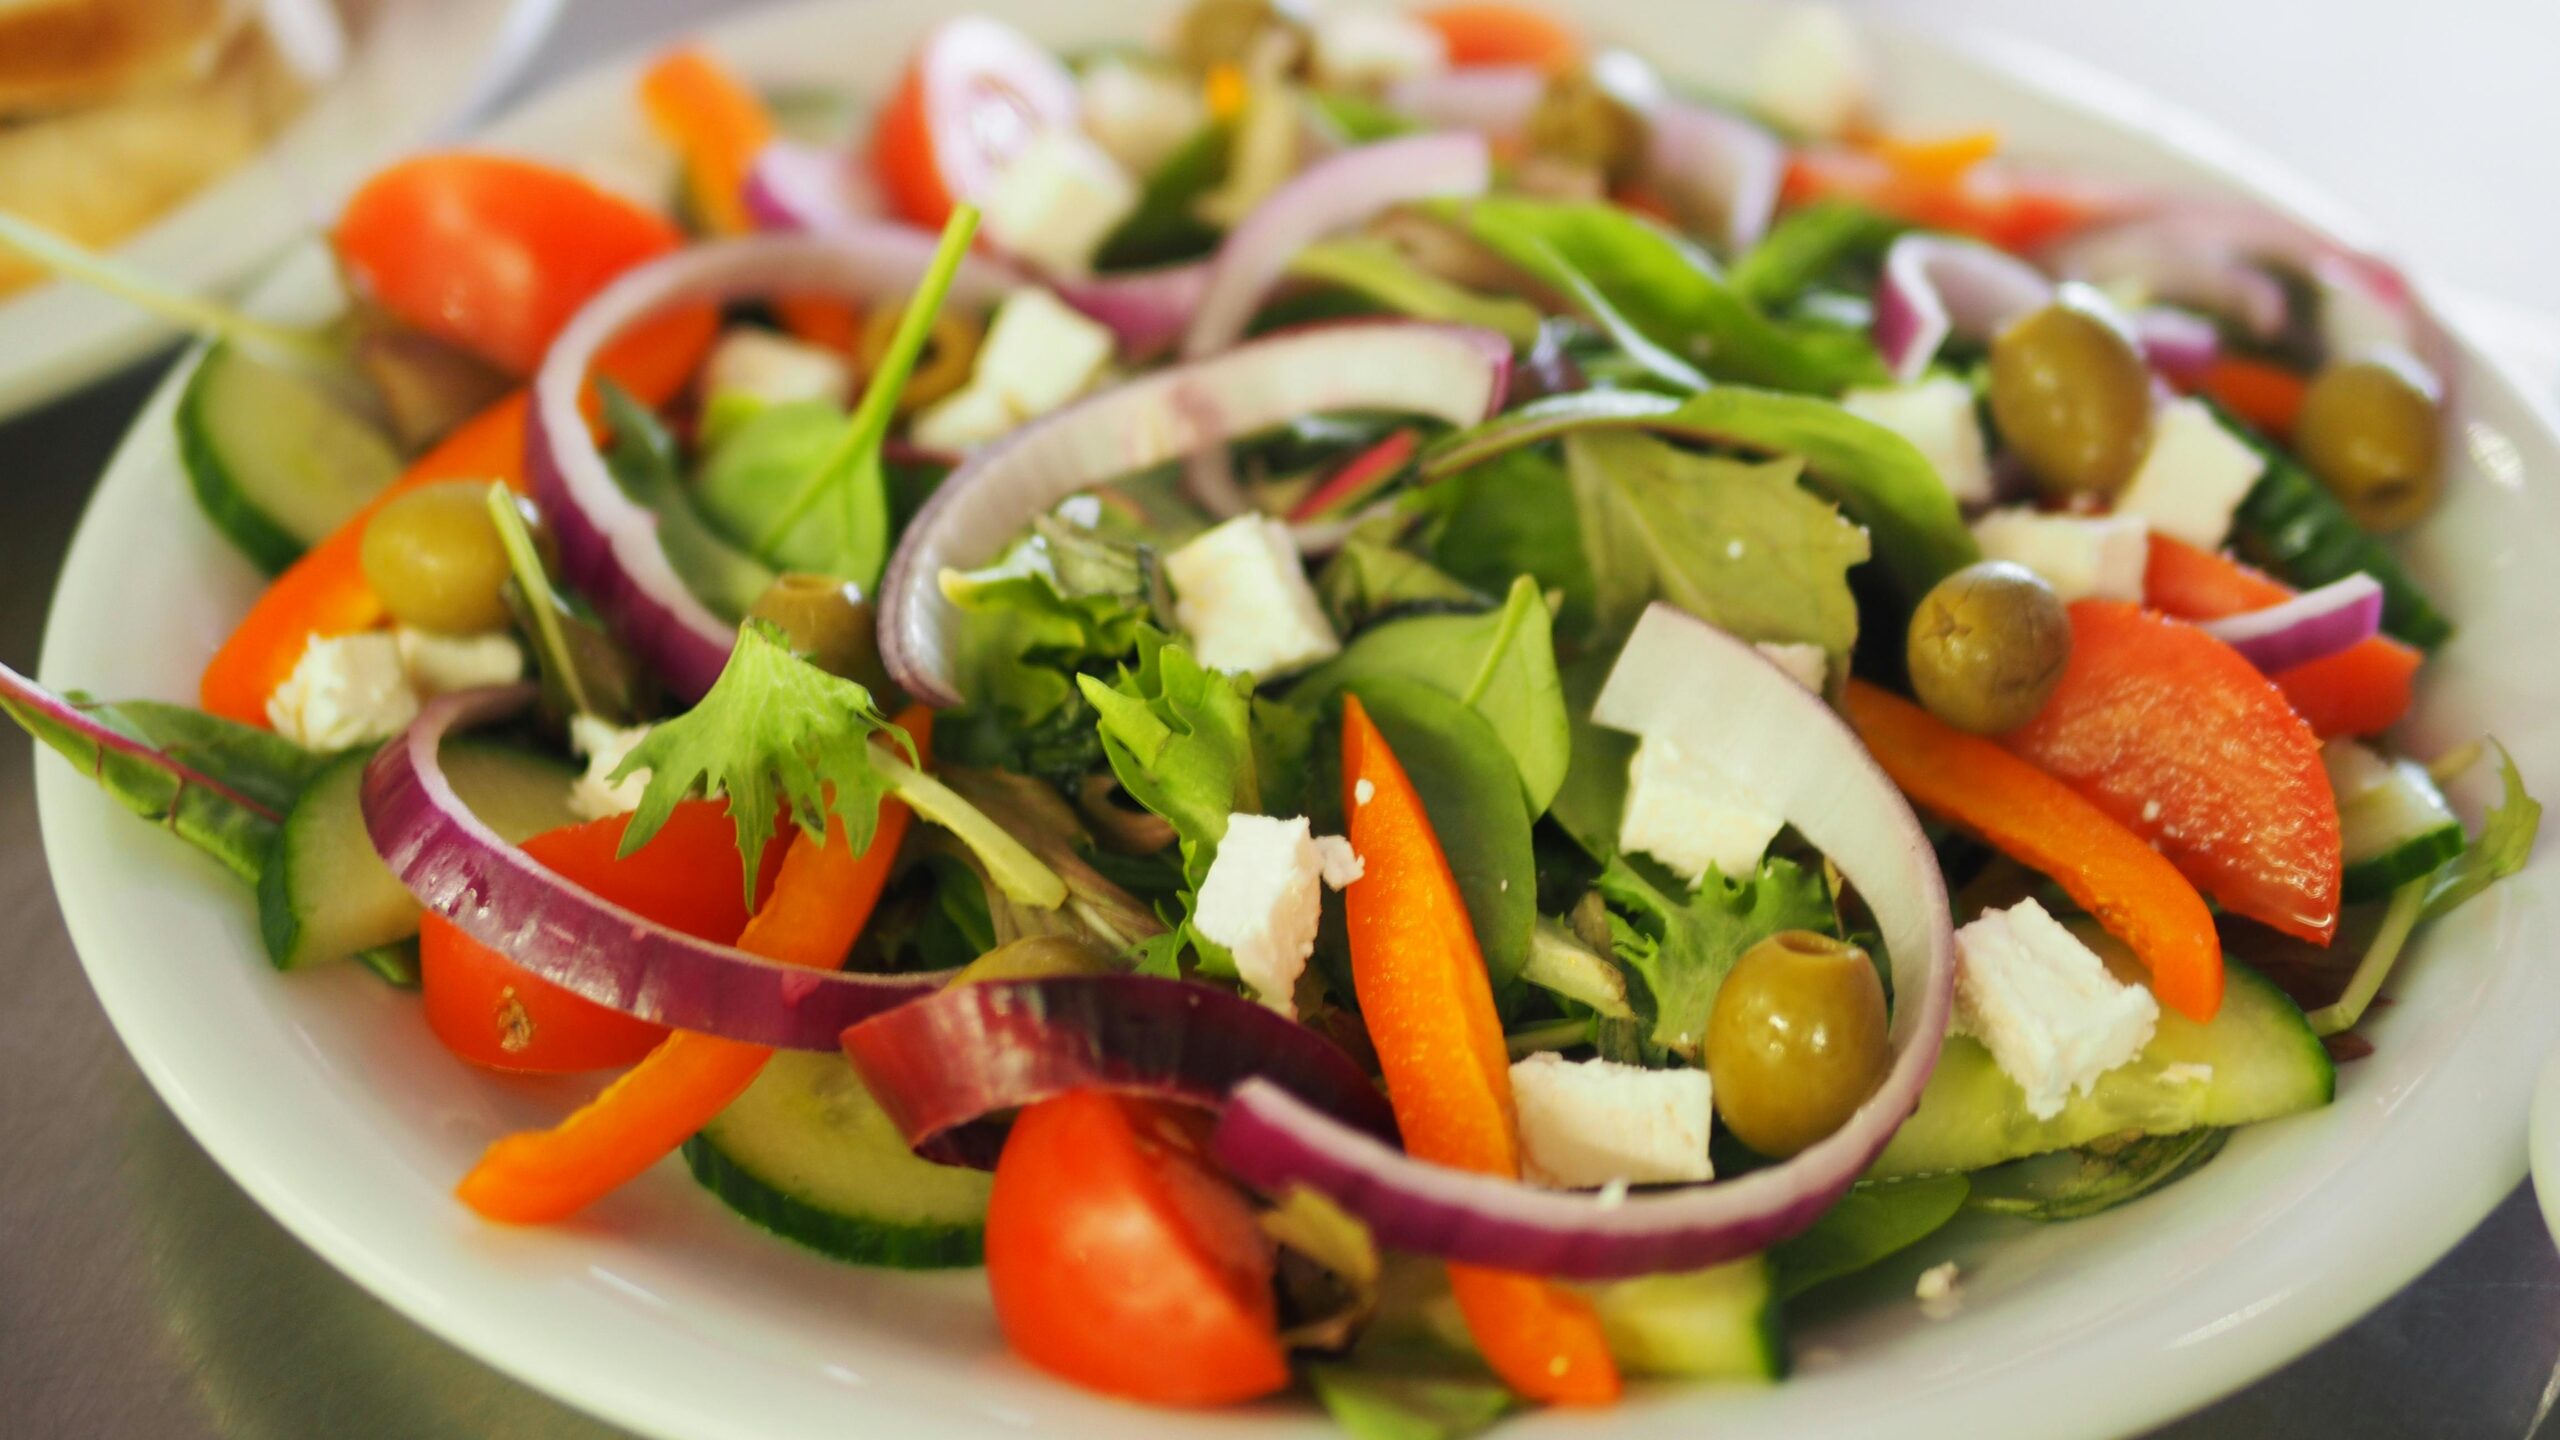
- A Handful of Spinach: To provide micronutrients and antioxidants that help fight oxidative stress (rest assured, the taste is not an issue!).
- A Half-Cup of Oats: For complex carbohydrates, if you need a more substantial meal..
- A Scoop of Greek Yogurt or Cottage Cheese: To achieve an additional 15-20g of casein protein, which results in a more potent and sustained-release protein profile. This results in a texture that is ultra-creamy and reminiscent of a milkshake.
- A Teaspoon of Chia or Flax Seeds: To enhance your intake of fiber, omega-3 fatty acids, and essential micronutrients. These contribute to joint health and help reduce inflammation, which in turn improves the overall recovery process.
Step 4: Blend and Consume
Blend all ingredients together until smooth, and consume within the post-workout timeframe.
Quick Drink Recipes with Brownie Batter Protein Powder
Chocolate PB Shake
Ingredients:
- 1 Scoop of Devotion Nutrition Brownie Batter Protein Powder
- 8-16 oz. of Unsweetened Almond Milk (or water)
- 1 Tablespoon of Peanut Butter
- Ice
Instructions:
- Add all ingredients to a personal blender and blend until smooth and creamy. Pour into a glass and enjoy immediately!
Nutrition (Approximate): 256 Calories | 25g Protein | 8g Carbs | 2g Fiber | 14g Fat
Brownie Batter Hot Cocoa
Ingredients:
- 1 Scoop of Devotion Nutrition Brownie Batter Protein Powder
- 1 Cup of Very Hot Water (not boiling)
- 4 oz. of Cold Water or Unsweetened Almond Milk
- Optional: Sugar-free whipped topping or marshmallows for garnish
Instructions:
- In a blender, combine the protein powder with the 4 oz of cold liquid. Blend until a smooth, clump-free paste forms.
- With the blender running on low, carefully remove the center piece of the lid and slowly pour in the very hot water. Blend for an additional 15-20 seconds, until the mixture is frothy and warm.
- Pour into your favorite mug. Use caution when opening the blender, as steam can build up and cause burns. Top with sugar-free whipped cream or marshmallows if desired, and enjoy your cozy, protein-packed treat!
Nutrition (Approximate): 120 Calories | 22g Protein | 4g Carbs | 2g Fiber | 2g Fat (1.5g Sat. Fat)
Mint Brownie Protein Shake
Ingredients:
- 1 Scoop of Devotion Nutrition Brownie Batter Protein Powder
- 8-16 oz. of Unsweetened Almond Milk
- ¼ Teaspoon of Pure Mint Extract
- 1 Cup of Ice
Instructions:
- Combine all ingredients in a blender and blend until you reach your preferred thickness. For a café-style treat, top with a dollop of whipped cream and fresh mint leaves.
Nutrition (Per Serving): 161 Calories | 22g Protein | 4g Carbs | 2g Fiber | 6g Fat
Beyond the Shaker Cup: Different Recipes with Brownie Batter Protein Powder
The fun does not end with shakes and drinks. Here’s how to make a protein brownie batter recipe in various ways, to turn regular meals into muscle-repairing powerhouses:
No-Bake Nutella Fudge Cookies
Ingredients:
- 1 Scoop of Devotion Nutrition Brownie Batter Protein Powder
- 1 Teaspoon of Pure Vanilla Extract
- ¼ Cup of Sugar-Free Syrup
- 4 Tablespoons of Nutella or Nut/Seed Butter of choice
- 1 Tablespoon of Jet Black or Dark Cocoa Powder
- ½ Cup of Old-Fashioned Oats, Ground into a Flour
- Optional: Swerve Powdered Sugar for Dusting
Instructions:
- In a medium bowl, whisk together the ground oats, Brownie Batter protein powder, and cocoa powder until well combined and no lumps remain.
- Add the Nutella, vanilla extract, and sugar-free syrup to the dry ingredients. Mix thoroughly until a thick, cohesive dough forms.
- Scoop the dough and roll into 1-inch balls. At this stage, you can enjoy them as protein bites.
- For a cookie shape, roll the balls in powdered sugar substitute if desired, then gently press them flat onto a parchment-lined tray.
- Cover the cookies tightly and refrigerate or freeze until firm. For best freshness, store in an airtight container in the freezer, transferring a few to the fridge to thaw as needed.
Nutrition (Estimated per cookie): 108 Calories | 5g Protein | 12g Carbs | 2g Fiber | 5g Fat
Peanut Butter and Brownie Batter Overnight Oats
Ingredients:
- 1/2 Overly Ripened Banana, Mashed
- 1 Scoop of Devotion Nutrition Brownie Batter Protein Powder
- 2 Tablespoons of Sugar-Free Maple Syrup
- Dash of Sea Salt
- 1/2 Cup of Old-Fashioned Oats (gluten-free if desired)
- Optional Toppings: Sliced Banana, Sugar-Free Chocolate Chips, Melted Peanut Butter
- 3/4 Cup of Unsweetened Almond Milk
Instructions:
- In a Mason jar or airtight container, combine the oats, protein powder, almond milk, mashed banana, maple syrup, and sea salt.
- Stir vigorously until all ingredients are fully incorporated and no clumps of protein powder remain.
- Seal the container with a lid and refrigerate for at least 4 hours, or preferably overnight.
- The next morning, enjoy your creamy, pudding-like oats straight from the jar. Add your favorite toppings for an extra-indulgent breakfast.
Nutrition (Without Toppings): 335 Calories | 28g Protein | 44g Carbs | 7.5g Fiber | 6g Fat
Ooey Gooey Blender Protein Fudge Brownies
Ingredients:
- 3 Very Ripe Bananas
- 1/2 Cup of Egg Whites
- 2 Cups of Old-Fashioned Oats
- 1 Teaspoon of Vanilla Extract
- 1/2 Cup of Cocoa Powder
- 2 Scoops of Devotion Nutrition Brownie Batter Protein Powder
- Chocolate Chips (optional)
- 1/4 Cup of Brown Sugar Substitute
- 1 Cup of Unsweetened Almond Milk
Instructions:
- Preheat the oven at 350°F (175°C). Lightly coat an 8 by 8-inch baking pan with cooking spray.
- In a blender, add all ingredients excluding the chocolate chips.
- Blend the ingredients on high until the oats are fully broken down and the batter is well-mixed and smooth.
- Pour the batter into the prepared pan. For extra fudginess, fold a handful of chocolate chips into the batter now. Sprinkle additional chips on top.
- Bake for 30 minutes, or until set around the edges.
- Allow the brownies to cool completely before slicing into 12 squares. This allows them to set for the perfect fudgy texture.
Nutrition (Per brownie): 127 Calories | 7g Protein | 25g Carbs | 8g Fiber | 2g Fat
Chocolate Banana Protein Pancakes
Ingredients:
- 1 Scoop of Devotion Nutrition Brownie Batter Protein Powder
- 1 Cup of Egg Whites
- 1/2 Cup of Old-Fashioned Oats
- 1 Whole Banana
- Non-Stick Spray
- 1/4 Cup of Chocolate Chips
Instructions:
- Heat a griddle or non-stick pan over low-medium heat and lightly coat with non-stick spray.
- In a blender, combine the banana, oats, protein powder, and egg whites. Blend until a smooth batter forms.
- Pour the batter into a bowl and gently fold in the chocolate chips.
- Pour portions of the batter onto the preheated griddle. Cook slowly for 2-3 minutes on each side, or until the surface is bubbly and set around the edges, then turn and cook until golden brown. The key is to cook at a low and slow temperature to prevent burning and ensure they cook through.
Chef’s Note: Cooking these pancakes slowly over a lower heat is crucial. High heat will cause the protein powder to burn quickly, resulting in a bitter taste and an undercooked center.
Nutrition (Per pancake): 127 Calories | 7g Protein | 25g Carbs | 8g Fiber | 2g Fat
Brownie Batter Pumpkin Cupcakes
Ingredients:
- 1/2 Cup of Pumpkin Puree
- 1 Scoop of Devotion Nutrition Brownie Batter Protein Powder
- 1 Teaspoon of Baking Powder
- 1 Teaspoon of Pumpkin Pie Spice
- 3 Tablespoons of Liquid Egg Whites
- 1/2 Teaspoon of Pure Vanilla Extract
- 1 Tablespoon of Unsweetened Vanilla Almond Milk
- 1 Tablespoon of Coconut Flour
- 1 Tablespoon of Almond Flour
Instructions:
- Preheat the oven at 375°F (190°C). Lightly coat a 5-cup muffin pan with non-stick spray.
- In a medium bowl, whisk together all dry ingredients: protein powder, coconut flour, almond flour, pumpkin pie spice, and baking powder.
- Add all wet ingredients including pumpkin puree, almond milk, egg whites, and vanilla extract to the dry mixture. Stir until a smooth, thick batter forms.
- Divide the batter equally into the 5 muffin cavities.
- Bake for 18-20 minutes, or until a toothpick inserted into the center comes out clean.
- Let the cupcakes cool in the pan before removing them.
- Serve and enjoy.
Nutrition (Per muffin): 56 Calories | 6g Protein | 4g Carbs | 1g Fiber | 2g Fat
Benefits of Using Brownie Batter Protein Powder for Recovery?
Incorporating Devotion brownie batter protein powder sample pack into your post-workout regimen consistently offers a range of tangible benefits:
Accelerated Muscle Repair & Reduced Soreness
The carefully formulated blend of whey and casein guarantees a steady influx of amino acids, facilitating more effective muscle repair following damage. This results in reduced Delayed Onset Muscle Soreness (DOMS) and a quicker return to the gym, prepared to perform at your best.
Seamless Commitment to Nutrition
With such a delectable protein source, achieving your daily macro goals transforms from a tedious task into an enjoyable experience. This eliminates a significant psychological obstacle to maintaining consistent nutrition, which constitutes 80% of the fitness challenge.
Supports Lean Muscle During a Calorie Deficit
When embarking on a fat loss journey, one must be cautious of the potential loss of valuable muscle mass. The high-protein, low-calorie profile of this chocolate Brownie batter protein powder 12 pack makes it an excellent choice for maintaining muscle mass during a calorie deficit.
Sustained Energy & Satiety
Compared to sugary snacks that can lead to energy crashes, adding protein powder to brownie mix, shakes, or other baked treats provides sustained energy and helps you feel fuller for longer. This can reduce the chances of making unhealthy snack choices later on.
Make Brownie Batter Protein Powder Part of Your Recovery Routine
Recovery is not a passive state but an active process that you can and ought to optimize. Opting for a protein powder that offers exceptional nutritional benefits in a palatable form can turn a daily obligation into a gratifying experience. The Devotion Brownie Batter Protein Powder transcends the typical supplement category; it is a vital resource that bridges the gap between the rigors of training and the pleasure of indulgence. This product helps you maintain consistency, enhance your recovery, and ultimately achieve your fitness goals more efficiently.
Bid farewell to the monotony of flavor fatigue and embrace the anticipation of your post-workout nutrition. For more delicious and protein-packed options, browse our Devotion Protein Powder Collection.
For more info, updates, and fitness tips, follow us on Instagram: @DevotionNutrition.
Frequently Asked Questions (FAQs)
Can I add protein powder to the brownie mix?
Absolutely. When adding protein powder to brownie mix, replace 1/4 cup of flour for each scoop and add an extra tablespoon of liquid to maintain the perfect consistency.
How to add protein powder to brownie mix?
For optimal results, replace some of the flour with moisture-rich ingredients like Greek yogurt or applesauce, and use a high-quality powder, such as Devotion Brownie Batter.
How to use protein powder for muscle gain?
Consume 0.7 to 1 gram of protein per pound of body weight each day. Use protein powder as a convenient supplement to help meet this target, along with a calorie surplus and progressive training.
How to use protein powder after a workout?
Take one scoop within an hour after training, mixed with either water or milk. Pair it with a carbohydrate source, such as a banana, to enhance recovery.