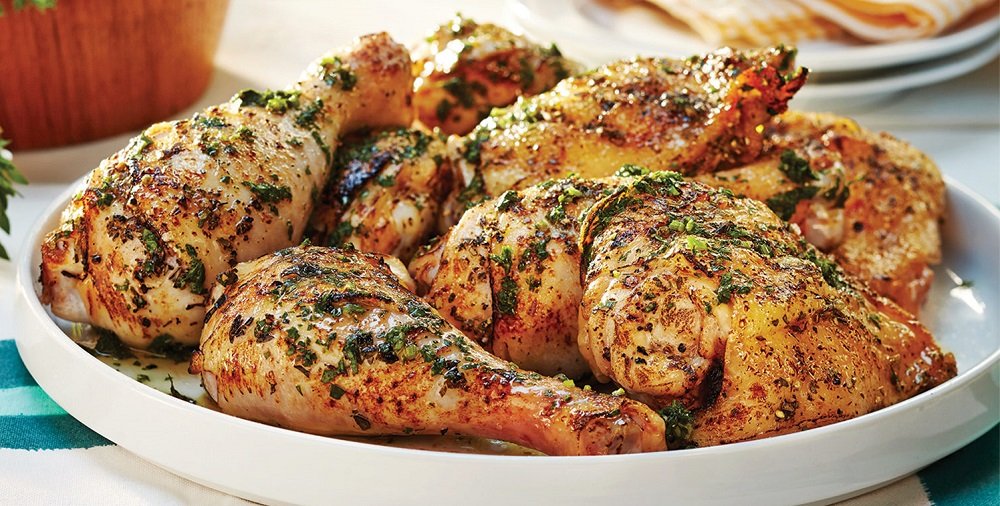
A propane smoker takes your food prep to the next level and has a wide range of uses. It can add a subtle smokey flavor to your steaks, corn, chicken, vegetables, and several other foods in a convenient way.
A lot of people see them and assume they are going to be expensive but this is far from the truth. The market has grown so that even the best propane smokers are very affordable. One way of making sure you end up with a quality product is by doing your research which is why we created the buyer’s guide but if you can’t wait to see which are the better products on the market, we have created a list of the propane smokers that are worth considering.
Quick Summary of Best Propane Smokers
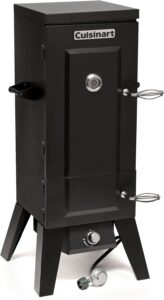
Cuisinart COS-244 Vertical 36
Editor’s Choice
With a mix of space and value, this is the best propane smoker available. It offers 5.45 sq ft of space inside the 4 shelves that give you plenty of room to smoke meats and vegetables. Made from stainless steel, the racks are great for smoking a whole chicken and with a built-in thermometer and easy to use control system it is one of the easiest smokers to get to grips with.
You can adjust the gas and there is even a rear vent on top of the two doors so you can control the amount of smoke that exits the oven although it holds the temperature well. When shut, the smoker is tightly sealed and stays that way because of the twist handle. To top it all off there is also a porcelain enamel steel tray to make clean up easy because it holds the wood and water in one convenient place.
PROS:
- Lots of space inside
- 4 shelves and stainless steel racks
- Built-in thermometer
- Easy to access doors
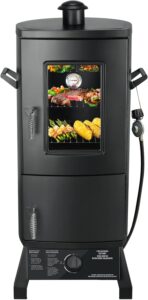
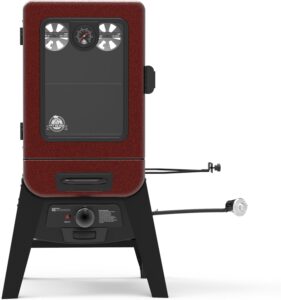
Atsent Propane Smoker
Best For Beginners
This compact smoke vault is one of the more convenient propane smokers on our list and is ideal for anyone looking to save space. There are only two cooking grids but you also get a jerky rack so you can smoke some of your own. It reaches temperatures of between 160 – 350 F which is one of the more impressive ranges, especially considering the size.
Because of this, you can slow cook food to make them extra tender – some people even use them to bake pies. You get a porcelain tray that keeps everything nice and tidy inside and is easy to remove and clean. With a snap ignition, it is easy to get this smoker going, especially since it heats up fast.
PROS:
- Includes cooking tips and ideas
- Great for slow cooking at low temperatures
- Jerky rack
- Compact and great for beginners
CONS:
- Not as much space as other brands
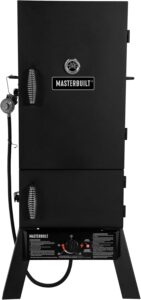
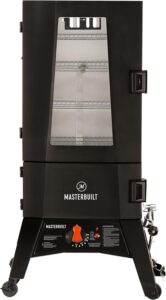
Masterbuilt MB20050116 MPS 20B Patio-2-Portable Propane Smoker
Best Portable
A quality compact propane smoker that is easy to take from place to place. Even if you’re not hosting, your friends and family can enjoy the benefits of this quality product. Because it is compact you do have to compromise when it comes to space as you only get 2 racks with this propane smoker but with a built-in temperature gauge that is one of the more reliable and a one-touch ignition you can get this unit smoking in no time.
The 5,000 BTU output is surprising for something of this size and it is plenty enough to smoke a couple of full birds and some ribs. It has foldable legs and is only 22 lbs spice it up and take it to your neighbors.
PROS:
- Compact and easily portable
- One-touch ignition
- Reputable brand
CONS:
- Small water tray included
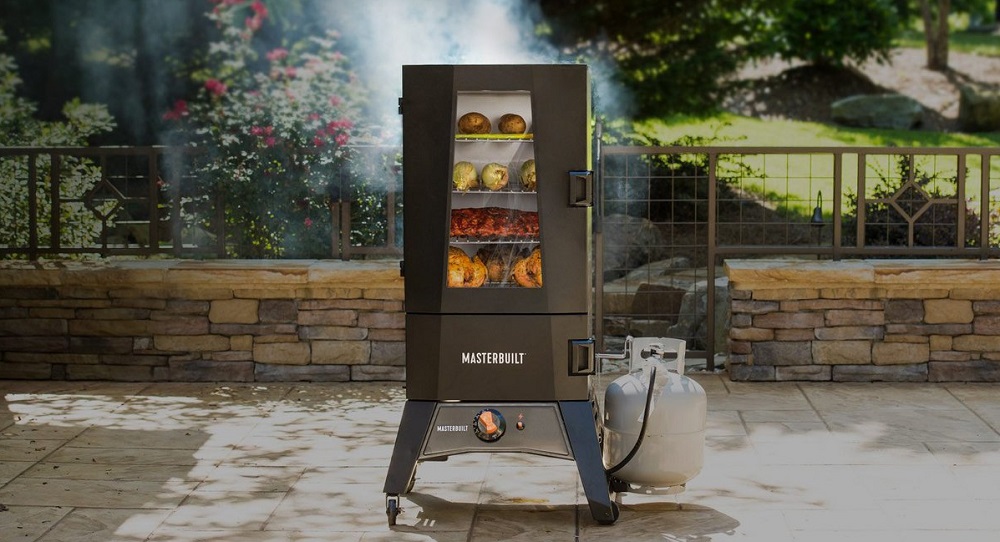
Masterbuilt MB20051316 Mps 340g XL Propane Smoker
Beat Large Capacity
This is one of the bigger propane smokers on our list so don’t expect to be able to move it around easily. Still, this gives you a large capacity – a huge 2,000 sq inches of cooking space so you’d better start calling your friends to arrange a get-together. Set up is pretty easy and the instructions are simple and with a fuel gauge to tell you how much propane you have left they have tried to make things as convenient as possible.
When it comes to safety this is one of the better smokers because it comes with an auto shut off feature so if the flame is extinguished, the burner shuts off. It burns at a consistent heat thanks to the temperature sensor and with four smoking racks, there is loads of room for trays of ribs, full birds, and a whole lot else.
PROS:
- Large 2,000 square inch cooking space
- Safety shut off feature
CONS:
- Woodchip tray is on the small side
Pit Boss 2-Series Gas Vertical Smoker
Most Versatile
With an impressive 784 square inches of cooking space, this is great for entertaining and smoking large quantities at a time. It only takes one touch to ignite this 15,000 BTU unit made from cast iron and with a large dial control you’ll easily be able to change the level of smoke to match your taste. The double door allows you to access different sections so the tip or bottom always has enough wood chips and water.
It doesn’t allow too much smoke to leave the smoker when you’re checking the progress of a full bird or a row of steaks thanks to the air dampers that allow to you stay in control the whole time. It comes with a 1-year warranty which is good to see but we do like to get a little more if possible but the build quality feels sturdy enough that you won’t encounter any problems for some time.
PROS:
- Large 784 sq inches of cooking space
- Double door access
- Great authentic smokey taste
CONS:
- The door thermometer can be inaccurate
Broil King 923614 Vertical Propane Smoker
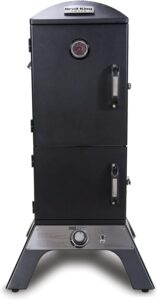
Best Warranty
Often praised for its durability this is an easy to control propane smoker and features over 1,500 square inches of smoking space so expect to be able to get multiple birds and trays of meat in there with room to spare. There are two doors where you can top up the water or wood so it is one of the more versatile products available.
The square legs are wide and give the unit its sturdiness and it comes with 5 grates and meat hangers so you can cook a wide range of meats. Also worth noting is their 10-year warranty as it is more generous than most.
PROS:
- Large 1,500 square inches of cooking space
- Durable feel
- Includes 10-year warranty
CONS:
- Door can be a little awkward to close
Propane Smoker Guide
There is no better way to replicate a smokey taste in your veg or meat when entertaining than a propane smoker. They offer anyone the chance to replicate that enticing taste of food festivals so when you buy your first, expect a few phone calls from friends wanting to come and sample its produce.
The best way of making sure the party isn’t a let down is by researching what a quality propane smoker should be capable of. That way, when it comes to purchasing you know how to make a good decision. The following buyer’s guide is designed to help.
What To Look For In A Propane Smoker
Two Doors
There are a few different types of propane smokers but for the added convenience we like the two-door versions. These make it easy for you to access the water and wood without having to open the door to the food. Because of this, it maintains the high temperature and nothing escapes just because you need to top up the woodchips.
Capacity
This is down to how often you think you will use the propane smoker and who is using it. If you are the social type who likes to host a lot of people on the weekend then a smoker with a cooking space of over 1,500 square inches is going to give you lots of room to play with.
On the other hand, anyone who only wants to smoke food for those under their roof will find a compact propane smoker to be big enough for their needs.
Budget
If your budget doesn’t stretch as far as the price of some of the larger models, the good news is you still have plenty of options. You can pick up a compact propane smoker for half the price of the full-size products and they are often just as good at giving your food that smooth smokey flavor but without the same capacity.
Simple Temperature Control
You might have to play around with the temperature control to find the one that smokes your food the way you like it but as long as the controls are easy to understand you shouldn’t have any issues.
Warranty
Unfortunately, it isn’t easy finding a propane smoker manufacturer that gives you more than a one or two year warranty. Because they aren’t immune to breaking down you’ll want to give yourself a safety net of sorts even if it is hard to come by.
Safety
Because you’re playing with propane here you want to try and find a product that has an auto switch-off feature if the flame goes out. This is less common than you might hope to see but there are products out there that have this capability.
One-Touch Ignition
This is one of the benefits of buying a propane smoker and although not all of them have this feature, the ones that do make it easy to get the heat going and the smoke swirling.
Easy To Clean
This is all down to the type of tray at the base and the dish you use to smoke the wood as if it is too small it will make the whole clean up process difficult. If the tray is removable then you should find it easy to keep your propane smoker in good condition.
Reliable Thermometer
One of the issues a lot of propane smokers have is the accuracy of the thermometer. Especially those on the door which can make it difficult to get the perfect taste inside. Some brands are known for their accuracy so check the specs of the product you like before you buy.
Why Buy A Propane Smoker?
This is the question on a lot of people’s lips because before you’ve tasted food cooked in a propane smoker you might need to convince yourself that the benefits outweigh any negatives, here are a few pointers that might help you see what many others do.
Convenience
Compared to other types of smokers a propane smoker is good for anyone who wants to set it up and leave it. With a one-touch ignition, you can get it going in no time so compared to a charcoal smoker, this is going to save you a lot of time. It is also a lot easier to control the temperature than other types that can fluctuate which results in having to wait a long time for the food to be ready to eat.
Portability
With an electric smoker, you are at the mercy of the length of the power cord. A big plus point to a propane smoker is that there are no restrictions as to where you can take it – as long as the place you get it going is within the law. Those with a large garden or a camping trip in mind can find a propane smoker ideal for their needs.
Flavor
The smokiness of a propane unit is going to be far superior to an electric smoker although it won’t be able to emulate the taste of a wooden or charcoal smoker, it’s not far off.
Top Tips When Buying A Propane Smoker
There are a few things you can do to make sure you get the most out of your propane smoker, here are some of the best:
Replace The Stock Pan
Most propane smokers tend to come with a handful of accessories but one of the least functional is often the wood tray. This is a way for the companies to shave a few dollars off their costs as most of the time an upgrade can lead to much more smoke.
Buy A Second Tank
It is unlikely that your purchase comes with a tank anyway so when you go to buy your first it is always a good idea to buy two. This way when you run out during the smoking process, you aren’t caught short.
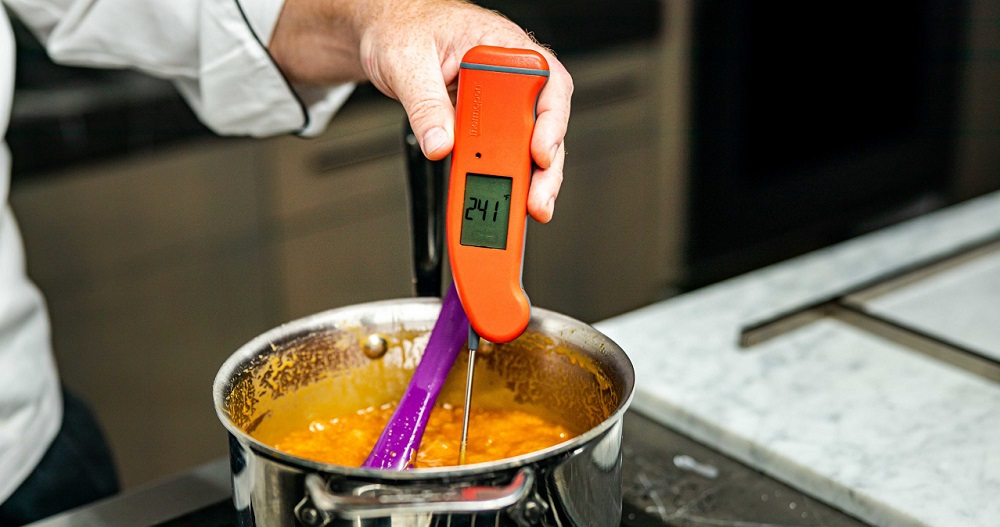
Buy A New Thermometer
There are products that are specifically designed to give your propane smoker an accurate reading. Because the built-in thermometers are often unreliable, this is the best way to get an accurate reading.


 Great Northern Popcorn Premium 8 Ounce Packs, Case of 24
 Snappy White Popcorn, 4 Pounds
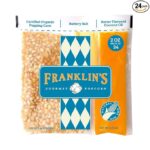 Franklin’s Gourmet Movie Theater Popcorn
 Orville Redenbacher’s Gourmet Popcorn Kernels
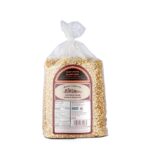 Amish Country Popcorn – Baby White – Small & Tender Popcorn
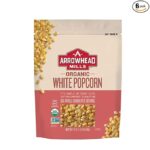 Arrowhead Mills Organic White Popcorn, 24 oz. Bag (Pack of 6)