Home Blog Page 68

Boszorkanyhab- Witches’ Froth- Baked Apple Mousse

0

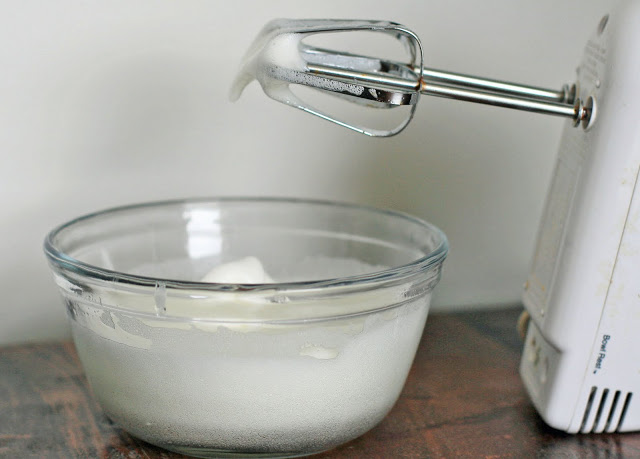
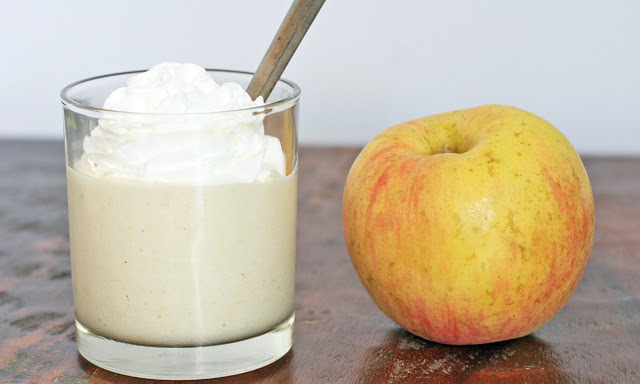
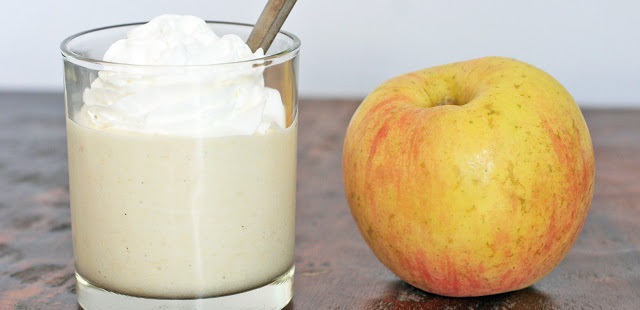
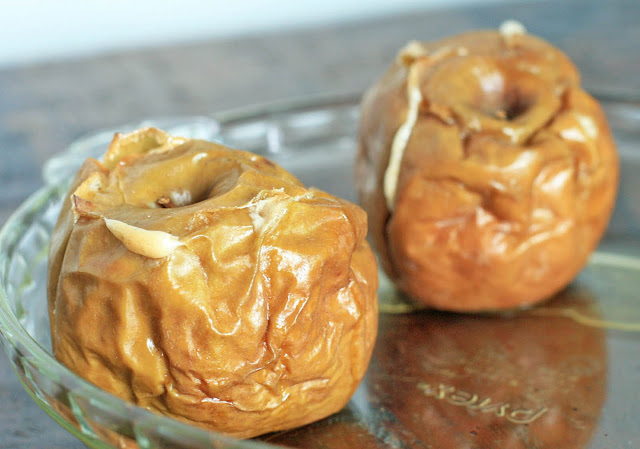
Even if this recipe hadn’t looked very good, I might have made it anyways just because of its name.  Luckily for me it was a winner: baked apples are pureed and combined with vanilla sugar, egg whites, rum and lemon juice and then whipped until light and frothy.

Hungarian food tends to be pretty heavy: lots of pork, veal, sour cream, etc., etc.  This is a nice and light dessert that shouldn’t contribute too much to any post-meal food coma.

One final note: a lot of Hungarian dessert recipes use vanilla sugar.  I was too lazy to make some so I cheated by using regular sugar but I substituted homemade rum vanilla extract, which had plenty of vanilla bean seeds, in place of the regular rum. It worked out very well, so feel free to go this route if you have homemade vanilla extract at home.

Witches’ Froth

Yield: 4 servings

Ingredients:

* 4 baking apples
* 1 cup vanilla sugar
* 2 egg whites
* 2 Tablespoons rum
* 2 Tablespoons lemon juice
* whipped cream, optional

Directions:

Preheat the oven to 350 degrees. Wash and bake the apples for 50-60 minutes, until softened. Let them cool, peel and core them, and puree the pulp in a blender or food processor.

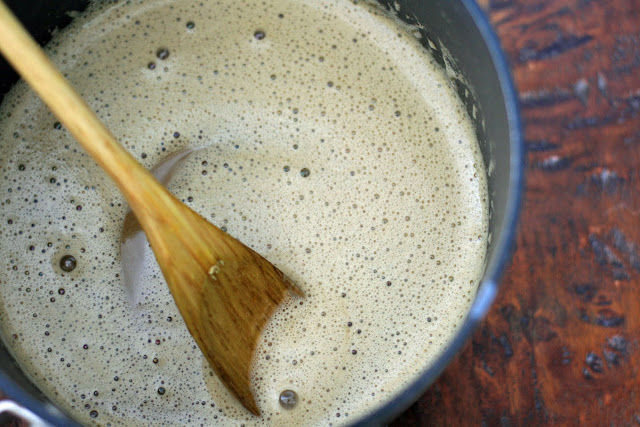
Stir in the egg whites and sugar and beat 10 minutes with an electric mixer, until fluffy and thick. Add the rum and lemon juice and continue beating for another 5 minutes.

Spoon into individual serving glasses or bowls and keep in the refrigerator until ready to serve. Top with whipped cream, if desired.

Note: This dessert uses raw egg whites, so please be aware that there is a small risk of salmonella contamination.
Borju Porkolt- Hungarian Veal Paprika Stew

0

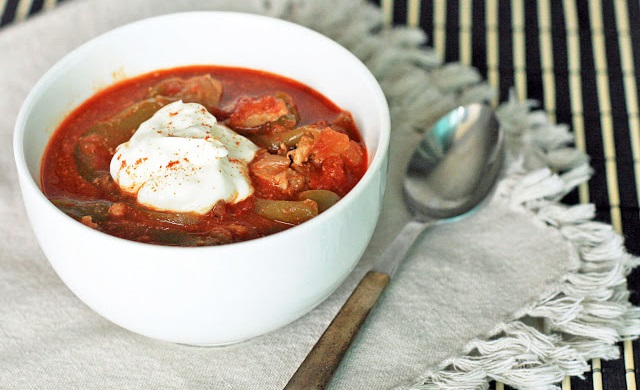
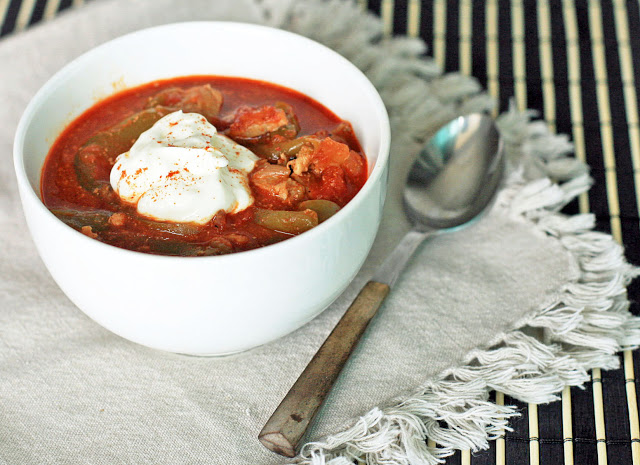
After a number of complicated, multi-step recipes, this veal stew was a total breeze and a welcome change of pace.  Nothing complicated or fancy going on here- just a simple combination of veal, vegetables and spices simmered until tender.

In fact, the hardest thing about this stew was deciding what to put in it.  Some people use green peppers and tomatoes while others omit one or both.  I had both on hand so I decided to use them both and it was a nice way to lighten a predominantly meat stew.  Serve with rice, noodles, or Hungarian dumplings.

Veal Paprika Stew

Ingredients:

* 3 Tablespoons vegetable oil
* 2 medium onions, chopped
* 2 cloves garlic, minced
* 2 pounds veal shoulder, cut into 1-inch cubes
* 2 green bell peppers, seeded and cut into thin strips
* 2 Tablespoons paprika
* 1 teaspoon cayenne
* 1 can (15 oz.) diced tomatoes in their juice, pureed in a blender or food processor
* approximately 1 1/2 cups beef broth
* salt and pepper
* sour cream, for garnish (optional)

Directions:

Heat the oil in a large saucepan over medium heat.  Add the onions and garlic and cook, stirring occasionally, until the onion begins to brown.  Add the veal and cook until the meat is browned.

Next, add the bell peppers, paprika and cayenne and stir until combined. Add the pureed tomatoes and just enough beef broth to cover the meat.  Reduce the heat to medium low and simmer, partially covered, until the meat is tender, about one hour.  Salt and pepper to taste.

Place in individual serving bowls and top with sour cream, if desired.

Serves four.

Yongun Chonggwa- Candied Lotus Roots

0

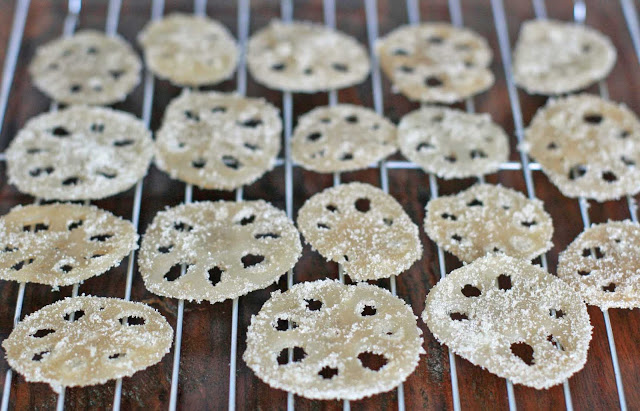
Aren’t these pretty?  The timing of these was just about perfect because they taste exactly like jelly beans.  I kid you not.  I think they’d be a perfect light ending to a big Korean meal.

I first tried the roots plain.  The texture was great and the sweetness was just right, but they didn’t have too much flavor.  I much preferred the flavored ones.  Ginger would be a great addition but the sky’s really the limit here- just use your favorite extract. If you want to get really fancy, make a few different varieties and use a drop or two food coloring to distinguish them from one another.

Candied Lotus Roots

Ingredients:

* 1 pound frozen, sliced lotus roots
* 6 cups water
* 1-1/2 Tablespoons white vinegar
* pinch salt
* 1-1/2 cups sugar
* 3 cups water
* several slices ginger or 1/2 teaspoon extract of your choice (optional, see note below)
* extra sugar, for coating candies (optional, see note below)

Directions:

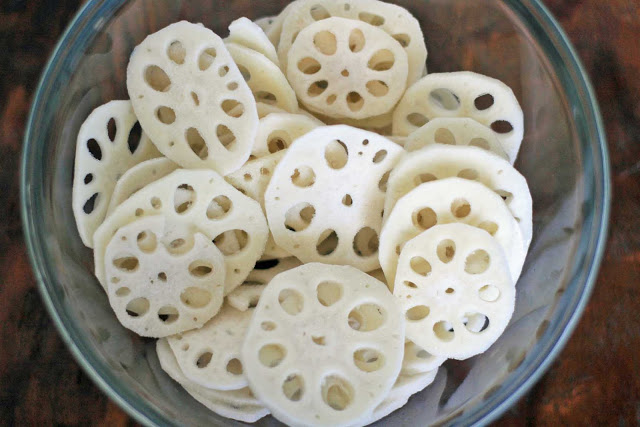
Put lotus roots in a large bowl and cover with water. Soak for 30 minutes. In a large saucepan, combine 6 cups water, vinegar and pinch salt and bring to a boil. Drain the lotus roots and add to the boiling, acidulated water. Cook gently over medium heat for approximately 10 minutes. Drain and rinse several times under cold water.

In the same saucepan, bring the sugar and 3 cups water and bring to a boil. Add the lotus root and simmer, uncovered, over medium-low heat for approximately 30-40 minutes, or until the roots are translucent and have soaked up most of the syrup.

Place in a single layer on a cooling rack covered in wax paper. Serve immediately or store in an airtight container and refrigerate.

Optional notes: If you’d like the candied to be ginger flavored, add in several slices fresh ginger when you add the lotus roots. If you’d like to use flavor extracts, stir in about 1/2 teaspoon of your chosen extract about five minutes prior to the end of the simmer time. If you’d the candies sugar-coated, let the roots cool slightly after simmering and dip individual roots into a bowl full of sugar.

Additional Note: Here’s how to prepare fresh lotus roots if you cannot find them frozen and pre-sliced. Rinse the lotus root and peel, using a stainless steel peeler, to avoid discoloration. Cut into thin slices, approximately 1/6th to 1/8th of an inch, using a knife or mandoline. Immediately put lotus roots slices into a bowl full of water to prevent the roots from oxidizing and turning brown.

Red Date and Walnut Sticky Rice

0

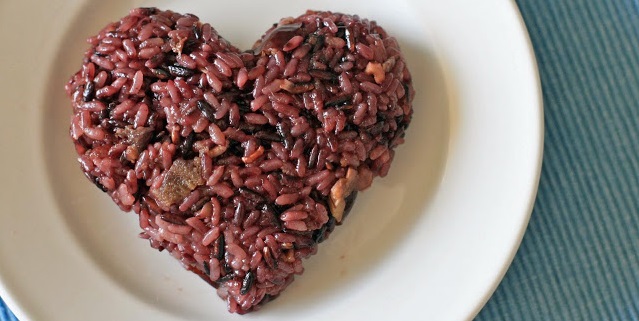
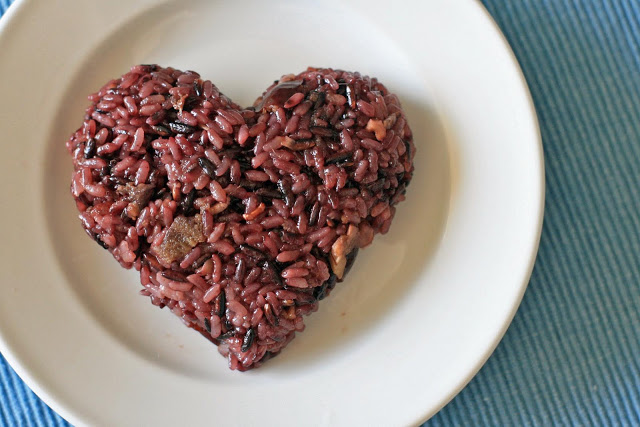
I couldn’t help myself.  These are typically rolled into balls for a snack, but their beautiful red hue was practically begging to be made into a heart shape.

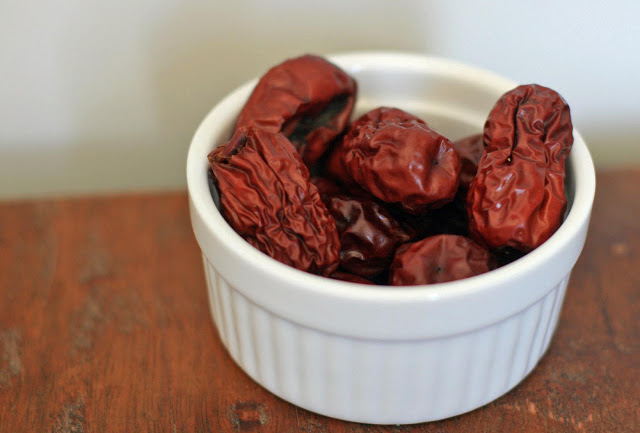
This was my first experience with red dates, or jujubes, but it won’t be my last. They’re typically sold dried and while they’re not good for out of the bag snacking, they do impart a wonderful fruity sweetness to whatever they’re being cooked with.

Rice balls are a common snack in a lot of Asian countries, although this has been one of my favorites since the black rice, red dates and walnuts give it some extra heft and chew.  It also kept me full a bit longer than the more basic seaweed varieties.

I also saw several sweetened versions of this basic recipe for dessert.  If you’d like to go that route, I’d suggest either adding up to 1/4 cup of brown sugar to the rice prior to cooking, or cook as written below, and drizzle with maple syrup.

Sticky Rice with Red Dates and Nuts

Ingredients:

1/4 cup black rice
1 cup sticky rice
1-1/3 cup reserved soaking water plus extra water if needed
6 pitted dried red dates or jujubes, chopped
1/3 cup chopped walnuts
1 teaspoon sea salt
1 teaspoon sesame oil

Directions:

Place the black and sticky rice in a sieve and rinse under water. Place in a bowl and cover with water. Let soak for five hours. Drain the rice in a sieve placed over a bowl, reserving the soaking liquid.

Place the rice in a rice cooker and add 1 1/3 cups reserved soaking liquid. Add the dates, walnuts, salt and sesame oil. Turn on the rice cooker.

When the rice is done cooking, serve immediately or let cool slightly before rolling into rice balls.

To make the rice balls, place about 1/2 cup cooked rice mixture and place onto a large piece of plastic wrap. Bring the sides of the plastic wrap up around the rice mixture and twist the ends together in the center to shape into a ball.

Note: If you do not have a rice cooker, you can prepare the rice as follows. Combine the rice, 1 1/3 cup soaking liquid, dates, walnuts, salt and sesame oil in a heavy bottomed saucepan with a lid. Place the lid slightly askew and bring to a boil over medium heat. Reduce the heat to low, cover tightly and let simmer for 15 minutes, or until the rice completely absorbs the water. Remove from heat and allow to sit and steam for another 15 minutes.

Napa Cabbage Kimchi

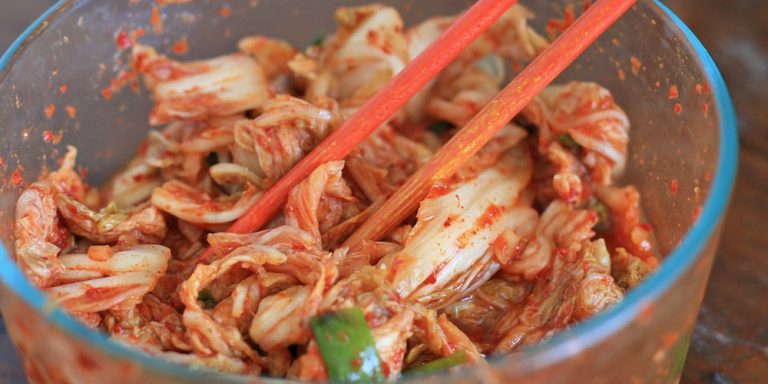
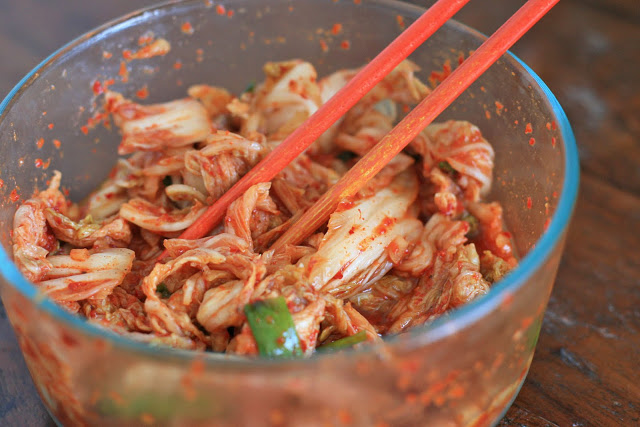
I suppose it would have made the most sense for me to post this at the beginning of my time in Korea, especially since I used cabbage kimchi for the kimchi fried rice.  Unfortunately, it took me a long time to create a recipe I thought was blog-worthy.  I tried a bunch that were either too salty, too boring, or too fermented.  I can find better kimchi than that around here in the refrigerator section of the drug store.

I’m hardly a kimchi expert- I’d never had even tried the stuff until a couple years ago.  But I like my kimchi to taste fresh while still having the requisite funk.  I finally found one that fit the bill- and it doesn’t require much fermentation time.  You just soak some chopped cabbage in salt water for a couple hours, drain, mix in a kimchi paste and let sit for another couple hours.  That’s it.  Easy.

The fish sauce and oyster sauce help give this kimchi it’s depth of flavor.  Many kimchi recipes don’t use them, but I found they made the kimchi so much more interesting than the recipes that relied on salt only.  Most fish sauces are gluten-free, but finding gluten-free oyster sauce can be more challenging.  Below is the kind that I’ve used for the past couple years in case you’d like a visual to help look at your grocery store.

Napa Cabbage Kimchi

Ingredients:

 1 medium to large Napa Cabbage, halved, cored and cut into 1-2-inch strips
1 cup water
3 Tablespoons kosher or sea salt
1/4 cup Korean coarse red pepper flakes
2 Tablespoons water
1 Tablespoon garlic paste
1/2 teaspoon minced ginger
2 teaspoons sugar
2 teaspoons gluten-free oyster sauce
2 Tablespoons fish sauce
4 green onions, chopped into 1-inch pieces

Directions:

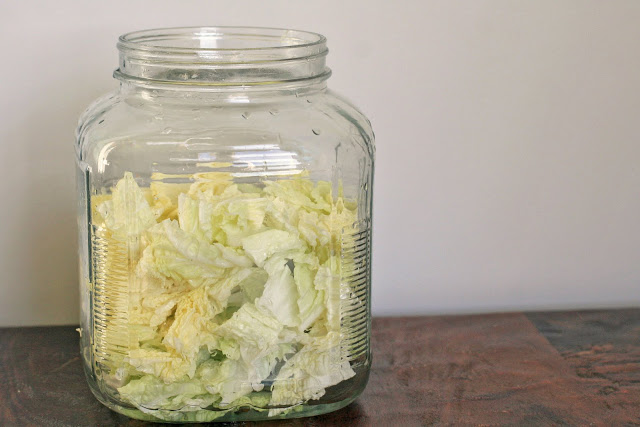
Dissolve the salt into 1 cup of water. Place the cabbage in a large bowl or container and pour the salt water over it. Toss quickly and then let sit, without any additional stirring, for 2 hours.

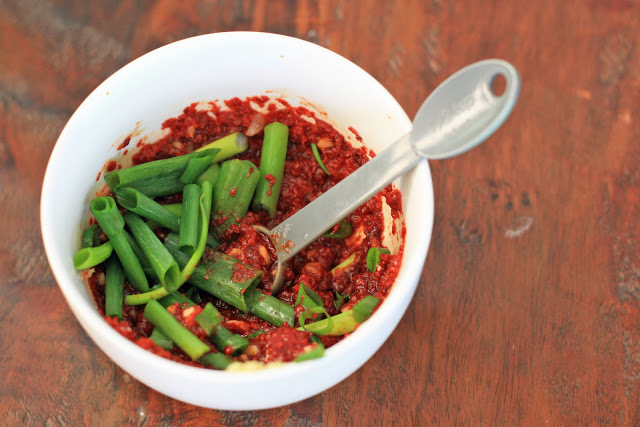
While the cabbage is soaking, make the kimchi paste by combining the red pepper flakes, 2 Tablespoons of water, garlic paste, ginger, sugar, oyster sauce, fish sauce, and green onions.

Drain the cabbage in a colander or in a piece of cheesecloth (cheesecloth for straining) and give the cabbage a quick rinse under cold water. Gently squeeze out any excess liquid. Place the cabbage in a large bowl or jar and stir the kimchi paste into the cabbage. Mix thoroughly to ensure that each piece of cabbage is coated. Let sit at room temperature for 2-3 hours. Cover and refrigerate.

Kimchi Fried Rice

0

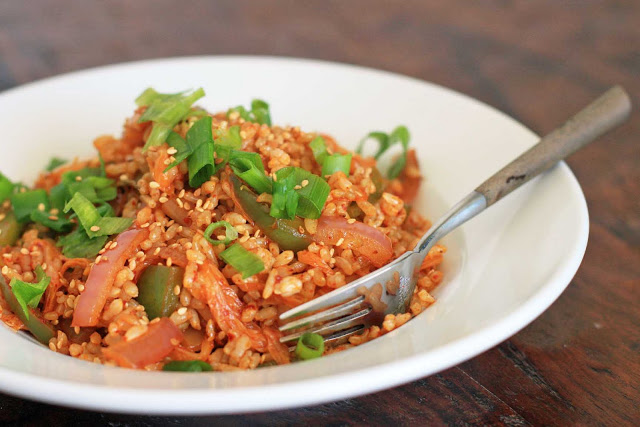
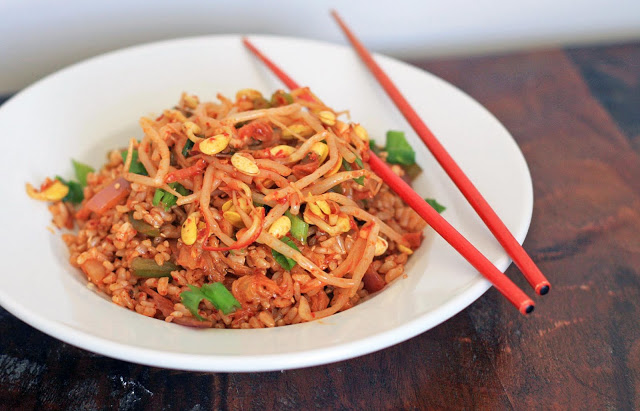
Fried rice is pretty much the ultimate quick, healthy and filling meal.  Although the healthy part doesn’t necessarily ring true in Hawaii, where most fried rice consists of white rice, Portuguese sausage, bacon, lup chong sausage, and few-if any- vegetables.  Absolutely amazing, but healthy it is not.

This kimchi fried rice, however, would likely get a nutritionist’s seal of approval with its cabbage kimichi, loaded with vitamins and healthy bacteria, onions, peppers and brown rice.  The fried rice is great on its own, but topping with yesterday’s seasoned soybean sprouts adds an extra level of crunchiness, spice and flavor.  Want to make it even more filling?  Add a fried egg on top.

This would also be a great way to introduce kimchi to your less adventurous friends and family.

Kimchi Fried Rice

Yield: 4 side servings

Ingredients:

* 3 Tablespoons vegetable oil
* 1 teaspoon Korean chili powder
* 1 cup cabbage kimchi, cut into bitesize pieces
* 1/2 green bell pepper, cut into strips
* 1/2 yellow onion, diced
* 2 cups leftover brown rice
* 1 Tablespoon sesame oil
* 2 teaspoons fish sauce (vegans/vegetarians can substitute gluten-free soy sauce)
* 3 Tablespoons diced green onions
* 1 Tablespoon sesame seeds
* 1/2- 3/4 cup seasoned soybean sprouts (optional)

Directions:

Heat the oil in a large skillet or wok over medium-high heat. Add the chili powder and the kimchi and stir-fry for 2 minutes. Add the bell pepper and onion and continue to cook for another 2-3 minutes, until the pepper and onion begin to soften.

Add the rice and mix thoroughly. Add the sesame oil and fish sauce sauce and mix again. Cook for 3-5 minutes until the rice is heated through. Divide the rice into two bowls and sprinkle with the green onion and sesame seeds. Top with seasoned beansprouts, if desired.

Jamaican Festival Fried Cornbread

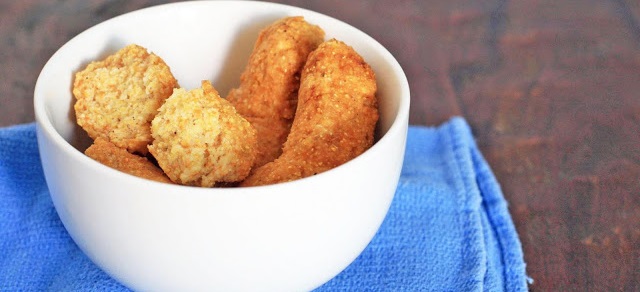
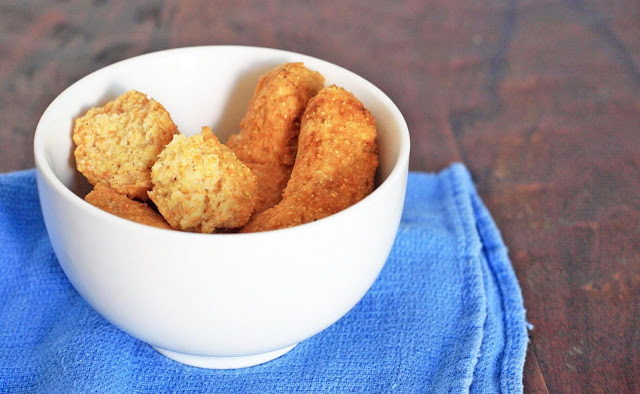
Some of you might remember that my last attempt at fried cornmeal fritters didn’t go so well.  But try, try again I say.  Plus, with a name like festival, I had the feeling that these might be just the things to turn my cornmeal fritter luck around.

Festival is new but popular addition to the street food scene in Jamaica.  I made a half batch to test the waters and knew that I’d be making them again before my two weeks in Jamaica was up.

They’re a little savory, a little sweet.  The rice flour and starches lightens the dough enough to make it almost fluffy.  If I ever get a craving for a gluten-free corndog, this would be the perfect starting point for the dough- just omit some of the sugar and the nutmeg.  Actually, a gluten-free corndog is sounding pretty awesome right about now…

Jamaican Festival Fried Cornbread

Ingredients:

* 1/3 cup brown rice flour
* 1/3 cup tapioca starch
* 1/3 cup potato starch
* 2/3 cup cornmeal
* 2 Tablespoons sugar
* 1 teaspoon xanthan gum
* 1/4 teaspoon ground nutmeg
* 1/4 teaspoon baking soda
* 1/2 teaspoon vanilla
* pinch salt
* Approx 1/2 cup milk
* oil, for frying

Directions:

Combine the brown rice flour, tapioca starch, potato starch, cornmeal, sugar, xanthan gum, nutmeg, baking soda, vanilla and salt and mix well. Add just enough milk to form a stiff, workable dough. Roll into cylinders several inches long.

Heat oil in a small, heavy-bottomed saucepan to 350 degrees. Drop in the shaped dough and fry for about 4-5 minutes, until outside turns golden and the center of the fritters have cooked through. Drain on paper towels and serve.

Ginger Jelly with Honey Molasses Syrup

0

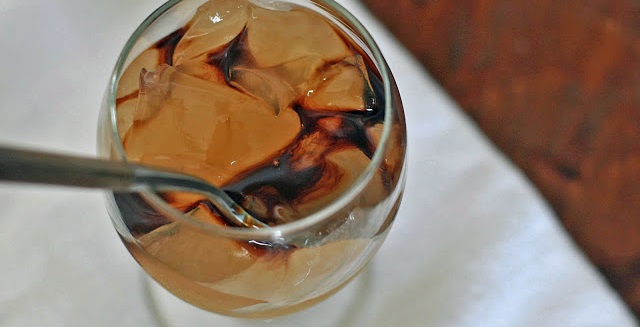
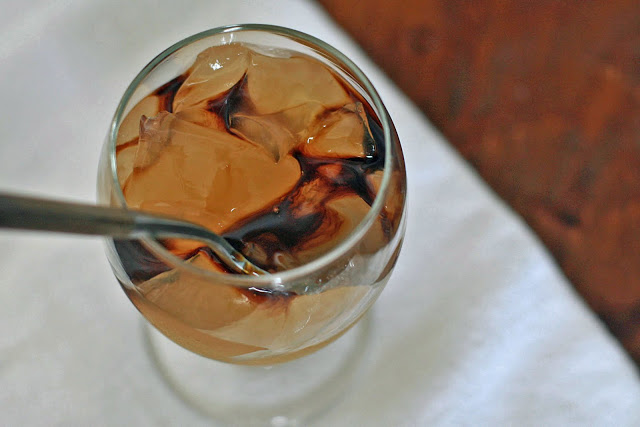
Another country, another ginger-centric recipe.  I suppose you could consider this a grown up version of jello: it has a more sophisticated flavor and a softer, more pleasant texture.

The recipe that inspired this one was drizzled with brown corn syrup.  Had I thought that was the right flavor match for the ginger, I would have risked angering the pitchfork-wielding anti-corn syrup mob.  But the truth is, I just thought a honey and molasses mixture was more interesting way to finish off the dessert.

Molasses is such a strong flavor that it can quickly overwhelm the honey.  Start with the 3 to 1 honey to molasses ratio, although you’re welcome to make adjustments from there to make the molasses flavor more pronounced.

Ginger Jelly with Honey Molasses Syrup

Yield: 4 servings

Ingredients:

* One 6-inch piece fresh ginger, cut into 10-12 sliced
* 3 1/4 cups water, divided
* 1/4 cup sugar
* 2 teaspoons gelatin
* 2 Tablespoons lemon juice
* 2 Tablespoons honey
* 2 teaspoons molasses

Directions:

In a medium saucepan, combine the ginger with 3 cups of water and bring to a boil. Reduce heat, set the cover on slightly askew and simmer for 20 minutes. Remove the ginger slices and discard, or set aside to re-use. The should be about 2 1/2 cups ginger water. Add sugar and stir until dissolved.

Pour 1/4 cup of water into a small bowl and sprinkle the gelatin on top and let soften. Stir the gelatin water and the lemon juice into the ginger water and stir until the gelatin is dissolved.

Divide the mixture between four dessert bowls or glasses. Chill for several hours in the refrigerator until set. Just before serving combine the honey and molasses in a small bowl or ramekin. Drizzle on top of the jelly.

Note: If you’d like small squares or pieces of jelly instead of a solid mass, pour the hot ginger mixture into a wide, shallow serving bowl or dish. Chill for several hours or until firm and cut into small cubes or pieces. Divide among the bowls or glasses and drizzle with honey molasses syrup.

Cold Coffee Soufflé

0

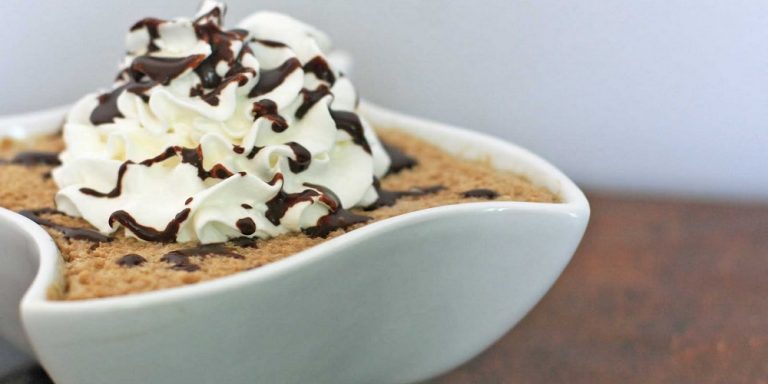
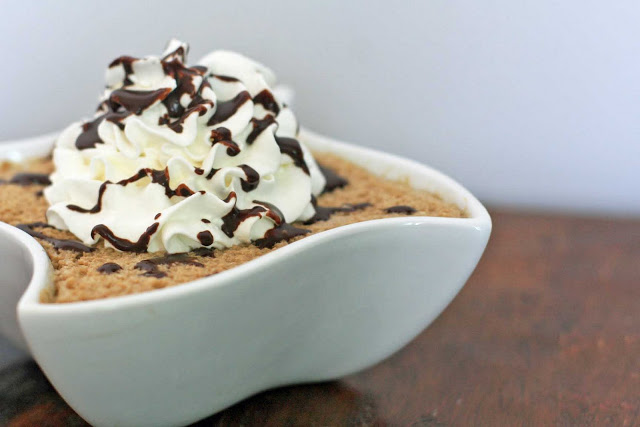
This is exactly the type of dessert I generally avoid.  Namely because it relies on one critical step that I usually botch: unmolding the soufflé.  Per usual, I didn’t do it correctly.  And so I give you pictures of the back-up soufflé, which I didn’t even bother trying to flip.

Botched unmolding aside, this coffee soufflé is the perfect dessert to follow a heavy meal.  Firstly, because those whipped egg whites keep it nice and light.  Secondly, because it provides a caffeinated pick-me-up.

Two quick pieces of advice: whip the egg white immediately prior to folding them into the coffee mixture (you’ll want to make sure the coffee mixture has already thickened) and follow the unmolding tip at the end of the recipe.  I think it would have saved me a lot of frustration.

Cold Coffee Soufflé

Yield: 6-8 servings

Ingredients:

* 1-1/2 cups cold brewed coffee
* 2/3 cup sugar
* 1 packet unflavored gelatin (approximately 1 Tablespoon)
* 1/2 cup half-and-half
* 3 large eggs, separated
* 1/4 teaspoon salt
* 1 teaspoon vanilla
* whipped cream, for garnish
* chocolate syrup, for garnish

Directions:

In a medium saucepan, combine the coffee, 1/3 cup of the sugar, the gelatin, and half-and-half over low heat and cook, stirring occasionally, until the gelatin has dissolved.

In a separate bowl, lightly beat the egg yolks with the remaining 1/3 cup sugar and the salt. Temper the eggs by whisking a little of the coffee mixture into the egg yolk mixture. Pour into the saucepan and continue to cook over low heat, stirring frequently, until the mixture thickens slightly. Remove from the heat and stir in the vanilla. Let cool, stirring often.

When the coffee mixture has thickened, beat the egg whites in a large bowl until soft peaks form and carefully fold into the coffee mixture until blended. Pour into a decorative mold or individual dessert bowls or glasses. Cover and refrigerate until set, at least 4 hours.

To serve, invert the soufflé onto a plate to unmold (or just keep as-is if in individual dessert glasses or bowls) and garnish with whipped cream and chocolate syrup.

Note: A tip from the author to help unmold the soufflé- soak a clean kitchen towel in warm water, wring out, and wrap around the mold for 2 or 3 minutes to loosen.