 Don’t worry my Kiwi friends, I’m not taking sides on the whether Australia or New Zeland invented pavlova. Consider me Switzerland. I also fully intend on making more pavlova when I make my way to New Zealand.
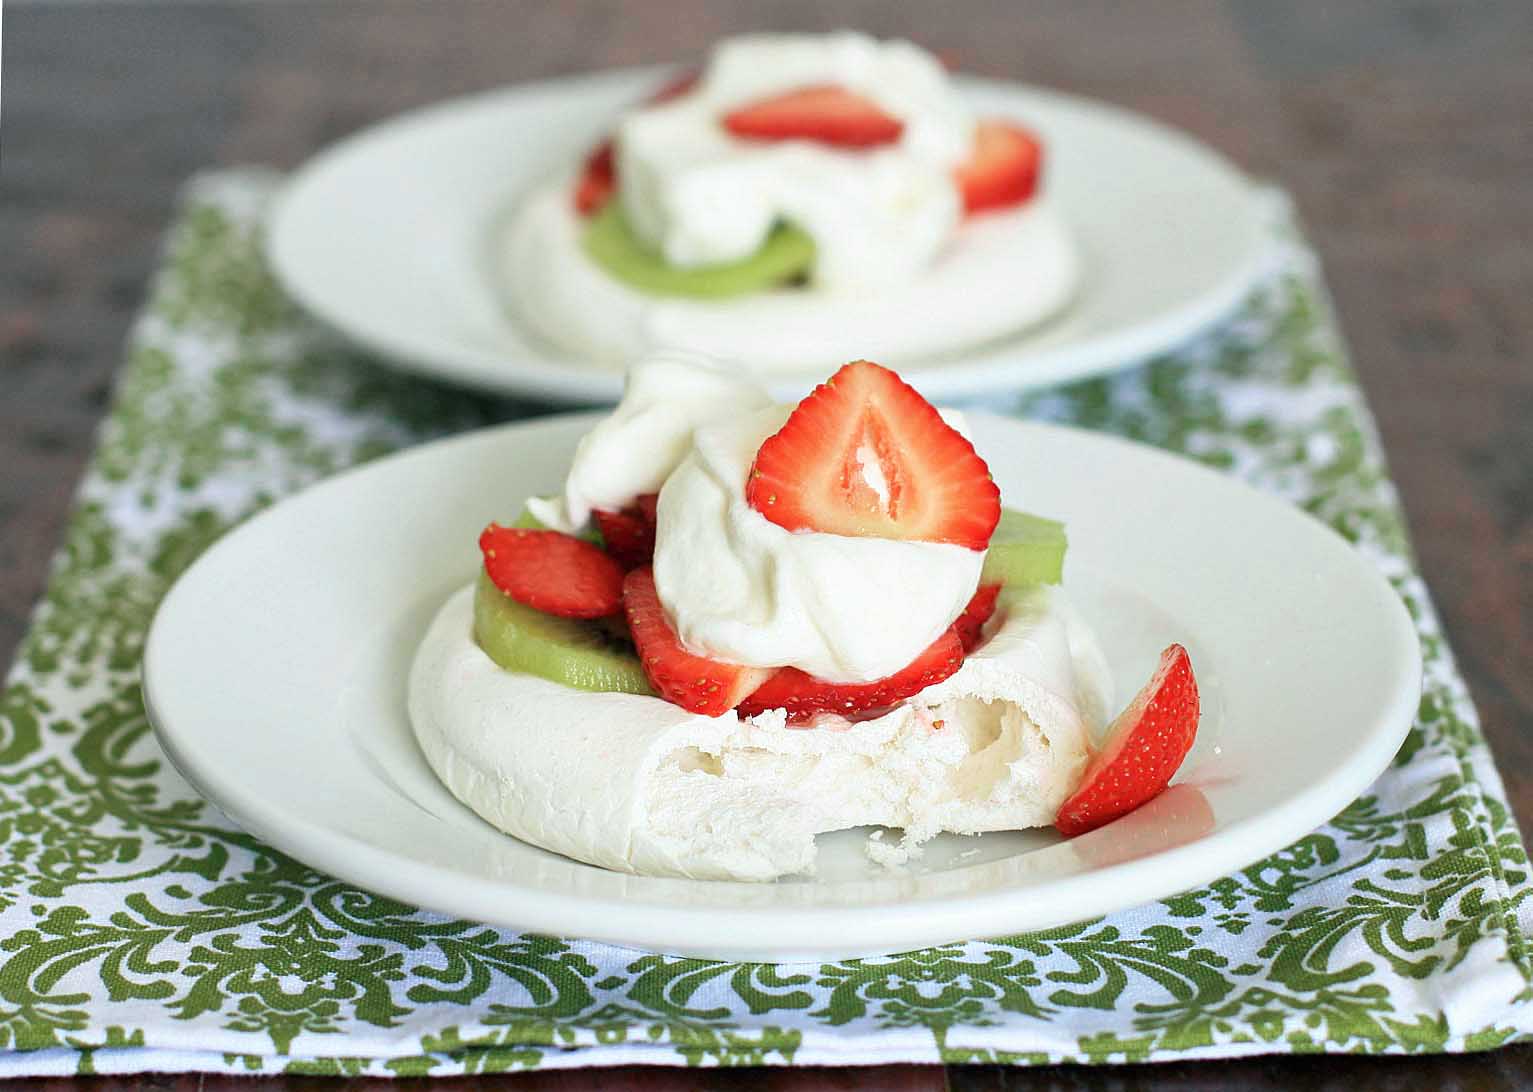
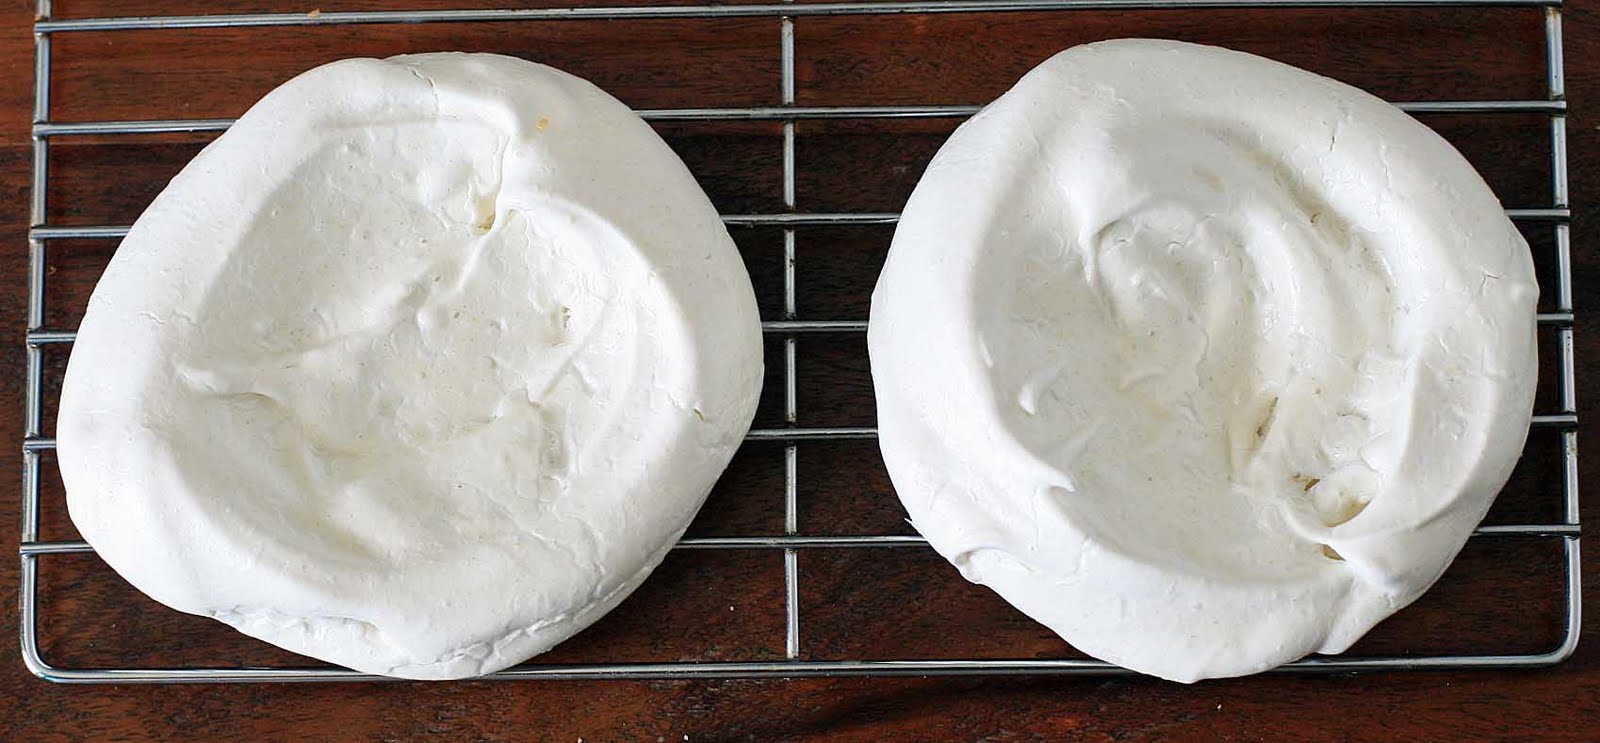
After all, who wouldn’t want as much as they can get? Topped with fresh fruit and a large pillow of whipped cream, these crispy meringue shells give way to a chewy interior. So so good.
Kiwi-Strawberry Pavlova
Ingredients:
Pavlova:
3 large egg whites, at room temperature
Pinch of cream of tartar (optional)
Pinch of salt
2/3 cup sugar
1/2 teaspoon vanilla
1 teaspoon white vinegar
1 teaspoon cornstarch
Toppings:
1 pound strawberries, washed, stemmed, and sliced
3 kiwifruit, peeled and sliced
Whipped cream for topping
Directions:
Preheat the oven to 200 degrees. Line a baking sheet with parchment paper.
Using an electric mixer, whip the egg whites on low speed until frothy. Add the cream of tartar, if using, and the salt and increase the mixer speed to high and beat until the whites hold droopy peaks when you lift the beaters.
Keeping the mixer running, gradually add the sugar, vanilla, vinegar and cornstarch and keep beating until the mixture is shiny and holds stiff peaks.
Drop the meringue into 6 equal mounds on the parchment paper. Use a wet spoon to create nest-like circles with slightly raised edges.
Bake in the preheated oven for 1-1/2 hours. Turn off the heat and keep the meringues in the oven for an additional hour. Remove from the oven and let cool completely.
Top with sliced strawberries, sliced kiwifruit and a large dollop of whipped cream.