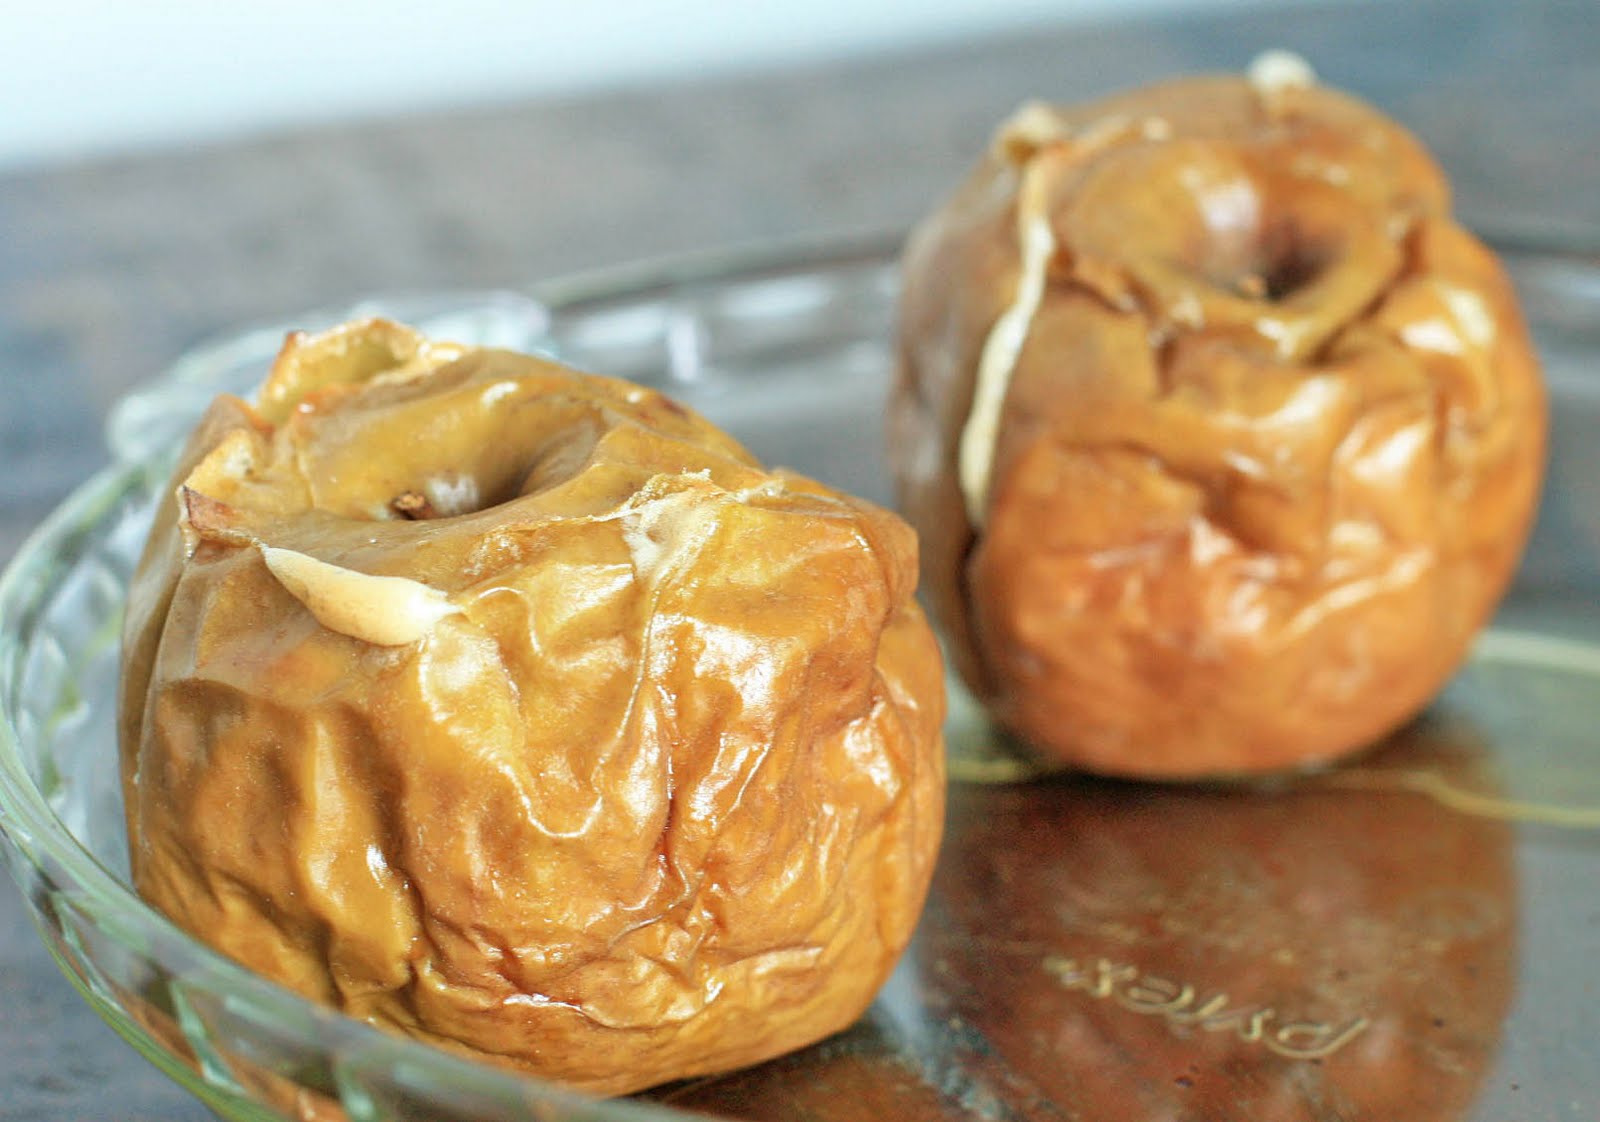
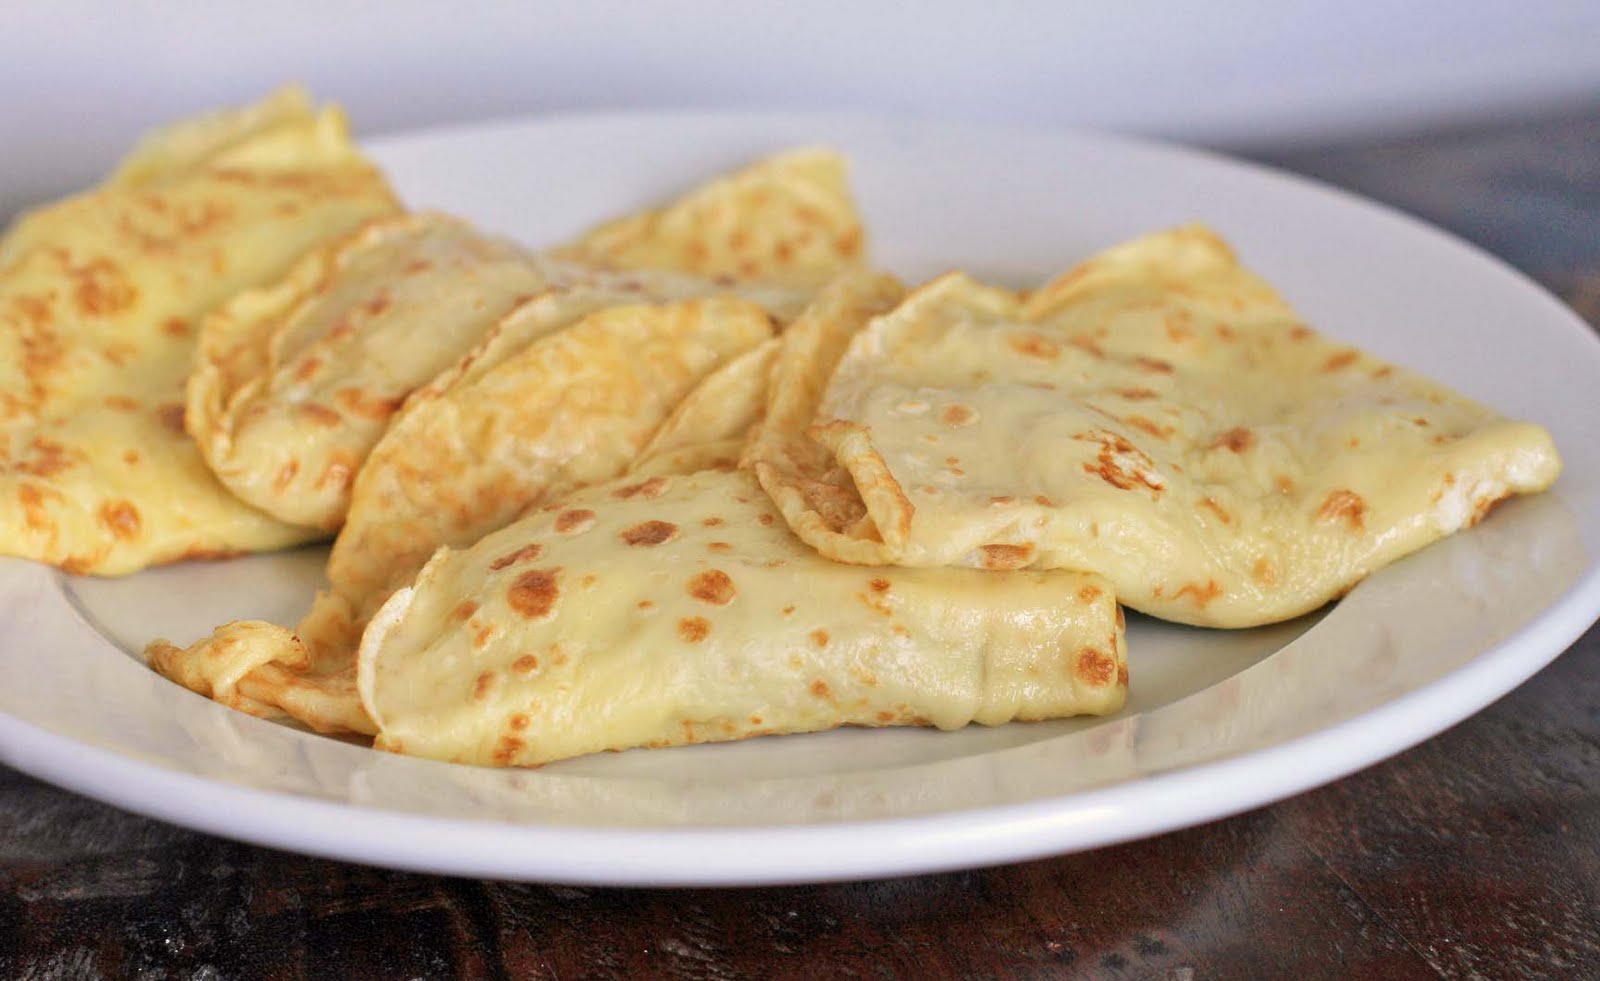
Thin Hungarian pancakes, stuffed with a sweet walnut filling and drizzled with a chocolate rum sauce make an elegant dessert or a decadent breakfast or brunch. I’m very much in the dessert-for-breakfast camp (my favorite dessert-for-breakfast used to be my mom’s apple pie) so I had no problem, or feelings of guilt, devouring this well before noon.
 Hungarians are big fans of walnuts, but I imagine that a lot of other nuts would also work well. So feel free to experiment with almonds, hazelnuts, chestnuts, or a mixture of several kinds. Adding fruit would also be a nice touch.
Pancakes à la Gundel
Yield: 6 servings
Ingredients:
12 palacsinta (or 12 crepes, using your favorite crepe recipe)
Walnut Filling:
1/3 cup light cream
1/2 cup sugar
2 Tablespoons rum
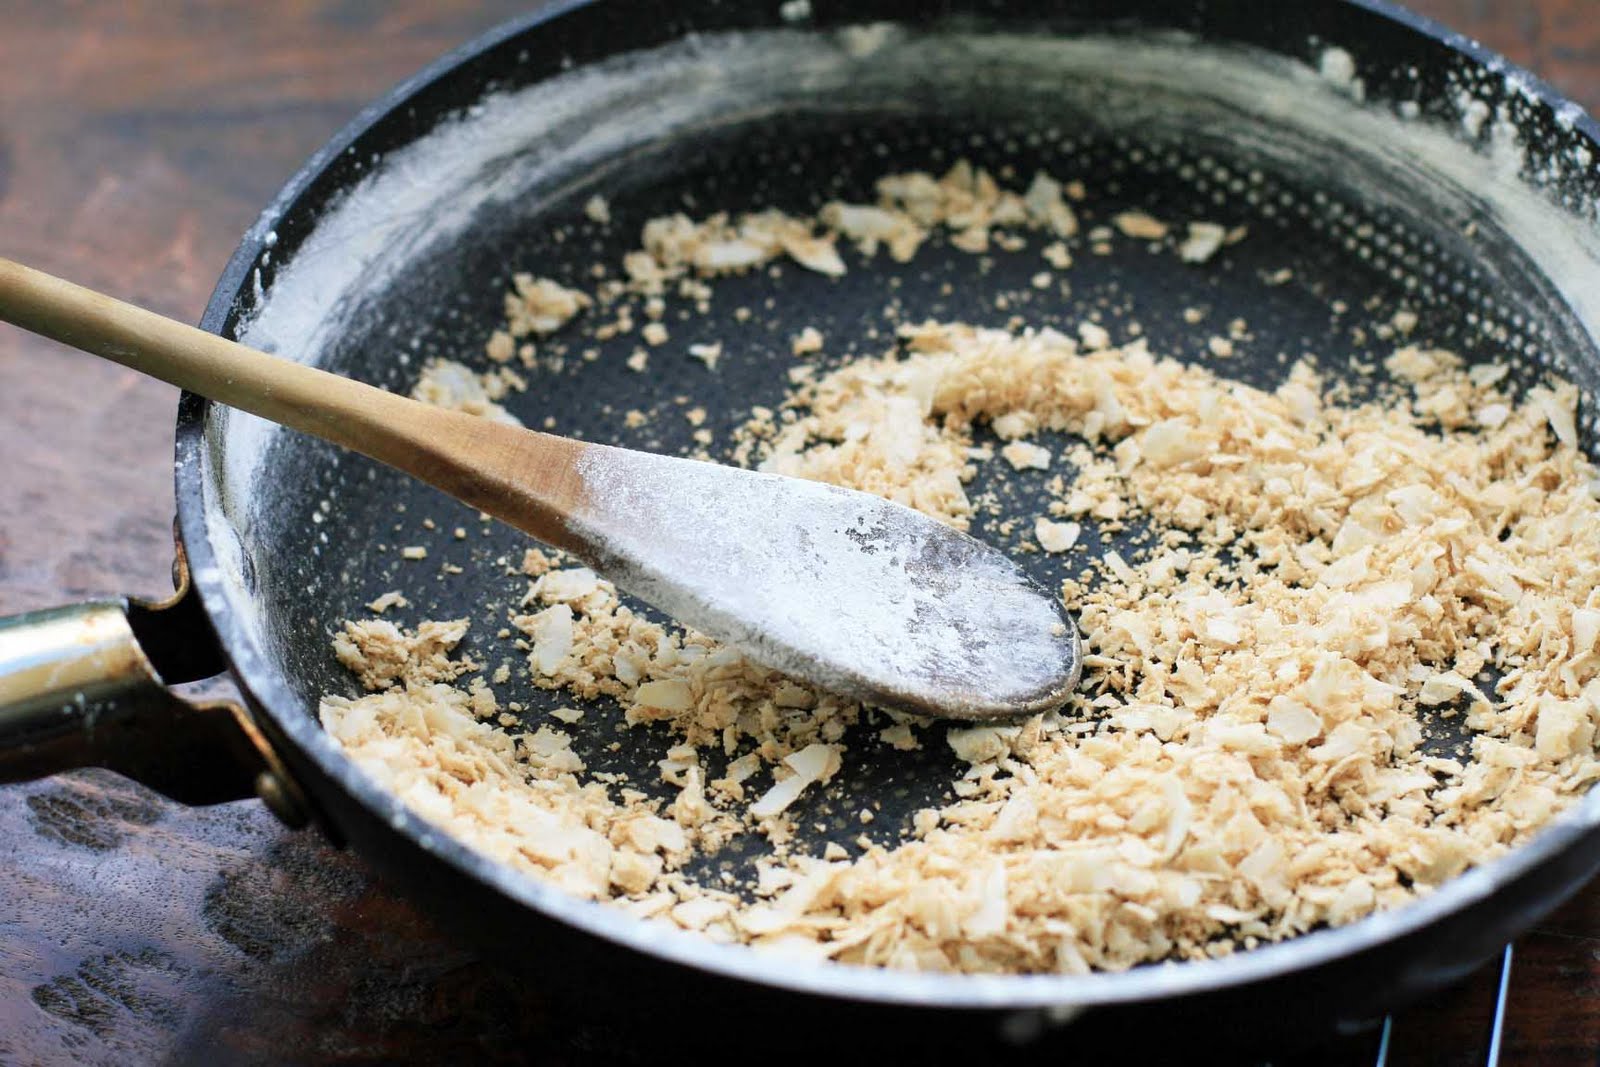
2 cups walnuts, ground
1/4 cup chopped raisins (optional)
Chocolate Rum Sauce:
2/3 cup semi or bittersweet chocolate chips
1 cup milk
3 egg yolks
2 Tablespoons sugar
2 Tablespoons cocoa
1 Tablespoon butter
2 Tablespoons rum
Directions:
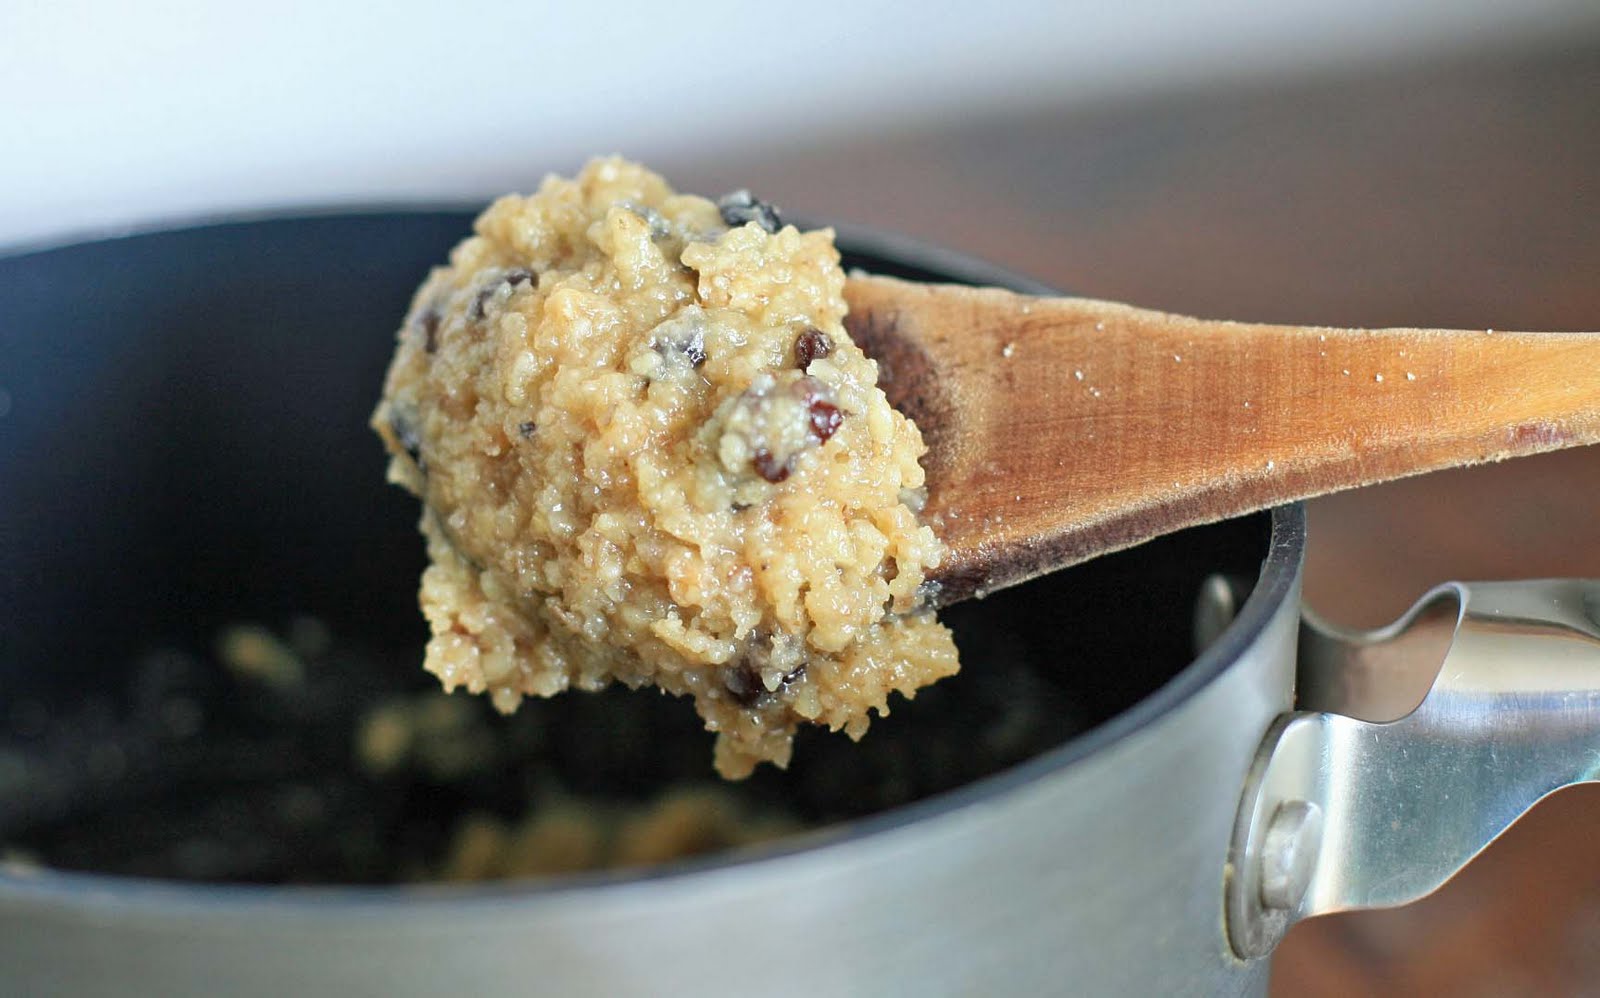
Prepare the walnut filling by combining the cream and sugar in a small saucepan over medium-low heat. Stir until the sugar has dissolved. Add the rum, ground walnuts and raisins and stir until combined. Remove from heat. Place a heaping teaspoon of the walnut filling in the center of each pancake. Fold the pancake into four.
Saute the folded pancakes in a small pat of butter for 2-3 minutes on each side. Make the sauce by combining the chocolate chips and milk in a small saucepan over low heat. Stir until the chocolate has melted and the sauce is smooth. Remove from heat and stir in the egg yolks, whisking constantly. Mix in the sugar, cocoa, butter and rum and stir until smooth. Place two pancakes on each plate and drizzle with the chocolate rum sauce.