I couldn’t help myself. These are typically rolled into balls for a snack, but their beautiful red hue was practically begging to be made into a heart shape.
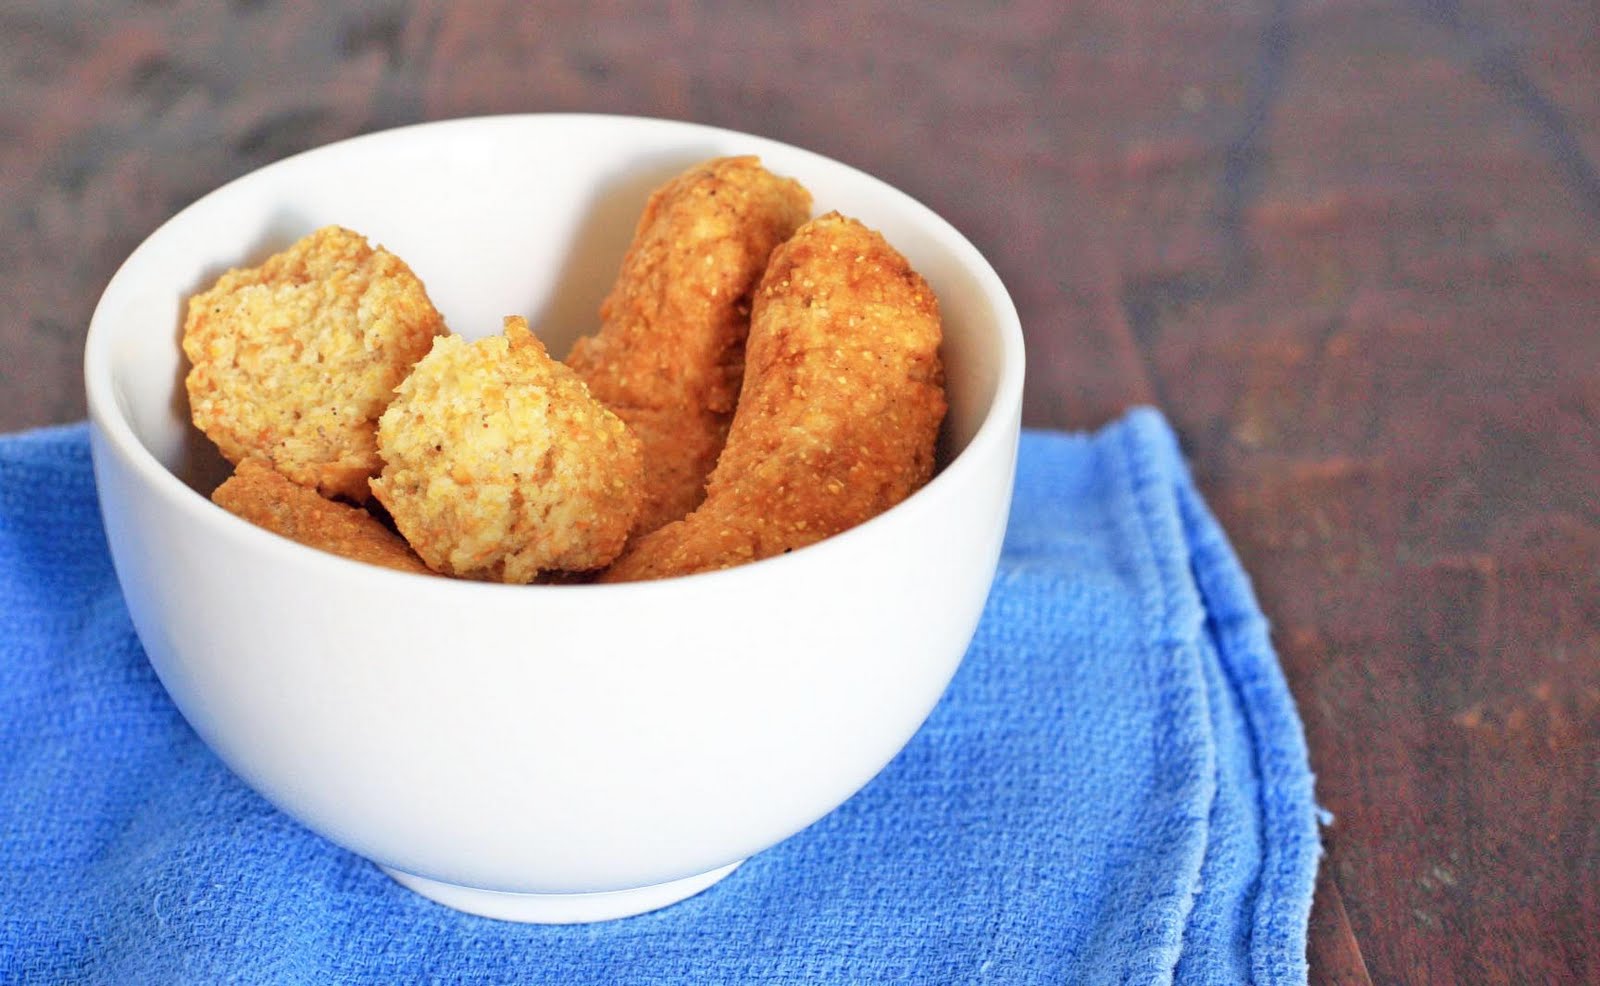
This was my first experience with red dates, or jujubes, but it won’t be my last. They’re typically sold dried and while they’re not good for out of the bag snacking, they do impart a wonderful fruity sweetness to whatever they’re being cooked with.
 Rice balls are a common snack in a lot of Asian countries, although this has been one of my favorites since the black rice, red dates and walnuts give it some extra heft and chew. It also kept me full a bit longer than the more basic seaweed varieties.
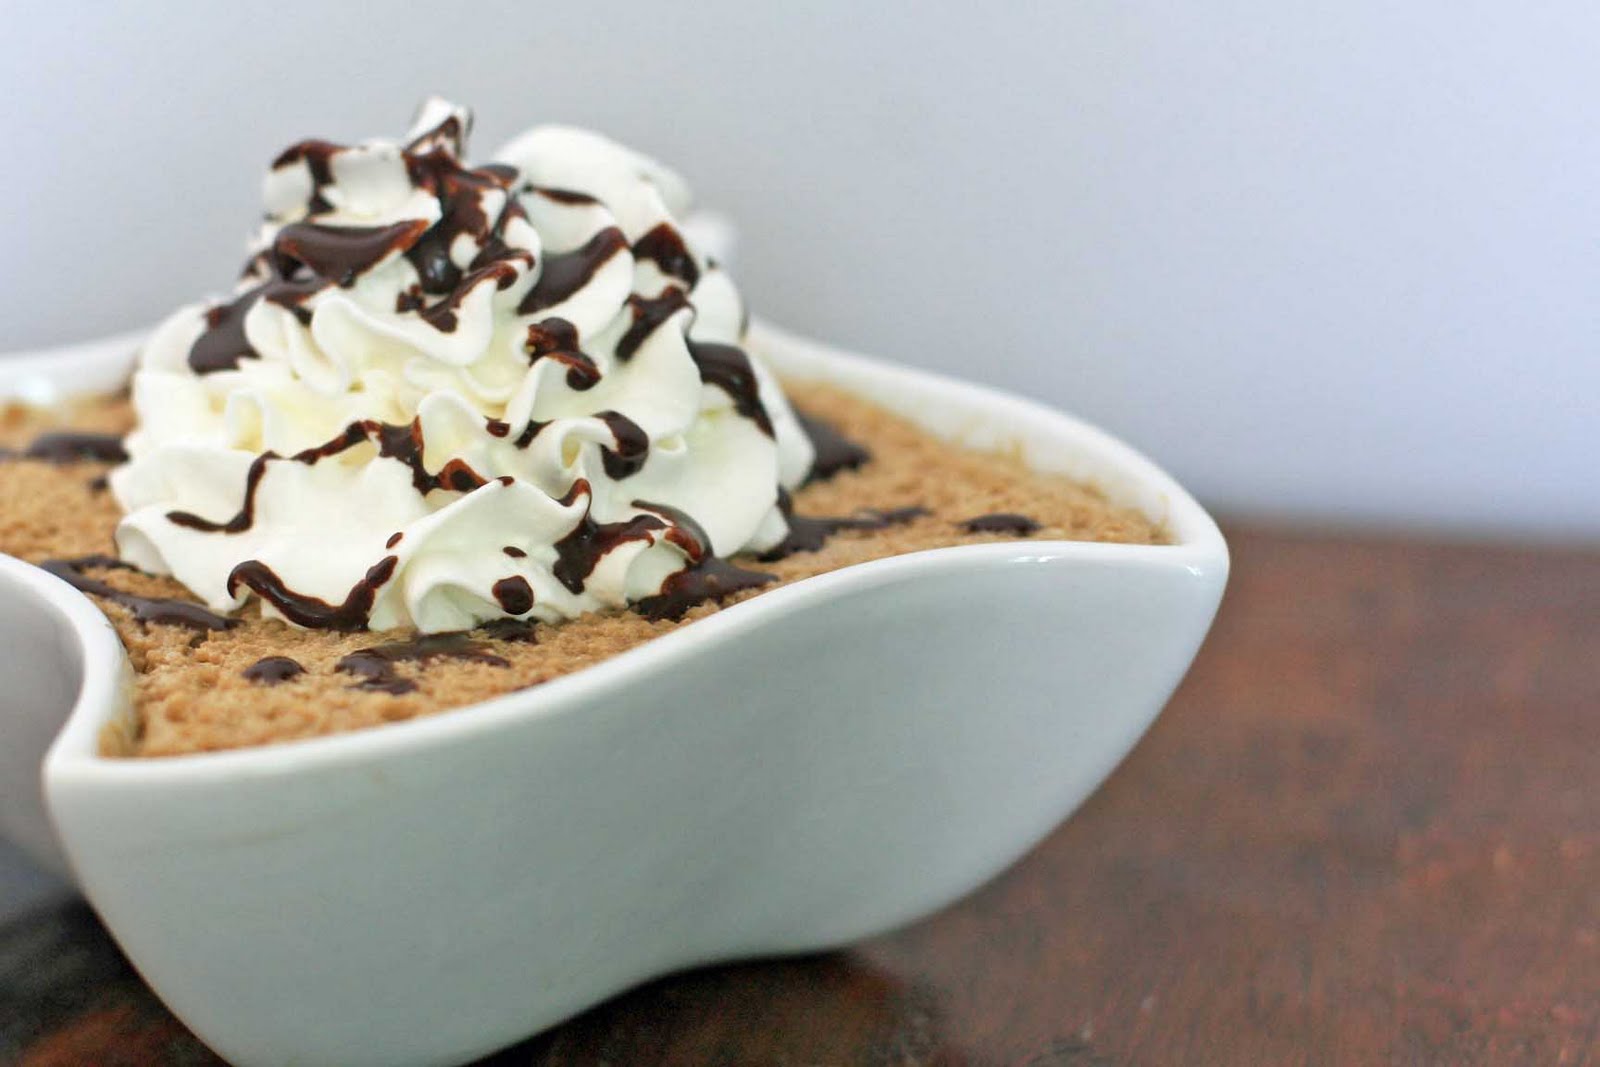
I also saw several sweetened versions of this basic recipe for dessert. If you’d like to go that route, I’d suggest either adding up to 1/4 cup of brown sugar to the rice prior to cooking, or cook as written below, and drizzle with maple syrup.

Sticky Rice with Red Dates and Nuts
Ingredients:
1/4 cup black rice
1 cup sticky rice
1-1/3 cup reserved soaking water plus extra water if needed
6 pitted dried red dates or jujubes, chopped
1/3 cup chopped walnuts
1 teaspoon sea salt
1 teaspoon sesame oil
Directions:
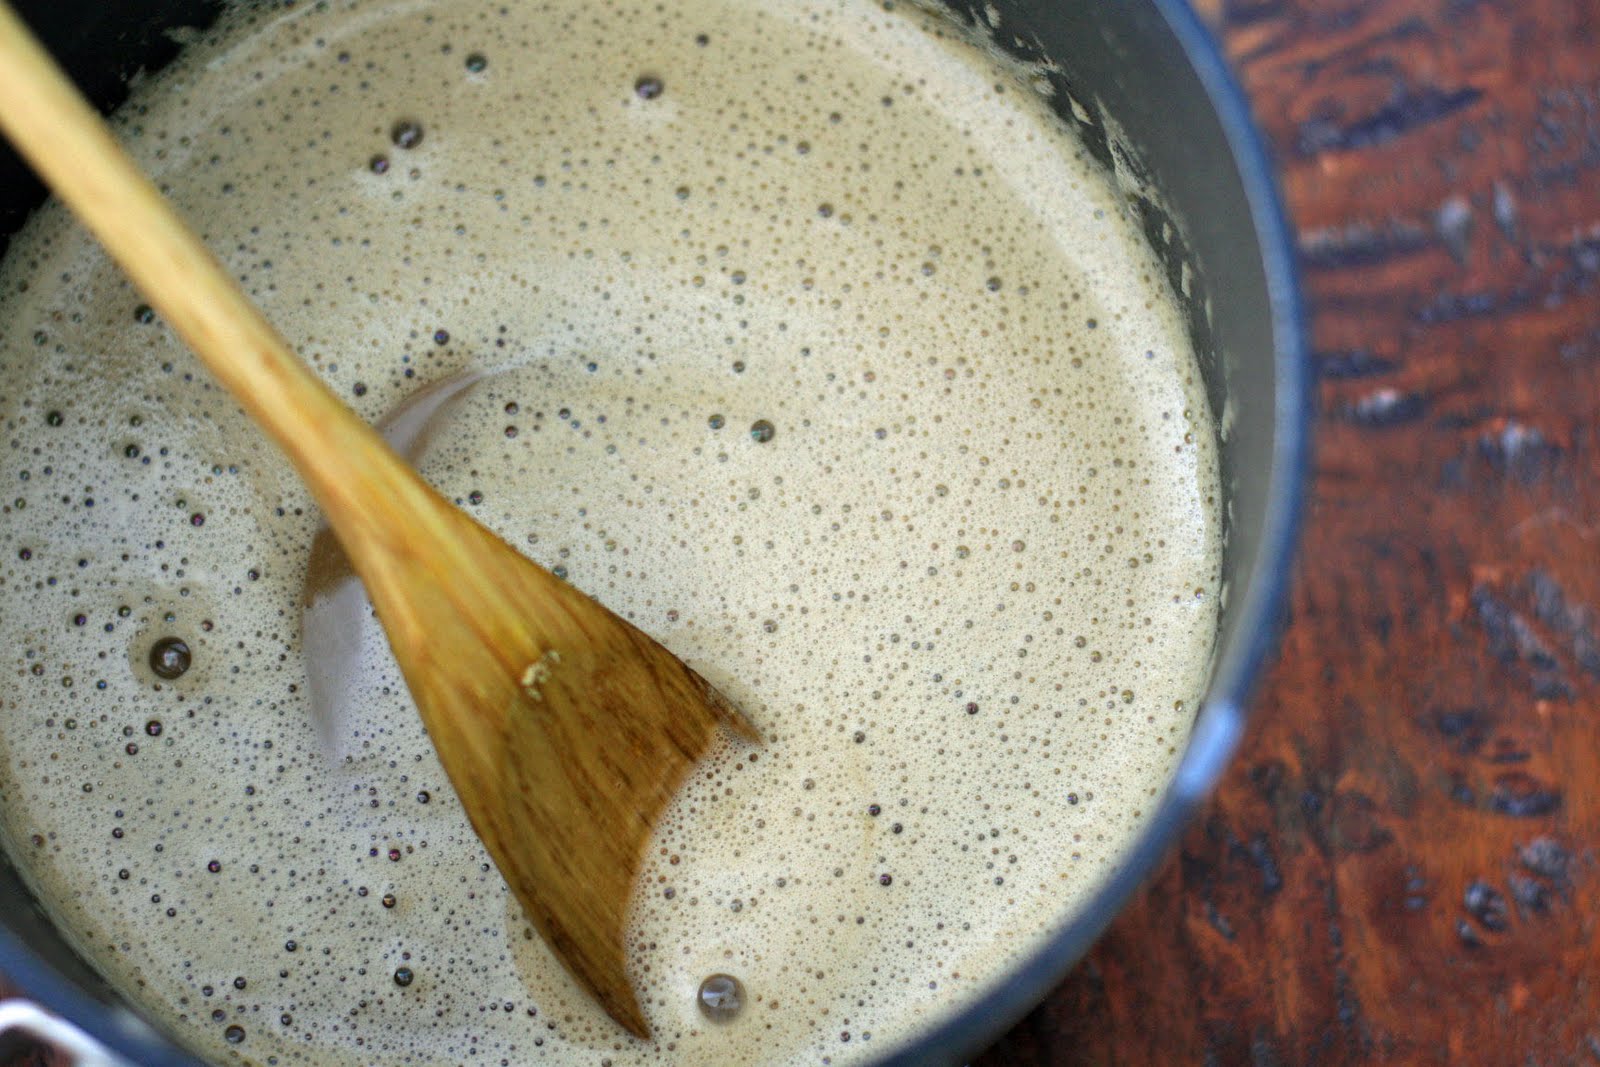
Place the black and sticky rice in a sieve and rinse under water. Place in a bowl and cover with water. Let soak for five hours. Drain the rice in a sieve placed over a bowl, reserving the soaking liquid.
Place the rice in a rice cooker and add 1 1/3 cups reserved soaking liquid. Add the dates, walnuts, salt and sesame oil. Turn on the rice cooker.
When the rice is done cooking, serve immediately or let cool slightly before rolling into rice balls.
To make the rice balls, place about 1/2 cup cooked rice mixture and place onto a large piece of plastic wrap. Bring the sides of the plastic wrap up around the rice mixture and twist the ends together in the center to shape into a ball.
Note: If you do not have a rice cooker, you can prepare the rice as follows. Combine the rice, 1 1/3 cup soaking liquid, dates, walnuts, salt and sesame oil in a heavy bottomed saucepan with a lid. Place the lid slightly askew and bring to a boil over medium heat. Reduce the heat to low, cover tightly and let simmer for 15 minutes, or until the rice completely absorbs the water. Remove from heat and allow to sit and steam for another 15 minutes.