Interview with Linda Ziedrich
Tigress:
Hi Linda!
As you know, tigress’ can jam is a year long canning challenge in which a very large group of canners – from beginners to quite experienced – are hot-water-bath canning a chosen fruit or vegetable each month and getting on the web and shouting about it. We are halfway into the challenge and very excited that you have taken the time to speak with us!
In your seminal book, The Joy of Pickling, you say that you got started in pickling because of your son Ben – a pickle lover from 7 years old! Was pickling something that you remember your mother or grandmother doing, or did you set out on you own to learn?
Linda:
My mother made jam, from local apricots and the wild berries and plums that my little brother and I gathered, and she made gravenstein applesauce. My grandmother pickled figs, and after my parents bought a prune ranch, my mother started pickling prunes. But that’s about all the canning that went on in my family. Because after World War II, both my grandmother and mother were happy to have store bought food. It was my husband who got me interested in growing and pickling vegetables.
Tigress:
Does he come from a family of home preservers, or does he just like pickles?
Linda:
His mother has always done a little preserving. Some of her chutney and relish recipes are in The Joy of Pickling.
Tigress:
One of the things that impressed me with both The Joy of Pickling and The Joy of Jams, Jellies, and Other Sweet Preserves is the sheer amount of recipes in each. They truly are preserving bibles! Many of us who love to preserve often will have an over-abundance on our larder shelves even when the new season is arriving. Do you have a method of working through your preserves each year so that they are used in a timely manner – when they are still at their best quality?
Linda:
I keep most of my jars in boxes labeled with the contents and year, so I can see what’s getting old, and at Christmas I give away a lot of the best stuff from the current year. If I have too many dilly beans and cucumber pickles, I take them to potlucks, set them out before dinner, and give jars and jars and jars to my pickle-loving son. I always aim to preserve more than a year’s worth of tomatoes and peppers, because we can’t live without them and never know when we’ll have a crop failure, but the jars are always used up within two years. With all this care, I still end up dumping a lot of preserves that have deteriorated in color, flavor, and texture. When you’re developing recipes, as I’ve been doing continuously since the late 1980s, it’s hard to eat everything.
Tigress:
You include so many diverse recipes in your books. Can you tell us a bit about your recipe developing process?
Linda:
The process has varied from book to book, but I’ll focus on The Joy of Pickling. Once I started making cucumber pickles in vinegar, I wanted to learn about fermented pickles. And all I had to go on was Andrea Chesman’s little book Pickles and Relishes and the second edition of Putting Food By. These books were both limited to the English-German-American tradition, and my collection of ethnic cookbooks had taught me that people all over the world eat pickles of various kinds.
So I searched my own library and the public library for more information. I found several out-of-print books on pickling, and one, from the 1950s, even took an international approach. I sought recipes and stories from foreign-born friends and acquaintances. And I re-created pickles I bought at Asian food markets, tasted at ethnic restaurants, or discovered in my (limited) travels abroad. One recipe in the first edition of The Joy of Pickling–only one–was based on a discussion I found on the internet. Since then the internet has become more useful, especially when I search in foreign languages. But books and friends are generally more reliable guides to understanding culinary traditions.
GAP
If I want to prepare some traditional preserve or other food I’ve never tasted before, I collect and compare various recipes. It’s best to follow each one before judging it, but often faults are obvious from a careful reading. After a couple of test batches, I’m usually well on my way to developing a recipe that’s clear and unique but still within the bounds of tradition.
It’s often more fun and easy to develop recipes from scratch. I might create a pickle, for example, by using the seasonings of my choice and the vinegar of my choice. I might even use a vegetable that I’ve never seen pickled before. Or I might make jam from a fruit for which I can’t find any published recipe. I’ll weigh it, cook it until it’s soft, and then try adding a pound and a half of sugar for two pounds of fruit. The resulting taste and texture will tell me whether I should try adding a little lemon juice, adjusting the amount of sugar, or combining the fruit with a different one.
Tigress:
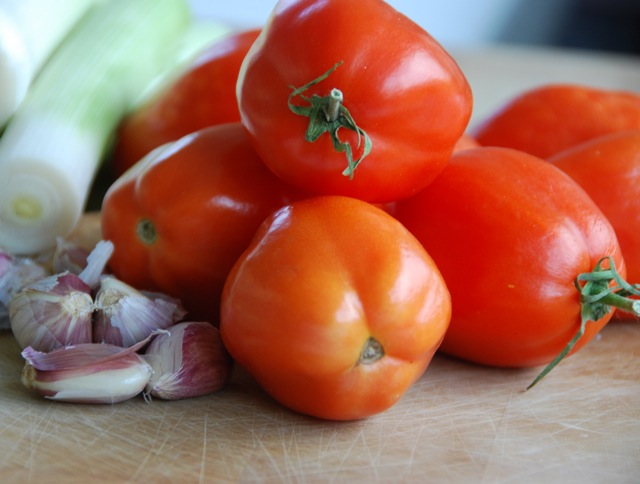
The idea of botulism scares a lot of just-starting home canners. The USDA has some very strict guidelines on acid and hot-water bath canning, and they’ve even extended boiling times in recent years. The one that sticks out in my mind is whole tomatoes at 85 minutes for quarts. In Europe it seems as if the traditions are much less strict with acidity level and boiling times and yet we don’t hear of many deaths by botulism from say France or England. What is your take on this?
Linda:
I think the USDA is still reacting to the results of its home-canning propaganda during World War II–exploding pressure canners and an epidemic of botulism. Today the emphasis is entirely on safety. Most of us aren’t going to perform our own lab tests on canned tomatoes, so it’s probably best to follow the USDA processing times. But I remind people that adding acid to tomatoes is only a recommendation. There’s no reason to do it if your tomatoes are tart.
Boiling your jars of pickles isn’t necessary, either; the low-temperature pasteurization method was developed by a USDA scientist. USDA recipes for fermented pickles have high salt levels, but these recipes are for pickles that are canned. If you don’t want to use quite so much salt, check the pH before canning them, or don’t can them at all.
As for jams and jellies, you can skip the boiling-water bath if the syrup is very hot when you fill the jars and you’re not finding your lids failing to seal or coming loose later. If you fill the jars well and store them in a dry place, it’s very unlikely that mold will grow in them.
Most important, remember that you can’t get botulism from acidic foods, including fruit preserves and pickles. The only canned foods that could cause botulism are the kinds that must be pressure-canned. Remember, too, that extension agents aren’t either professional cooks or microbiologists; they’re just consumer safety educators in a country obsessed with safety. When I have a serious question, I go over their heads, to the state-university scientists.
Tigress:
We have a lot of new canners in our group, which means a lot of learning. Knowledge and community support can minimize mishaps – but there’s always something! The first summer I tried to hot-water-bath can cucumber pickles, I canned something like 12 quarts. Every last one of those jars contained mushy, even hollow pickles. Can you let us in on one of those mishaps in your kitchen?
Linda:
One summer when I was without a kitchen I tried to do the canning on a Coleman camp stove. There wasn’t nearly enough heat–or surface area to support the pot. Another time, before I understood that high heat softens cucumbers, I tried to hurry the processing by pressure-canning a batch of pickle jars. Those pickles truly were mushy!
Tigress:
I’ve witnessed a sort of divide between jammers: those who will use boxed pectin and those who will not. Falling into the latter category, I appreciate that none of the recipes in The Joy of Jams, Jellies, and Other Sweet Preserves require boxed pectin. Can you expand on your choice not to work with added pectin?
Linda:
My mother always used boxed pectin, and her jams were often too firm for my taste. So were mine, in my early years of jam making. When low-methoxyl pectin, the kind that gels with calcium rather than sugar, came on the market, I tried it and liked the results better. But I wondered about how people made jam and jelly before any packaged pectin was available. I started reading old preserving books, such as Martha Washington’s Booke of Cookery. My publisher wanted me to write a book on fruit preserves, so I decided to make the book an exploration of traditional methods. (I wanted to use the word traditional or old-fashioned in the title, but my publisher likes things new and improved.) I didn’t know that other people were interested in the topic of old-fashioned preserves until after the book was published.
Tigress:
Sometimes new isn’t always better – many of us are eager to learn the old food ways! Another common topic of conversation in jamming circles is the fruit to sugar ratio. I’ve made recipes where the jam is too sweet for my taste. Yet sugar acts as a preserver, and jam needs the proper amount in combo with pectin and heat for it to gel correctly. You mentioned earlier that when you are developing a recipe you’ll start with a pound and a half of sugar to two pounds fruit. that would be approximately 43% sugar to 57% fruit – do you find this ratio to be the one that most of your jams fall under?
Linda:
The ratio is a traditional one: three parts sugar to four parts fruit. This worked, and still works, for most fruits. With fruits high in pectin, a one-to-one ratio was preferred, because the extra sugar keeps the gel from being too firm (this is the same reason that the recipes for jams and jellies made with packaged pectin call for high levels of sugar). With fruits low in pectin, you can use less sugar. Small batches and a wide pan also allow you to use less sugar, because they promote evaporation, thus concentrating the sugar in the fruit.
Keep in mind, too, that some fruits are naturally high in sugar; I sometimes make Italian plum jam with no added sugar at all, though I have to cook the jam for quite a while. Finally, the non-soluble fiber in fruit can sometimes provide adequate thickening despite a lack of pectin. That’s the main reason that jam is easier to make than jelly.
Tigress:
Jars, jars, jars. Many of us have in common a love of all those cute little preserving jars! Recently in the press, we’ve read about BPA on the inside of the flat lids on the commonly used ball jars. As far as I can tell, all of the metal screw top jars contain BPA regardless of what company manufactures it. As you discuss in The Joy of Pickling, feeding your children food that was good for them was a motivating factor in your initial exploration of pickling. I think that resonates with all of us. Is this something that concerns you? Have you taken steps to avoid BPA in your home canning, and if so can you tell us about them?
Linda:
I haven’t taken any special steps to avoid BPA in canning. I store my jars upright, so the food isn’t in contact with the lid. And after a jar has been opened, I cover it with a plastic lid, which doesn’t contain BPA. I’m guessing that before long Jarden (the company that makes ball and other canning jars and lids) will come out with a BPA-free lid. In the meantime, let’s keep the pressure on.
Tigress:
Another common topic of discussion amongst canners is jar etiquette. It can get expensive keeping a steady supply of canning jars around, particularly when giving home preserves away. But asking for jars back, or crossing people off your ‘give-to’ list if they don’t return it takes the fun out of it! How do you manage this?
Linda:
If I send my jars far away, I don’t expect them back. If I give them to people who can, I expect the jars will get used. If I give them to local friends and relatives who won’t use them, I ask for the jars back. And I think they usually are returned–though sometimes not for a year or so.
Tigress:
Can you give us your top 3 tips on home canning?
Linda:
1. If you’re just getting started, you don’t need to acquire much equipment. If you have a freezer and don’t like mushy beans, you’ll probably never need a pressure canner. (Though one is essential for canning tuna). You can use a large stockpot in place of a boiling-water canner. Just get a round rack to fit inside, or even substitute a dish towel. The only essential purchase, besides jars and lids, is a jar lifter, which costs only two to three dollars.
2. Again, you don’t have to worry about botulism if you’re making fruit preserves or pickles or even canning tomatoes. The botulinum bacteria grow only in a low-acid environment.
3. Grow and can what your family likes to eat. Don’t waste your time on food you’ll end up throwing out.
Tigress:
It feels as if we are witnessing a resurgence in home-preserving. For me, pickling and jamming were natural progressions stemming from my efforts to eat locally and in-season. And it does seem to be catching on in a big way around the country and to a new generation. Do you see a noticeable difference in the 12 years since The Joy of Pickling was first published? How do you view this renaissance?
Linda:
The change is enormous. The economy has something to do with it, and so do Alice Waters, Michael Pollan, et al. But we also have the children of baby boomers coming of age. They’re carrying on the do-it-yourself, socially conscious spirit of their parents’ generation. Because they are less rebellious and more studious, they tend to take a scientific approach to preserving and other topics, but they are also very creative. They are my hope for the future.
Tigress:
Thanks so much for speaking with us Linda, it’s been a joy!

 The holiday season is in full swing and I’ve been feeling kinda generous. (Have you noticed?) I mean, perfect pie crust over there, fried shallots over here. I’ve been giving away some of my most prized secrets. Why stop now I say!
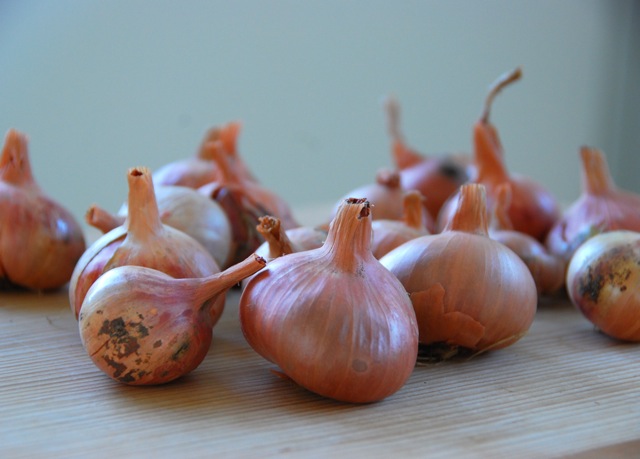 Look at these instigators. They always look like they’re ready to rock and roll, don’t they? Or is it just me? 🙂
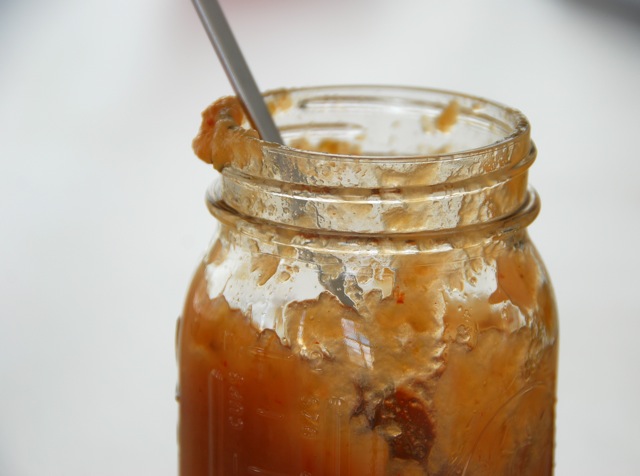
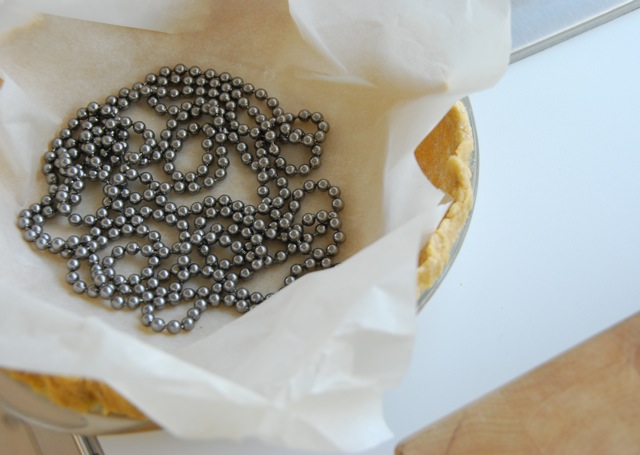
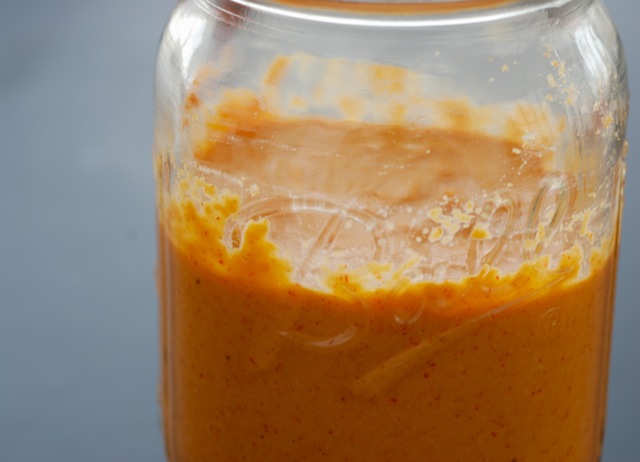 I learned a little trick a while back from Sarah Raven and her lovely cookbook In Season. Basically, she slathers mustard all over her tart crusts. It’s a wonderful way to add flavor, and to use lotz of your homemade mustard.
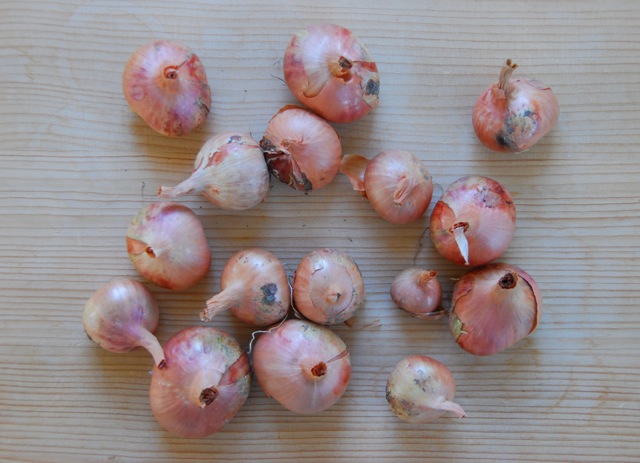
 4. While pie shell is cooling, whisk together eggs, yolks and cream, and add salt and pepper to taste.
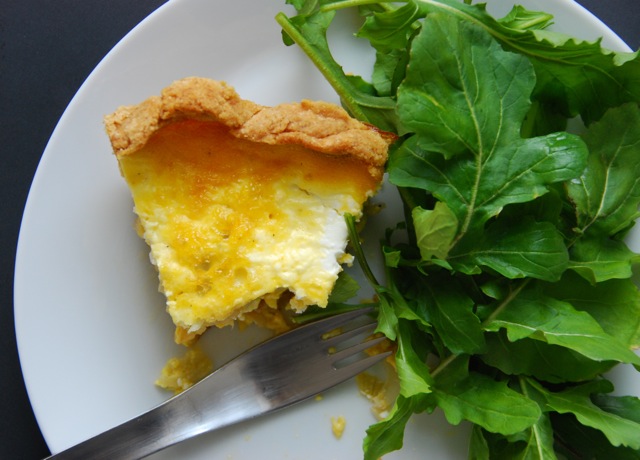
")
")