Home Blog Page 106

Jamaican Ginger Beer Recipe

0

By now it should be apparent that I’m something of a ginger phene.  I mean in the past two weeks alone I’ve posted recipes for Carrot, Ginger and Lime Juice, Tangy Red Cabbage with Ginger, and Rhubarb Ginger Crumble and now this Jamaican ginger beer recipe.  Without a doubt, I can assure you I won’t be slowing down anytime soon.

Although I made a Boozy Ginger Beer when I was in Ghana, I’ve been wanting to try a non-alcoholic version.  This is pretty darn close to perfect- just enough brown sugar sweetness, some fruity tartness from the lime, and a whole lot of ginger kick.

If you’re a Frugal Fannie like myself, feel free to re-use the ginger.  Surprisingly, there’s still a lot of ginger flavor left for your favorite tea or syrup.

Jamaican Ginger Beer Recipe

Yield: 4 servings

Ingredients:

5 cups water
1 cup minced ginger
1/3 cup lime juice
1/2 to 2/3 cup brown sugar
1 Tablespoon cream of tartar

Directions:

In a large saucepan bring the water and ginger to a boil. Lower heat, cover and simmer for 20 minutes. Remove from heat, add lime, cream of tartar, and 1/2 cup brown sugar. Taste and add a little extra sugar, if desired.

Let stand for three hours. Strain and refrigerate. Serve over ice with a slice of lime.

Rhubarb and Ginger Spritzer

0

There’s a big misconception out there that we don’t have real seasons in Hawaii.  Sure, we have temperatures in the low 80s year round, but that doesn’t mean there aren’t some subtle (and sometimes not-so-subtle) ways to tell that spring has arrived.

The days are longer and drier.  Monster surf on the North Shore winds down while the South Shore season begins to heat up.  And then there are the clues at the markets: asparagus season is in full swing, with the green stalks monopolizing a large portion of the produce section.  As much as I love asparagus, I’m even happier to see fresh rhubarb, which makes its very brief and limited appearance about this time every year.  If you see it on the shelves, you’ve got to grab it; you never know whether it’ll be around the next time you go.

Well, I’m happy to say that I’ve been good at taking advantage of both the longer and the rhubarb.  First up?  A nice hike and beach day over on the Windward side.  Of course when I pulled my SLR out of my bag for photos I realized I’d left my CF card in my media reader.  Boo on that.  And then my battery died on my point and shoot after only a couple shots.  Boo again.

I promise I’ll head back in the not-too-distant future and make a mental note to check both cards and batteries before I head out the door.  Luckily my SLR was back in business for rhubarb and ginger syrup.

Rhubarb and Ginger Spritzer

Fresh rhubarb and ginger is simmered with sugar and water, creating a pleasantly tart and sweet, rose-colored syrup.  You also end up with a delicious byproduct: soft, sweetened rhubarb.  I spooned some over some Greek yogurt and topped with pistachios for an easy breakfast that felt extra special.

When added to sparkling water, the syrup created a delicate pink non-alcoholic spritzer, perfect for a summer get-together or baby shower.  It can also be easily incorporated into some of your favorite boozy drinks- stay tuned for one idea tomorrow…

Rhubarb and Ginger Spritzer Recipe

Ingredients:

Rhubarb and Ginger Syrup:

4 stalks fresh rhubarb, cut into 1/2-inch pieces (about 4 cups)
4-inch piece fresh ginger, peeled and coarsely chopped
3 cups sugar
2 cups water Sparkling water

Directions:

Combine the rhubarb, ginger, sugar and water in a large saucepan and bring to a boil. Reduce heat and simmer, uncovered, until the rhubarb is soft. Remove from heat and let sit for 30 minutes.

Pour mixture through a fine-mesh sieve into a bottle. Chill syrup completely. Combine sparkling water with syrup to taste. Serve over ice.

Riivinkropsu – Grated Potato Casserole

This is a dish that can easily be made with simple leftovers in your fridge or pantry.  Did you know there’s an ingredient-based recipe generator app that can help you come up with ideas for your next meal?  Download Crumb for free and get creative ideas on what recipes to make with the ingredients you have on hand.

Sure, this isn’t the most groundbreaking or original recipe from Finland, but I sure do love my potatoes.  The bottom layers of shredded potatoes, surrounded by an egg and dairy mixture, get soft and creamy while the top gets golden and crispy.  Think of this as one giant tater tot.  And just like a tater tot, forkfuls were promptly dipped in ketchup and Sriracha for some kick.

The first time I made this, I squeezed it into the quart-sized baking dish pictured.  The next time, I made sure to spread it out in an even larger dish to maximize the crust to filling ratio.  In the future, I might try to one up myself and add cheese.  Even as stated in the cheese-less recipe, the dish had a similar creaminess to baked mac and cheese.  I can only imagine that the addition of some cheddar would be magical…

PrintRiivinkropsu – Grated Potato Casserole

Yield: 4 side servings

Ingredients:

butter (for greasing pan)
1 egg
1 cup whole milk or light cream
2 Tablespoons rice flour
1 teaspoon salt
3-6 small-to-medium potatoes, peeled and grated (see note within instructions below)

Directions:

Preheat oven to 350 degrees and butter an ovenproof baking dish.

In a medium bowl, lightly beat the egg and add the milk or cream, rice flour, and salt.  Stir to combine and then add the potatoes.  Transfer to the prepared baking dish. Note: you can tell you have the right amount of shredded potatoes if there’s a thin layer of shredded potatoes above the milk and egg mixture.  This means the covered potatoes will soften and get creamy during baking while the top layer will get crispy and golden.

Bake for 45-50 minutes.  Turn the oven to broil and broil for several minutes to brown the crust.

Shandy for One, Australian “Lemonade”

When I research foods from various countries I try to get my hands on as many cookbooks as I can… old, new, popular, obscure, I love them all.  I had to chuckle when I was reading an old Australian cookbook that said that if you walked into a bar or restaurant and ordered a lemonade, you’d be given a drink that was half lemonade and half beer.  Those Aussies don’t mess around, do they?

During all of my recipe testing for the beer damper I found myself with a bunch of half bottles of beer.  Not a bad thing of course, but when you’re making bread at 9:30 or 10:00 in the morning, there’s some level of shame in downing the rest of the bottle so many hours before noon.  My solution?  Trying this Australian lemonade, or Shandy, which I hear is also popular in the U.K.

I wasn’t exactly sure what to expect but I’m definitely a fan.  Tart, refreshing, with just a hint of sweetness, it’s a super easy drink option for summer entertaining.  Throw a couple lemon slices in and it’s one good looking drink as well.

Shandy For One

Yield: 1 servings

Ingredients:

* 2 Tablespoons lemon juice
* 1 Tablespoon sugar, or to taste
* 3/4 cup water (or sparkling water for more fizz)
* 3/4 cup beer
* ice
* lemon slices for garnish (optional)

Directions:

Combine the lemon juice, sugar and water and stir to combine. Add ice and then pour the beer over the lemon mixture and stir gently to combine. Garnish with lemon slices, if desired.

Nigel’s Gooseberry Pie

There’s really only one reason in my book (blog?) to grow gooseberries. Sure, jam is nice, but the reason I brought my three little gooseberry sticks home from the nursery, was for pies.

Before we get into it, I feel I should say a few things directly to you peeps who think you don’t like fruit pies. At the risk of sounding ferocious, I think it’s because you haven’t had one of my fruit pies. You see, fruit pies do not need a lot of anything other than the choices of fruits, a bit of sugar and a kick-ass pie crust.

This particular pie, gooseberries, sugar, and a sweet buttery crust that melts in your mouth and unabashedly soaks up, without the least bit of sogginess, the full-fat cream that is essential to pour all over it, is perfection. There is no sourness quite like the sourness of gooseberries. They were, I believe, created for the sheer joy of eating them with cream and crust.

Let’s continue.

I call this Nigel’s Gooseberry Pie as this summer continues my love affair with the writings of Nigel Slater. An English gardener-cook whose prose on life in his garden and kitchen make me swoon. And the man can make pie.

If you are not growing gooseberries, or have an extra quart or so of cream layin’ around, go to your local farmers market now and look around. You need this in your life.

5 Spice Kumquat Chutney

Kumquats always make me think of places far, far, east – places I’ve never been. Chinese 5 spice powder, or some variation of it, is ubiquitous in that part of the world. Using that as a jumping off point, this is what I did:

Well actually, hold on, let’s back up. First, I climbed to the top of my larder, reached behind the skull and crossbones sign, careful not to disturb the trap, and pulled out my secret chile basket.

Yes peeps, this is my basket full-o’-hot-gold gathered from around the globe. There’s more underneath, but what you can see is Aleppo-style pepper from Turkey, white peppercorns from Kerala, New Mexican chile powder, the whole red chiles are from a particularly succulent bush from thine own garden, and, ok, there’s some real cinnamon from Sri Lanka on the side there. But, what you really want to know about is the two bags in the front, brought back by yours truly from Bhutan, where it’s called local pepper, but what’s otherwise known as Szechuan pepper.

Or you can omit it all together and you will still have a very lovely tasting chutney. You can just call it 4 Spice Kumquat Chutney and no one will be the wiser.

Carrot Spears with Chervil

Let me start by saying these are refrigerator pickles, otherwise known as quick pickles, which means there is no canning or water boiling involved. Time saver!

Since they go straight in the fridge, I use Ball plastic lids but whatever lids you use, make sure they are non-reactive, meaning if they are metal they should be coated on the inside, like the regular mason flat lids.

My chervil exploded this year and I love it’s punchy anise flavor. Fennel fronds either from bronze fennel or from the top of finocchio would be equally as good. And of course you can never do a pickle wrong with dill.


Carrot Spears with Chervil

adapted from The Joy of Pickling by Linda Ziedrich

Ingredients

4 lbs. fresh carrots (no more than 4 to 5 inches long)
2 bunches chervil
8 garlic cloves (cut in half)
8 green chili peppers
2 teaspoons black peppercorns (lightly crushed)
2 tablespoons sea salt
4 cups white wine vinegar
4 cups water
1 cup sugar
4 quart jars (washed in hot soapy water)

Instructions

1. Trim and wash carrots. If they are thin, slice them in half lengthwise. If they are rather thick carrots, you my need to slice them in thirds lengthwise. Each slice should be less than 1/4 of an inch.

I used a mixture of orange and purple carrots, so my pickle turned a lovely shade of pink. Use any color carrots you choose.

2. Bring a large pot of water to the boil. Drop carrots in and blanch for 2 minutes (carrots should still be firm, but should pack slightly less of a crunch). Immerse carrots into ice cold water to cool.

3. Divide and pack carrots tightly into four quart jars. Add chervil equally to jars.

4. Place remaining ingredients into a saucepan and bring to the boil.

5. Take off heat and divide garlic and chili peppers equally into jars. Pour liquid over carrots and cap jars.

6. Let cool then place in fridge.

You should let them hang out for a couple of days before you indulge to let the flavors settle and mingle. These pickles will last in the fridge up to 3 months.

They are so good that eating them right out of the jar is pretty much how they are consumed around our place. But I imagine chopping a few up and adding to a salad would add the perfect amount of punch and crunch. The same goes for a bowl of steamed rice.

Plum Hot Jelly!

This weekend went by very fast! Up here in the southern Berkshires we had our first frost. The leaves have been whipping around and their colors… Oh my, their colors! I’m talking b-e-a-u-t-y folks.

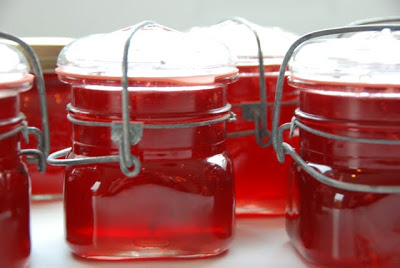
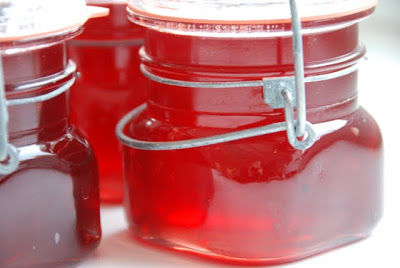
And since we are talking about beautiful colors, this jelly holds one of the most beautiful colors I’ve yet witnessed in a jar.

Ruby red to be exact. But it’s not because of its color that I am writing to you about this, or because of its tingling flame-like heat (that pairs superbly with any cheese).

What I really love about this jelly is it tastes like October in a jar. That is if your October has that one farmer at last Saturday’s market with a table full of heirloom tomatoes spread out like an antiques collector displaying his wares.

That is if your October has your local farm stand or organic market with a last wooden barrel, or possibly two, whittled down to the bottom of this year’s plums and all the rest of them bulging to the brim with just picked apples. All types.

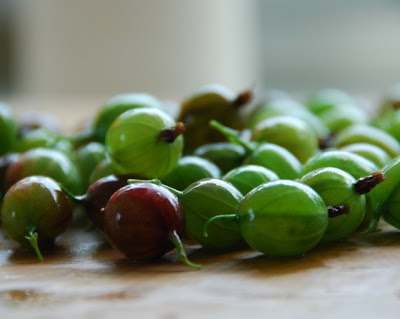
That is if your October’s garden not only has a bunch of root veggies waiting to be pulled from the ground quite expectantly, but also has in one corner a bevy of little hot chile plants that finally pulled through and have some red, purple & green orbs and trinkets hanging in its leaves just ready to be plucked.

You see, I’m not quite ready for the cinnamony, clove-scented stuff that winter is made of. I want more of this mixed up beautiful month. I want to make it last… and this my friends, is it.

Plum Hot Jelly!

Adapted from In Season: Cooking with Vegetables and Fruits by Sarah Raven

There are a couple of things that need to be said before we get on with this recipe. One is that In Season: Cooking with Vegetables and Fruits is a beauty of a book. Sarah is a master gardener and a masterful cook. It is a treasure of simple, delicious recipes organized by season. I know that is nothing new at the moment but this book is most definitely a cut above.

Second is that you need one of these: trust me. All that gorgeous fruit needs to be strained. There are other ways to drain jelly – if you have butter muslin or really good, tight weaved cheese-cloth and can devise a way to hang the filled pouch over a large bowl, then you are in business.

Ingredients:

2 lbs. tart or crab apples
2 lbs. any variety plums (I used a damson variety)
3/4 cup cider vinegar
approximately 8 cups sugar (I use raw)
chiles (I used 6 one-inch long hot firebird chiles, you can use 3 two-inch long Thai or cayenne, or even 3 jalapeno if you don’t like the bite too hot)
6 1/2-pint canning jars, or more smaller jars

yield: approximately 3 pints

Directions:

Day 1

1. Pit plums and coarsely chop unpeeled apples. Place them in a large non-reactive (no iron) preserving pan and 7 cups water. Bring to a boil, cover and simmer for 1 hour. Add the cider vinegar and boil uncovered for 5 minutes.

2. While this is happening, take your jelly bag and boil for 10 minutes in a little pot all on its own.

3. Place the jelly bag on its holder set over a bowl and use a ladle to transfer the apple/plum mixture to the jelly bag.

4. Let the fruit drain on its own for 8 hours or overnight. Important: do not press the bag or you will have cloudy jelly. Depending on how large a bowl you used, you may need to do some transferring, so keep an eye on it.

gap

Day 2

1. Place 8 cups of sugar in a large bowl in a very low oven (about 120 degrees) for 30 minutes.

2. Place water-filled jars in your canning pot and bring to a boil. Boil for 10 minutes to sterilize. Place 3 or even 4 small plates in the freezer to test set later on.

3. Cut chiles in half and slice very fine. You can leave the seeds in or out, depending on how hot you like your jelly.

4. Measure the jelly juice and for every 2 1/2 cups of juice, you’ll need 2 1/2 cups of sugar.

5. Pour juice and warmed sugar in preserving pot over low heat. Continue stirring until all the sugar has dissolved. Once the sugar has completely dissolved, add the chiles and turn the heat up to a vigorous boil.

gap

Important: do not stir. The key to successful jelly making is to get to the jelling point as quickly as possible to save as much of the fruity flavor. Over-cooking means lack of flavor. If you stir, you will most likely need to cook longer to get to the jelling point. Of course adjust the heat if you need to, but keep it at a strong boil.

6. You should come to the jelling point after 15-20 minutes of boiling. Check the set by placing 1 teaspoon of jelly on a frozen plate and placing plate back in freezer for one minute. Then slide your finger through jelly and it should wrinkle underneath your finger. You may need to try a couple of times. If you think you are getting close, turn the burner off while you do your testing.

7. Let jelly stand for 15 minutes and then give it a stir to distribute chiles evenly.

8. Place jelly in jars and process in a hot water bath for 5 minutes.

There you have it – October – all year long!
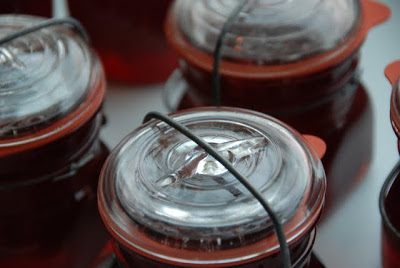
One last thing, cause I know you’ll all be askin’ about these very cute old fashion jars. Yes they are vintage jars, yes I used weck rubber rings, yes I am now addicted to eBay and… I owe it all to Marisa at food in jars and her fateful post.
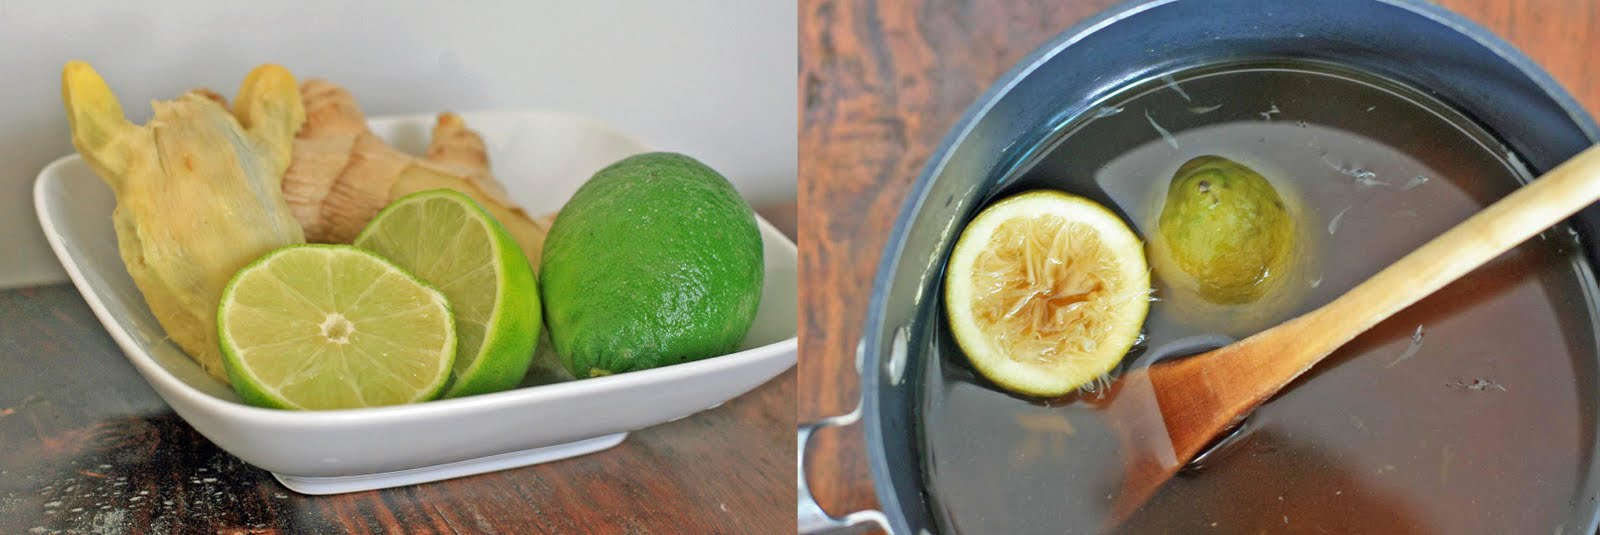
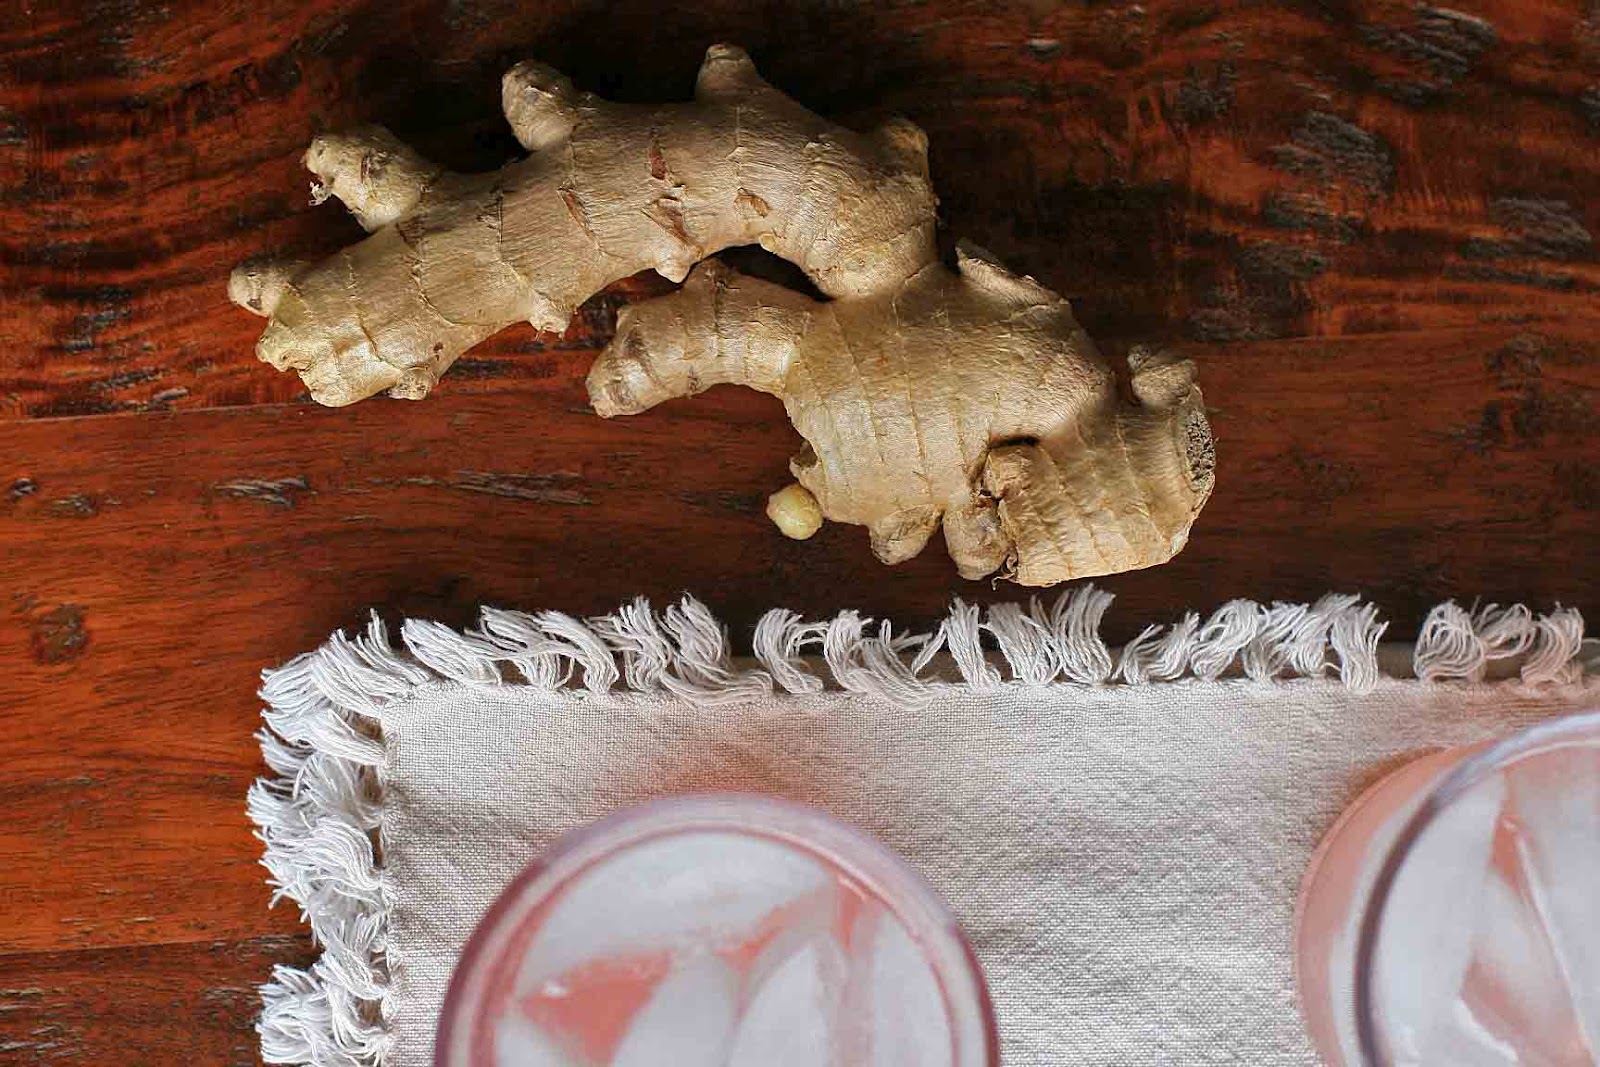
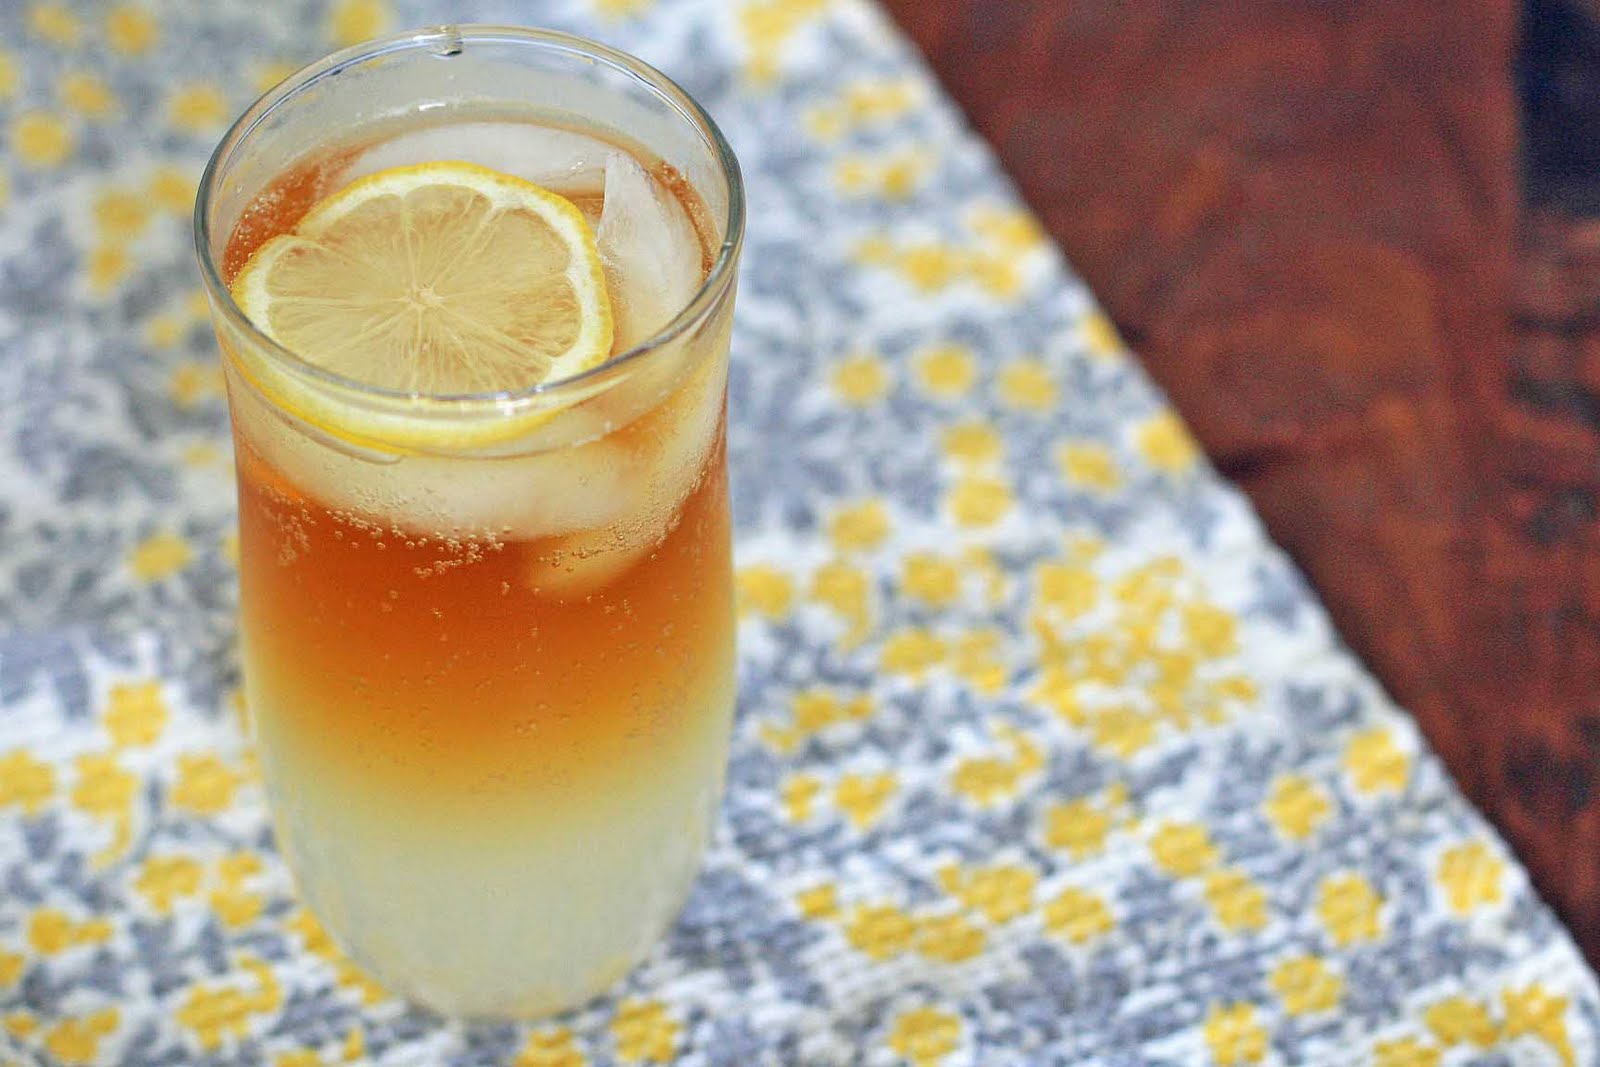
Blue Apple Jam With Fennel & Bay

I wanted to title this post ‘Fall!’ but as any good blogger knows if there’s a recipe in the post you gotta name the recipe in the title or your peeps will never know it’s there after the post disappears from your homepage, their feed, your Facebook timeline, etc.

Basically, I just want to say, fall is here!!! I really, really hope you can get out there and enjoy it. If it’s not fall where you live, then get out there and enjoy whatever season you’re in. And make something with whatever you gotz growing on in your neck of the earth, will ya? …Here let me try this again:

Fall