Finally! Whew! I didn’t think I would be gone this long. But on Labor Day weekend, I had a few friends over to a little shindig M and I have been planning for a few months. It’s kept me kinda busy. Here’s the thing: even though I haven’t been telling you about it, I’ve been jammin’ in more ways then one these past few weeks!
I made a blueberry curd that has just the right lemony tang and is bursting with berry-ness, but I don’t know – maybe 2009 is a little long in the tooth to be talking about blueberries still…maybe I’ll just tuck that into the back of my larder and tell you about it next year.
Whadya think? Meanwhile summer’s casting its sideways glance and I’m actually feelin’ kind of plummy about it. Greengage that is.
Here’s how it went down: due to the above mentioned shindig – M and I cut our summer in the Berkshires short. So for the first time in years we went to the union square green market. If you ever get to NYC you really gotta go. Made me forget all about my garden woes.
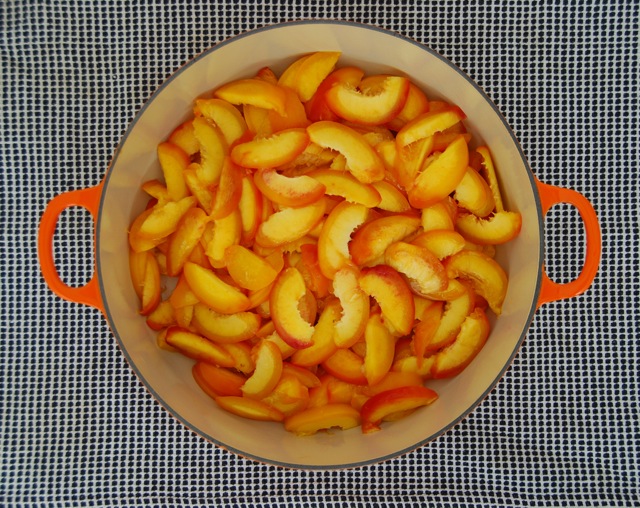
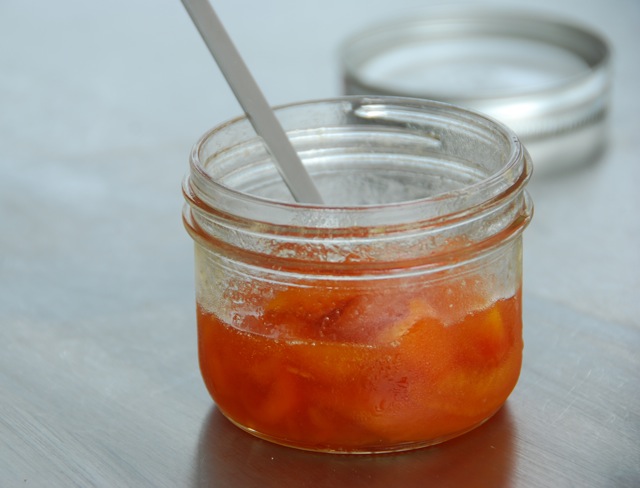
Especially when I saw their shiny green faces smiling up at me! I mean, I’ve heard from numerous reliable sources that these little babies are la crème de la crème of jamming plums. So of course I had to buy a few pounds and see for myself.
And guess what? All that hype about greengages being the plum to jam? Well…. I have to kind of agree.
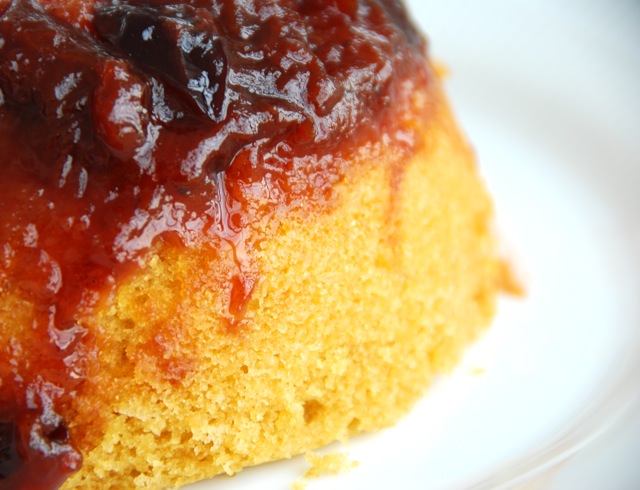
Straight Up Greengage Jam
Adapted from Mes Confitures by Christine Ferber
5 1/2 pounds greengage plums (ripe but firm)
6 1/2 cups sugar (I use raw)
1 large lemon
6 pint mason jars, or 12 1/2 pint
2-3 small plates
yield: approximately 6 pints
Directions:
Day one
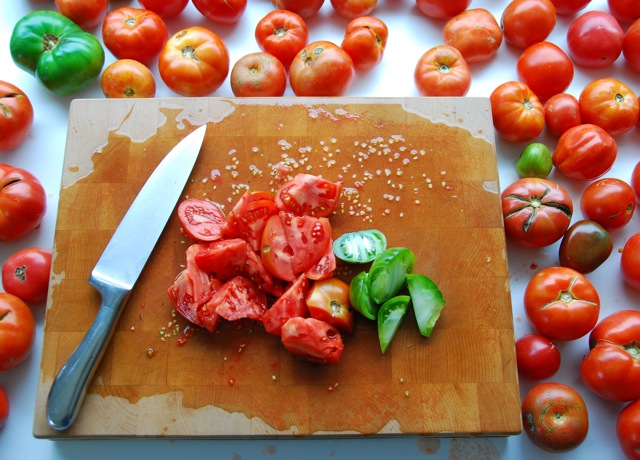
1. Rinse plums quickly in cold water and dry. Cut in half, remove stone and cut each half in half.
2. Combine fruit, sugar and juice from lemon in bowl. Give it a gentle stir and let macerate for 1 hour.
3. Pour in jamming pan and bring to a simmer. Let cool, pour back in bowl and place in fridge overnight.
Day two
1. Place plates in freezer to be ready to check set later on. Place cleaned mason jars in canning pot and bring to a boil. Boil for 10 minutes to sterilize (see more details about water-bath canning here).
2. While jars are boiling, drain the syrup from the plums. I do this by placing a large colander in a bowl and first taking plums out of bowl with slotted spoon and placing in colander. Let them drain for a minute. Then pour all of the syrup into jamming pan and bring to a boil. Boil on high heat until the syrup reaches 221 degrees.
3. Return the plums to the syrup and bring back to a boil. Boil on high for 5-6 minutes stirring gently.
4. Check the set by placing a teaspoon of jam on a frozen plate and placing plate back in freezer for 1 minute. Take the plate out and run your finger through jam. If properly set the jam will wrinkle under your finger.
5. Fill the hot jars one by one, seal and process in a hot water bath for 5 minutes.