 8 gallons of cream (plus 2 gallons of buttermilk)
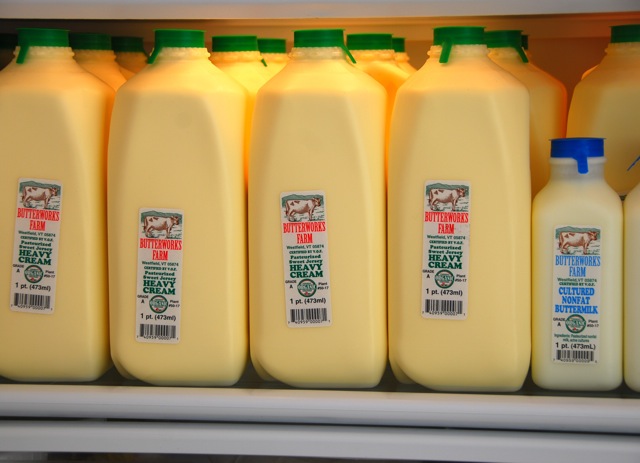
You may know that I drove to Vermont early this past Friday to pick up 8 gallons of cream for a year’s worth of butter. I picked up the cream in the lovely little mountain town of Brattleboro, Vermont. If you ever get a chance to go, do get a coffee at Mocha Joes, and whatever you do, get a croissant at Amy’s Bakery Arts Café. Trust me, I might drive back just for another one, or two.

gap
I’ve been asked how I know that 8 gallons of cream is the right amount for a year’s worth of butter for two people.
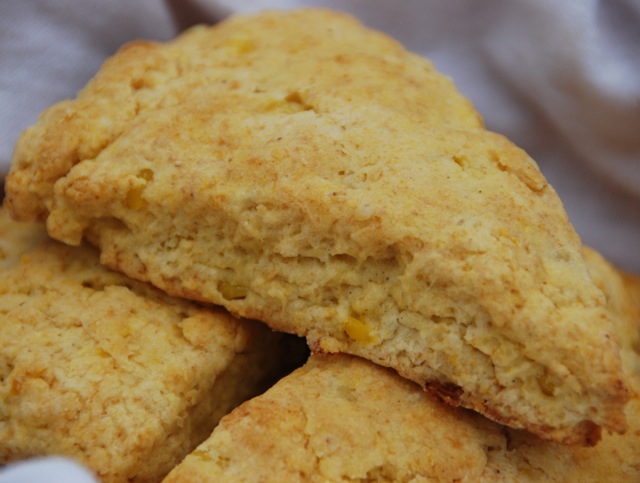
I don’t. But I do know that I bake with it. I make ghee – which I cook with most often, and I like to slather it on toast with jam. M, being half Danish, spreads it on anything edible with a flat surface. We’re both partial to a hefty dollop on warm breakfast grains, and did I ever mention that I’m a popcorn junkie? …Oh, and I love biscuits and scones!
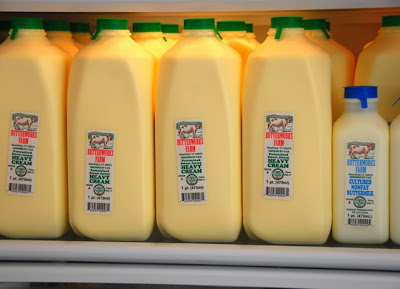
If you’re planning to try this at home, my first advice to you is to suss out a local dairy that cares about their cows and their product. Happy cows make better cream, it’s true! My cream came from the lovely Butterworks Farm. But I am sure there’s a dairy that cares near you. At Butterworks Farm they pasteurize their cream the old-fashioned way: held at 145-150 degrees for 30 minutes. Do talk to your farmer to find out what their practices are, and don’t use ultra-pasteurized cream because you will not be able to produce butter from it.
If you plan on trying this at home on a smaller scale – like butter for a week – then pick up a pint or two of the best quality organic cream you can find at your local co-op or farm stand.
Let’s Do This!
…That’s what I said to M yesterday when I enlisted his help with the first 2 gallons. The first 2 gallons of cream were destined to be sweet butter, otherwise known as uncultured butter. Sweet butter is typically what we eat here in the US. It comes from cream that has not been cultured – or soured.
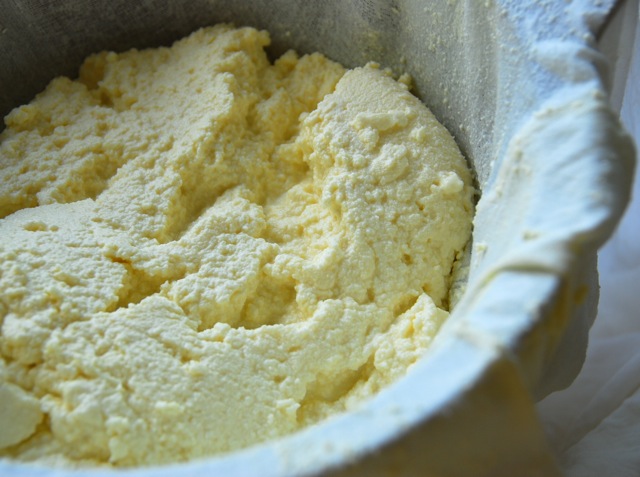
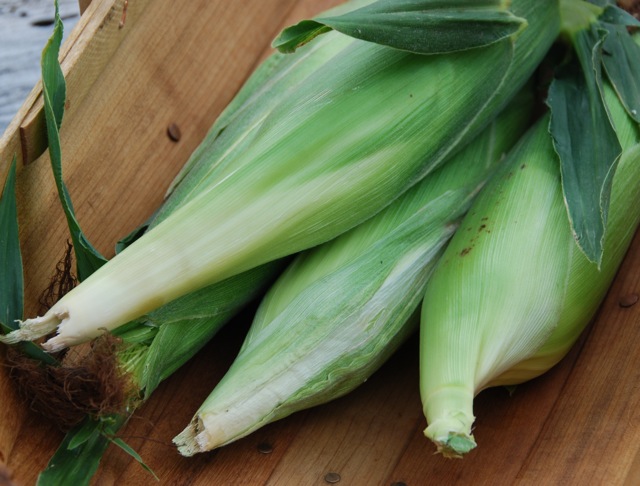
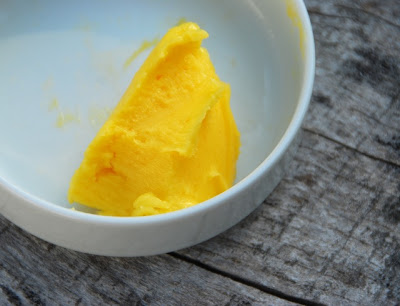 First, see how yellow and bright it is? Grass, baby, grass! Cows need grass, and so does your butter!
Sweet Butter
organic cream (not ultra-pasteurized)
sea salt (optional)
quart or half gallon mason jars
Directions
1. Leave cream at room temperature for a few hours until it’s fully warmed to room temperature.
2. Pour room temperature cream into jar. Important: the jar should be double the size of the amount of cream you are using. If you are shaking a pint of cream, you need a quart jar. If you are shaking a quart, you need a half gallon jar.
3. Make sure the cap is screwed on very tight and here we go: shake it! Turn it up! (you should feel something happening in the jar by the time the song is done). It will get thicker and thicker, keep shaking!
4. After 5 minutes or so of shaking you’ll see and feel a bright yellow clump and the rest will be a thin white liquid. You’ve just made butter!
Keep shaking it another minute or so to make sure it is completely separated.
gap
5. Pour the buttermilk into a bowl, or better yet a jug or pitcher. Use a large wooden spoon or the like to hold the butter in while you’re pouring. Set buttermilk aside, more on it below.
6. Place butter in a bowl and run very, very cold water over the butter while you press down with a large spoon to squeeze as much of the buttermilk out as you possibly can. Pour the water off. Continue doing this until the water that is coming off does not look milky anymore. The clearer the water is as it runs off, the better. Your butter will last longer if all of the buttermilk is expelled.
7. Here, you can add salt to taste or keep it unsalted. If you are making butter to keep in the fridge, the salt will help it stay fresh a bit longer. Butter will last about a week to two in the refrigerator. Frozen, as you may have guessed by my endeavor, it will last for approximately one year with no change in quality.
8. Pack in refrigerator or freezer-proof airtight containers. If packing for the freezer, label and date.
This batch was made for my baking and ghee making, so no salt was added and I packed it in 1/2 liter jars. 2 gallons of cream yielded six jars – approximately 3 quarts – of sweet unsalted butter. In the freezer they went!
There was about 1/2 cup extra which we sea-salted right up, spread on some crusty sourdough and topped with sliced, just-picked radishes.
IMO, it doesn’t get much better.
Now about that buttermilk. This is not the thick cultured buttermilk you can find in stores. It is water, dissolved milk sugars, and protein. It is different from whey in that it comes solely from cream and not milk, or milk and cream. The true buttermilk – it’s what’s left when all of the fat globules within the cream get agitated enough to band together and shout to everything else, “get out!”
This buttermilk is good stuff. You should pass it through a strainer, put it in a sealed jar, and keep it in the fridge. You can make pancakes, biscuits and cornbread with it. But my favorite way of all is to enjoy it cold, straight-up. It lasts for a week or so in the fridge.
But it’s so damn refreshing, it would never last that long in my house.

 I am truly excited about a number of the entries this month!