What can I do to insure that the carrots’ hot water bath process does not kill me or my loved ones?
There’s exactly two things that will prevent this from happening:
1) You will boil the jars long enough to kill the clostridium botulinum vegetative cells.
2) The food in the jars is acidic enough to prevent the clostridium botulinum spores from germinating into cells.
Clostridium botulinum bacteria has two forms: vegetative cells – these produce the killer toxin, and protective structures called spores. When we boil the jars for the properly allotted time, we kill the cells, but the spores survive. In a favorable environment, the spores will germinate into the vegetative cells that produce the deadly botulinum toxin.
Here, let me break it down for you: clostridium botulinum is a common microorganism in soil all over the world. There’s no problem with it when it is exposed to oxygen. But when conditions are favorable for it to thrive, it can become deadly. What are the conditions?
No air and low acidity.
Since we are forcing the air out of the jars when we hot water bath can (i.e. creating a very favorable environment for germination), it is imperative that the acid level is high enough to prevent this from happening.
Got it?
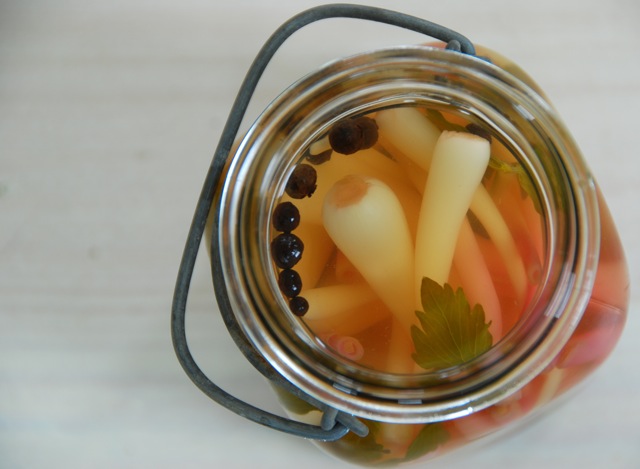
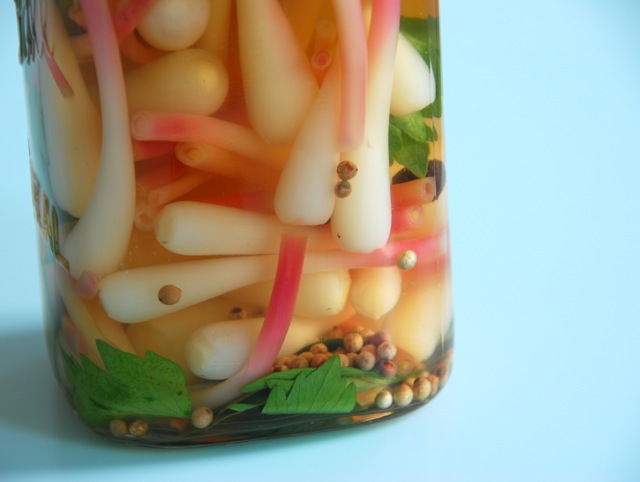
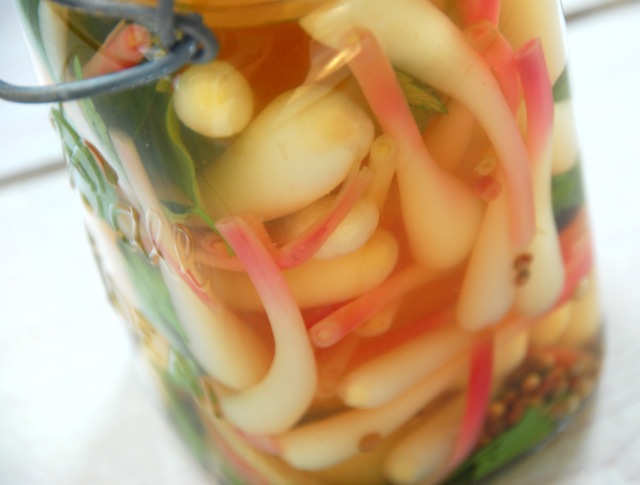
So when hot water bath canning low-acid foods (veggies not fruit), you will most likely be making pickles or chutneys and this is my advice to you:
1) Use a reputable source written or updated 1995 or later – or check with the USDA.
2) Never vary the amount of vinegar, water or vegetables in the recipe (herbs, spices, salt & sugar are okay).
gap
 3) Use vinegar that is 5% acidity or higher (it’s marked on the label). Homemade vinegars are not ok because acidity level is unknown.
4) Never boil the vinegar mixture longer than the recipe states.
If you are a newbie pickler, I would also caution against switching out types of vegetables in the recipe because boiling time differs for different veggies. In mixed pickles, you should set the boiling time for the vegetable that requires the longest amount of boiling time.
I would also not be in a rush to purchase a pH meter. A pH level of 4.6 or lower prevents the germination of spores, and pickling recipes from reputable sources fall way within the realm of safety, usually within the 2.6 – 4.0 range. So if you follow the recipe exactly as outlined above, you got nothin’ to worry about. Plus you’ll either have to wait 3 weeks after canning the pickles, or puree one whole jar of food before you can it to test accurately.


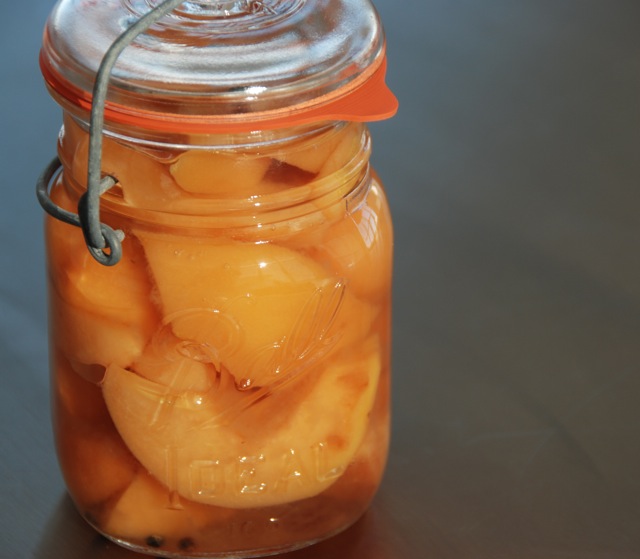

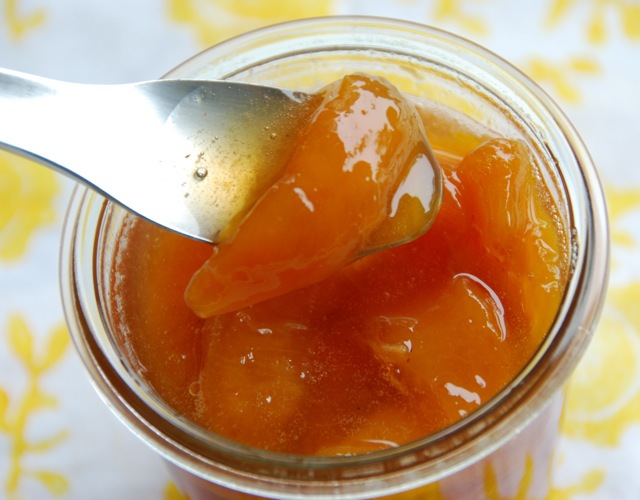
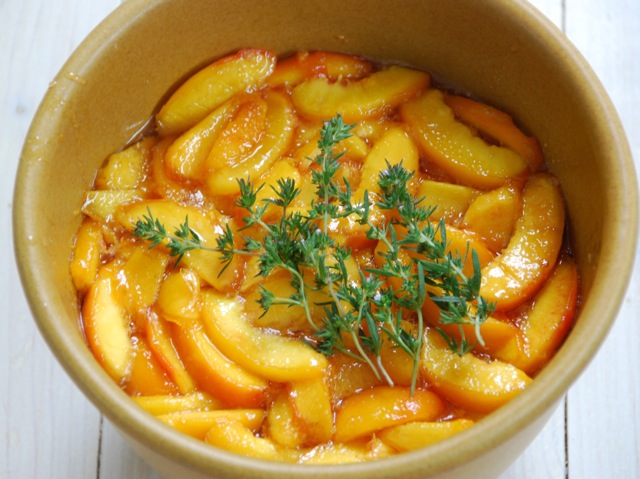
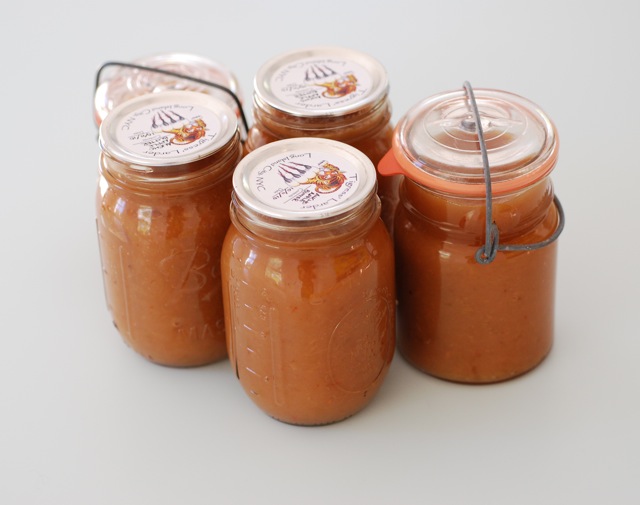
 I put these beauties in a jar quick – before they got away. The taste is unadulterated nectarine, lusty and sweet, with just a touch of heat & savory. Yowsa!
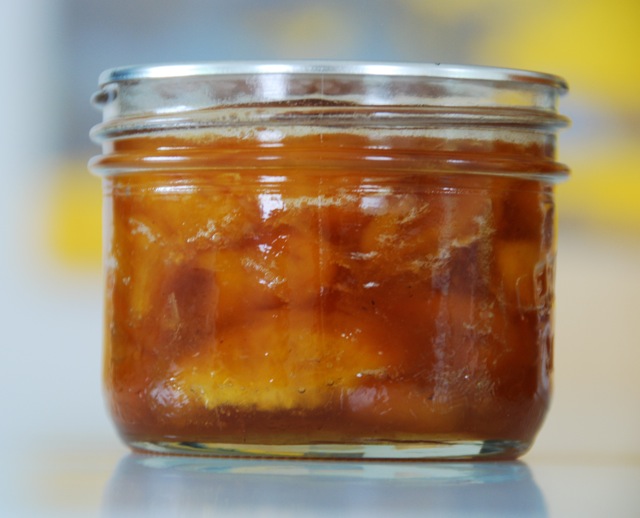


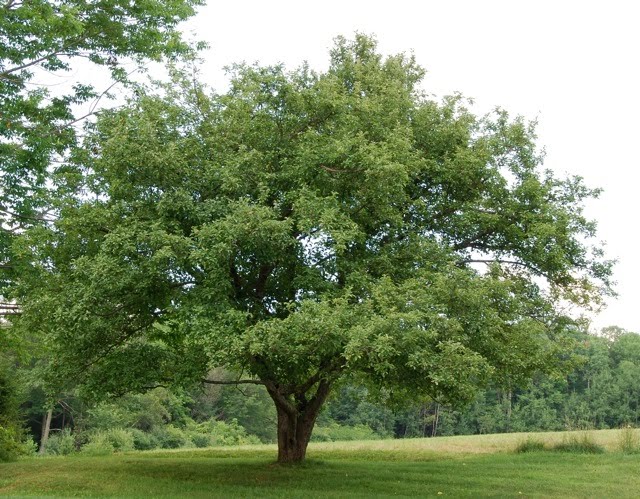
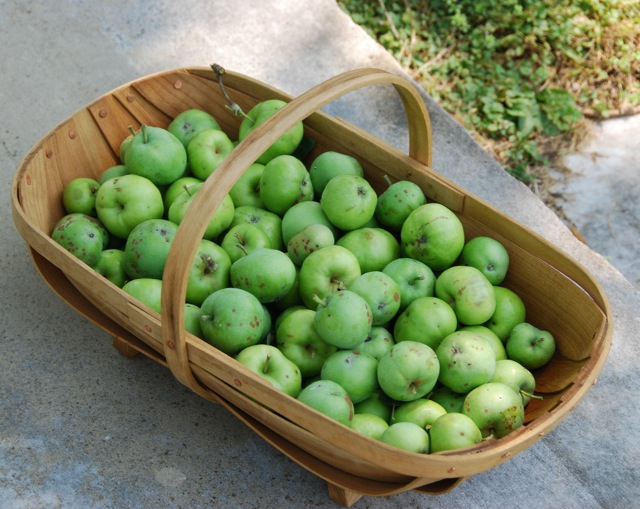
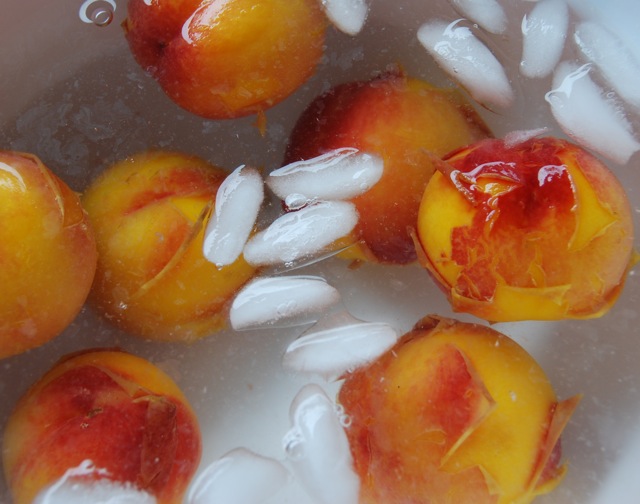
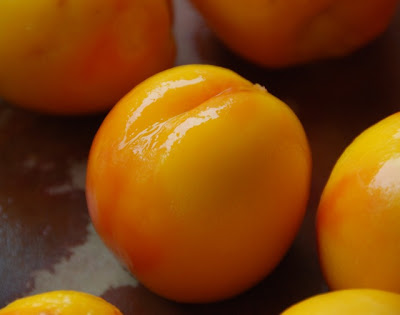
 I couldn’t help myself. It’s fall and the apples are fallin’ everywhere around here.


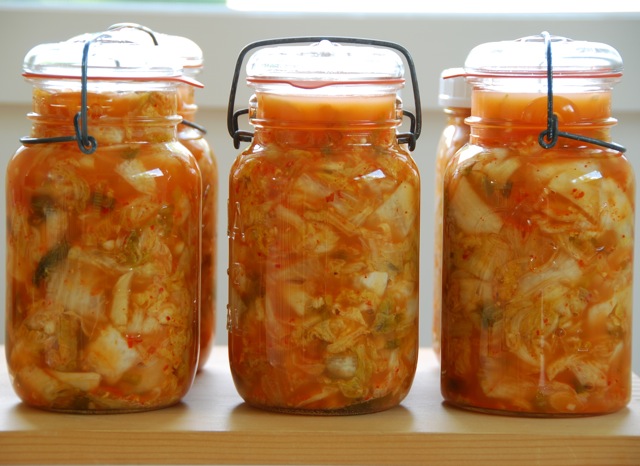
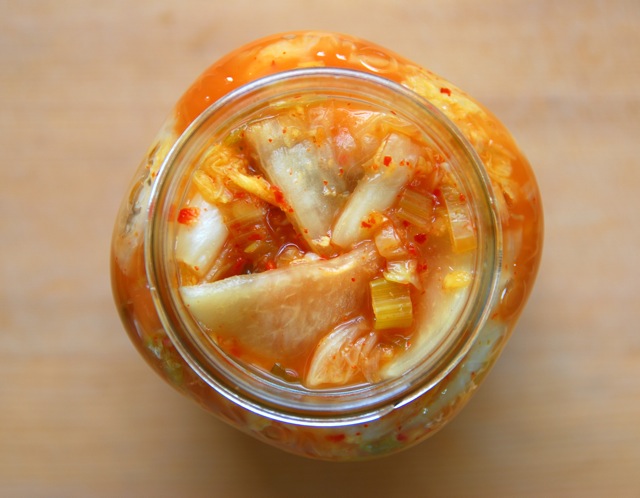
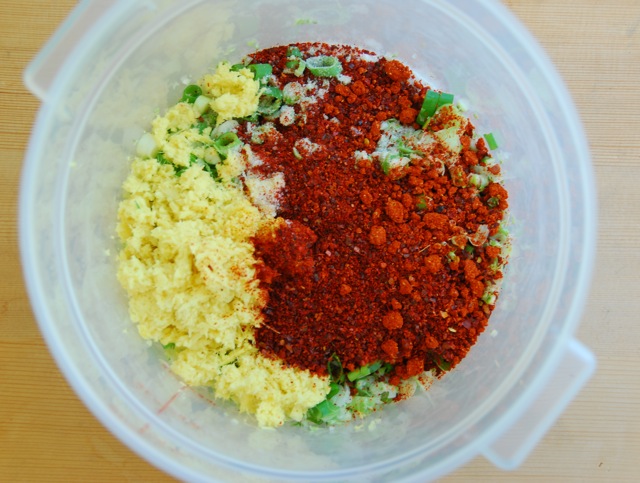
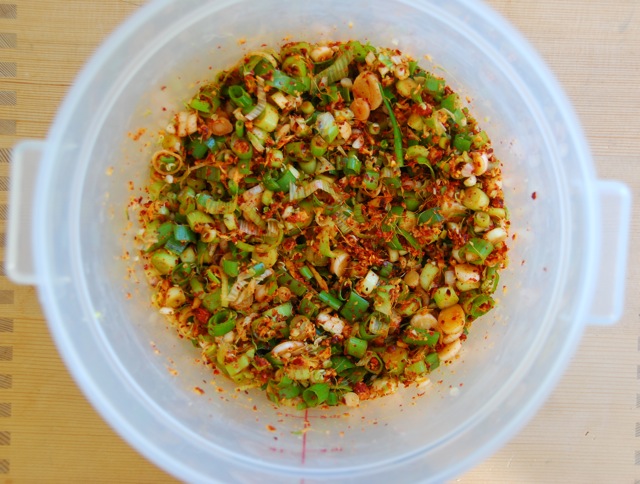
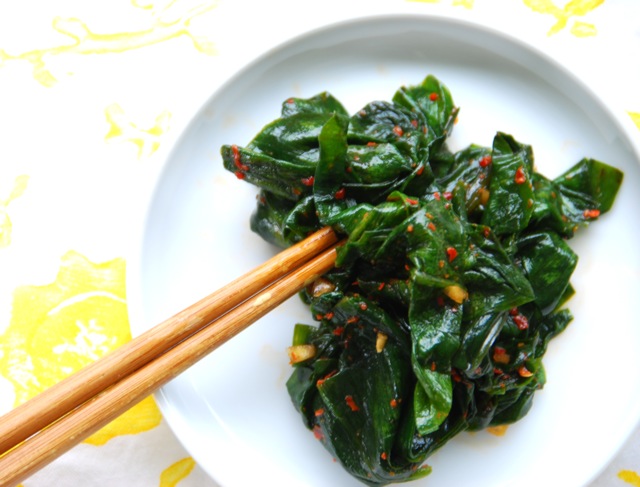 As with all types of kimchi, you can eat ramp kimchi with just about anything, and it will never say no to being placed in a bowl of steaming rice for a simple and nutritious lunch. You could however decide to take this whole thing even further and tuck a bit of this ramp kimchi into a few soft pillowy steamed buns.
")