When you don’t want the same caffeine hit that a cup of coffee provides, you can always rely on a cup of Matcha Tea. Not only does this mean you can make a brew in the evening, but there are the obvious health benefits that everyone talks about.
The best way to give your body all the antioxidants and calorie-burning benefits is by choosing a quality product from a reputable company. We have selected the top matcha teas that you can find to make sure you get a reliable, floral cup every time. Each one of the following could easily become your go-to brand.
List of the Best Matcha Teas
- Editor’s Choice: Encha Ceremonial Organic Matcha (Amazon) – Review
- Best For Latte: Micro Ingredients Organic Matcha Green Tea Powder (Amazon) – Review
- Best Ceremonial Grade: KENKO Matcha Green Tea Powder (Amazon) – Review
- Best Value: Matcha DNA Certified Organic Matcha Green Tea (Amazon) – Review
- Best Ceremonial Grade (Also Co: Midori Spring Organic Ceremonial Matcha (Amazon) – Review
- Best Value (Also Consider): Organic Matcha Green Tea Powder 8 oz (Amazon) – Review
- Best Matcha Tea Bags: Aprika Matcha Tea Bags (Amazon) – Review
Editor’s Choice: Encha Ceremonial Organic Matcha
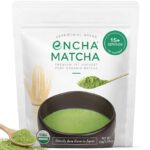
For a quality cup of matcha tea, the first place to look at is the source. This USDA certified organic product comes directly from a farm in Uji, Japan and is kept fresh by a reliable resealable pouch. The leaves are carefully selected and ceremonial grade to give you a premium powder and even comes with a money-back guarantee. They select the first harvest leaves for a premium taste that is best suited to hot water.
A lot of people comment on the full flavor and although the price is a little higher than some people might like to spend, what you are getting is one of the best sources of matcha tea that you can make at home.
Best For Latte: Micro Ingredients Organic Matcha Green Tea Powder
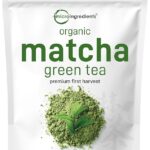
This culinary grade matcha green tea powder ensures you can put it in your smoothie to unlock the benefits in more ways than one. A certified organic matcha tea, it can be mixed into your morning latte or even used for baking. You get the benefit of 137 x the antioxidants of brewed green tea and is sourced from Japan that is tested for quality by a third party.
We like the fact that Micro Ingredients provides a 100% satisfaction money-back guarantee so if you aren’t blown away by the unique flavor and benefits, you can ask for your money back.
Best Ceremonial Grade: KENKO Matcha Green Tea Powder
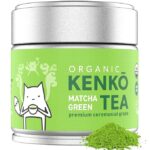
Another ceremonial grade organic matcha green tea, this is ticking all the right boxed from the start. It comes in a convenient airtight container and the leaves are taken in early May during the first harvest so you know you are getting a premium quality matcha tea.
They are ground fresh to order so you aren’t going to get a product that has been sitting on a shelf for a long time and it is made by some of the most reputable experts in the industry. Handpicked and stone ground, this impressive brand tests the product for radiation and heavy metals so they stand by the purity. They reduce the bitterness by making sure the powder is fine, using young, sweet leaves.
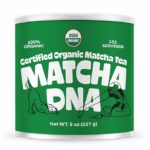
Best Value: Matcha DNA Certified Organic Matcha Green Tea
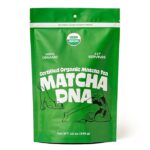
This is another quality organic matcha tea meaning it is packed with all the natural nutrients you expect. It has been tested in a lab to make sure there are no traces of lead or heavy metals so you can rely on the quality. It is one of the most popular organic matcha teas available and the 12 oz pack is good value considering the high standards the company of Matcha DNA.
It has a darker green appearance in the cup and it is made more affordable by the fact that it is not a ceremonial grade matcha green tea.
Best Ceremonial Grade (Also Consider): Midori Spring Organic Ceremonial Matcha
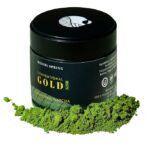
Anything that labels itself as gold class tends to capture your attention and this is a product that you will want to look twice at. The certified organic matcha tea is kept fresh in the convenient container and is ceremonial grade to ensure you are getting matcha tea of the highest quality.
The emerald green is aromatic and looks great and has a taste that is more pleasant than most. You still get that grassy flavor but it is less potent than a lot of the other brands. It comes with a 100% satisfaction guarantee which we always like to see but the general consensus is that you won’t need it. Gently cooled to make sure the freshness and taste are locked in, they are a favorite for many.
Best Value (Also Consider): Organic Matcha Green Tea Powder 8 oz
This premium matcha green tea is 100% certified organic, both packaged and harvested in Japan from a reputable company. One of the best value ways of getting the various benefits that come with matcha green tea.
There is a 100% satisfaction money-back guarantee and this vegan certified product is also tested for radiation. The resealable bag isn’t as reliable as some of the other products and methods but that doesn’t detract from the fact that this is a quality matcha tea at a reasonable price.
Best Matcha Tea Bags: Aprika Matcha Tea Bags
For a matcha green tea in a bag form, this is the best you will find. Because it contains pure matcha it has all the aromatic notes you come to expect as well as a tone of the antioxidants and other benefits. The convenience is great for anyone who just wants to make a simple brew, and it contains zero calories.
You get 60 tea bags so there is a lot of value to be had, and each cup only takes 2 minutes to brew in hot water. Made from 1st harvest ceremonial sencha and matcha tea and blended with premium green tea. It’s a great way of getting Japanese matcha if you want to keep things simple.
Matcha Tea Guide
As with any food or drink product, matcha tea is not made the same so choosing the right brand is an important part of getting a quality product. Finding a good product is down to a variety of factors including the source and grade of the leaves. For a lot of people, this can be confusing so we have created the following matcha green tea guide to shed some light and make this an easy purchase for you.
Read on for all the ins and outs of finding a great product.
What To Look for in Matcha Tea
Quality of Harvest
The way the leaves are harvested can make a difference in the quality. Also, the time of harvest will determine whether you get a matcha tea made from the highest quality leaves or not.
Color
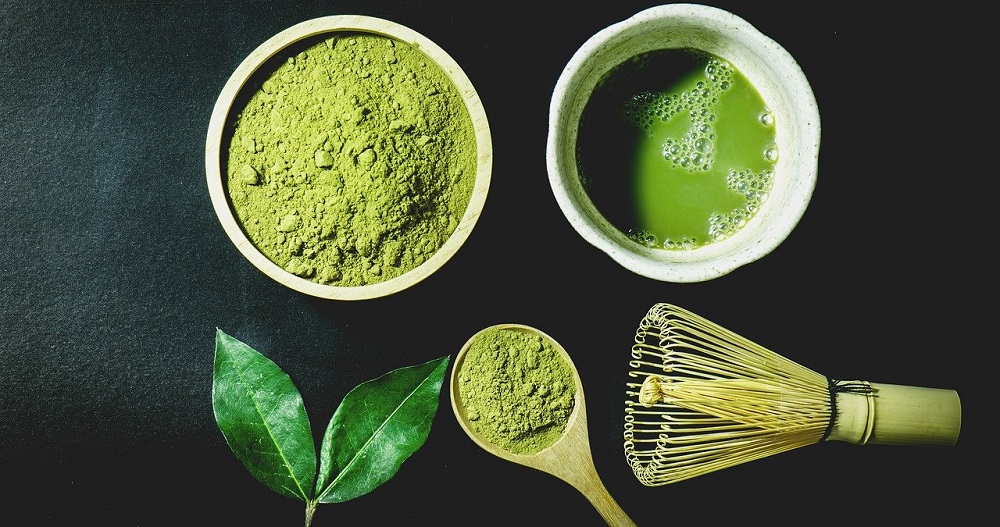
The color is more important than you might think. Bright green is what you want to look for as a matcha tea that is lower in quality will have a yellow tint to it in comparison. Brighter greens ensure the richness and quality is preserved.
Soil Testing
When buying a matcha green tea from Japan, there can be a risk of radiation or heavy metals in the soil. This is why you should always go for a brand that tests for both and can assure their customers that there is no trace of either.
The products on our list sourced from Japan have all taken great lengths to ensure this isn’t an issue.
Organic
When it comes to tea, the better products are always organic. It means you aren’t getting any of the low-quality flavors and added ingredients that you do not need and the purity is often higher.
The price does go up when you purchase organic matcha tea, but this is understandable since the quality is higher.
Taste
Of course, this is going to be one of the most important parts of your decision, but it can be hard to judge when buying online. Some products have better reputations than others but look for one known for being less bitter with a pleasant and light grassy flavor rather than one that is over-bearing.
Storage
The best way to store green tea is in a resealable container with a lid. Some products come with this whilst others are in resealable bags. These are fine but you might want to pour yours into a separate container. A cool, dry place is always good to preserve the potency and quality.
The Right Fit
Before buying a matcha green tea, you need to be sure that the product you choose fits your needs. Some people want to use it in baking, others for adding to a latte so make sure the grade and type of matcha tea you buy is suitable first.
Matcha Tea Grading
A lot of people aren’t aware that matcha tea is graded on its flavor and there are a few different names given to each one.
Ceremonial
Ceremonial matcha tea uses the youngest leaves and this is often the most expensive of the differing types. This is not the type of matcha you want to buy if you intend to use it for baking as the flavor will not come through in the same way as other grades.
Classic/Premium
These are better for those who want to add a spoonful of matcha tea into their morning latte, made from younger leaves it is a good all-round tea for drinking as well as other uses.
Cafe
Not always as common but this is also pretty versatile with a fuller flavor. It can go into smoothies and baking but not everyone will enjoy this type of matcha tea in their latte.
How To Choose a Quality Matcha Tea
Origin
Some parts of the world are just better at growing and making matcha tea than others. Two of the most prominent and reputable are Japan and China which should come as no surprise since they are two of the tea making powerhouses of the world.
Japan tends to have higher standards so if you can, find a product made from one of their popular regions such as Uji or Nishio.
Is There Any Caffeine In Matcha Tea?
The short answer is yes! This can vary depending on where the matcha green tea is sourced from but expect around 70 mg of caffeine per cup on average. The type of caffeine hit is a little different though. Often considered to be a calmer, more gradual boost rather than the type that gets your heart racing.
How Much Does Matcha Green Tea Cost?
This can vary depending on the origin and the grade but if you pick up a ceremonial grader matcha green tea then you can expect to pay anything from $20 – $50.
Yes, the price goes up as the quality increases but so do the benefits. Anyone who likes the taste and aroma without being so concerned for the benefits can pick up a perfectly good tasting matcha tea for under $10 – check out our best value option on the list.
If you are price-conscious, then Amazon is always a good place to check. They have the most competitive prices and can sell products from all over the world – handy when looking for a matcha green tea from Japan.
What Is The Best Match Green Tea?
Sometimes certain traits such as taste, aroma, and color are all down to opinion. However, there is something we can all agree on and that is quality. Because it is ceremonial grade matcha green tea and certified organic, we have selected Encha Ceremonial Organic Matcha Tea as the best.
It is sourced from the most reputable area in Japan and they put the product through rigorous testing to ensure its quality is never compromised. That’s how you can be sure you are getting a great tea.