Gravy casserole is one of those dishes that always make me think back to my childhood.
The combination of steaming mashed potatoes and delicious homemade gravy is what I associate the most with my grandma’s cooking. Her gravy casserole was full of deep flavors mainly thanks to the long-simmering beef stock. Homemade beef stock serves as a wonderful base of many other dishes as well and greatly enhances the taste of any meal. No store-made bouillon can even compare.
Now I am trying to recreate her recipe so that my children can enjoy the taste of this hearty dish just like I used to do. The natural gelatin and nutrients that occur in the gravy when a natural additives-free beef stock is used already make this gravy casserole a healthy and nutritious meal. However, to increase its health benefits even further I decided to incorporate more vegetables in the dish. In my recipe, you will find plenty of onions, mushroom and grass-fed butter that literally melt in your mouth as you eat them.
The Best Casserole Ever!
I based my recipe on what I remember from the dinners at my grandma’s house and the book called The Best Casserole Cookbook Ever. You can either get in paperback or as a Kindle version. This cookbook is full of traditional recipes for casseroles that use only natural ingredients. You can learn how to cook in a way food was cooked a few decades back: with no unhealthy preservatives or shortcuts that make the dish lose its natural flavors.
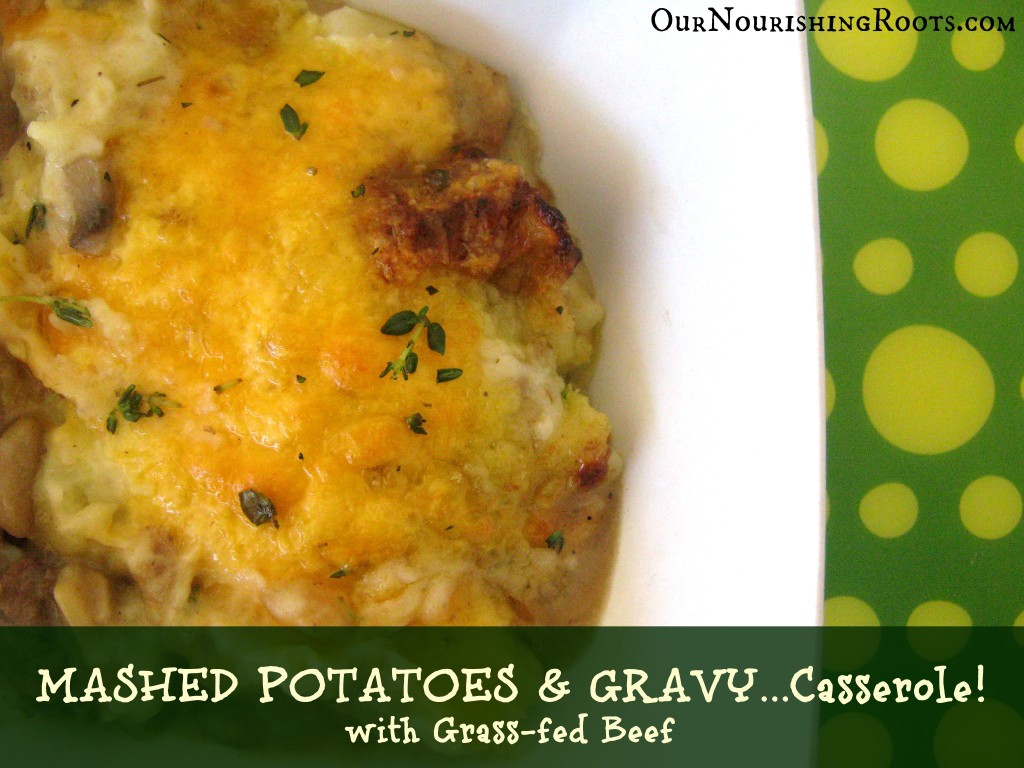
This beef gravy casserole bears a resemblance to what some call a cottage pie or a shepherd’s pie due to the layer of mashed potatoes on top of it. At our home, we love doing that with other dishes as well! The results are excellent each time, especially if you season the potato layer with herbs, such as fresh thyme. Or you can put some shredded cheese on it for a different flavor from time to time.
Necessary equipment:
- measuring cups
- a sharp knife
- a wooden spoon
- a strainer
- stick blender
- mixing bowl
- a garlic press
- a large stock pot
- a large saucepan
- cast iron skillet
- a large baking dish
Mashed Potatoes & Gravy Casserole with Grass-fed Beef
Ingredients:
mashed potatoes:
- 8-10 large potatoes, cubed
- 1 cup of grass-fed butter (about 2 sticks)
- 1 cup of fresh cream
- seasonings: salt and pepper
mushroom gravy:
- ½ cup of grass-fed butter
- 1 pound of chopped mushrooms
- ½ of an onion, finely chopped
- ½ cup of freshly ground flour
- 1 t. of sea salt
- ½ t. of freshly ground pepper
- 2 cups of homemade beef stock
- optional: a splash of fresh cream
casserole:
- 2 T. of grass-fed butter
- 1 pound of grass-fed ground beef
- 1 onion, finely chopped
- 4 cloves of garlic, minced or pushed through a garlic press
- mushroom gravy
- mashed potatoes
- 2 cups of cheddar cheese, shredded
- fresh thyme or other herbs
Instructions:
Preheat the oven to 350 degrees.
Mashed potatoes:
- Boil the potatoes in a large stock pot until they feel tender when poked with a fork. With this amount of potatoes, that should take about 15 minutes.
- Drain the potatoes and put them in a large bowl. Add butter, cream, salt, and pepper.
- Use a stick blender to combine all the ingredients. If your blender is too weak, you can start by mashing the potatoes with a fork and then later finish off with the blender.
- Set aside.
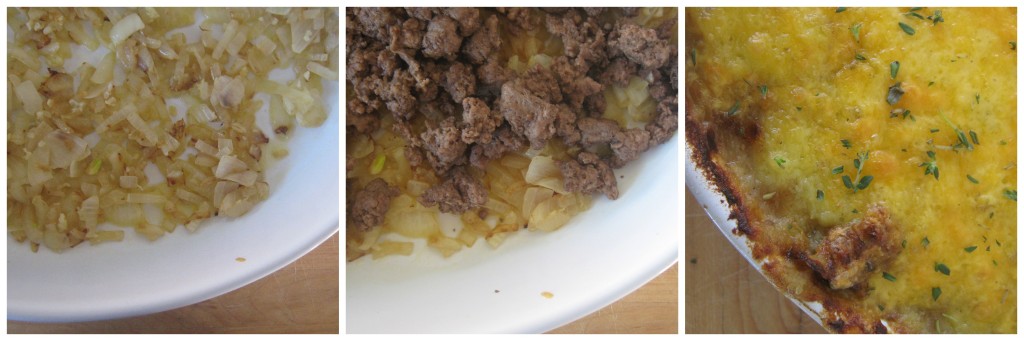
Caramelized onions:
- Melt 2 tablespoons of butter in a cast iron skillet.
- Add the onions and sauté for about 30 minutes over medium low heat until they caramelize.
- Add the garlic and cook for about 2 more minutes.
- Set aside.
Grass-fed beef:
- In the same skillet, cook the grass-fed beef over medium high heat until brown and break it into smaller pieces.
- Season with salt and pepper.
- Set aside.
Mushroom gravy:
- Melt the butter in a medium-sized saucepan.
- Add the mushroom and onions and sauté for about 8 minutes. The ingredients will reduce in volume by half.
- Gradually add the flour and stir the mixture to coat the onions and mushroom evenly.
- Season with salt and pepper.
- Stir continuously for 2 minutes.
- Slowly pour in the beef stock while constantly stirring.
- Stir while the gravy is simmering until it thickens and becomes the right texture.
- Optional: add the fresh cream at this moment.
Gravy casserole:
- Spread the caramelized onions at the bottom of your large baking dish.
- Make an even layer of ground beef on top of the onions.
- Pour the mushroom gravy over the beef.
- Layer the mashed potatoes on top of the gravy. Smooth it out evenly as best as you can.
- Sprinkle the cheddar cheese on top.
- Bake the dish in the oven for about 20 minutes. To get a nice browned layer on top, turn the broiler on and keep the dish in the oven for 3 more minutes. The cheese on top tends to burn easily so keep an eye on that.
- After the casserole is cooked, sprinkle the top with fresh thyme.
Enjoy your beef casserole with mushroom gravy!
")