I was never a big coffee drinker until I learned how to make my own iced caramel macchiato. Coffee often made me feel drowsy instead of energized and I found that it would often cause me to have painful headaches a few hours after I had drunk it.
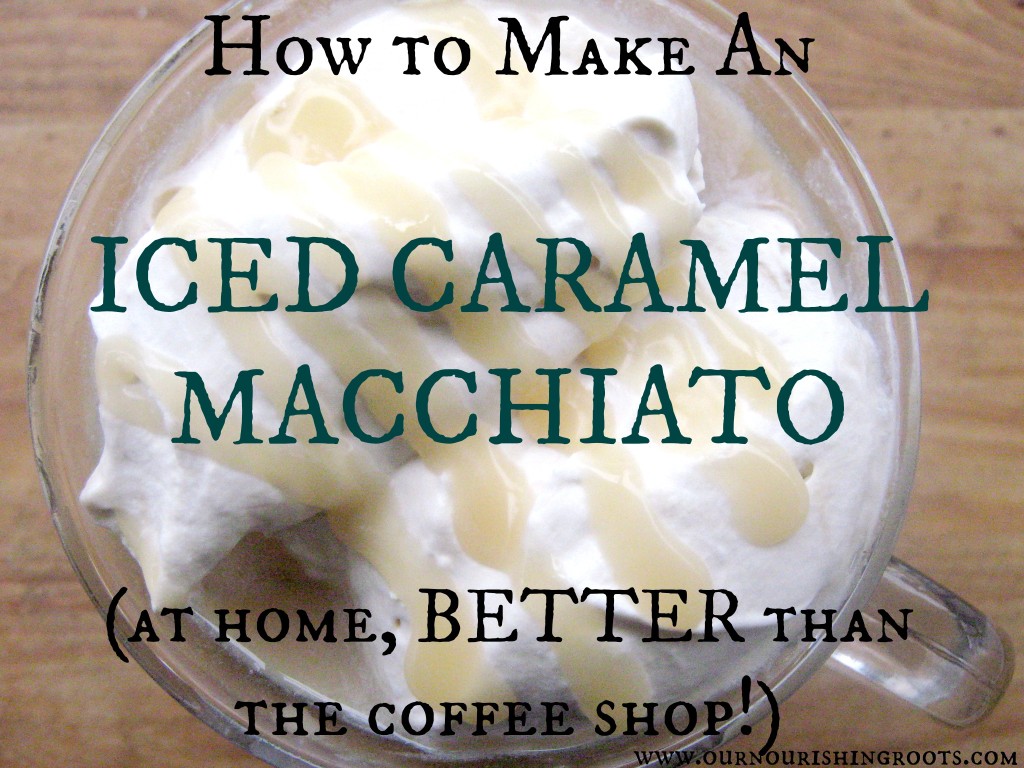
My sister, on the other hand, is a big fan and a self-proclaimed coffee expert. She knew about my dislike for coffee and would never push me to drink it for which I am very grateful. But one day, at a family gathering, she served a drink called ice caramel macchiato.
This coffee was so fragrant that it immediately caught my attention. The honey color was very inviting and I asked her to make me a glass too. That was the drink that finally convinced me to give coffee one more chance!
Caramel macchiato
A caramel macchiato, whether it’s iced or hot, is still my favorite type of coffee beverage. Since then I have grown to drink other varieties as well but this one tops them all. It’s a perfect mix of sweet and salty caramel that combines very well with the deep coffee bean roast. And even though I am nowhere near being as knowledgeable as my sister when it comes to coffee, I believe I have perfected the art of preparing caramel macchiato at home.
Caramel macchiato is a beverage made up of a cup of espresso and milk. Another name for it is latte macchiato. The hot milk serves as the base to which you add a cup of espresso. It’s more of a coffee beverage rather than just coffee because the emphasis is put on the milk.
How I make coffee at home
Ever since my sister’s heavenly drink finally introduced me to the wonderful world of coffee, we have come to own a few different coffee machines at home. We have a single cup coffee maker, a French press, and a stovetop espresso maker (sometimes called a mokapot).
I love the French press because it can be used for other beverages besides just coffee. I use it to prepare homemade infusions and loose teas as well! It’s a great and versatile machine. The single cup coffee maker, on the other hand, is great for larger parties because it can whip up a cup of steaming coffee quickly and without much hassle.
But when I need a nice cup of espresso (for example, for my caramel macchiato) then the steel stovetop espresso maker is an absolute beast. I originally got it because I was tired of making espresso in the French press (it can be done but it’s quite bothersome). I found it hard to justify the purchase of a third coffee machine but I do not regret it one bit. The espresso maker makes preparing espresso and various types of lattes a breeze!
What types of coffee and espresso are needed to make caramel macchiato?
The vast array of different coffee beans can be confusing, I know. I have been there. But just like me, you can learn the basics of coffee making fairly quickly!
For starters, you should know that you do not necessarily need to have separate beans for the coffee and beans for the espresso. The same type of beans can be used to prepare both but they will need to be ground differently. Beans for espresso need to be very finely ground while beans for coffee should be left coarse.
Secondly, I whole-heartedly recommend buying whole beans rather than pre-ground beans. This way, you can grind them yourself and it will give you full control over their shape. Freshly ground beans also taste so much more amazing than the pre-ground ones. You will need a coffee bean grinder but believe me when I say that it is worth it.
Also, remember to buy organic coffee beans that were grown on fair trade farms to avoid giving money to big corporations that exploit farm workers!
Caffeine or Decaf?
Personally, I always go for decaffeinated coffee. I have now realized that the negative symptoms I was experiencing when drinking coffee in the past were actually caused by caffeine rather than the coffee itself. That’s why I only buy decaf when in coffee shops and prepare my own coffee from decaffeinated coffee and espresso beans. I might occasionally drink regular coffee but in general, I try to avoid it.
But the decaffeination process is not so straight-forward. A few different methods of extracting the caffeine from coffee beans exist. Most of them work by soaking the beans in various chemical solvents to separate the caffeine from the beans. There is nothing wrong with using chemistry to do that. I took chemistry in college so it’s not like I perceive the words ‘chemical processing’ to mean something bad and harmful. It’s a normal part of modern food processing.
But do you know what the traditional method of decaffeinating beans was? Steaming them in a chemical compound called benzene. Benzene is one of the most common petrochemicals and is responsible for that gasoline smell at petrol stations. How could we ever decaffeinate coffee beans using benzene is beyond me! It has since been proven to be toxic and causing cancer.
Other methods involve soaking the beans in either dichloromethane or ethyl acetate which are also suggested to be potential carcinogens. Just perfect, right? It is unbelievable how little corporations care about their customers’ health.
You might think that if you rinse beans enough times in water then there will be no harm anymore. But I respectfully disagree. Soaking something in ethyl acetate for ten hours is bound to make the toxins permeate deep into the beans which is something that can’t be simply removed with a flow of running water.
That’s why I’m not taking any chances. There are enough potential health hazards in our supermarkets as it is, I don’t need to add another one.
Safe Decaf Coffee
The safest method of decaffeinating coffee is called ‘the Swiss water process’. The coffee beans are repeatedly soaked in hot water and rinsed for as many times as is needed. This makes them 99,9% caffeine-free. You might get the slightest amounts of caffeine in your coffee but at least you won’t get any carcinogens which is a win in my book. Search for the words “water process” when buying your beans and remember that the more ethical the brand is, the more chances you’ll have that they are not lying to you. If you can’t find the description of the decaffeination process on the product then it is best to confirm with the manufacturer. USDA organic Swiss water decaf coffee with no mycotoxins or pesticides.
Coffee substitutes
Some people are allergic or sensitive to coffee beans, decaf or not. But this caramel macchiato is so amazing that I still recommend you try making it using a coffee substitute. There are many different ones on the market so I’m sure you can find something that works for you.
Most of them do contain grains, however, so they won’t work for people on the GAPS diet. In that case, I always recommend this delicious coffee substitute made from…dandelion! It is incredible how coffee-like it tastes!
Ok, let’s move on to the recipe!
Necessary equipment:
- a stovetop espresso maker OR a French press
- a saucepan OR a milk steamer
- a glass bowl
- a whisk
- an Irish coffee mug (the tall one) for serving
Ingredients:
- 3/4 cup of whole milk
- 1/4 cup of espresso (2 shots)
- 1/8 t. of vanilla extract
- sweetened whipped cream (recipe below)
- 1 T. of caramel sauce (or more if you are a caramel-nut like I am!)
- whole cane sugar, to taste
- ice cubes
Instructions:
- Brew two shots of espresso and pour them into a glass.
- Add the vanilla extract and sweeten it with whole cane sugar to taste. Set aside to cool.
- Steam the milk. You can use a steam want or a handheld frother. If you don’t have either of those, you can use a saucepan. Scald the milk by heating it to just before boiling point (you will know because steam will appear).
- Pour the steamed milk into another tall glass.
- Add the cooled espresso. At this point, you can stir the mixture if you want but do it gently.
- In a glass bowl, beat plain cream with a whisk until you can soft peaks. Add some whole cane sugar to taste and keep whisking. This is your sweetened whipped cream.
- Now cover the bottom of your Irish coffee mug with one tablespoon of caramel sauce.
- Fill the mug with ice cubes, almost to the top.
- Pour the espresso and milk mixture over the ice cubes. Leave an inch for more of free space.
- Cover the top of your drink with sweetened whipped cream.
- Drizzle some more of the caramel sauce on top of the whipped cream.
- Serve immediately, preferably with a straw.
Enjoy your newfound love for coffee with this iced caramel macchiato!


 I have always struggled with my weight on and off but I think I really hit a low point this past year. But now I’m ready to get back on the right track and I hope that by sharing how I feel right now, I will be able to help some of you that might be in the same boat.