")
Pre-soaking oatmeal is the one thing that I started doing back when I was a student living in a university dorm and still do to this day. At first, all I wanted to do was save myself time in the morning so that I didn’t have to wake up early to prepare breakfast. I also hated the clamor of the common kitchen in the morning – all these people always decided to eat at the same time and I didn’t want to spend more time with them than absolutely needed. My motivation was pure laziness. And thanks to that laziness, I am now able to enjoy a delicious breakfast with minimal effort.
Pre-soaking oatmeal overnight is a very simple process. All you need is a few minutes of your time in the evening before you go to sleep. This is how I do it:
I put the oatmeal in warm water and add a splash of whatever I feel like at the moment. Usually, it’s yogurt, lemon juice, and something like whey. Then I just cover it up with a plate or a towel and go to sleep. In the morning all I need to do is put the oatmeal mixture in a saucepan (without straining!) and heat it for about 5 minutes. I add a little more water if I feel like it’s needed and season with a pinch of salt. At this point, you can add any other extra ingredients you want: honey or maple syrup, nuts, fruit, and anything else you might want.
Additionally, there are plenty of health benefits to pre-soaking oatmeal overnight. Pre-soaked grains are easier on your digestive tract. That’s because natural grains contain something called phytic acid. Phytic acid is a naturally occurring ingredient but it blocks the absorption of vitamins. And by soaking grains the phytic acid content is reduced so the oatmeal is easier to digest.
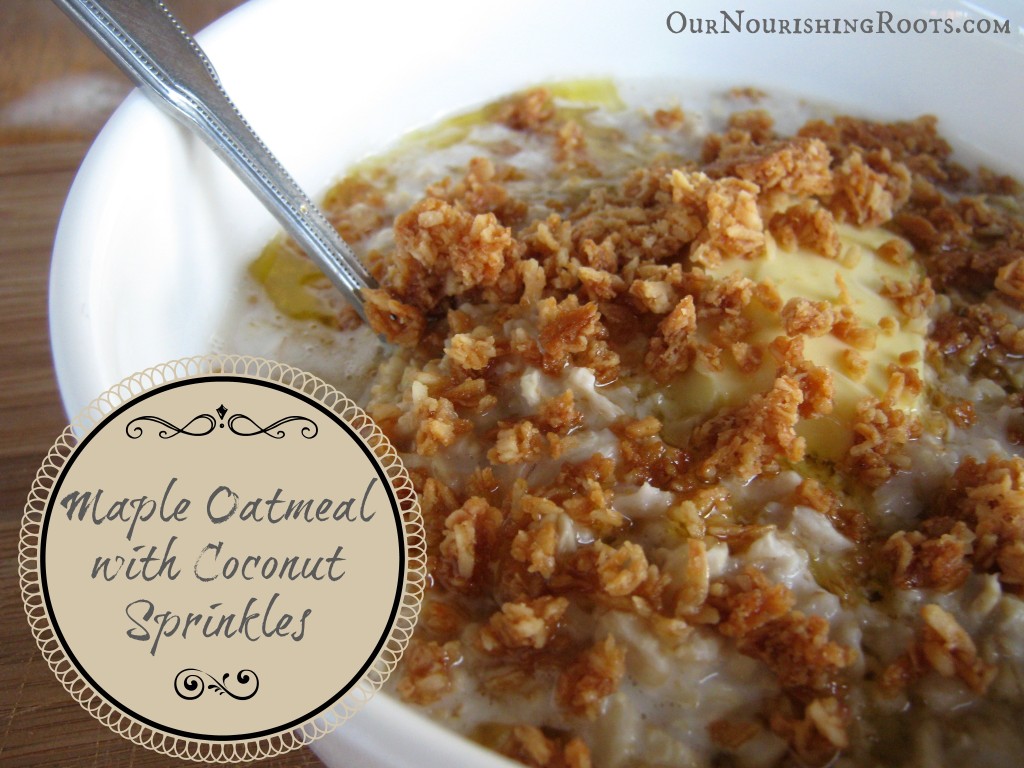
Maple Oatmeal Sprinkled with Coconut
Ingredients:
- 1 cup of rolled oats
- 1 cup of warm water
- 2 T. of whey OR lemon juice OR yogurt
- 2 T. of butter OR coconut oil
- 1 t. of ground sea salt
- 3 T. of maple syrup
- a pinch of coconut sprinkles
*By using lemon juice and coconut oil, your Maple Oatmeal will also be perfect for vegetarians and vegans!
Instructions:
- Mix the oats, the warm water, and whey in a glass bowl. Cover it with a plate or a towel leave to soak overnight (preferably 12 hours)
- In the morning, put the pre-soaked oatmeal in a saucepan. Season with salt and add some water if needed
- Bring to a boil while constantly stirring. Then, lower the heat and let it simmer for about 5 minutes until the oatmeal thickens nicely.
- Serve the oatmeal in a bowl. Add butter and maple syrup. Cover the top with coconut sprinkles.
Enjoy your hearty breakfast made with healthy pre-soaked oatmeal!