Home Blog Page 70

Lemongrass Soy Milk

Out of all the non-dairy milks commercially available, mass-produced soy milk is my least favorite (almond milk is the clear front runner in my book, followed by coconut milk and rice milk).  But I was curious to see whether a homemade version of soy milk could make me warm up to the classic Asian beverage.

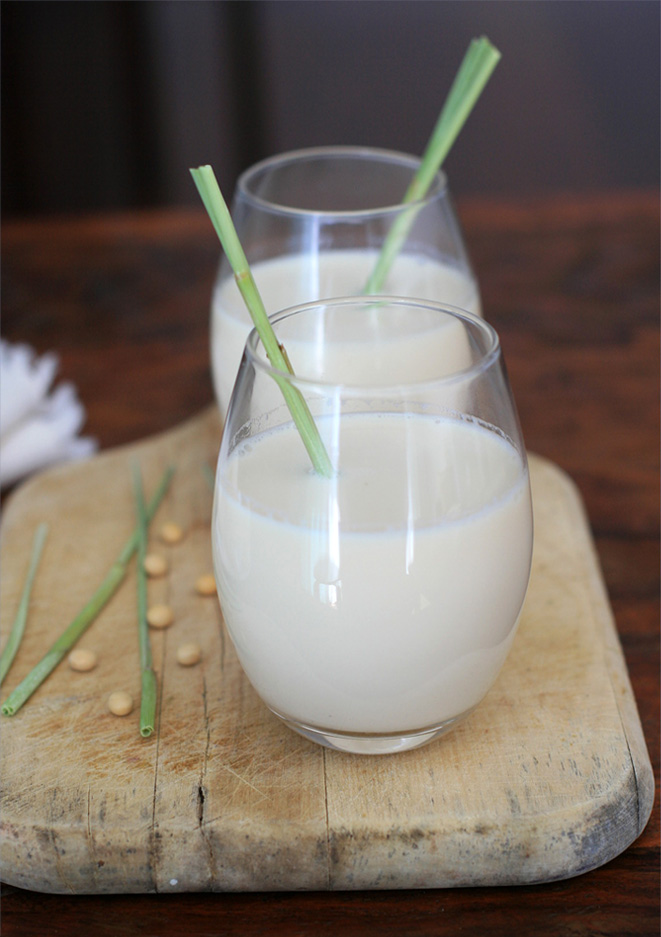
It’s probably no surprise to you guys that shelf-stable soy milk, filled with stabilizers and sweeteners, just can’t compare to freshly made.  Especially when the homemade version is infused with fragrant, citrusy lemongrass.

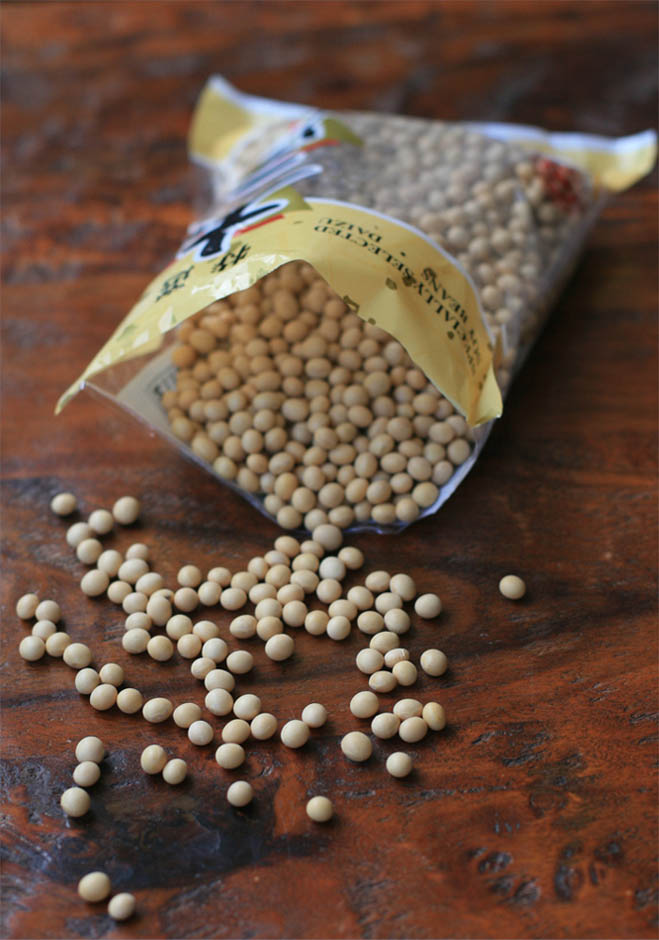
Dried soybeans are soaked, blended, strained and then simmered briefly with lemongrass.  Finally sugar, or any alternative sweetener, is added to taste.

The subtly sweet beverage can be consumed warm or cold, although my clear preference was for the chilled version.  You’re welcome to adjust the amount of water used; the recipe that follows produces a drink that’s slightly thicker than both dairy and nut milks.

Lemongrass Soy Milk

Yield: 4-6 servings

Cook Time: 15 minutes

Total Time: 9 hours

Ingredients:

1-1/3 cups dried soybeans
6 cups water
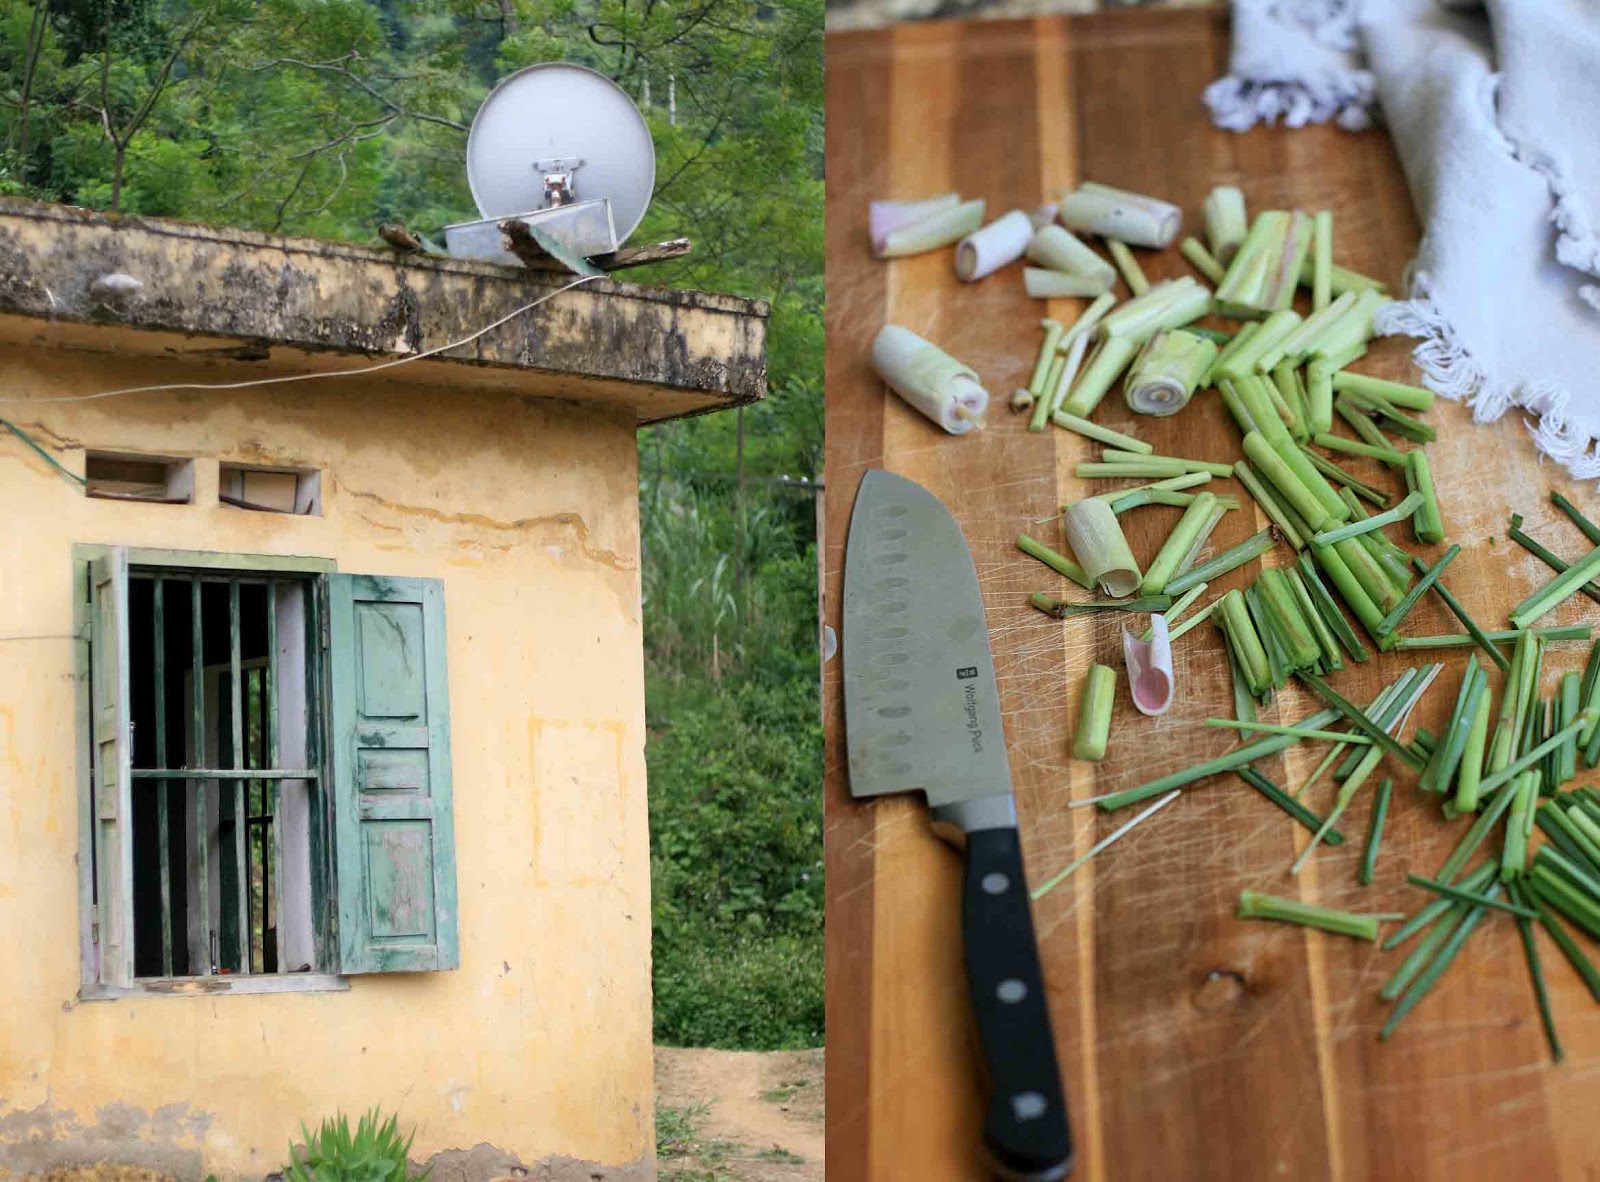
2 stalks lemongrass, bruised with woody ends trimmed and removed
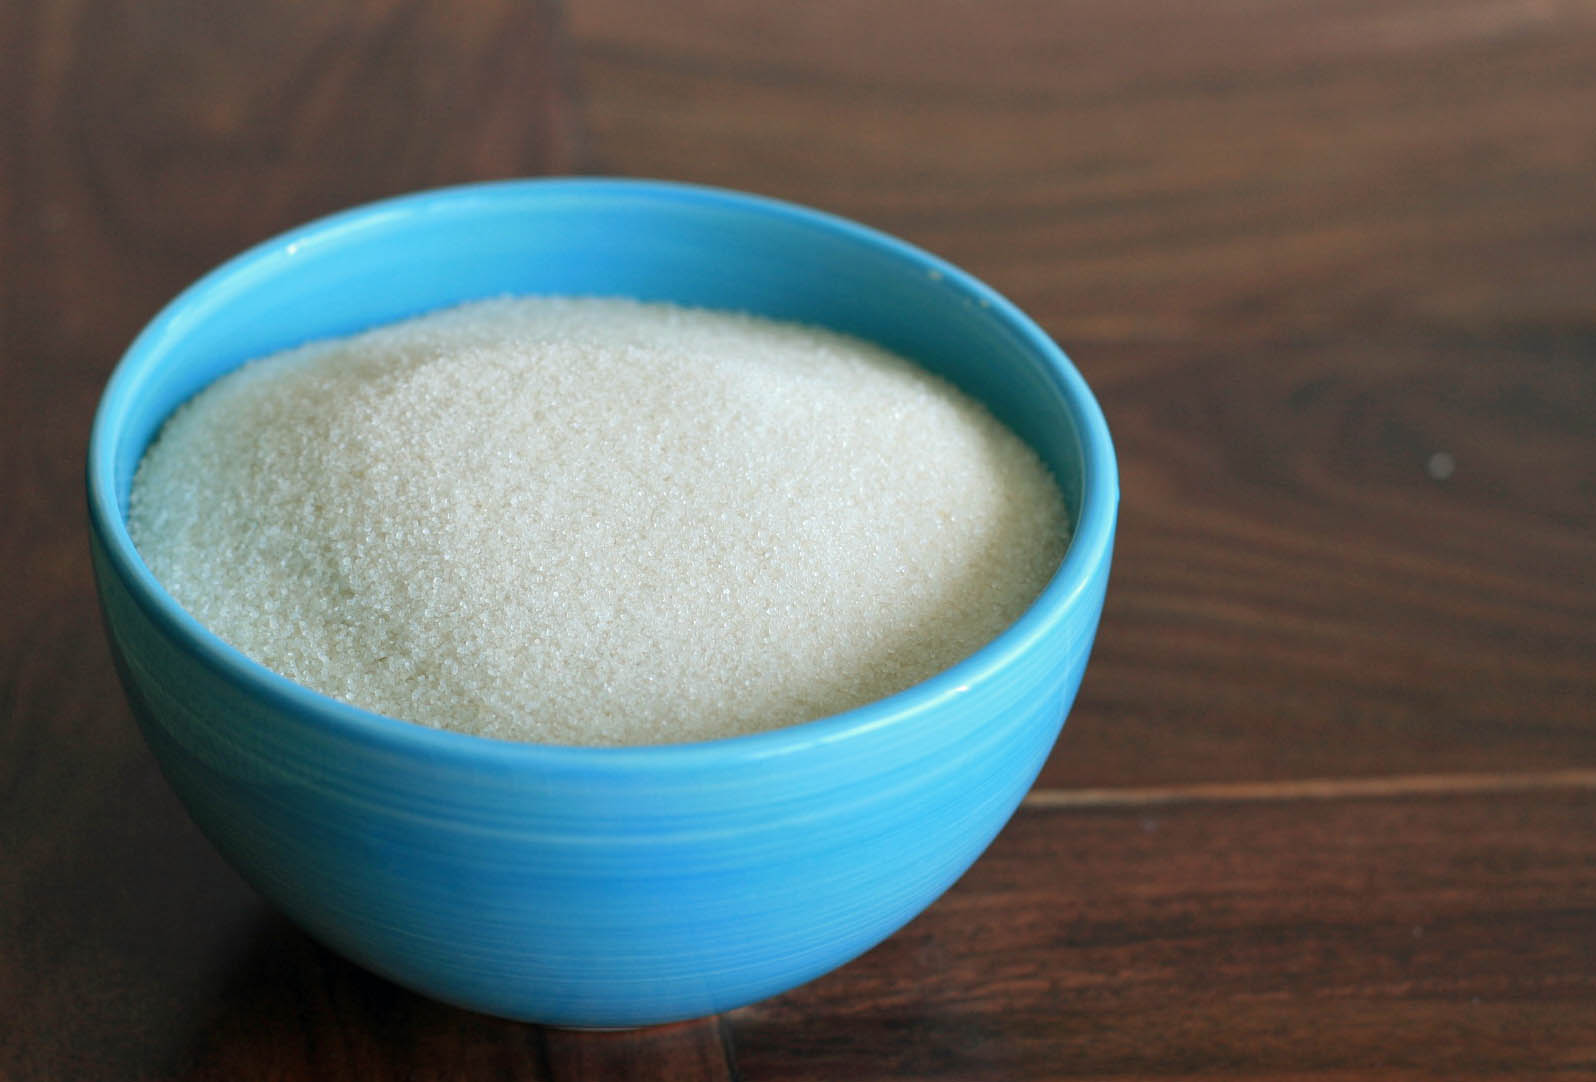
1/4 cup sugar, or to taste

Directions:

Combine the soybeans and water in a large bowl and set aside to soak for 8 hours or overnight. Drain.

In batches, puree some of the drained soybeans, which should have roughly tripled in size, in a blender with some of the fresh water. Process until fairly smooth.

Place a fine mesh sieve lined with cheesecloth over a large saucepan. Pour in the puree. Use a wooden spoon to press the soybean mixture against the side of the cheesecloth-lined sieve to try and extract as much liquid as possible. Repeat with the remaining soybeans and water.

Place the saucepan over medium-high heat and add the lemongrass. Bring to a boil and then reduce heat and simmer, stirring frequently, for about 10-12 minutes. At this point the soy milk should no longer have any bean smell. Remove from heat and add the sugar. Taste and add more sugar, if necessary.

Let come to room temperature, remove the lemongrass stalks and pour into a bottle or pitcher. Refrigerate until cold.

Note: you may need to strain the mixture two times for an extra smooth texture.

Do Chua- Pickled Carrot and Daikon

One of the reasons I love Vietnamese food so much is that the majority of meals achieve the perfect balance of hot, sour, salty and sweet.  Do chua, or pickled daikon and carrots, is a popular side that adds both sour and sweet elements.  If you’ve ever had a bánh mì, the Vietnamese sandwich on a crusty bun, you’ve already tasted do chua.

Shredded carrots and daikon are tossed in salt and sugar and massaged until they’ve softened and released some of their liquid.  Everything is then tossed in a sweetened vinegar mixture and left to marinate for an hour or so.  Do chua is great not only in bánh mì, but is a perfect addition to rice bowls, noodles, or lettuce wraps.  Pickle fans will also probably love it straight from the jar…

Do Chua- Pickled Carrot and Daikon

Prep Time: 10

Cook Time: 5

Total Time: 1 hour

Ingredients:

1 cup white, rice, or rice wine vinegar
3/4 cup water
1/3 cup plus 2 teaspoons sugar, divided
1 small daikon radish, peeled and shredded
2 carrots, peeled and shredded
1 teaspoon salt

Directions:

In a small saucepan combine the vinegar, water and 1/3 cup of sugar and set over medium heat. Stir to dissolve the sugar and then let the mixture come to a boil. Let boil for 3-4 minutes, without stirring. Remove from heat and let cool.

While the syrup is cooling, place the shredded daikon and carrot in a bowl and sprinkle with the salt and the remaining 2 teaspoons of sugar. Use your hands to work the salt and sugar into the shredded vegetables for 2-3 minutes; the vegetables should have released some water and reduced in volume a bit.

Place in a colander and rinse with cold water. Press or squeeze gently to release any extra liquid or rinsing water. Place the rinsed vegetables in a bowl and cover with the vinegar mixture. Let marinate in the refrigerator for at least one hour before serving.

Ga Nuong – Lemongrass Chicken

One of my favorite parts of my trip to Vietnam was exploring the northern part of the country, miles and miles from the tourist trail.  One night I stayed not far from the Red River, which creates a natural border between Vietnam and China, in a modest one-room dwelling occupied by a Vietnamese Ranger.

I can’t tell you exactly what his duties were or what he did most days, since there was little to no action in the area.  His only neighbors were some Black H’mong folks who went about their business and a teacher who’d been plucked from Hanoi to teach the H’mong children.  I’d guess that his entertainment came primarily from the satellite television.  To say he was excited for some actual, living company would be a massive understatement.

Our presence (a couple of Americans along with with our Vietnamese guide and driver) was probably the closest thing to a party that he’d experienced in quite some time.  And to celebrate? He decided we’d have a chicken feast.

Within minutes a bird appeared (from one of the Black H’mong neighbors?) and was killed, plucked, gutted and cleaned.  I watched, curious but also a little embarassed about how little I knew about the process.

GAP

Our ranger friend cooked the chicken simply, by boiling it with salt and pepper.  Minutes later we all ate, seated cross-legged in a rough circle on woven grass mats.  Conversation was limited (my Vietnamese basically consisted of hello and thank you), but there was plenty of eating, smiling and laughter, especially each time somebody refilled my bowl with the chicken’s cooked, congealed blood.  I think my desire to be polite was misinterpreted as an affinity for the dish.

So I wasn’t actually a fan of the chicken blood, but other Vietnamese chicken dishes are another story altogether.  Case in point: lemongrass chicken.  Chicken breasts marinated in a fragrant lemongrass paste comes together in just minutes with the help of a food processor.  Toss the chicken on the grill and enjoy this quick and easy re-creation of the classic Vietnamese street food.

You can serve the chicken American-style alongside rice and a vegetable. Or cut into pieces, wrapped in lettuce and Vietnamese herbs and then dunked in nuoc cham sauce.  Both are great options.

Ga Nuong- Lemongrass Chicken

Yield: 4 servings

Ingredients:

2 very large boneless chicken breasts, about 1-1/2 pounds (or substitute any other cut of chicken, either boneless or bone-in)
2 stalks lemongrass (ends and woody sections trimmed/removed), roughly chopped
Two small shallots, roughly chopped
2 cloves garlic, peeled
2 Tablespoons fish sauce (most are gluten-free, but check the label to be certain)
1 Tablespoon gluten-free soy sauce
2 teaspoons palm sugar (can substitute brown or white sugar)
1-2 Serrano chili peppers, depending on heat tolerance
juice of 1 lime (about 2 Tablespoons)
3 Tablespoons canola or vegetable oil

For Serving (Optional):
* Nuoc Cham
* Plate of lettuce, sliced cucumbers, and Vietnamese herbs (Thai Basil, Cilantro, and Mint)

Directions:

Place the chicken in a heavy duty plastic food storage bag and pound to an even thickness with a meat mallet.

Combine the lemongrass, shallots, garlic, fish sauce, soy sauce, palm sugar, chili peppers, and lime juice in the bowl of a food processor and process until smooth. Spoon the paste into the food storage bag. Add the canola or vegetable oil and close the bag. From the outside of the bag, try to massage the paste into the chicken.

Marinate for at least 1 hour, although 3-4 hours is preferable.

Preheat a gas or charcoal grill and brush lightly with oil. Grill for about 3-4 minutes per side, until cooked through.

Raspberry Espuma- Raspberry Foam Dessert

0

Last week I posted some very seasonal recipes: rhubarb and ginger spritzers as well as rhubarb and ginger mojitos.  This week, I thought I’d post a super simple dessert recipe that you can make year round.  Can you guess what the main ingredient is in this raspberry foam?  Here’s a hint.

If you guessed jello, you’re a winner.  I like to include these types of recipes every once in awhile (hello, Watergate salad) just to head off any assumptions that I’m a food snob.

But seriously, who would have guessed that when paired with evaporated milk, that jello would create such a light, airy, whipped dessert?  It tasted like one of those Yoplait whipped yogurts/desserts, which in my book is a good thing.

The only trick here is to make sure the evaporated milk is very very cold.  The first time I tried making it, I only let the milk chill for a short period of time and the evaporated milk didn’t want to fluff up, so make sure to place the evaporated milk in the fridge well in advance.  And a quick stay in the freezer makes sure the evaporated milk is plenty chilled.

My inner prepster wanted to use some pale green pistachios to offset the pink, but feel free to use berries or whatever else you’d like as a topping.  And of course you can also substitute whatever jello flavor is in season for the raspberry 🙂

Raspberry Espuma- Raspberry Foam Dessert

Yield: 6-8 servings

Ingredients:

1-1/2 cups water, divided
6-ounce package raspberry Jello
12-ounce can evaporated milk, thoroughly chilled in the refrigerator
whipped cream and pistachios for garnish, if desired

Directions:

Place the can of evaporated milk in the freezer just before making the jello.

Bring one cup of the water to a boil in a small saucepan. Stir in gelatin until completely dissolved and then add the remaining half cup of water. Let cool slightly and then place into refrigerator to continue to chill.

Just before the jello begins to set, pour evaporated milk into a large bowl. Whip using a hand mixer until doubled in volume. While continuing to beat, slowly pour in cooled gelatin. When all of the gelatin has been incorporated, pour the mixture into small bowls or jars (or a large bowl) and chill until set, about an hour or so.

Garnish with whipped cream and shelled pistachios, if desired.

Herbed Zucchini and Feta Fritters

I don’t often subscribe to food magazines (who has time to read magazines when there are so many great food blogs out there?), but when I needed to keep some airline miles from expiring, I signed up for Food & Wine.  I’m so glad I did.  The May issue alone introduced me to Stella’s Double Chocolate and Brown Butter Brownies and these herbed zucchini and feta fritters.

I’m not afraid to break out the oil and do some deep frying from time to time, although I try taking a deep-frying breather in spring and summer months.  Well, these might be the exception to the rule. Sure they’re fried, but they’re also packed with shredded zucchini, chopped mint, dill and parsley and studded with chunks of feta cheese.

I probably don’t have to tell you how magical it is to bite into one and be rewarded with a soft chunk of slightly warmed feta.  Just keep the crumbled feta in somewhat large chunks so that they’re able to keep their integrity during the frying process.

They’re great as-is, but even better with some tzaziki-style yogurt and cucumber dip. The original recipe uses wheat flour, but they were a snap to convert to gluten-free.

One final word, don’t be tempted to halve the recipe.  After two zucchini yielded what seemed to be an enormous pile of shredded zucchini, I unwisely decided that a half-batch would be enough.  Trust me- you’ll want the full batch…

Herbed Zucchini and Feta Fritters

Ingredients:

Zucchini Fritters:

* 4 medium zucchini, washed, ends trimmed and coarsely shredded
* 1 Tablespoon Kosher or sea salt
* 2 large eggs, lightly beaten
* 1/4 cup superfine rice flour
* 1/4 cup potato starch
* 1/4 cup chopped dill
* 1/4 cup chopped parsley
* 1/4 cup chopped mint
* 1/2 cup roughly crumbled feta cheese
* 1/2 teaspoon ground black pepper
* vegetable oil, for frying

Cucumber and Yogurt Sauce:

* 1 medium cucumber—partially peeled, halved, seeded and coarsely chopped
* 2 Tablespoons chopped mint
* 1 cup Greek-style plain yogurt
* salt and pepper

Directions:

Place the zucchini in a cheesecloth-lined colander and sprinkle with 1 tablespoon of salt. Toss the zucchini well and let stand for 5-10 minutes. Squeeze out as much liquid as possible and transfer the zucchini to a large bowl. Stir in the eggs, rice flour, potato starch, dill, parsley, 1/4 cup of the mint, feta, and black pepper. Refrigerate the fritter batter for about 10 minutes.

In a food processor, coarsely puree the chopped cucumber. Transfer to a medium bowl. Stir in the yogurt and the remaining 2 tablespoons of mint and season with salt and pepper.

Preheat the oven to 350°. In a medium saucepan, heat 1 inch of vegetable oil to 350°. Set a paper towel-covered baking sheet near the stove. Working in batches, shape small, golf-ball sized balls of fritter using your hands. Drop them into the hot oil and fry. Turn the fritters a few times until browned and crisp, about 3-5 minutes. Use a slotted spoon or tongs to transfer the fritters to the prepared baking sheet. Repeat with the remaining fritter batter.

Discard the paper towels and reheat the fritters in the oven for about several minutes. Serve the zucchini fritters hot with the cucumber and yogurt sauce.

Double Chocolate Hazelnut and Brown Butter Brownies

0

You’ll have to forgive me for taking a quick break from my Peruvian cooking.  I just couldn’t bear holding off on sharing this double chocolate brownies recipe any longer (will be back to finish up my other Peruvian recipes later this week or next).

Like most of you, except those odd birds out there who are missing the chocolate gene, I love a good brownie.  When I was a little girl, good brownies meant the homemade kind using the one-bowl recipe from the back of the Baker’s unsweetened baking chocolate squares. The same brownies made me turn my back on the box mixes from that point forward.  For years I stood by the old adage, “if it ain’t broke, don’t fix it.”  When I went gluten-free I had to experiment with other brownie recipes by necessity.  One of my favorite new discoveries?  Nut-based brownies.

We’ve been making an almond flour based brownie for a couple years now.  So when I saw this double chocolate hazelnut and brown butter brownie recipe from Stella Parks, who was named one of the Best New Pastry Chefs by Food and Wine, I knew I had to give it a shot.

And let’s just say Parks’ title as best new pastry chef is well deserved.  Although I’m still somewhat tempted to try my hand at creating a gluten-free variation of Ina’s Outrageous Brownies, I’m pretty sure that as long as I have hazelnuts in the pantry, these brownies are officially my new go-to.

I almost didn’t make these… I had a hard time coming to terms with the fact that I had to use three cups of sugar.  But you know what?  These brownies are so rich and amazing that I was totally satisfied with one.  Instead of lasting only a couple of days, these brownies lasted several weeks… even after giving a bunch away.  I just froze individual portions and pulled out when life demanded a brownie.

It’s absolute perfection plain, but if you’re feeling particularly gluttonous, a scoop or two of ice cream with hot fudge is never a bad idea.

Double Chocolate Hazelnut and Brown Butter Brownies

Ingredients:

 1-3/4 cups shelled hazelnuts
1 cup plus 2 Tablespoons cocoa
1 teaspoon salt
3 cups sugar
1 pound (4 sticks or 2 cups) butter
2 cups good quality bittersweet chocolate chips
6 eggs
1 Tablespoon vanilla extract
1 Tablespoon coffee liqueur

Directions:

Preheat the oven to 325. Line a 9-by-13-inch baking pan with foil, pressing it into the corners and leaving overhang for easy removal later on.

Spread the hazelnuts in a single layer on a pie plate and toast for 15 minutes, until fragrant and the skins darken and crack. Let cool slightly. Use a clean towel (or just your hands) to rub off the skins. Combine the hazelnuts, cocoa, salt and 1/2 cup of the sugar in a food processor. Process until finely ground.

Cook the butter in a medium saucepan over medium heat, shaking the pan occasionally, until the butter darkens to a golden color and smells nutty. Remove from heat and add the chocolate chips. When melted, stir until smooth, scraping up any butter solids from the bottom of the saucepan. Let cool slightly.

In a large bowl use an electric mixer to beat the eggs with the remaining sugar until doubled in volume. Beat in the butter and chocolate mixture. Add the ground cocoa and hazelnut mixture, vanilla extract and coffee liqueur and mix completely.

Pour the batter into the prepared pan and bake until the top is glossy and a toothpick inserted in the center comes out with just a few moist crumbs. Let cool on a rack and refrigerate until well chilled.

Remove from refrigerator, lift the double chocolate brownies from the pan and peel off the foil. Cut off the edges, if desired, and cut brownies to your preferred size.

Serve with a tall glass of milk or topped with ice cream, hot fudge sauce and toasted hazelnuts.

Choros à la Chalaca- Peruvian Mussels with Corn Salsa

Mussel lovers, meet your new favorite party appetizer.  I’m not even that much of a mussel fan, but when I saw photos of this pretty Peruvian dish, I knew I had to make it.  Mussels get topped with a fresh and simple corn salsa and served on the half shell.  They’re simple, taste great and are one heck of an attractive dish, if I do say so myself.

Most Choros à la Chalaca recipes call for fresh, live mussels or frozen, pre-cooked mussels on the half-shell.  I thought I’d bought the latter, but as it turns out, the New Zealand mussels I’d bought were actually uncooked.  I popped them in the oven per the instructions on the box, but steaming is more traditional, and probably better way to cook them (I wrote out the instructions below using the steaming method).

And although serving them on the half shell is clearly the most photogenic way to serve the mussels, you can also pop everything into a large bowl if you’re short on space or need to take the dish to-go.  In that case, you can either leave the mussels whole, or give them a rough chop for more even distribution and smaller bites.

Choros à la Chalaca- Peruvian Mussels with Corn Salsa

Yield: 4-6 servings

Ingredients:

24 New Zealand greenshell Mussels, defrosted in the refrigerator if using the pre-cooked frozen variety
1 corn cob, shucked
1/2 red onion, diced
2 Jalapeno chile peppers, seeded and diced
1-2 Tablespoons finely chopped fresh parsley
2-3 Tablespoons fresh lime juice
salt and pepper
lime wedges to serve (optional)

Directions:

Scrub and de-beard the mussels. Discard any that are open and do not close when tapped. Place in a large pan with a thin layer of water. Bring to a boil over medium-high heat. Cover and cook for about 4-5 minutes until the shells have opened. Drain the mussels (you can save the liquid for seafood stock) and discard any that failed to open. When cool enough to handle, remove one side of each shell and cut the mussel away from the bottom shell to loosen it. Omit these steps if using frozen, pre-cooked mussels.

In a large covered pot, boil the corn for 8-10 minutes. Remove from water and let cool slightly. When cool enough to handle, slice off the kernels. Place the corn in a bowl with the onion, chile peppers, parsley, lime juice and salt and pepper. Let the mixture sit for about 15 minutes to allow the flavors to meld.

Arrange the mussels on a serving plate or platter. Scoop a little of the corn salsa on top of each mussel and serve with lime wedges on the side (optional).

The Fruity Root – Pear, Parsnip and Lime Juice

0

Is it just me or are parsnips having something of a moment right now?  I never gave much attention to these root vegetables (which I always imagined to be bland, anemic versions of carrots) until very recently.  But just in the past couple months I’ve had them pureed as a side dish at a fancy-pants dinner party and seen them featured at one of my favorite downtown Honolulu gourmet lunch spots.  Bland and boring they are not.

And now I find out that they’re an excellent juice ingredient as well.  Combined with pears, they create a mellow, sweet and thick juice that’s almost smoothie-like (and dare I say, quite photogenic).  A touch of lime adds brightness and a touch of acidity.   If you’re getting adventurous and want to start branching out from strictly fruit juices, this is a good one to try.

The Fruity Root – Pear, Parsnip and Lime Juice

Yield: 1-2 servings

Ingredients:

* 2 pears, washed and quartered
* 2 parsnips, washed, ends trimmed, and cut into several pieces
* 3-4 calamansi limes

Directions:

Process the ingredients through a juicer. Serve immediately over ice.

Roasted Cauliflower with Spicy Tomato Sauce

For many years the only way you’d catch me eating cauliflower was if it was drenched in gooey, processed cheese sauce. Although I warmed up to broccoli pretty early in my tween years, I considered cauliflower boring and unworthy of my time, attention and limited space in my tummy until somewhat recently.

And while I still prefer most other roasted vegetables in their naked state, roasted cauliflower turns into quite the showstopper when topped with a bright, Indian tomato sauce.  It’s a colorful, healthy and unique dish that is simple to make but packs a spicy punch.

If you’re truly heat adverse, you can remove some of the seeds in the Serrano chile pepper or cut back on the cayenne pepper.  But remember, the cauliflower is mild, and there’s plenty of vegetable to balance out the heat in the sauce.

Roasted Cauliflower with Spicy Tomato Sauce

Yield: 4-6 servings

Ingredients:

* 1 head cauliflower, washed and cut into large florets
* 3 Tablespoons olive oil, for extra for drizzling
* 1-inch piece fresh, peeled and grated ginger
* 3 cloves garlic, minced
* 1/2 teaspoon ground cumin
* 1 teaspoon ground coriander
* 1/2 teaspoon turmeric
* 14.5-ounce can diced tomatoes
* 1 Serrano chile pepper, quartered lenthwise
* 1/2 teaspoon cayenne pepper
* salt and pepper
* 3 Tablespoons chopped cilantro

Directions:

Preheat oven to 425 degrees and line a rimmed baking mat with parchment paper. Spread the cauliflower florets in a single layer and drizzle with olive oil. Toss to coat. Roast for 15-20 minutes, or until the cauliflower begins to brown.

While the cauliflower is roasting, prepare the spicy tomato sauce. Heat 3 Tablespoons of olive oil in a large frying or saute pan over medium-high heat and add the ginger and garlic. Cook, stirring, for a minute or two. Add the cumin, coriander, and turmeric and cook, stirring frequently, until very fragrant, about two minutes.

Reduce the heat to medium-low and add the tomatoes and all of the juice from the can, chile pepper, and cayenne. Simmer until the tomatoes are cooked and use the back of a wooden spoon to mash the tomatoes to break them down into a chunky sauce. Add the cilantro and cook for another minute. Season with salt and pepper to taste.

Place the roasted broccoli florets onto a serving plate and top with the spicy tomato sauce. Serve immediately.