Home Blog Page 86

Ginger and Lemongrass Syrup

0

Ginger Lemongrass SyrupIt’s not exactly groundbreaking, but here’s the lovechild of my two favorite syrups: ginger and lemongrass.  The condiment shelves in my fridge are generally stuffed to the gills, and so I’m considering the consolidation of two bottles into one to be a step in the right direction.  I’m not sure why I didn’t take the leap years ago.

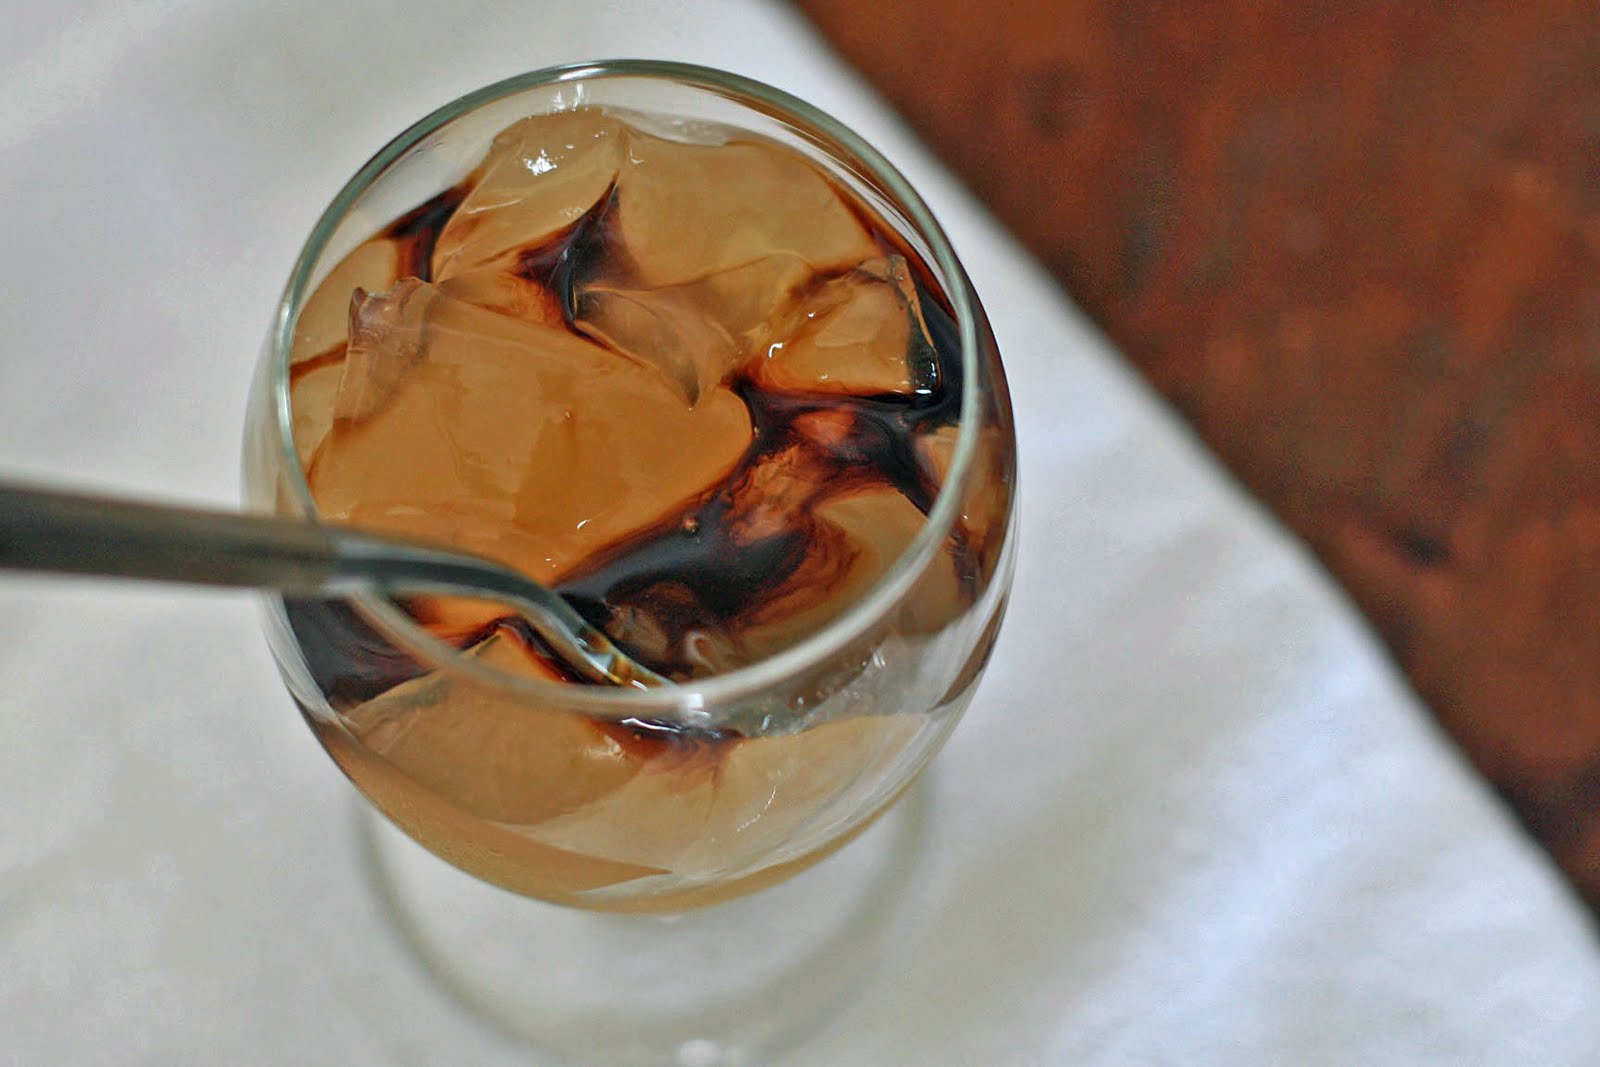
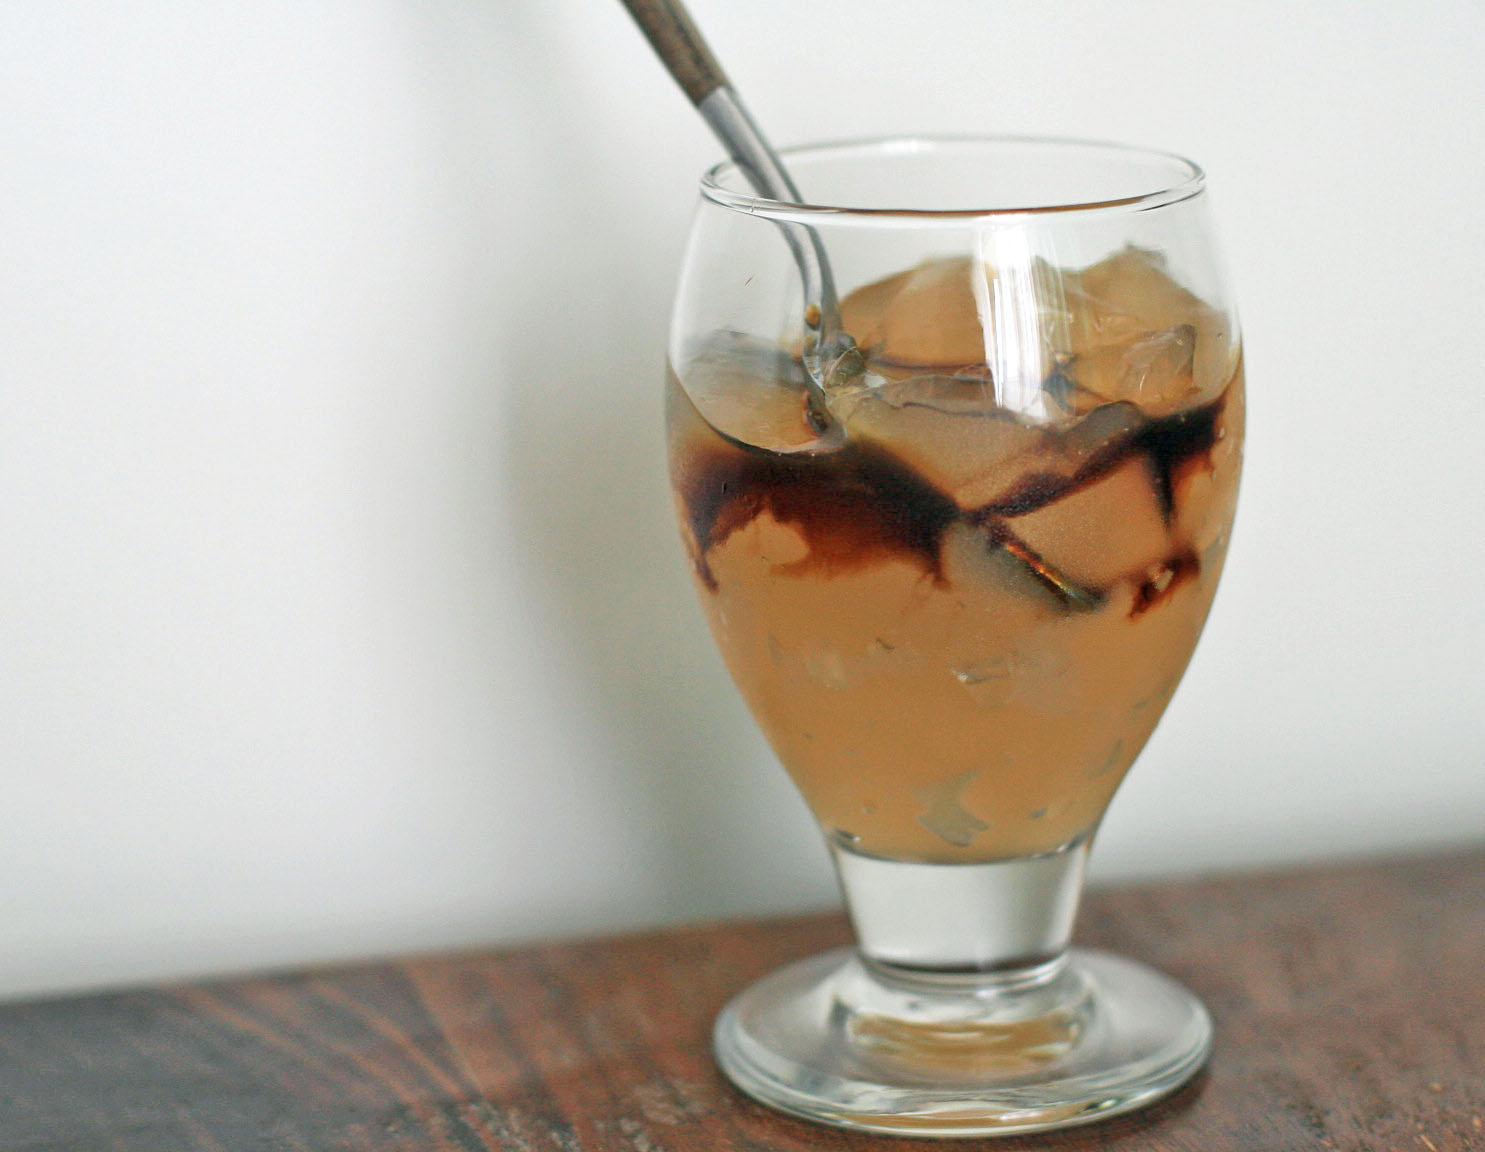
The syrup is surprisingly versatile… drizzle some into your tea, lemonade, or use it in place of simple syrup in your favorite cocktail to give it some Asian flair (a ginger lemongrass mojito sounds pretty fab).  It can also provide a base for one heck of a fantastic mocktail.  Recipe is coming soon, but here’s a sneak peek.

Drink with Ginger Lemongrass Syrup

Ginger and Lemongrass Syrup

Prep Time: 5 minutes

Cook Time: 20 minutes

Total Time: 1 hour

Ingredients:

1/2 cup peeled and diced ginger
1/2 cup thinly sliced lemongrass (bottom part of the stalks only- remove the woody top section)
2 cups sugar
1-1/4 cup water

Directions:

Combine the ginger, lemongrass, sugar and water in a small saucepan. Stir to combine and then bring the mixture to a boil. Reduce heat to medium-low and simmer for about 15 minutes to let the mixture reduce a bit. Remove from heat and let cool for about half an hour.

Strain the mixture into a bottle or jar. Use immediately or refrigerate for future use. Will keep for several weeks in the refrigerator.

Gluten-Free Chocolate Mug Cake

0

Gluten-Free Chocolate Mug CakeI’ve never been much of an early adopter when it comes to food.  Evidence?  I tried a single serving mug cake for the first time about a month or so ago.  A recipe from a very, very popular food blogger had just popped in my reader earlier that day and I was in dire need of some chocolate.

My excitement about entering the world of mug cakes was premature: that thing was a gummy mess.  It was my intense craving for chocolate that persuaded me to try again.  This time I turned to a recipe from Jessica over at the Novice Chef.   She promised that it was a winner and she delivered.  Big time.

Gluten-Free Chocolate Mug CakeHer recipe was easy to convert to gluten-free (although for full disclosure, I made it even MORE chocolatey) and nearly impossible to muck up.  I’ve used regular, coconut and almond milk… all with great success.  And despite the fact that I almost never measure carefully when I’m not working on a blog recipe, it’s worked every single time.  There’s a pretty big margin for error here folks.

So if you don’t have time to make my favorite gluten-free chocolate cupcakes, or don’t want any tempting leftovers around, then this one’s for you.  And if you’ve got somebody who is always sneaking a bite or two of your dessert, I should note that this recipe is easily doubled.  Just make sure to make it in a large bowl (or a giant mug) so that it doesn’t overflow while cooking in the microwave; the batter tends to rise up quite high about halfway through the process.  If you double the recipe you’ll also have to add some additional cook time.

Gluten-Free Chocolate Mug Cake 2

Gluten-Free Chocolate Mug Cake

Yield: 1 serving

Prep Time: 4 minutes

Cook Time: 1 minute

Total Time: 5 minutes

Ingredients:

2 Tablespoons sugar
1-1/2 Tablespoons rice flour
1 Tablespoon potato starch
2 Tablespoons cocoa powder
1/4 teaspoon baking powder
pinch of salt
3 Tablespoons milk
1-1/2 Tablespoons oil
1 Tablespoon almond or another nut butter

Directions:

Combine the sugar, rice flour, potato starch, cocoa powder, baking powder, and salt in a mug and stir to mix. Add the milk, oil and almond butter and mix until smooth.

Cook for approximately 70 seconds in the microwave on full power. Serve immediately.

Gluten-Free Blueberry Buttermilk Pancakes

Gluten-Free Buttermilk Blueberry PancakesIs it just me, or is getting sick in the middle of summer just plain cruel?   Sometimes in the rainy season I half hope that I’ll come down with a little cold.  Staying home from work and curling up on the sofa with a hot cup of tea, without any chores to accomplish, sounds pretty good to me.

But being sick with a fever during a particularly sweltering July when I’d rather be taking advantage of prime beach season?  No thank you.  Even if it does mean that I can lounge around and watch The Italian Job and re-runs of The Big Bang Theory all day long.

Buttermilk Blueberry Pancakes 2I’m finally starting to feel like my old self again, which means I’ll be giving this whole blogging thing the old college try again.  I’ve long had my next destination picked out, but I can’t get in the swing of things before I do a much-needed fridge and pantry clean out.

I had some buttermilk in the fridge from making red velvet cake, so my first thought was, quite naturally, pancakes.  Specifically thick, fluffy pancakes studded with fresh blueberries.  Even a fever-induced funk is no match for a breakfast with these beauties.

Gluten-Free Buttermilk Blueberry Pancakes

Gluten-Free Blueberry Buttermilk Pancakes

Yield: 4-6 servings

Ingredients:

1-1/2 cups superfine rice flour
3/4 cup potato starch
1/2 cup tapioca starch
2 Tablespoons sugar
1 Tablespoon baking powder
One teaspoon baking soda
1 teaspoon salt
1-1/4 cups buttermilk
1/4 cup melted butter, plus extra butter for greasing pan
1 teaspoon vanilla extract
2 eggs
2 cups blueberries, picked over to remove stems and rinsed

Directions:

In a medium bowl, combine the rice flour, potato starch, tapioca starch, sugar, baking powder, baking soda, and salt.

Add the buttermilk, melted butter, vanilla extract, and eggs and mix until smooth. Gently fold in the blueberries.

Heat a skillet or frying pan over medium-high heat. Melt a pat of butter. When a drop of batter sizzles when it hits the pan, ladle about 1/4 cup of batter onto the pan. Repeat, leaving plenty of space between the pancakes. When bubbles dot the surface of the pancake, flip to the other side and cook until golden.

Repeat with the remaining batter. Serve with your choice of syrup.

Arnold Palmer Sorbet (aka Half-Tea Half-Lemonade Sorbet)

0

Arnold Palmer SorbetEvery summer, when it seems as though the heat and humidity can’t get any worse, I turn to my turn to my friend, the Arnold Palmer.  You may know him as a half-and-half or a tea with lemonade.  The one-two punch of caffeine and sugar with plenty of mouth-puckering lemon never fails to get me out of my heat-induced stupor.

Arnold Palmer Sorbet 1Posting the recipe for the drink seemed a little to Captain Obvious (make some extra strong tea, add sugar, lemon juice and ice.  If you’d like a Tipsy Palmer, otherwise known as a John Daly, add some bourbon or another liquor), but it recently occurred to me that it would make one heck of a sorbet.

It’s everything I love about an Arnold Palmer in frozen, concentrated form.  So for those times when I’m looking for a sweet treat, but don’t necessarily need to replace all my vital fluids, I’ll be turning to this refreshing dessert.

Arnold Palmer Sorbet 2

Arnold Palmer Sorbet (aka Half-Tea Half-Lemonade Sorbet)

Ingredients:

* 3/4 cup plus 2 Tablespoons sugar
* 2-1/4 cups water
* 4 black or orange pekoe tea bags (Lipton or something similar works great)
* 3/4 cup lemon juice
* 1 Tablespoon bourbon, rum or vodka
* 1 Tablespoons light corn syrup

Directions:

Combine the sugar and water in a small saucepan over medium heat. Cook, stirring, until the sugar dissolves. Bring to a boil and let simmer for 3-4 minutes without stirring. Remove from heat, add the tea bags and let them steep for about three minutes. Remove the tea bags, pressing them gently to extract as much liquid as possible. Add the lemon juice, bourbon, and corn syrup and stir to mix. Let cool to room temperature and then cover and chill until the mixture is very cold.

Freeze the mixture in an ice cream maker according to manufacturer’s instructions. Transfer the mixture to a freezer-safe container and freeze for at least 3-4 hours.

Indian Yellow Dal

Yellow DalI’m in the middle of a massive fridge, freezer and pantry clean-out, which means that all of my dried beans and legumes have got to go before I even think about putting in another order from Rancho Gordo or visiting the bulk bins at the local health food stores.

While a lot of beans have risen in popularity over the past decade or so (I definitely remember thinking that beans were really uncool as a kid, although I don’t know where I got that idea), I’m not sure if any of that popularity has extended to yellow split peas.  Even Safeway, the only supermarket that carried them out here, stopped selling them a few months back.

Yellow Dal 1And that, my friends, is kind of a travesty.  After going overboard with lentils a couple years back, yellow split peas have become my pulse of choice.  They’re great because, like lentils, they don’t require super-lengthy cooking times or overnight soaks.  And with their happy and vibrant hue, they’re like a warming bowl of sunshine.

It’s no secret that I’m a fan of South Asian yellow split pea dishes (as evidenced by this, this, and this), but this Indian yellow dal just might just be very favorite of the bunch.  It’s flavored with plenty of sautéed garlic and onions as well as a mélange of my favorite Indian spices.  A large pat of butter gives the dal an unexpected richness and it’s finished with a hefty dose of chopped cilantro.

Yellow Dal 2

Indian Yellow Dal

Yield: 4-6 servings

Prep Time: 10 minutes

Cook Time: 60 minutes

Total Time: 1 hour, 10 minutes

Ingredients:

* 1 cup dried yellow split peas
* 3 cups water
* 3/4 cup diced tomatoes in their juice
* 1/4 cup oil
* 1 teaspoon cumin seeds
* 1 onion, finely chopped
* 6 cloves garlic, thinly sliced
* 1 teaspoon ground coriander
* 1 teaspoon turmeric
* 1/2 teaspoon cayenne pepper
* 1 teaspoon salt
* 1 Tablespoon butter
* 1/4 cup roughly chopped cilantro leaves

Directions:

Rinse the yellow split peas in a fine-mesh sieve, place in a bowl, cover with water, and let soak for one hour. Drain, place in a large saucepan and add the water and diced tomatoes. Bring the mixture to a boil and then reduce heat, cover and simmer until the split peas are tender, about 40 minutes to an hour, depending on the freshness of your peas.

Heat the oil in a medium saucepan over high heat. When the oil begins to smoke, add the cumin seeds and cover with a lid or splatter screen. Let the cumin seeds sizzle in the oil for about 10-20 seconds and then carefully slide in the onion. Cook, stirring frequently, until the onion has softened. Add the garlic and continue to cook until the onion turns golden.

Add the coriander, turmeric, cayenne and salt and cook for another minute or two.

Finally, add the onion mixture to the split pea mixture and then add the butter and cilantro leaves. Cook for about 5-10 minutes to allow the flavors to meld.

Curried Tuna Salad

0

Curried TunaEven though we’ve got pretty great weather year-round here in Honolulu, I’m certainly not immune to a little spring fever.  The longer, warmer days mean even more frequent trips to the beach and, more importantly, more frequent beach picnics.

While I’d love to be the kind of person who can put together a magazine shoot-worthy picnic set atop a chic table in a bag, more often than not, my picnics consist of  several friends huddling around a cooler, passing around Pyrex containers of food.  While I may fall short when it comes to providing ambiance, I’d like to think I can put together a mean assortment of food.  And this curried tuna salad?  I can assure you that it’ll probably be in just about every cooler I pack this summer.

Curried Tuna 1In this quick and easy dish, canned tuna is combined with sauteed onions, garlic, ginger and a hefty dose of curry powder while some sliced Serrano chile pepper provide a bit of heat .  I’d happily eat this stuff plain with a fork, with crackers or in a sandwich.  Hot, warm or cold.  With mayo or without.   Honestly, it’s hard to go wrong here.

Although I kept the salad plain and simple this time, I imagine the same sort of extras that you’d find in curried chicken salad (grapes, raisins and/or chopped apples) would all be welcome additions here as well.

Curried Tuna 2

Curried Tuna Salad

Yield: 3-4 servings

Prep Time: 5 minutes

Cook Time: 10 minutes

Total Time: 15 minutes

Ingredients:

* 1/4 cup oil
* 1 medium yellow onion, finely chopped
* 4 cloves garlic, minced
* 2 teaspoons finely minced or grated fresh ginger
* 1 Tablespoon curry powder
* 3 cans (6 ounces each) tuna, drained
* 1/2 Serrano chile pepper, finely sliced
* salt
* pepper
* 1/2 cup chopped cilantro leaves
* mayonnaise (optional)

Other optional add-ins: cut grapes, raisins and/or chopped apples

Directions:

Heat the oil in a skillet over medium-high heat. Add the onion and cook, stirring occasionally, until softened. Add the garlic and ginger and cook, stirring frequently, until the mixture begins to turn golden. Add the curry powder and stir to coat.

Add the tuna and Serrano chile pepper and cook, stirring occasionally until heated through. Add salt and pepper to taste and then stir in the cilantro leaves. Add in the mayonnaise, if desired. Serve hot, at room temperature, or chilled.

Tart and Garlicky Tamarind Sauce

0

Tamarind Sauce 1I’ve decided that I don’t pay enough attention to sauces, often considering them nothing more than an afterthought.  Bad call on my part.

Because without sauces, cheese nachos would pretty much just be a plate of tortilla chips, hot fudge sundaes would barely have a leg up on a bowl of plain ice cream, and Eggs Benedict would be nothing more than an open faced breakfast sandwich.  Clearly it’s the sauces that are elevating those dishes to something extra special.

Tamarind Sauce 2And so I’m planning on addressing the major dearth of condiment recipes around here, starting with this tart, garlicky tamarind sauce.  Tamarind pulp is combined with hot water, garlic and Jalapeno and simmered until dark and thick.

Use it instead of ketchup to give your burger some Burmese flair, or use it as a dip on fries or any other fried snacks.  I’m especially happy to have this recipe on file because it always seems like I’ve got a thick slab of tamarind remaining after my Southeast Asian cooking phases.  This will surely be my new go-to for using up any tamarind leftovers.

Tamarind Sauce 3

Tart and Garlicky Tamarind Sauce

Yield: About 1 cup

Prep Time: 10 minutes

Cook Time: 5 minutes

Total Time: 15 minutes

Ingredients:

* 1/2 cup packed tamarind pulp, finely chopped
* 1/2 cup plus 2 Tablespoons hot water
* 5 cloves garlic
* 2 Jalapeno chile peppers, seeded and roughly chopped
* 1/2 teaspoon salt
* 1 teaspoon sugar

Directions:

Combine the tamarind pulp and the hot water in a small bowl. Set aside for 5 minutes and use a fork to mash the tamarind to help dissolve it into the water. Press the mixture through a sieve into a small saucepan, pressing the mixture against the sieve to extract as much as liquid as possible from the pulp. Discard any remaining solids.

Combine the garlic and Jalapeno in a food processor and process until the mixture has formed a paste. Add this to the tamarind liquid and then add the salt and sugar.

Bring the mixture to a boil and then reduce heat and simmer for about 5 minutes, just long enough to take some of the edge off of the garlic. If the mixture gets too thick, add a Tablespoon or two of water. Taste and adjust the salt or sugar, if necessary.

Refrigerate any leftovers.

Indian Spiced Cucumber, Peas and Mint

Warm Indian CucumberFor a girl who is constantly cooking new recipes from all types of cuisines, I’ll admit I’ve been in something of a rut when it comes to Indian food.  I’m constantly trying new recipes, yes, but I’m such a fan of Ruta Kahate’s first cookbook (5, Spices: 50 Dishes…. I’ve mentioned it many, many times already) that I find myself, even with a stack of Indian cookbooks on the shelf, cooking almost exclusively from 5 Spices, 50 Dishes.

It was Anjum Anand who finally lured me away from my tried-and-true with a lovely photo of this warm cucumber dish in her cookbook Anjum’s New Indian.  A couple years ago I probably would have passed it by, thinking to myself, cooked cucumbers?

Warm Indian Cucumber 1But now I know better.  It was actually Cambodian food that made me see the light, specifically this Cambodian Curried Shrimp with Cucumbers.   When lightly cooked, cucumbers add a delicate flavor and a tender-crisp texture.  In this recipe, cucumbers and peas are combined with plenty of Indian spices in a yogurt-based sauce.

Having already made this several times in the past week or so, I feel pretty safe declaring this dish a success.  Maybe this will help ease my anxiety about branching off into other Indian cookbooks?  Only time will tell.

Warm Indian Cucumber 2

Indian Spiced Cucumber, Peas and Mint

Yield: 4 side servings

Prep Time: 7 minutes

Cook Time: 8 minutes

Total Time: 15 minutes

Ingredients:

* 1-1/2 Tablespoons oil
* 1 teaspoon cumin seeds
* 3/4 teaspoon mustard seeds
* 1 teaspoon ground coriander
* 1/2 teaspoon ground turmeric
* 1/2 teaspoon ground cayenne pepper
* 1/2 teaspoon salt
* 2 cucumbers, peeled, cut in half lengthwise, seeded and cut into thin slices
* 1 cup frozen green peas
* 1/4 cup plain yogurt
* 2 Tablespoons finely chopped fresh mint

Directions:

In a skillet, heat the oil over high heat until it begins to smoke. Add the cumin seeds and mustard seeds and immediately cover with a lid or splatter screen. When the seeds stop popping, quickly reduce the heat to medium-high and add the coriander, turmeric, cayenne and salt and give the mixture a quick stir.

Add the cucumber slices and cook, stirring, about a minute. Add the frozen peas and cook, stirring frequently, until the peas are heated through. Reduce heat to medium-low and, while stirring continuously, add the yogurt. Cook for about a minute to let the mixture combine. Sprinkle the dish with mint and serve immediately or let it cool to room temperature.

Burmese Fish Salad with Shallots and Fresh Herbs

Burmese Fish SaladAlthough we’re experiencing a minor cold snap out here in Hawaii, it seems like the rest of the country is finally starting to warm up.  So it’s a good bet that many of you are starting the transition from hearty soups to lighter fare.

Some of my favorite warm weather dishes are Hawaiian poke, Peruvian ceviche or Tahitian poisson cru, but if the idea of eating raw fish gives you the heebie jeebies, then you might want to try this light and refreshing Burmese fish salad instead.

Burmese Fish Salad 1Your favorite filet of fish is poached in lemongrass-infused water (or if you’ve got some leftover fish to use up, feel free to use that instead), flaked, and then combined with plenty of shallots, chili pepper, and herbs.  The mixture is then tossed in a shallot and lime juice dressing.  It’s refreshing, lightly spicy and filling without being heavy.

Serve it alongside another salad for a light lunch or wrap it in lettuce leaves for a fun appetizer.

Burmese Fish Salad 3

Burmese Fish Salad with Shallots and Fresh Herbs

Because the dressing contains citrus juice, which will continue to “cook” the fish, this salad is best the day it’s made.

Yield: 4 servings

Prep Time: 15 minutes

Cook Time: 10 minutes

Total Time: 25 minutes

Ingredients:

1 stalk lemongrass, bruised with woody ends removed
1-1/2 cups water
1 teaspoon salt
1 pound white fish filet
3/4 cup thinly sliced shallots, soaked in cold water for at least 10 minutes and drained
2 Tablespoons lime juice
2 teaspoons fish sauce
1 Tablespoon shallot oil
3 Tablespoons golden crispy shallots
1/2 teaspoon salt
1 red Jalapeno chili, seeded and minced
1/4 cup chopped cilantro and/or mint leaves (I like a 3 Tablespoons cilantro to 1 Tablespoon mint ratio)

Directions:

Combine the water and lemongrass in a large saucepan and bring to a boil. Add the salt and fish and bring the water back to a boil. Reduce heat, cover the saucepan and cook the fish, keeping the water at a strong simmer, until the fish is just cooked through. Remove the fish to a plate to let cool. Discard the poaching water or reserve it for another use.

When the fish is cool enough to handle, break it into small chunks or flakes, depending on your preference. Add the shallots, lime juice, fish sauce, shallot oil, fried shallots, salt, chili pepper, and herbs and toss. Taste and adjust salt, if necessary. Serve at room temperature or slightly chilled.