Home Blog Page 85

Jerusalem Mixed Grill Recipe

0

Think you’re not an offal fan?  This Jerusalem mixed grill recipe might just convert you.  Chicken livers and chicken breast cooked in a baharat spice mixture, drizzled with tahini sauce and served on flatbread with some greens.

The original version also called for heart and spleen, but Whole Foods didn’t carry any.  If you’re able to find either- and are an adventurous cook- feel free to add some in.

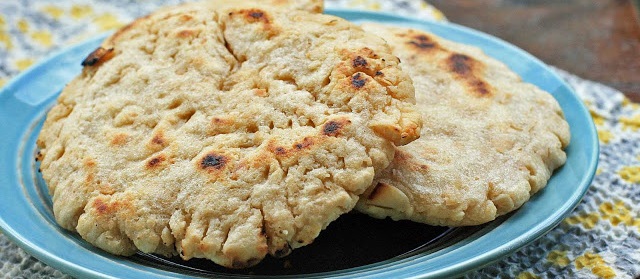
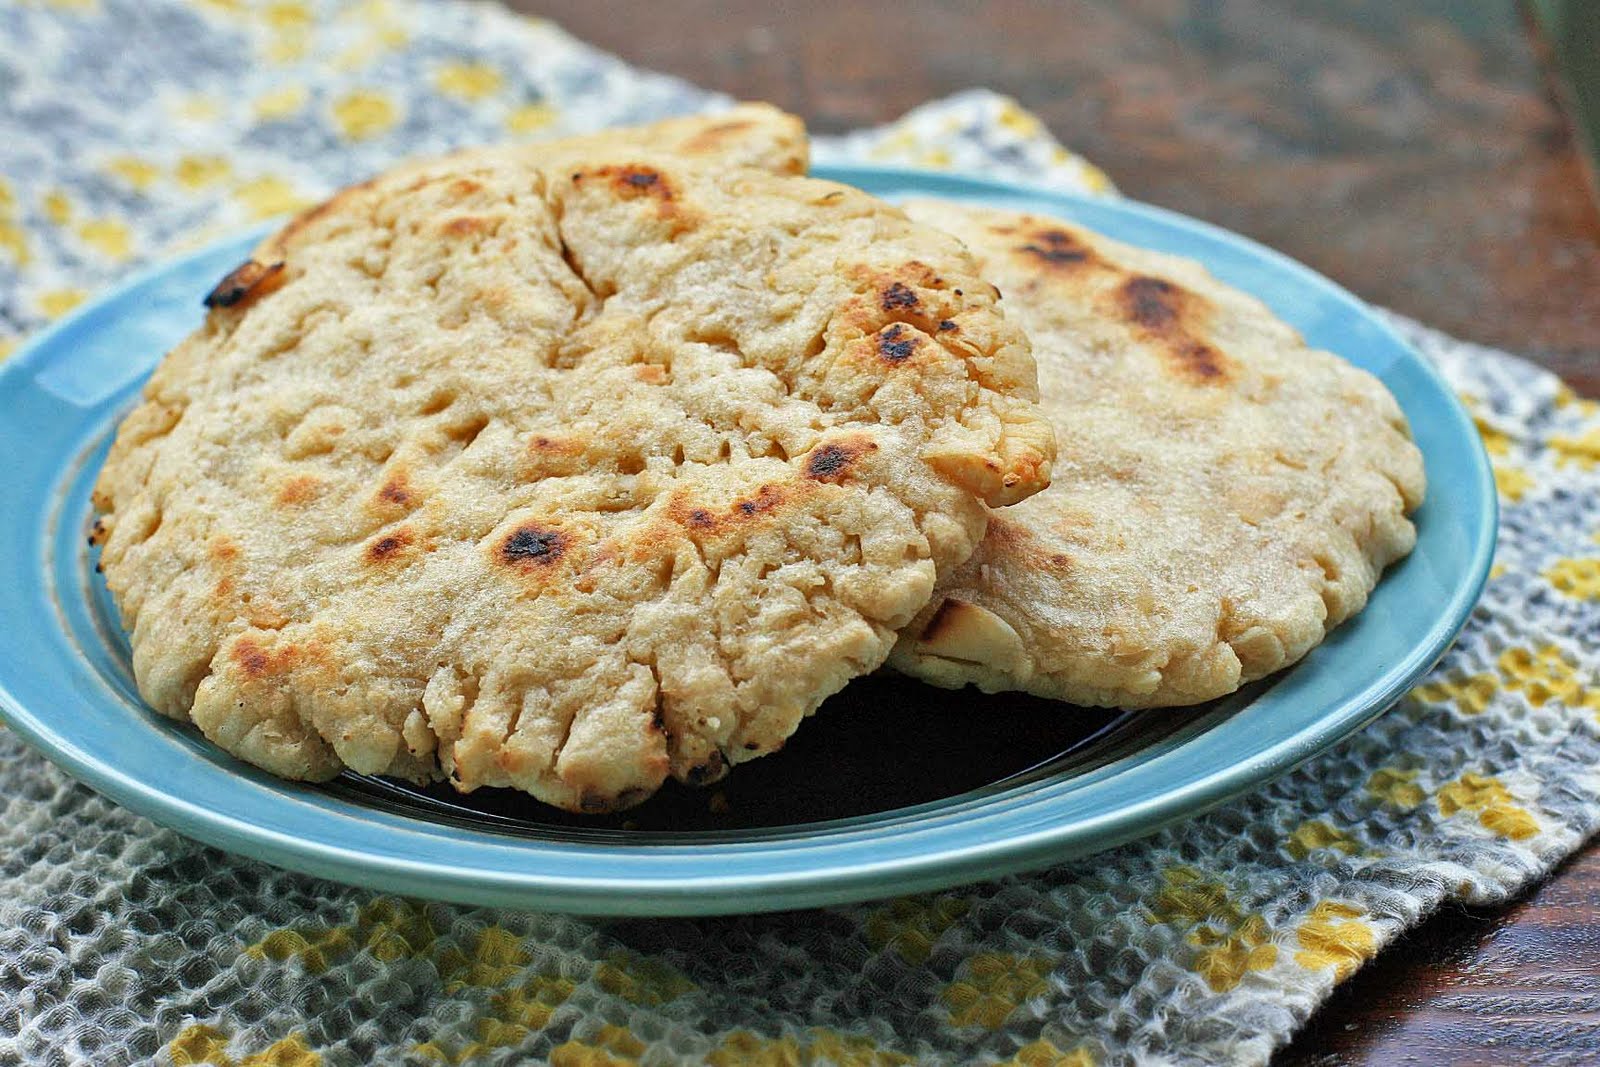
This is also traditionally eaten in a pita, but I haven’t had much luck making my own gluten-free version and so I served it on my favorite new flatbread.  I’ll share that recipe tomorrow.

Jerusalem Mixed Grill

Yield: 6 servings

Ingredients:

 1 pound chicken livers and 1 pound chicken breast, chopped
 1 large onion, sliced
 1/3 cup olive oil
1 teaspoon baharat spice mix (recipe follows)
1 teaspoon paprika

Directions:

Mix the chicken livers and breast with the onions, spices and olive oil. Marinate for several hours (up to one full day).

Heat a skillet and add the seasoned meat mixture. Cook, stirring, until meat has cooked through.

Serve on a pita, or gluten-free bread (or see my new favorite substitute), with some tahini sauce (recipe follows) and some greens.

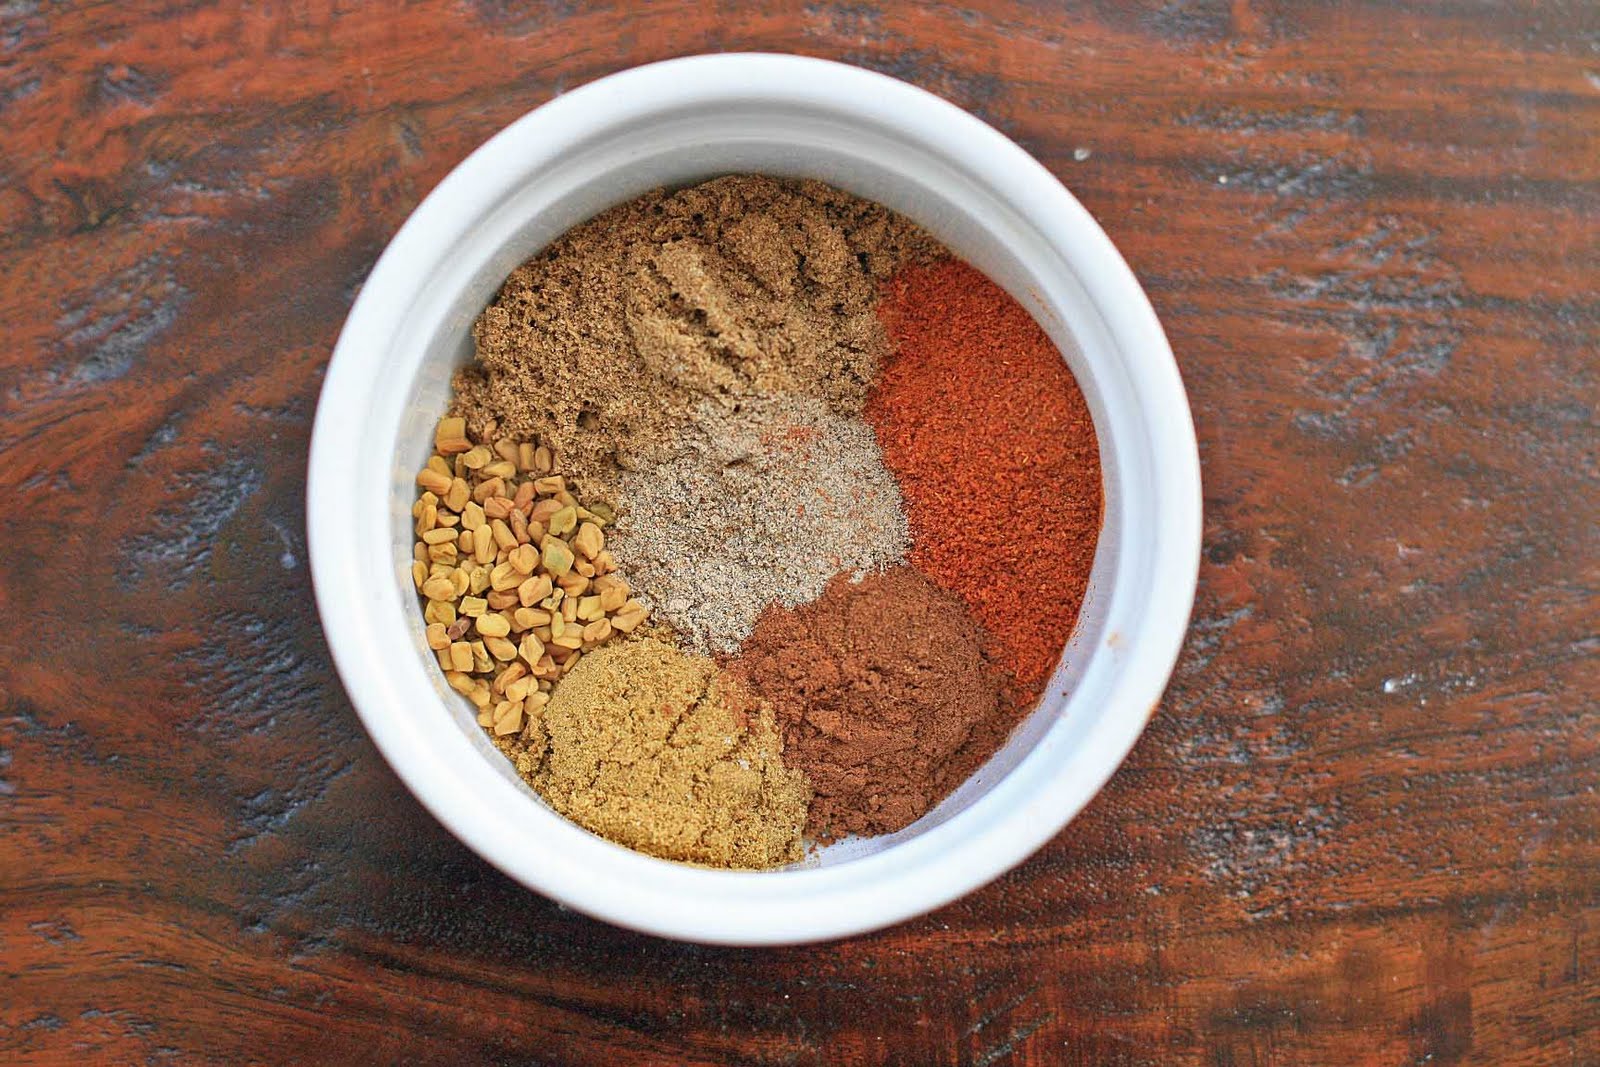
Baharat Spice Mix:
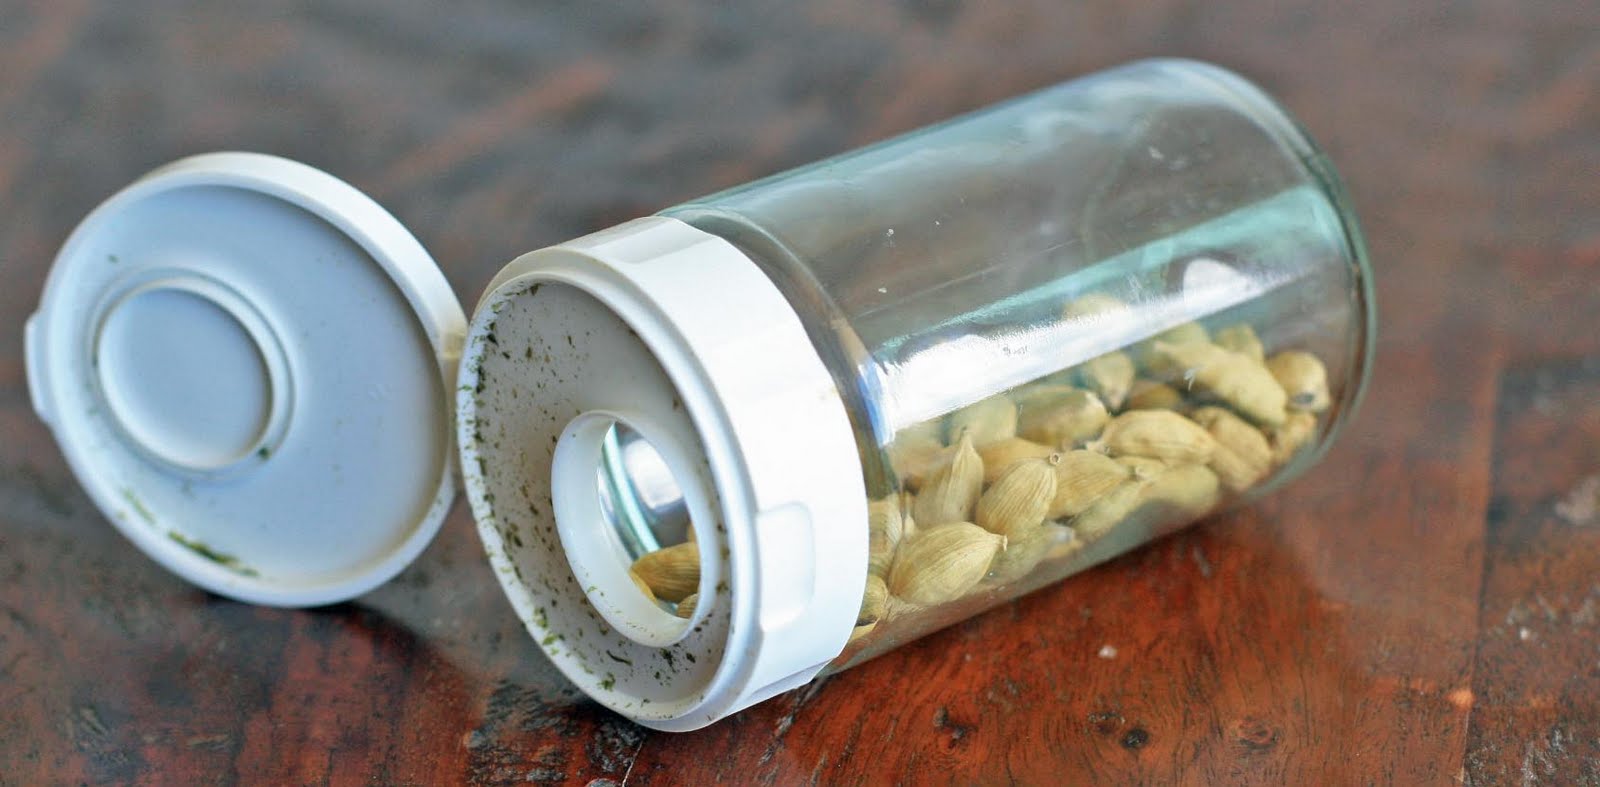
1 Tablespoon ground cardamom
1 Tablespoon ground black pepper

 1/2 Tablespoon ground nutmeg
1 Tablespoon ground cinnamon
1 Tablespoon ground ginger* 1/2 Tablespoon ground allspice

Tahini Sauce:
1 cup tahini
2 Tablespoons lemon juice
2 cloves garlic, minced
salt and pepper
1/2 to 1 cup water

Mix tahini, lemon juice, and garlic. Add water to desired consistency.

Israeli Malabi Pudding

0

It was only after I chose Israel as one of my first culinary destinations that I learned a debate as to whether Israel has its own distinct and unique cuisine existed.  Apparently some people argue that Israeli cuisine is really just a collection of recipes from Jewish immigrants as well as recipes from its Arab neighbors.  But I’m not interested in the debate- I came for the food.

While Malabi is popular all over the Middle East (although it apparently goes by other names as well), it has become a staple dessert in Israel.  Wherever it’s from, it’s 100% amazing.

I snuck a couple spoonfuls while I was transferring it to my serving dishes.  My initial reaction?  Meh.  After it cooled?  Well, let’s just say the eight servings lasted about 24 hours in the house.

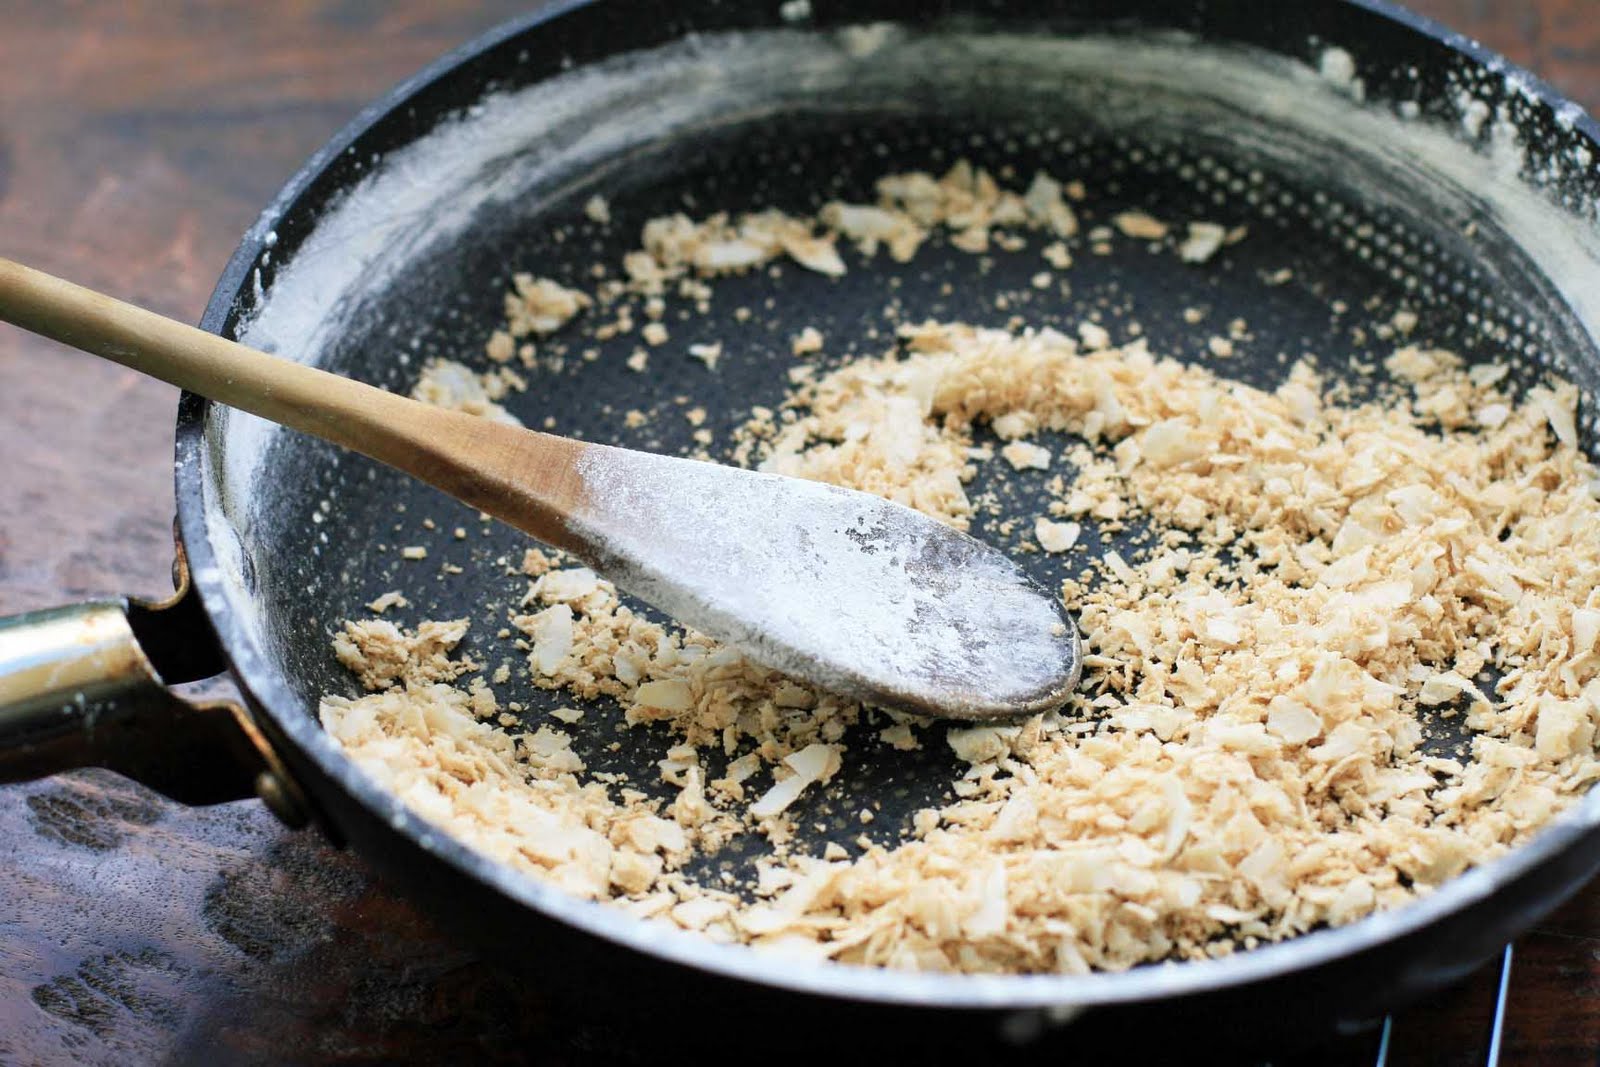
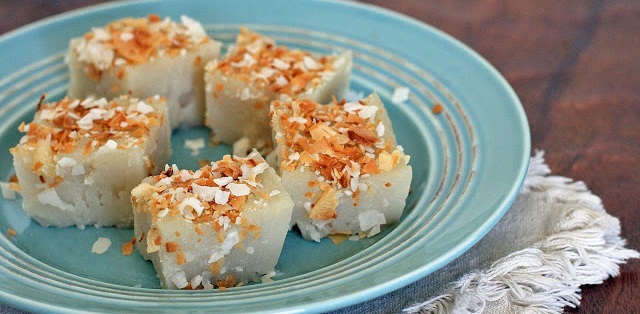
I topped the malabi with raspberries pureed with rosewater, toasted coconut flakes, pistachios.  They were all great.  Come summer I’ll be topping the malabi with a strawberry-rosewater topping.

Malabi

Yield: 8 servings

Ingredients:

* 4 cups whole milk
* 3/4 cup corn starch
* 1 cup heavy cream
* 1/2 cup sugar
* 1 Tablespoon rose water

Directions:

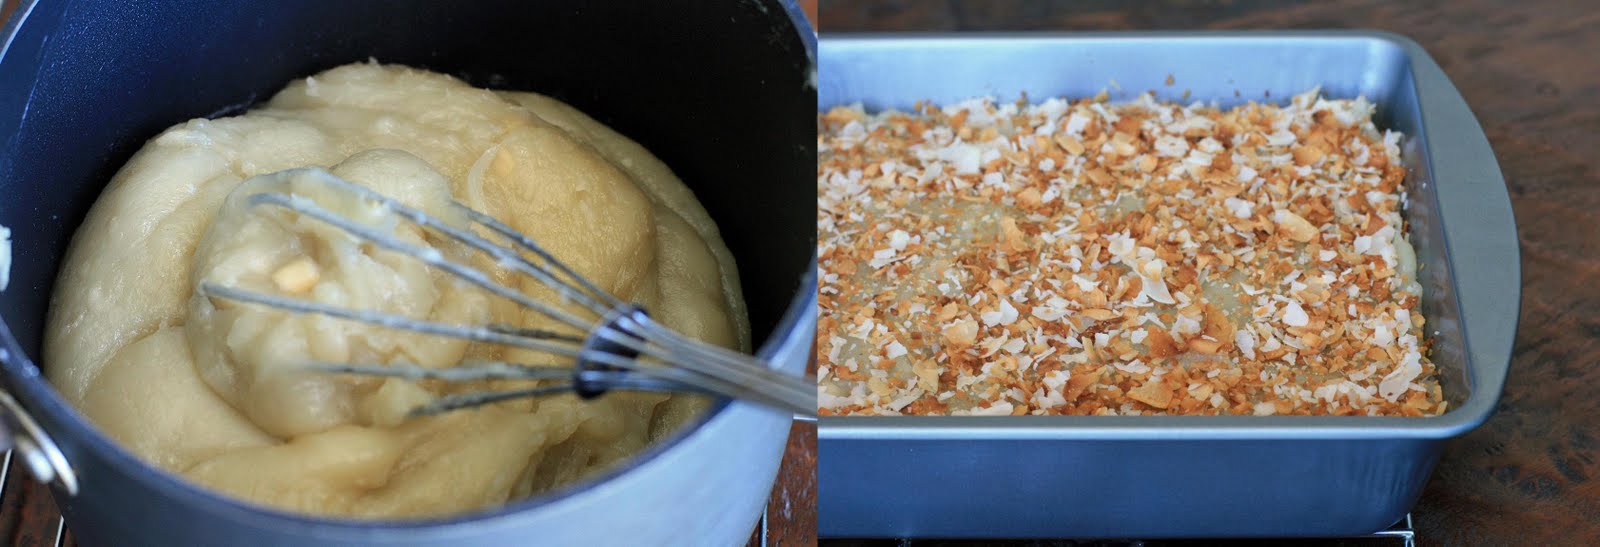
Mix one cup of milk with the corn starch to make a slurry. Stir until the cornstarch dissolves completely.

Heat the remaining 3 cups of milk, heavy cream, and sugar in a saucepan and bring to a simmer.

Pour in the milk and corn starch mixture and cook over low heat until thick. Stir in the rose water.

Remove from stove and pour into serving glasses or dishes. Allow to come to room temperature. Refigerate until thoroughly cooled.

Top with your favorite fruit, nut, or syrup.

Indonesian Fried Bananas

0

Last weekend I went to the Punahou Carnival.  Although I was extremely excited to see a sign for gluten-free nacho plates (!!!), I still got a little jealous to see my gluten-eating friends eating malasadas and other fried foods.

So I went home and made these the next morning.  Suddenly I didn’t care about not having been able to eat those malasadas…

Indonesian Fried Bananas

Yield: 4 servings

Ingredients:

* Approximately 5-6 small, medium-ripe bananas (I used 5 Hawaiian candy apple bananas)
* 1 cup rice flour
* 1 teaspoon sugar
* 1 teaspoon baking powder
* 1/4 teaspoon salt
* 1 egg
* 1 tablespoon melted butter
* 1/2 cup coconut milk
* Coconut or vegetable oil for deep-frying (I used coconut)
* Powdered sugar or maple syrup

Directions:

Cut each banana in half lengthwise and then cut each half into 2 or 3 pieces.

In a bowl mix together the rice flour, sugar, baking powder, salt, egg, melted butter and coconut milk.

Heat the oil in a small saucepan to approximately 350º. Dip the banana pieces into the batter and fry until crisp. Drain on paper towels. Great sprinkled liberally with powdered sugar or with some maple syrup for breakfast.

Gluten-Free Amaranth Honey Cake

0

Amaranth CakeI guess honey cake is traditional for Rosh Hashanah because I saw versions of it in many Israeli cookbooks.  It was easy enough to convert to gluten-free.  You could also use oil in place of the butter if you’d like; most of the honey cake recipes originally called for oil.  But amaranth, butter and honey is one of my favorite whole grain flavor combinations (it makes a great hot breakfast cereal) and so I decided to stick with butter.

I use a coffee grinder to grind amaranth into flour.  I stop just short of grinding it completely and leave some grains whole- it adds a nice little crunch.

A note for those who aren’t coffee fans: feel free to substitute the coffee for tea or hot water, although my friend who hates coffee LOVED this bread.  I didn’t mention the secret ingredient…

Gluten-Free Amaranth Honey cake

Ingredients:

2 eggs
1/2 cup honey
one half cup coffee (can substitute tea or hot water)
1/2 cup sugar
1/4 cup oil
3/4 cup brown rice flour
2/3 cup potato starch
1/3 cup amaranth flour
1 1/2 teaspoon xanthan gum
1 1/2 teaspoon baking powder
1/2 teaspoon baking soda
3/4 teaspoon cinnamon

Directions:

Preheat oven to 325 degrees and grease a loaf pan.

Combine eggs, honey, coffee, sugar, and oil in a large bowl.

In a separate bowl, combine starches and flour, xanthan gum, baking powder, baking soda and cinnamon. Gradually add in dry ingredients to the wet mixture and stir until blended.

Bake in preheated oven for 40-50 minutes, until a toothpick inserted in the center comes out clean.

Acarajé- Brazilian Black-Eyed Pea Fritters

In the book Gabriela, Clove and Cinnamon, main character Nacib quickly finds himself the owner of the most popular bar in town after his new cook, Gabriela, starts whipping up bar snacks like these.  Of course her good looks don’t hurt, but I think these fritters deserve some of the credit too.

Great as a snack, but would also make a great topping to a salad.  Why should falafel have all the fun?

Black-Eyed Pea Fritters

Ingredients:

* 1 cup dried black-eyed peas
* 1/2 medium onion, chopped
* 2 cloves garlic
* salt, pepper and cayenne to taste
* several cups oil for frying

Directions:

After rinsing, place the beans in a bowl and cover with water. Let soak for 12-24 hours.

Drain the beans and place in a food processor with the onion and garlic and process until finely ground. Season with salt, pepper and cayenne and pulse until well-mixed.

Place the oil in a small, heavy-bottomed saucepan and heat until 350. Use your hand to shape the dough into balls, about the size of a heaping tablespoon and drop into the oil, being careful not to crowd the fritters. Fry for several minutes until golden brown on all sides. Drain on paper towels.

Pad Thai Noodles

Pad ThaiIf I’m going to make Thai noodles, nine times out of ten it’ll be a simpler spicy noodle with garlic and Chinese cabbage.  But sometimes, and I’m pretty sure you’ll all agree, only Pad Thai will do, with those chewy, sticky noodles, a sweet and slightly spicy sauce, crunchy beans sprouts and peanuts, and a sprinkling of fresh herbs.  There’s a reason why it’s one of the world’s favorite Asian dishes.

Even just a few short years ago, the idea of making Pad Thai would have seemed overwhelming.  So.  Many.  Ingredients.   But I didn’t go on this culinary adventure to back down from food challenges.  So I finally put on my big girl pants, made the rounds to the grocery store, Asian supermarket and farmer’s market, and gave it the ol’ college try.

Pad ThaiAnd wow.  I’m pretty sure that a large number of Thai restaurants would go out of business if more people knew just how easy it is to make Pad Thai at home.  You’ll have to make a special trip to the Asian grocery store, sure, but that’s pretty much the most difficult part.

And please don’t go crazy (or get lazy) and make the very Americanized versions of this dish.  Friends don’t let friends make Pad Thai with peanut butter.  Tamarind is a non-negotiable ingredient.  No Asian market nearby?  Amazon is your friend.

While the noodles are soaking, just be sure to get all of your ingredients chopped and organized.  Mise en place will make all the difference in this recipe, as it’s a quick race to the finish once the chicken is cooked.

Pad Thai

Pad Thai Noodles

Although there are a lot of components to pad thai, you can easily prep the sauce and all of the ingredients while the rice noodles are soaking and the chicken is marinating. Once the 30 minute soak and marinade is done, the noodles come together in just minutes.

I like a mix of proteins in my pad thai, but feel free to use just shrimp, chicken or tofu if you’d like.

Yield: 4 side servings; 2 as a main dish

Prep Time: 30 minutes

Cook Time: 10 minutes

Total Time: 40 minutes

Ingredients:

* 8 ounces dried rice noodles (banh pho)
* 4 ounces chicken, cut into strips or large chunks
* 1 Tablespoon palm sugar (can substitute light brown sugar)
* 1 Tablespoon fish sauce
* 1/4 c cup canola or another frying oil
* 4 ounces medium or large shrimp, peeled and deveined
* 2 eggs, lightly beaten
* 1/4 cup thinly sliced shallots
* 3 cloves garlic, minced
* 4 ounces drained, firm tofu, cut into small cubes
* 1-1/2 cups bean sprouts
* 1/2 cup roughly chopped cilantro leaves
* 1/2 cup 1-1/2″ lengths green onion
* 1/2 cup chopped roasted peanuts
* 1 lime, cut into wedges

SAUCE:
* 2 Tablespoons Sriracha chile sauce
* 2 Tablespoons palm sugar (can substitute light brown sugar)
* 2 Tablespoons fish sauce
* 3 Tablesoons tamarind concentrate
* 1/4 cup water

Directions:

Place the rice noodles in a large bowl and cover with warm water. Let soak for 30 minutes, drain and set aside. Combine the chicken, 1 Tablespoon of palm sugar and 1 Tablespoon of fish sauce and set aside for 30 minutes.

While noodles are soaking and the chicken is marinading, prep all of your ingredients and make the sauce by combining all of the sauce ingredients in a small bowl and stirring well to combine.

Heat the oil in a wok or a very large skillet or frying pan over medium-high heat. Add the shrimp and cook until they turn pink. Immediately remove the shrimp from the pan and set aside in a small bowl. Add the eggs to the same oil. Let cook until partially set, and then scramble. Remove the egg to the same bowl as the shrimp.

Add the shallots and cook until they begin to turn golden. Add the garlic and cook another minute or two. Add the chicken and all of the marinade. Cook, stirring occasionally, until the outside of the chicken is no longer pink (it does not need to be cooked through at this stage). Add the tofu and cook for another minute.

Add the drained noodles and cook until they begin to soften and begin to brown a bit on the edges. Add the prepared sauce and bean sprouts and stir well to mix. Add the cilantro, green onion, the reserved shrimp and eggs, and half of the chopped peanuts and cook until everything is nice and hot. Remove from the heat, transfer to individual dishes and sprinkle with the remaining peanuts. Squeeze a wedge or two of lime on each serving.

High-Speed Blenders

So, I pretty much never ever do these kinds of posts, because I worry that it would come across like I’m just trying to make a couple bucks from Affiliate links.  But this time I’m making an exception because, really, it’s more like a Public Service Announcement.

I first heard about high-speed blenders soon after I was diagnosed with Celiac disease.  I was looking at getting a grain mill for making my own gluten-free flours and was researching different models.  Then in some online forum I saw a recommendation to buy a high-speed blender instead of a grain mill because it wasn’t a single purpose appliance.  In addition to grinding flour, you can use it to make soups, smoothies, nut butters, ice cream, etc. as well.  Within the hour I was pretty much obsessed with the idea of getting one.  I didn’t want to plop down $400-$500 for a blender, so I stalked Craigslist and finally became a proud owner of a used model several months later.

It’s an expensive appliance, but so, so worth it.  Five+ years later and I still use it pretty much every day for green smoothies, shakes or soup (or homemade Nutella!).  I’ve bought a couple high speed blenders to give away as gifts and several friends have, after seeing what mine could do, bought one for themselves (although those Will it Blend videos may have also influenced them 🙂.

High Speed Blender Deals

I wanted to give you a heads up that Blendtec (one of the two most popular brands of high-speed blenders… the other is Vitamix) is having an amazing sale right now.  They’re new and they come with a 2 year warranty.  If you’ve been wanting to buy one, now’s the time.

A well-deserved reward for sticking to your New Year’s get healthy resolution?  Or a nudge to get you back on track?  If you use the links I provided I’ll get a small commission from any purchase you make (at no extra cost to you). But if you prefer, you can also get the same exact deal if you went straight to the Blendtec site.

Happy shopping and blending!

Thai Chile Jam

Thai Chile JamFor those of you who have already tried nam prik pow, I certainly don’t need to sell you on its virtues…  you’re likely already a huge fan of the stuff.  But for those of you who maybe aren’t that familiar with Thai cuisine and haven’t ventured beyond Pad Thai and Thai iced tea?  Well, I’m not sure any words can really convey the magic of nam prik pow.

I’ll just say this: this stuff is pure, jammy gold.  It’s rich, savory, sweet, and tart with a bit of heat.  If I were to try to sell it to an American audience, I would say it’s like a Southeast Asian version of spicy bacon jam.  I initially made it because it’s one of the main ingredients of Tom Kha Gai, the popular chicken and galangal soup, but I’ve found that I’ve been putting it in and on just about everything.  A dollop in my fried rice, a spoonful on my spicy Thai noodles, and even a slather on some plain crackers.  I ran out of my first batch within about a week and immediately made another double batch.  Next time it might be a quadruple.

Thai Chile Jam 1

Nam Prik Pow: Thai Chile Jam

I love the umami funk that the dried shrimp provides, but if you’d like your version to be a little less “fishy”, feel free to cut the dried shrimp back to 1 Tablespoon.

Yield: About 1 cup

Prep Time: 10 minutes

Cook Time: 15 minutes

Total Time: 25 minutes

Ingredients:

* 2 Tablespoons dried shrimp
* 1/2 cup canola oil
* 1 cup sliced shallots
* 1/2 cup sliced garlic
* 1/4 cup seeded and roughly chopped dried red chiles
* 1-2 thin slices of ginger
* 2 Tablespoons fish sauce
* 2 Tablespoons tamarind pulp
* 3 Tablespoons palm sugar (can substitute light brown sugar)

Directions:

Place the dried shrimp in a very small bowl and cover with water. Let sit for at least five minutes and then drain and pat dry using a paper towel. Set aside.

Heat the oil in a small skillet or frying pan over medium-high heat. Add the dried shrimp and cook, stirring occasionally, until golden. Remove the shrimp to a bowl and then add the shallots to the oil. Cook the shallots until they begin to turn golden, about 4 minutes. Remove the shallots to the bowl with the shrimp. Add the garlic to the oil and cook until the garlic begins to turn golden, about 2 minutes. Remove the garlic to the bowl with the shrimp and shallots. Add the red chiles and cook until they begin to darken, about 30 seconds to 1 minute. Remove the pan from the heat and place the chiles in the bowl with the shrimp, shallots and garlic.

In a mini processor or a mortar and pestle, process the mixture and the ginger until nearly smooth; if you use a mini processor, you’ll have to stop the machine periodically to scrape down the sides. You can add some of the cooking oil or the fish sauce, if necessary, to get the mixture smooth. Combine the mixture with all of the remaining ingredients in a small saucepan. Bring to a boil and then boil the mixture for 1 minute. Remove from heat, let cool, bottle and refrigerate. The jam should keep a couple months in the fridge.

Spicy Eggplant with Red Bell Pepper and Thai Basil

Thai EggplantEvery so often I stumble upon a food blog post in which the author is trying to persuade his or her readers into “trying eggplant again,” with the underlying assumption that a lot of folks have tried eggplant and not liked it.  Really?  I guess I’ve always assumed that everybody was fully on board the eggplant train.

Granted the eggplant was likely well hidden under a heavy blanket of tomato sauce, bread crumbs and cheese, but I’m pretty sure that I fell for eggplant on my first try.  I have a feeling that eggplant Parmesan was the gateway eggplant dish for many of us.

Thai EggplantThai EggplantI think what I love most about eggplant is its versatility.  It’s equally capable of stepping up to be star of the show as it is of fading into the background.  In this quick and healthy Thai dish, eggplant is sautéed with red bell peppers in a spicy and sweet fish sauce-based sauce.  A couple handfuls of Thai basil keeps the dish tasting fresh instead of heavy.

If you’re a fan of Vietnamese claypot dishes, this should be right up your alley.  And while I liked the look of the eggplant wedges and red bell pepper strips best, if you’re really in a hurry, feel free to dice both the eggplant and bell pepper to help speed the cooking along.

Thai Eggplant 4

Spicy Eggplant with Red Bell Pepper and Thai Basil

Yield: 4-6 servings

Prep Time: 10 minutes

Cook Time: 15 minutes

Total Time: 25 minutes

Ingredients:

* 1/4 cup plus 2 Tablespoons oil, divided
* 1 medium yellow onion, diced
* 3 cloves garlic, minced
* 2 red Jalapeno peppers, minced
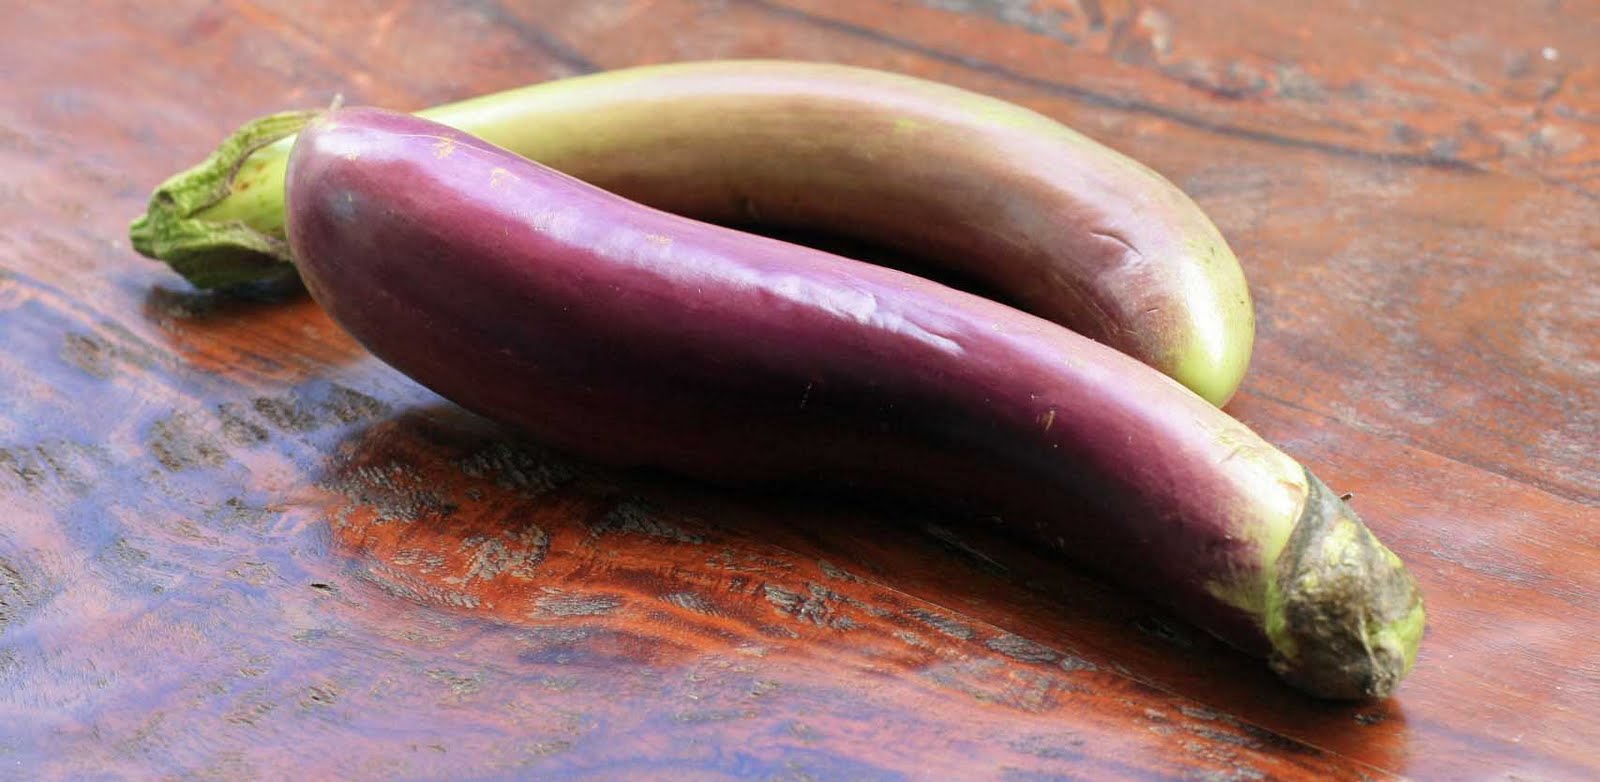
* 4-5 Japanese eggplants, cut into 3-4″ wedges
* 1 red bell pepper, seeded and cut into strips
* 1/4 cup fish sauce
* 1 Tablespoon palm sugar (can substitute regular sugar)
* 1 cup water
* 40 Thai basil leaves

Directions:

Heat 1/4 cup of the oil in a wok or very wide, large skillet over medium-high heat. Add the onion and cook until softened. Add the garlic and Jalapeno peppers and cook, until softened. Cook the red bell pepper for one minute. Add the remaining 2 Tablespoons of oil and the eggplant and cook an additional 3-4 minutes, stirring occasionally.

Add the fish sauce, palm sugar and water and let the mixture come to a boil and then continue to cook, stirring occasionally, until the sauce has thickened. If you’d like your eggplant extra soft, add more water and continue to cook until the eggplant reaches your desired texture. Add the basil leaves and give everything a quick stir. Remove from heat and serve.