 This roasted eggplant with garlic and mint reinforces two cooking truths that I’ve accepted over the past couple years. The first, which I learned from Ina Garten, is that roasted vegetables are, almost without exception, far superior to vegetables cooked by any other method.
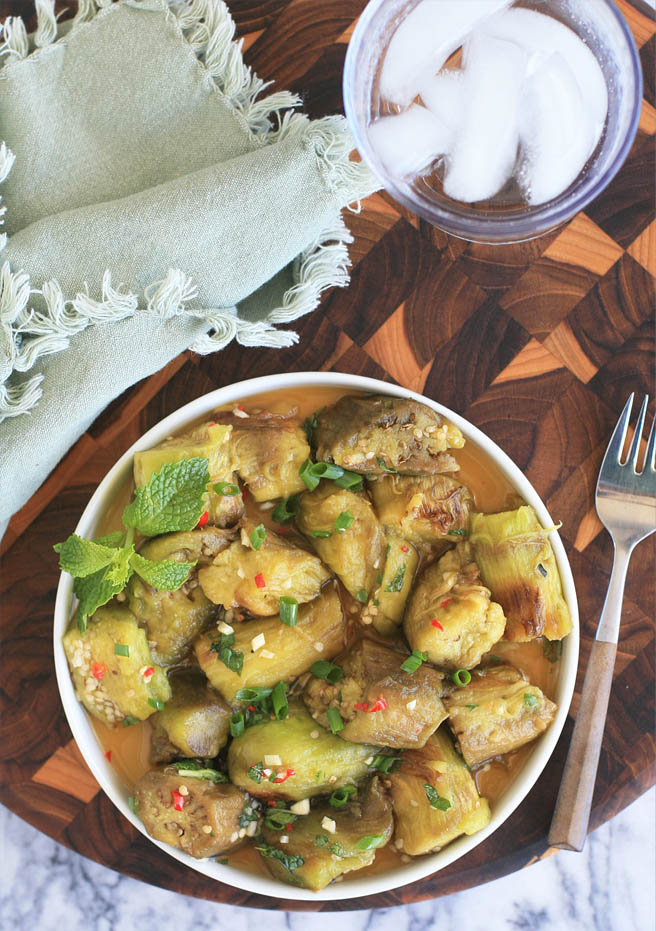
The second, which I learned from Vietnamese cooks and cookbook authors everywhere, is that pretty much everything becomes stellar when tossed in the Vietnamese miracle dressing/sauce made with fish sauce, some acid (lime juice or rice vinegar), sugar, garlic and chile peppers.
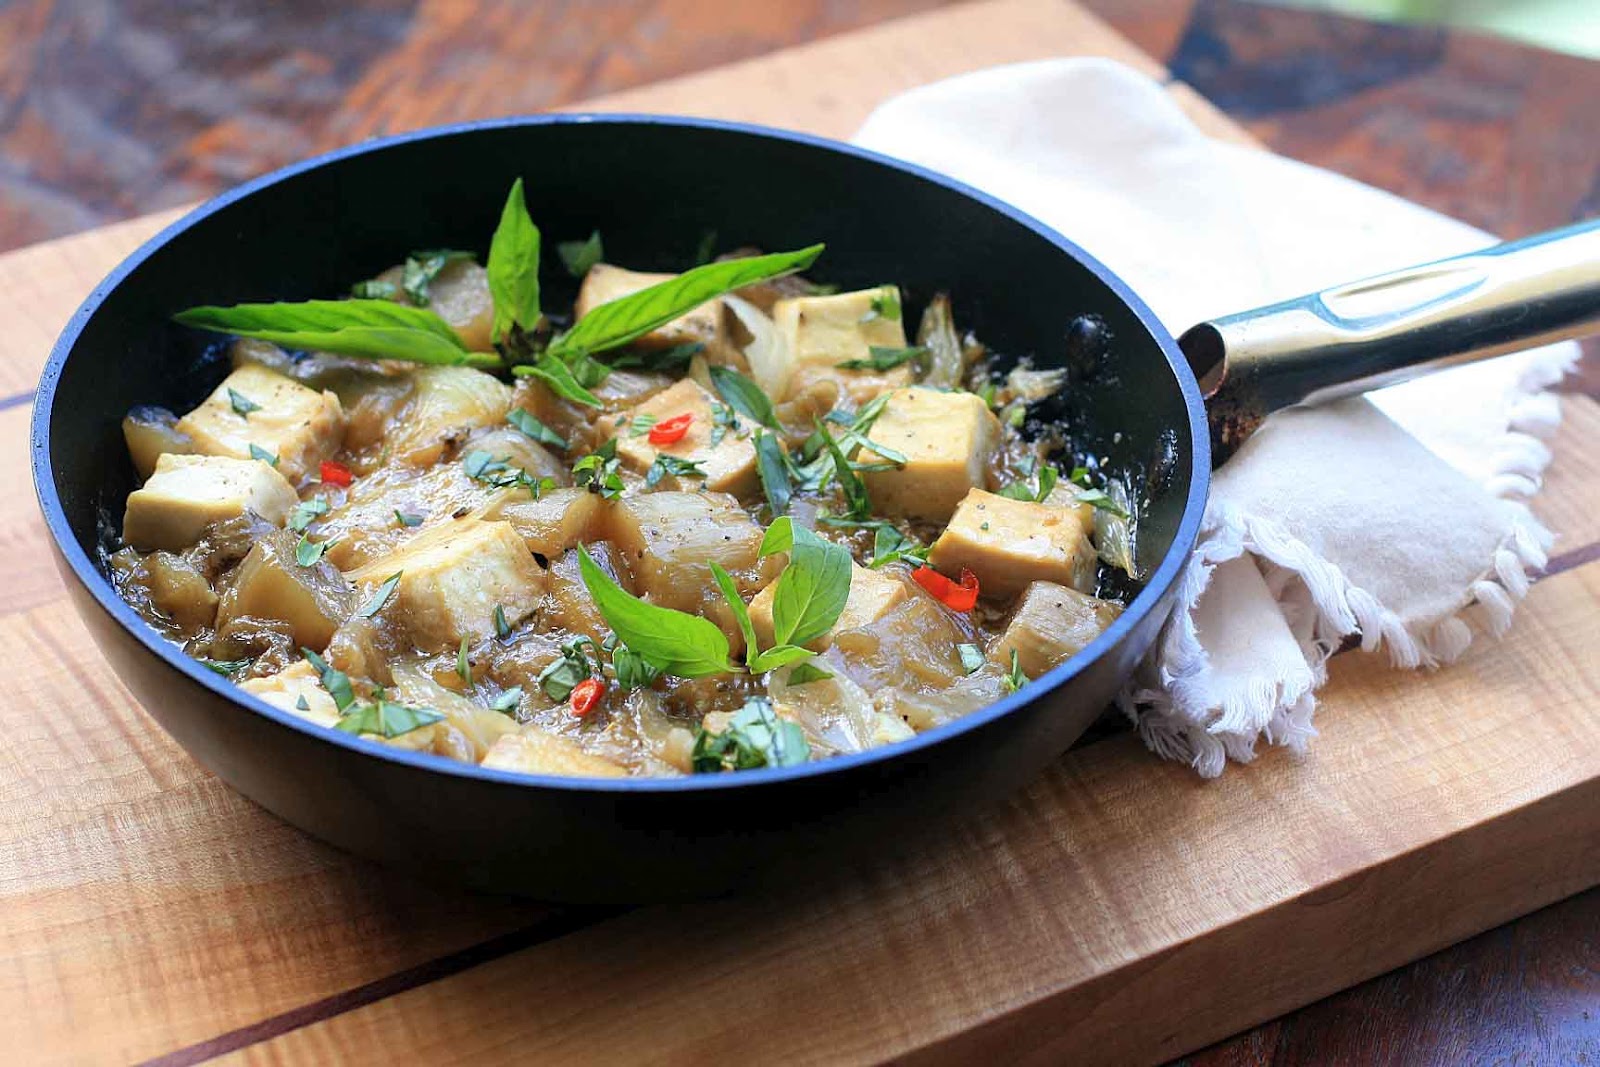
 In this Vietnamese dish, Asian eggplants are roasted over an open flame and then tossed with the miracle fish sauce dressing and scattered with some fresh mint and green onion.
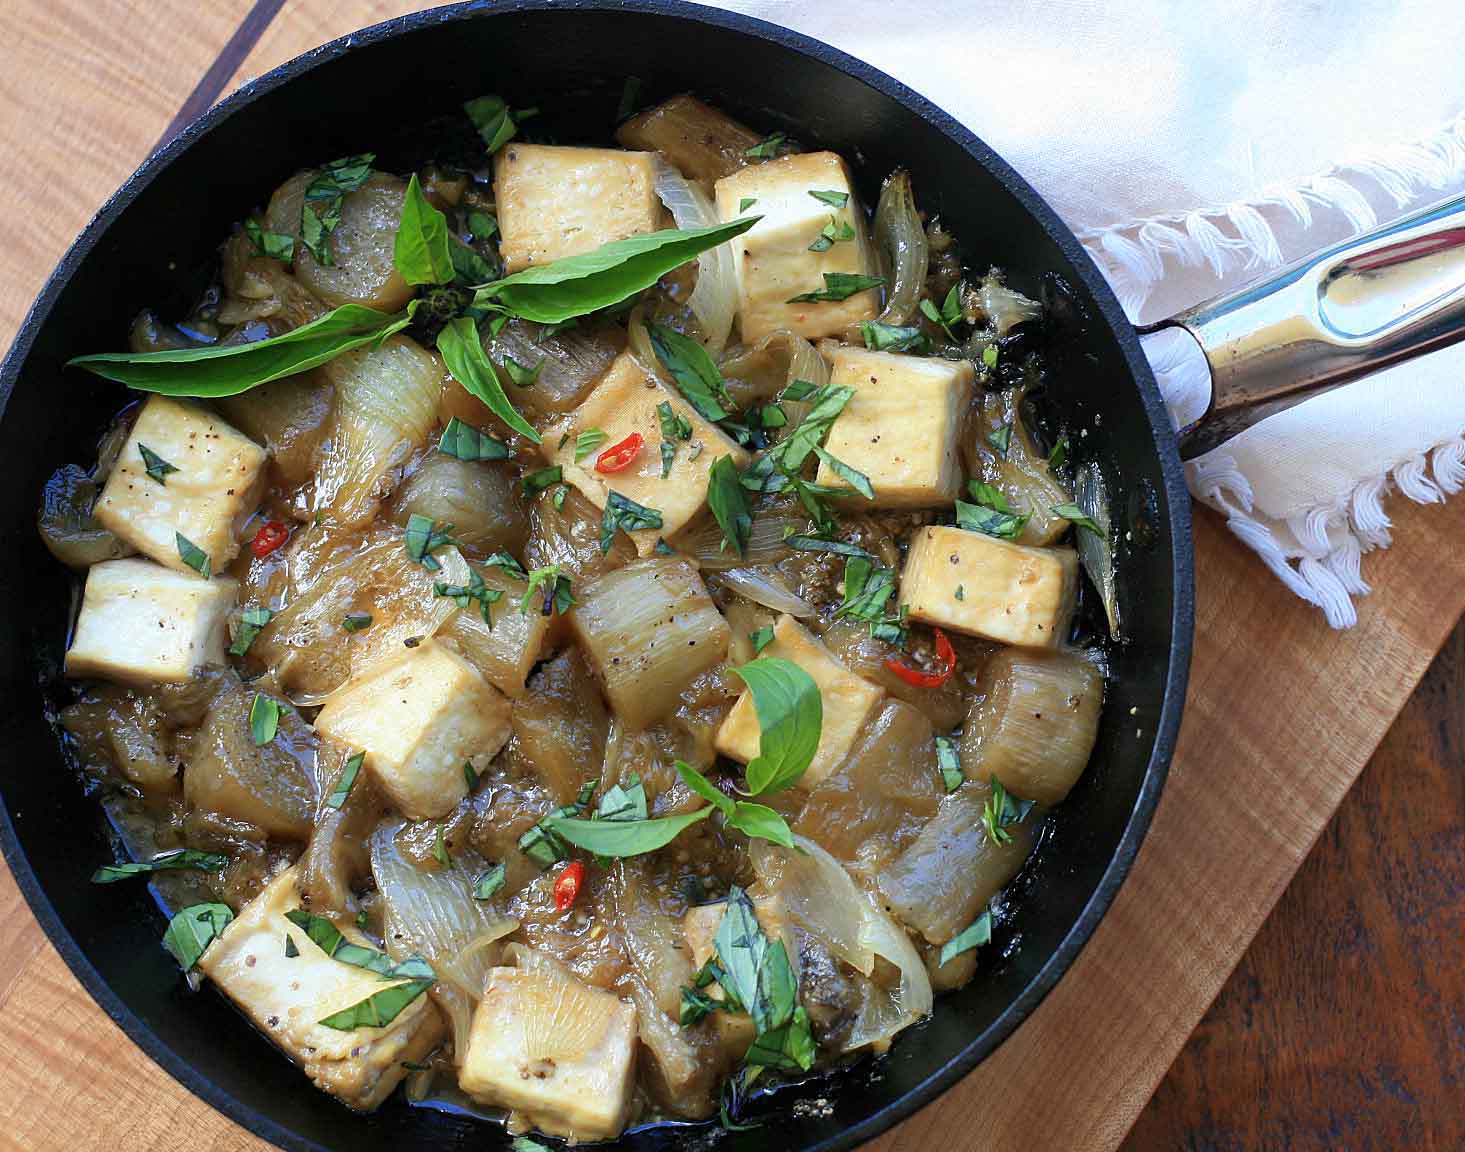
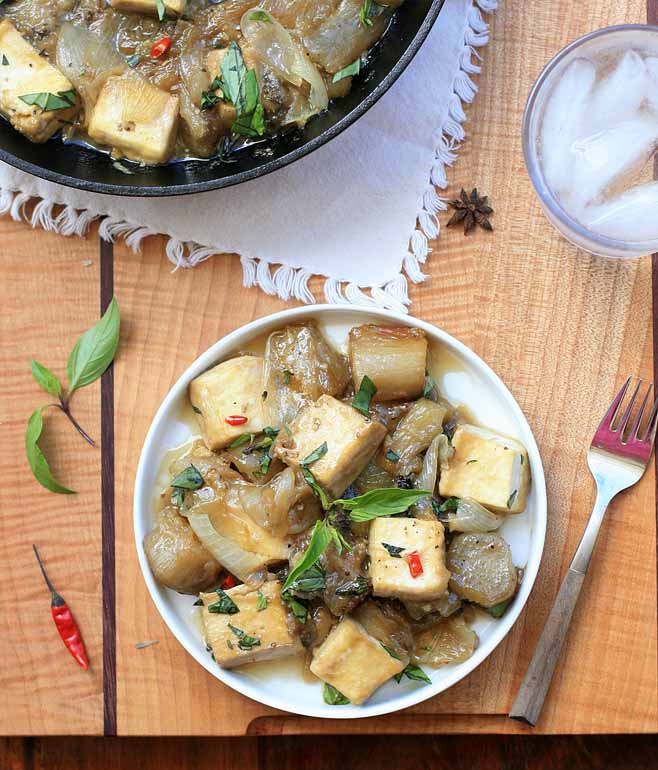
Is this the prettiest dish? It is not. It’s a shame that eggplants, so striking and vibrant in their raw state become so unattractive after cooking. Thankfully, their silken texture and smoky flavor more than make up for their lack of good looks. I know that a lot of you are getting loads of eggplant in your CSA boxes. This recipe should definitely help you make a dent into that box of produce. (You can also try Greek Eggplant Dip)
Roasted Eggplant with Garlic and Mint
Yield: 6-8 servings
Total Time: 30 minutes
Ingredients:
* 4-5 long Asian eggplants
* 3 Tablespoons fish sauce
* 3 Tablespoons lime juice
* 2 Tablespoon water
* 2 Tablespoons sugar
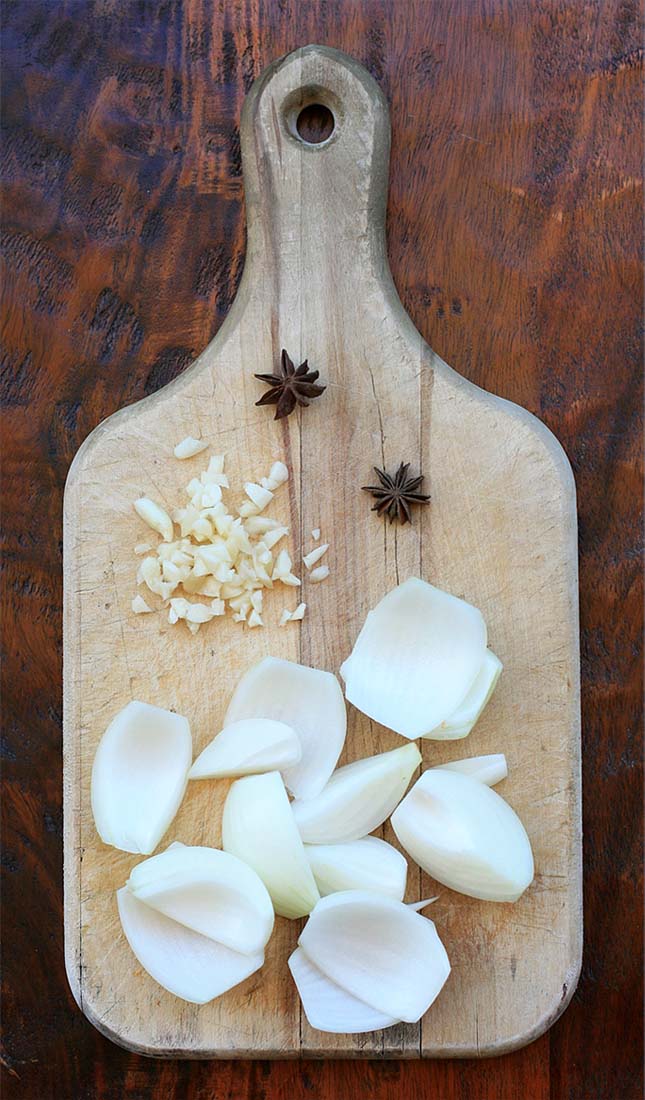
* 1 clove garlic, minced
* 1 Thai chile pepper, minced
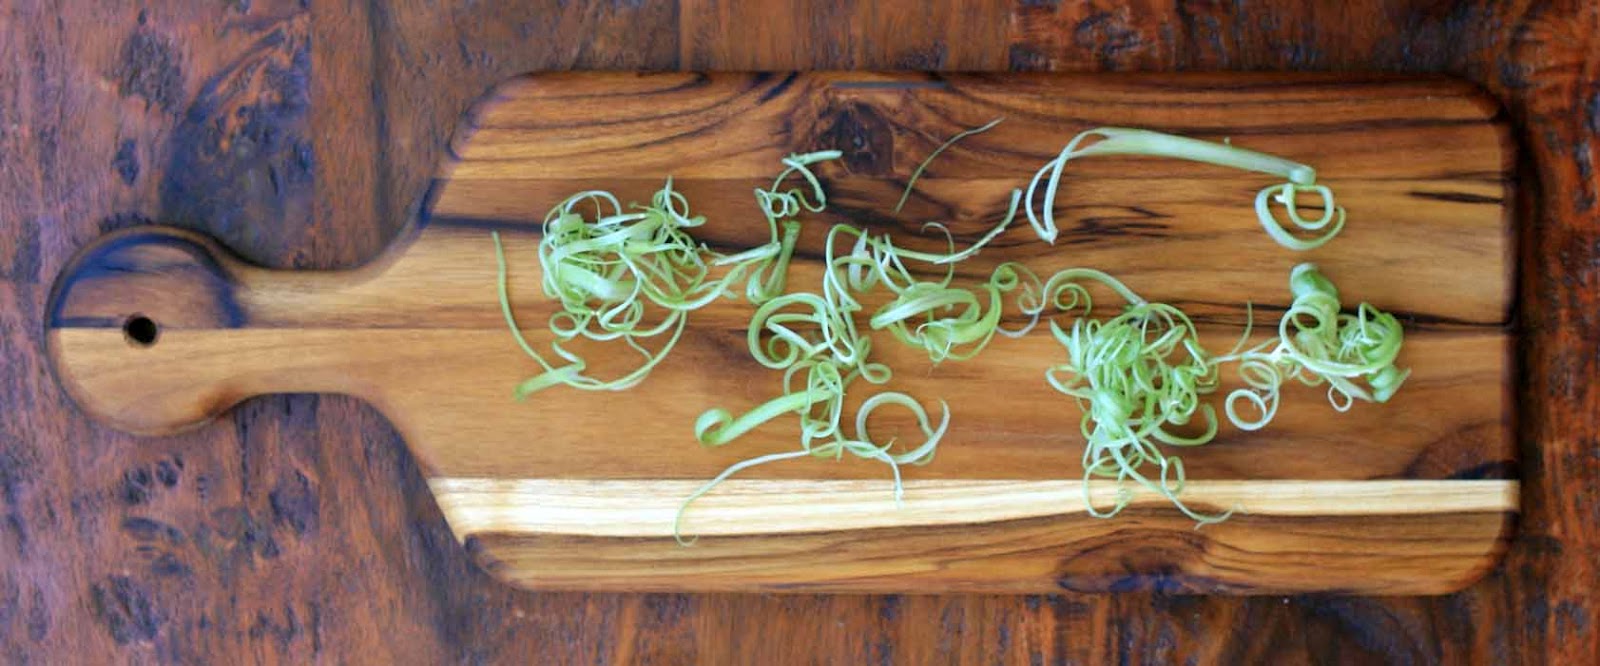
* 2 Tablespoons thinly sliced green onion
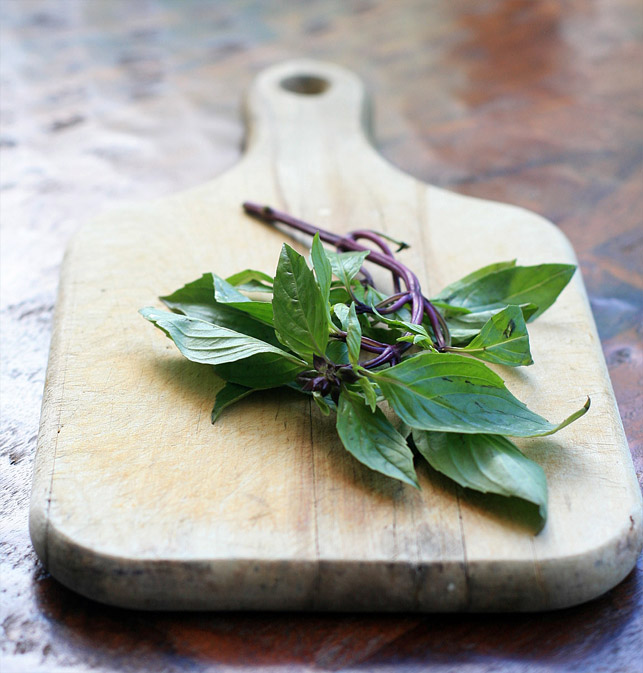
* 2 Tablespoons finely chopped fresh mint
Directions:
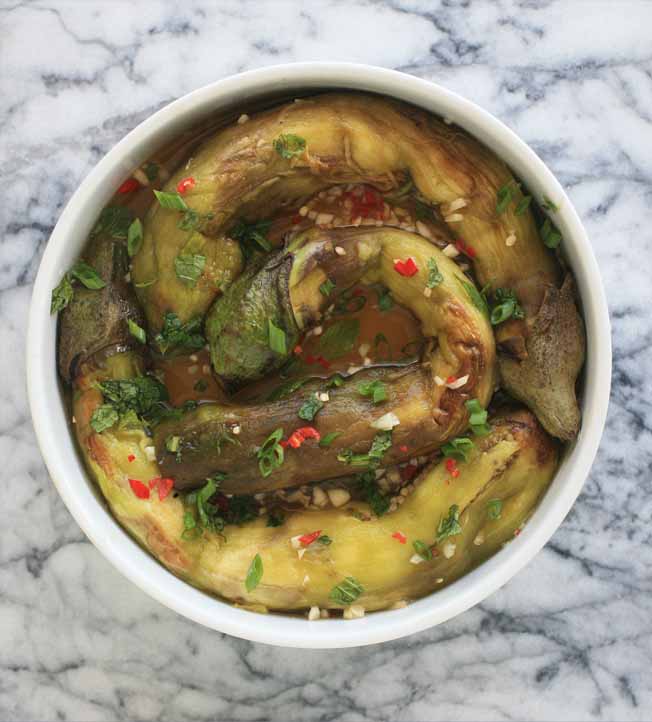
Prick the eggplants all around with a fork to prevent them from busting/exploding. Turn a gas burner on to medium-low. (Note: if you don’t have a gas cooktop, you can oven roast the eggplants or place them on a hot grill). Place an eggplant right on top of the burner. If the heating element is large, you can probably fit two or three on at one time.
Cook, turning the eggplants with tongs after the section exposed to the flames browns. Once the whole eggplant is fairly soft and blistered, remove from heat and place on a plate to cool. Repeat with remaining eggplants.
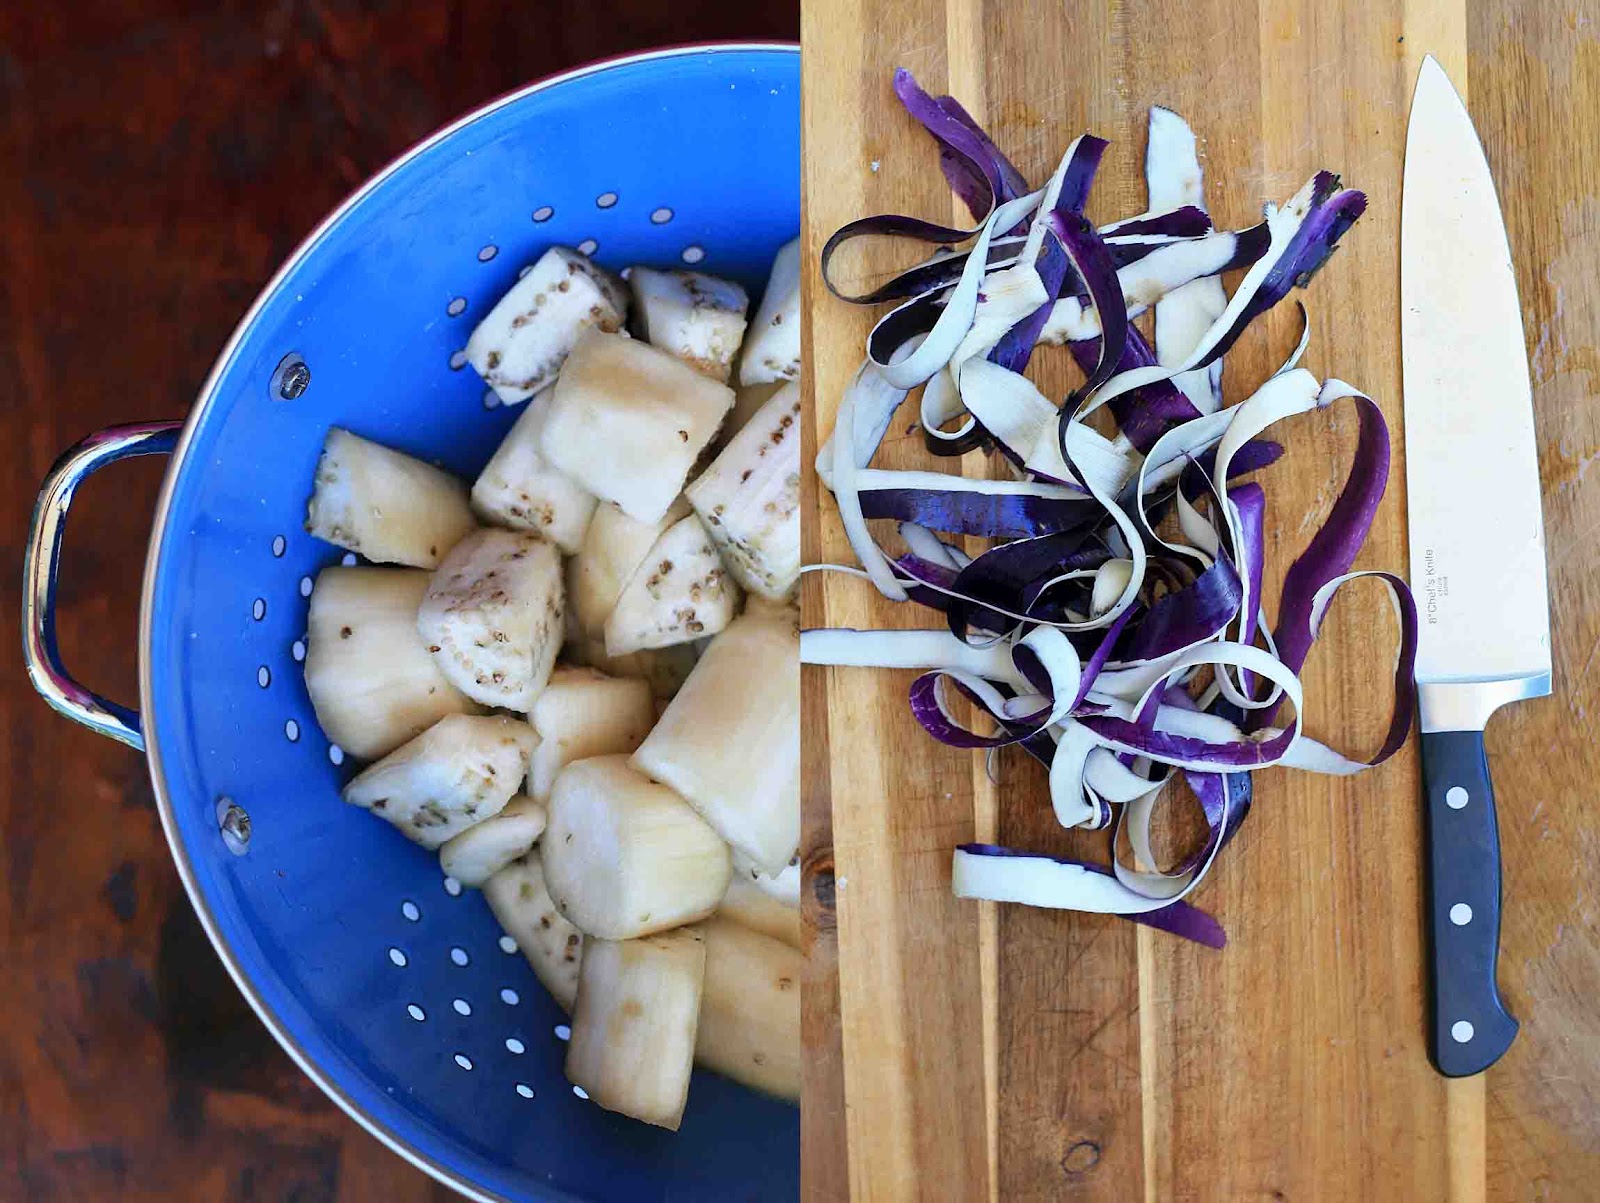
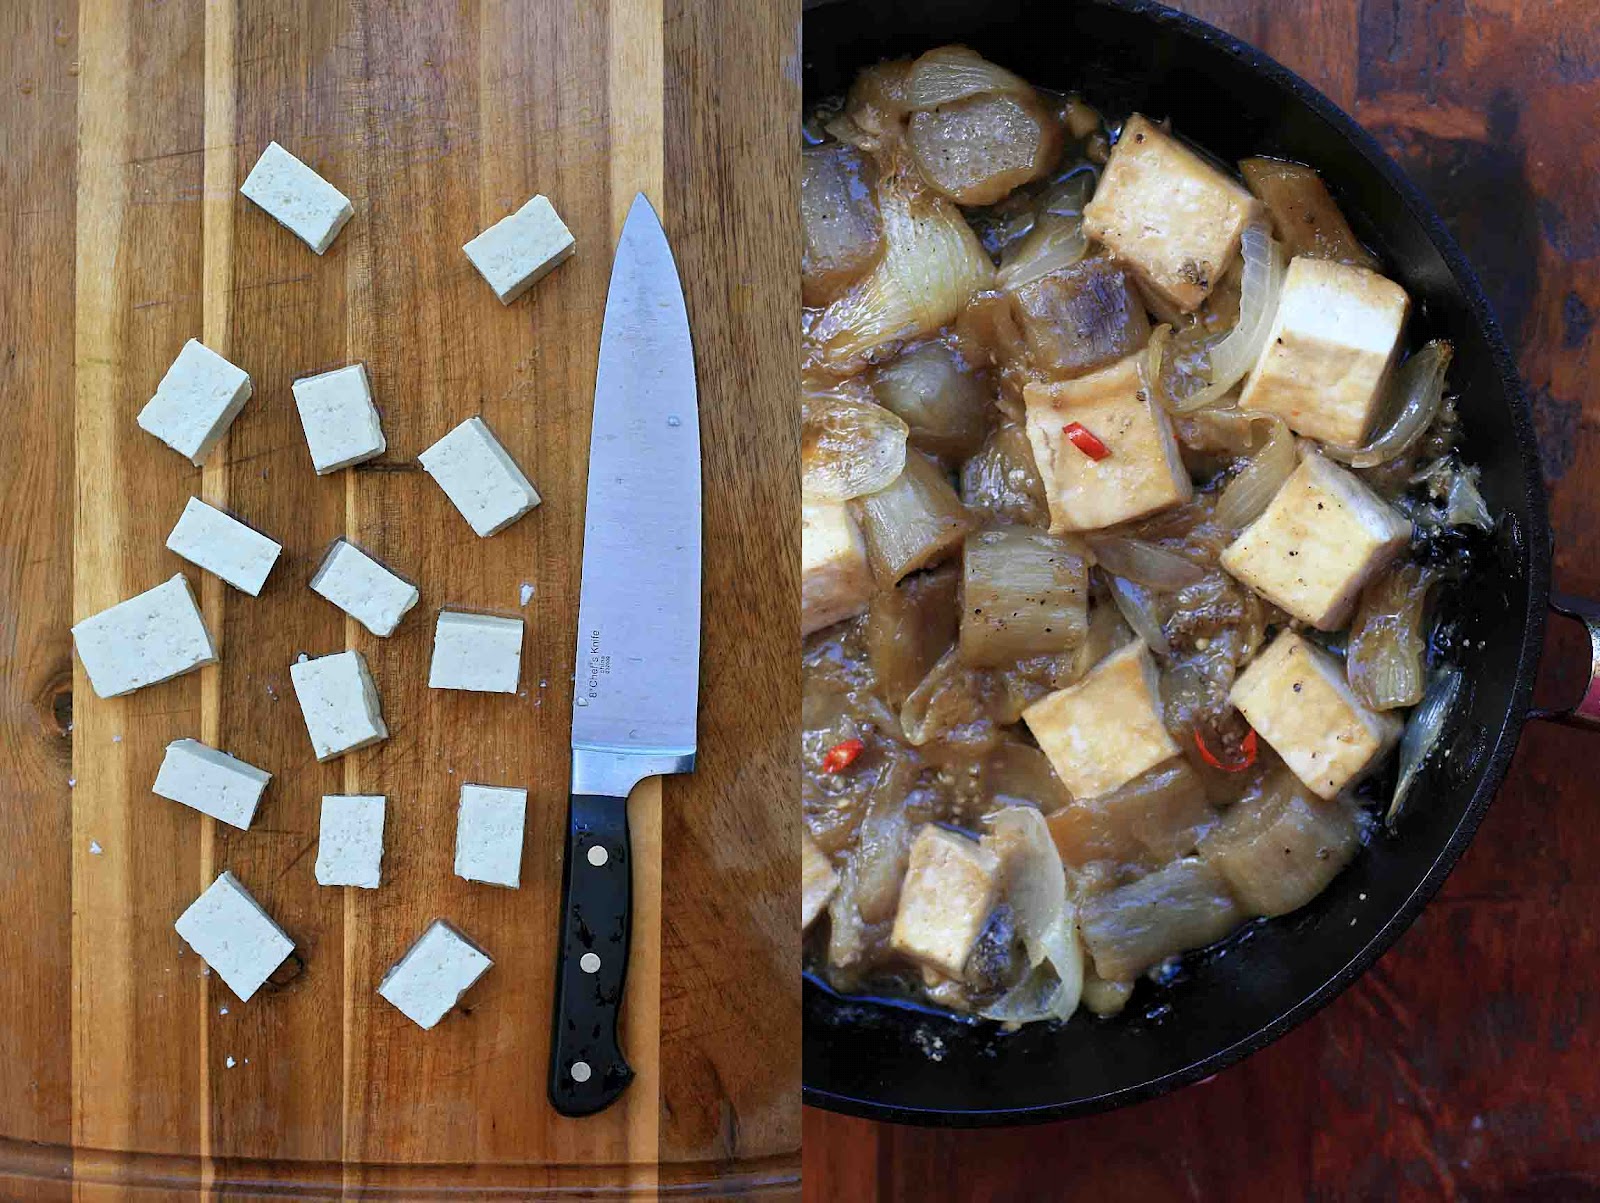
When cool enough to handle, gently peel the eggplants. You can leave the eggplant whole with the stems attached, or chop the eggplants into large chunks, discarding the stems. Place in a shallow serving bowl.
In a small bowl, combine the fish sauce, lime juice, water and sugar and stir to dissolve the sugar. Stir in the garlic and chile. Pour the sauce over the eggplant and then sprinkle with the green onion and mint. Serve at room temperature.