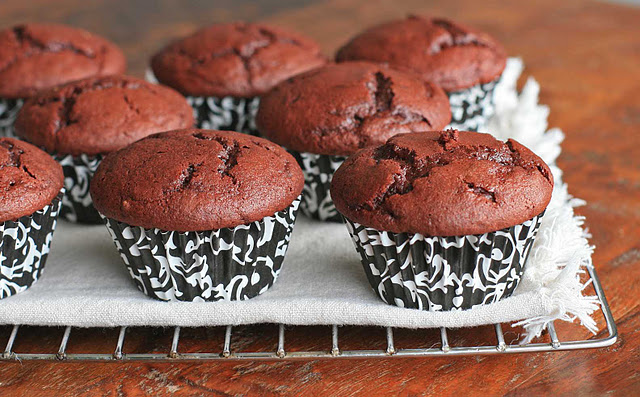
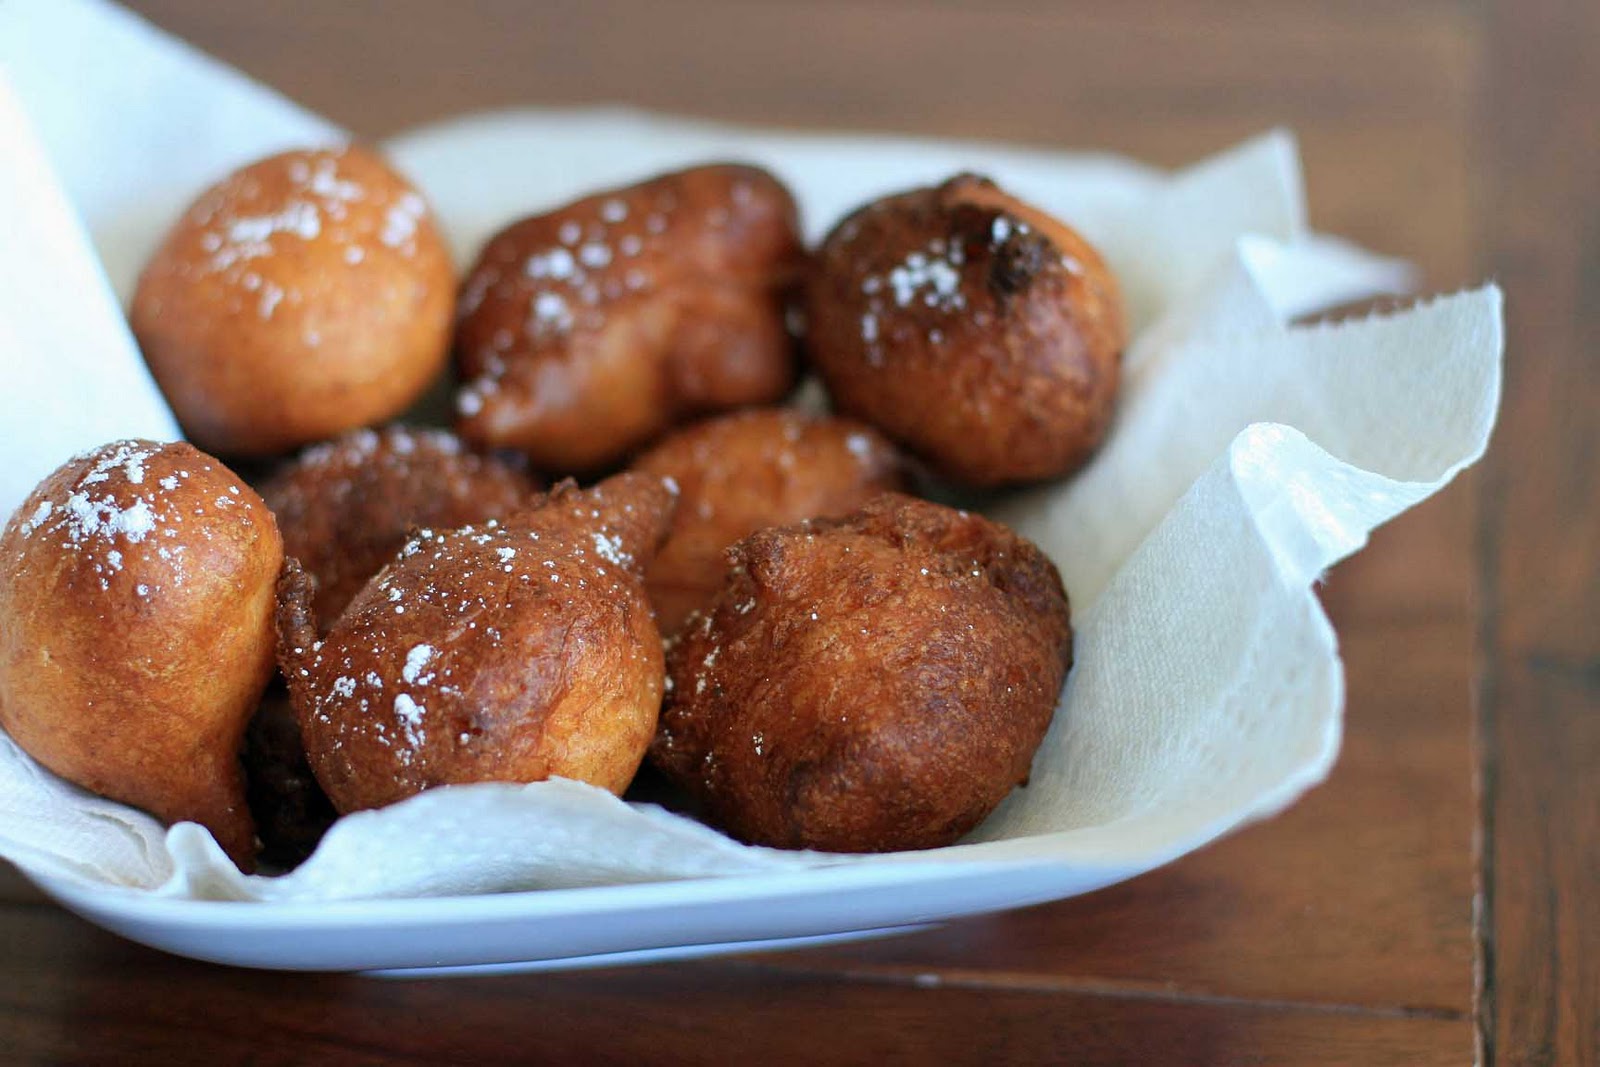
 Resistance is futile. Even if you have the willpower to resist the doughnuts, the bittersweet chocolate and salted caramel will likely lure you in with their siren song. Although the doughnuts themselves are pretty spectacular… super moist, impossibly fluffy, with just the slightest hint of citrus. One plain, one with chocolate, one with caramel. Eat and repeat.

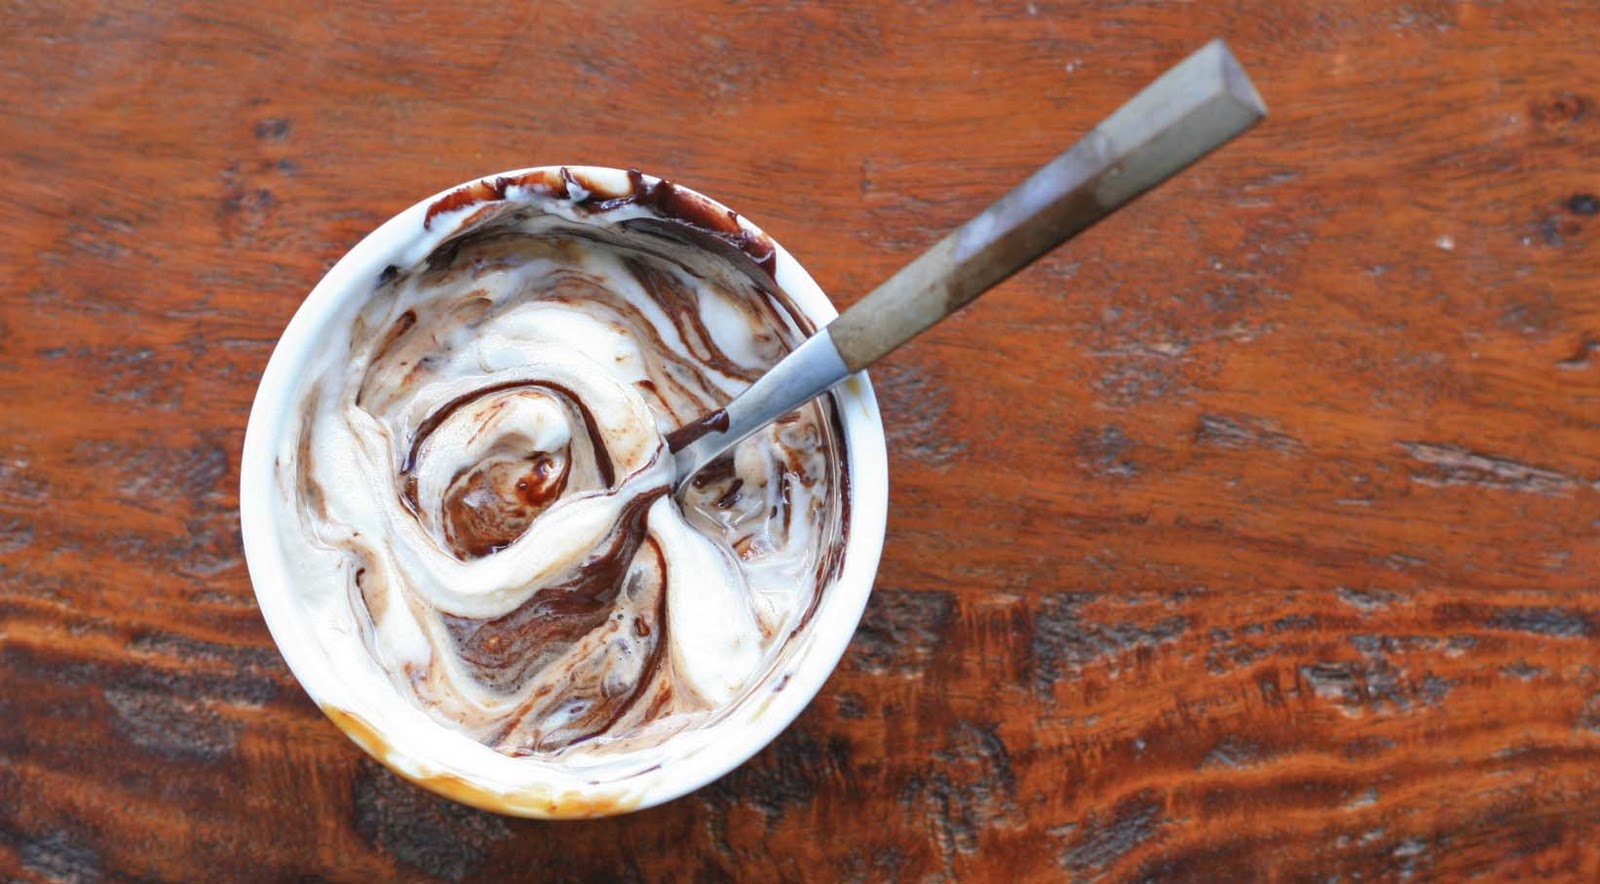
 The recipes for the chocolate and caramel sauces make more than you’ll need for these doughnuts, so you’ll have plenty for a double batch. Or use any extra to top some ice cream. I’ll throw out another idea for any sauce leftovers tomorrow…
 Gluten-Free Mini Ricotta Doughnuts with Bittersweet Chocolate and Salted Caramel Dipping Sauces

Yield: 16-24 doughnuts, depending on size
Ingredients:
Doughnuts:
canola or vegetable oil for frying
1/2 cup superfine rice flour
1/4 cup potato starch
2 Tablespoons tapioca starch
2 teaspoons baking powder
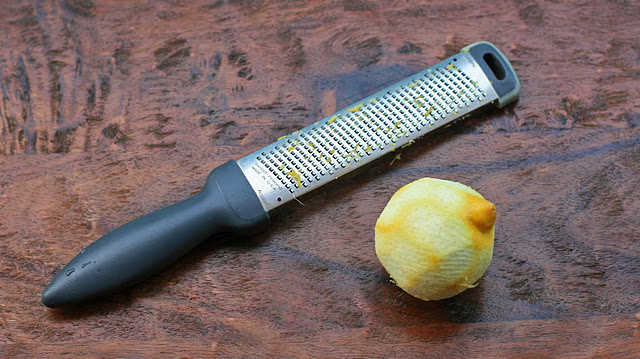
1 teaspoon grated lemon zest
1/4 teaspoon salt
1 cup whole milk ricotta cheese
2 eggs, lightly beaten
2 Tablespoons sugar
1 teaspoon vanilla extract
powdered sugar
bittersweet chocolate and salted caramel dipping sauces
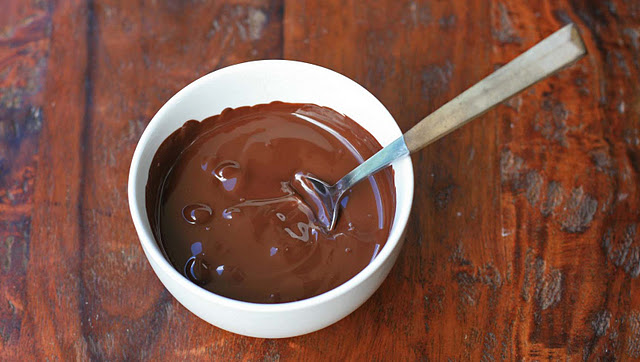
Bittersweet Chocolate Sauce:
2/3 cup bittersweet chocolate chips
1/2 cup heavy cream, heated on the stovetop or microwave until very warm
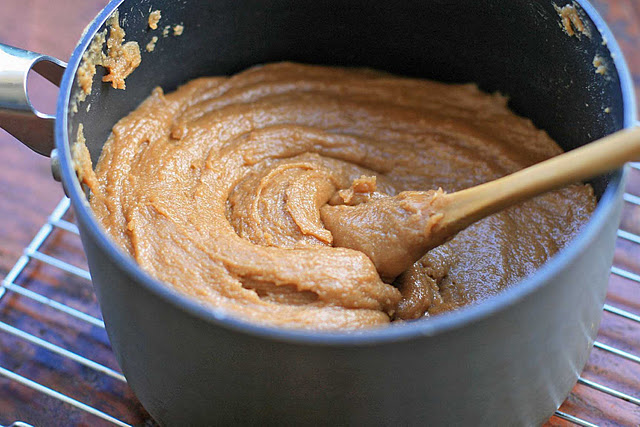
Salted Caramel Sauce:
1 cup sugar
1/4 cup water
3/4 cup heavy cream
2 Tablespoons butter
1 teaspoon sea salt
Directions:
Heat several inches of oil on a small, heavy saucepan to 370 degrees.
While the oil is heating, combine the rice flour, potato starch, tapioca starch, baking powder, lemon zest and salt in a medium bowl. In a large bowl, combine the ricotta, eggs, sugar, and vanilla. Add the flour mixture and whisk until blended.
Working in small batches, drop heaping Tablespoons of batter into the hot oil, turning occasionally, until the exterior is golden and the insides are cooked, about 4 minutes. Using tongs or a slotted spoon, transfer to a paper towel-lined plate to drain.
Lightly dust with powdered sugar and serve with bittersweet chocolate and salted caramel dipping sauces.
To make the chocolate sauce, place the chocolate chips in a microwave safe bowl and microwave in 30-second intervals until soft. Stir until smooth. Whisk in the warm heavy cream until smooth.
To make the salted caramel sauce, combine the sugar and water in a small, heavy-bottomed saucepan over medium-low heat until the sugar dissolves. Increase the heat to medium-high and bring to a boil without stirring, washing down any crystals on the side of the pan with a wet silicone or pastry brush.
Boil until the syrup is a deep amber/caramel color. Remove the mixture from the heat and carefully whisk in the heavy cream (the mixture will bubble). Stir in the butter and salt.