Home Blog Page 91

Apricot and Almond Quinoa

0

When I’m on a cleanse, I rarely eat any grains.  That’s fine by me because usually I’m so focused on creating a flavorful main dish- either meat-based or vegetarian- that the grain is nothing more than an afterthought.  Most often I just toss some brown rice or quinoa into the rice cooker and call it good.  Healthy?  I guess.  But it also gets pretty boring.

Well this quinoa dish is anything but boring.  In fact, it just might cause a paradigm shift in how I plan my meals and think about grains.  Rather than playing second fiddle, it’s the main cause for excitement.

Quinoa gets cooked with dried apricots in a turmeric-spiked broth.  It’s then tossed together with toasted almonds and currants in a citrus and mint dressing.  It’s great warm or as a cold salad and would be excellent paired with a simple grilled chicken.  Along with the roasted kabocha with oregano and mint, this is going to become a standard picnic and potluck item for me this year.

Apricot and Almond Quinoa

Yield: 4-6 servings

Ingredients:

* 1-1/2 cups quinoa
* 1/3 cup dried apricots, finely sliced
* 2-3/4 cups vegetable or chicken broth
* 1/2 teaspoon turmeric
* 1/4 cup olive oil
* 1/4 cup lemon juice
* 2 teaspoons grated orange zest
* 1/2 cup fresh, minced mint
* 2/3 cup slivered almonds, toasted
* 1/4 cup dried currants
* salt and pepper

Directions:

Combine the quinoa, apricots, broth and turmeric and broth in a rice cooker and cook until the machine turns off. Alternatively bring all of the ingredients to a boil in a saucepan, cover and reduce heat to low. Simmer, covered, until all of the broth has been absorbed.

While the quinoa is cooking, combine the olive oil, lemon juice, orange zest and mint in a bowl and whisk together. When the quinoa is done, toss with the dressing. Mix in the almonds and currants. Taste and season with salt and pepper.

Creamy Coconut Spinach with Squid

If I didn’t live in Hawaii I’m pretty sure that I would have skipped right over this recipe.  I’m the first to admit that spinach, squid and coconut milk doesn’t necessarily sound like the most appealing combination.  But luckily we have a very similar dish in Hawaii, squid luau, which comes standard on most Hawaiian buffets that I know and love.

The original recipe used taro leaves (also called luau in Hawaii), but I’m guessing that few of you have access to fresh taro leaves like I do.  But the spinach is an excellent substitution and even easier to use and cook.

What to eat it with?  Because Hawaiian plate lunch combinations are ingrained into my brain, my vote will always go to kalua pork, rice, and lomi salmon.  Forget pineapple chicken- this is the true taste of the Pacific.

Creamy Coconut Spinach with Squid

Yield: 6-8 side servings

Ingredients:

* 2 pounds baby spinach leaves
* 1/2 teaspoon salt
* 3 Tablespoons butter
* 1 onion, diced
* 1 pound calamari/squid, cut into thin rings
* 13.5 ounce can coconut milk (about 1-2/3 cups)
* 3/4 teaspoon salt
* 1-1/2 teaspoons sugar

Directions:

Bring one cup of water to a boil in a large saucepan. Add the spinach, reduce heat, and simmer, partially covered until the spinach has wilted. Remove from heat and drain.

In a large sauté or frying pan heat the butter over medium heat. Add the onions and cook, stirring, until the onions are translucent. Add the calamari and cook for another 2-3 minutes. Next, add the drained spinach, coconut milk, the remaining salt and the sugar and cook, covered, for about 20 minutes. Remove the cover and continue to simmer until most of the liquid had evaporated.

See also Burmese Coconut Rice for a tasty side dish

Broiled Grapefruit with Ginger and Brown Sugar

0

On occasion I feel like things get too complicated around here: recipes with too many steps, too many ingredients, etc.  So I’m bringing simple back, with a simple broiled grapefruit with the zing of fresh ginger and brown sugar for extra sweetness.

The broiling has the surprising effect of making the grapefruit even juicier and the brown sugar turns into a delightfully sweet syrup that seeps into each and every grapefruit segment.

It’s a fun twist to an otherwise simple breakfast.  My favorite part?  The leftover puddle of sweetened ginger grapefruit juice.  I think I know exactly what to make when my juicer finally arrives.

Broiled Grapefruit with Ginger and Brown Sugar

Ingredients:

* grapefruits, halved and cut into segments with a grapefruit or regular knife
* brown sugar for sprinkling, about 2-3 Tablespoons per grapefruit
* peeled fresh ginger

Directions:

Preheat your broiler and line a rimmed baking sheet with parchment paper for easy cleanup.

Place the grapefruit halves on the parchment paper and sprinkle with brown sugar. Use a Microplane zester to grate the ginger on top of the grapefruits.

Place in the oven and broil until the sugar has melted into a nice syrup and the tops are just beginning to brown.

Remove from oven. Serve warm or let cool to room temperature.

Very Cherry Lime Mojito

0

Now that I’ve officially fallen prey to the Valentine’s Day bug, I’ve been trying to create a new, pretty, and pink hued cocktail.  My original intent was to use up some pomegranate liqueur that’s been sitting around.  But I suppose the reason it’s been sitting around is because I really don’t like it.  At all.

And so I moved on to the only other red liquid in the apartment: black cherry juice.  The drink was a hit but I definitely missed the mark on the color:  rather than the pink blush I was envisioning, I ended up with this deep, dark drink would be more appropriate for a Vampire-themed event.  Anybody having a Breaking Dawn release party this weekend?  You can all toast when pregnant Bella gets her first taste of blood.

Yep- I just outed myself as a Twilight Fan.  I keep watching the movies hoping that they’ll match the magic of the angsty, unintentionally hilarious original film.  No luck so far.  Maybe the final film will deliver?  Otherwise I’m hoping that The Hunger Games will fill that little spot in my heart reserved for young adult movies.

Yep- I just outed myself as a Twilight Fan.  I keep watching the movies hoping that they’ll match the magic of the angsty, unintentionally hilarious original film.  No luck so far.  Maybe the final film will deliver?  Otherwise I’m hoping that The Hunger Games will fill that little spot in my heart reserved for young adult movies.

Very Cherry Lime Mojito

Yield: 1 serving

Ingredients:

 2 sprigs of mint
1/2 lime, cut into three wedges
1 1/2 ounces white rum*
1/4 cup black cherry juice
handful of ice
1/2 cup sparkling water or seltzer water
slice lime and mint leaves for garnish (optional)

Directions:

In a glass, muddle the mint and lime wedges (I use a wooden spoon). Add the rum and cherry juice and stir to mix. Add ice and then the sparkling water. Garnish with a slice of lime and mint leaves, if desired.

* Last summer I made some bing cherry-infused vodka and also made one of these using that in place of the rum…. excellent. Definitely something to try next cherry season.

A Trip to the Punahou Carnival and a Salsa Recipe for Mom

What football game?  The highlight of my weekend was the Punahou Carnival.  Each year Punahou (the President’s alma mater) puts on the event to raise money for financial aid.  If you’re ever visiting at the first weekend of February, definitely put it on your list of things to do.
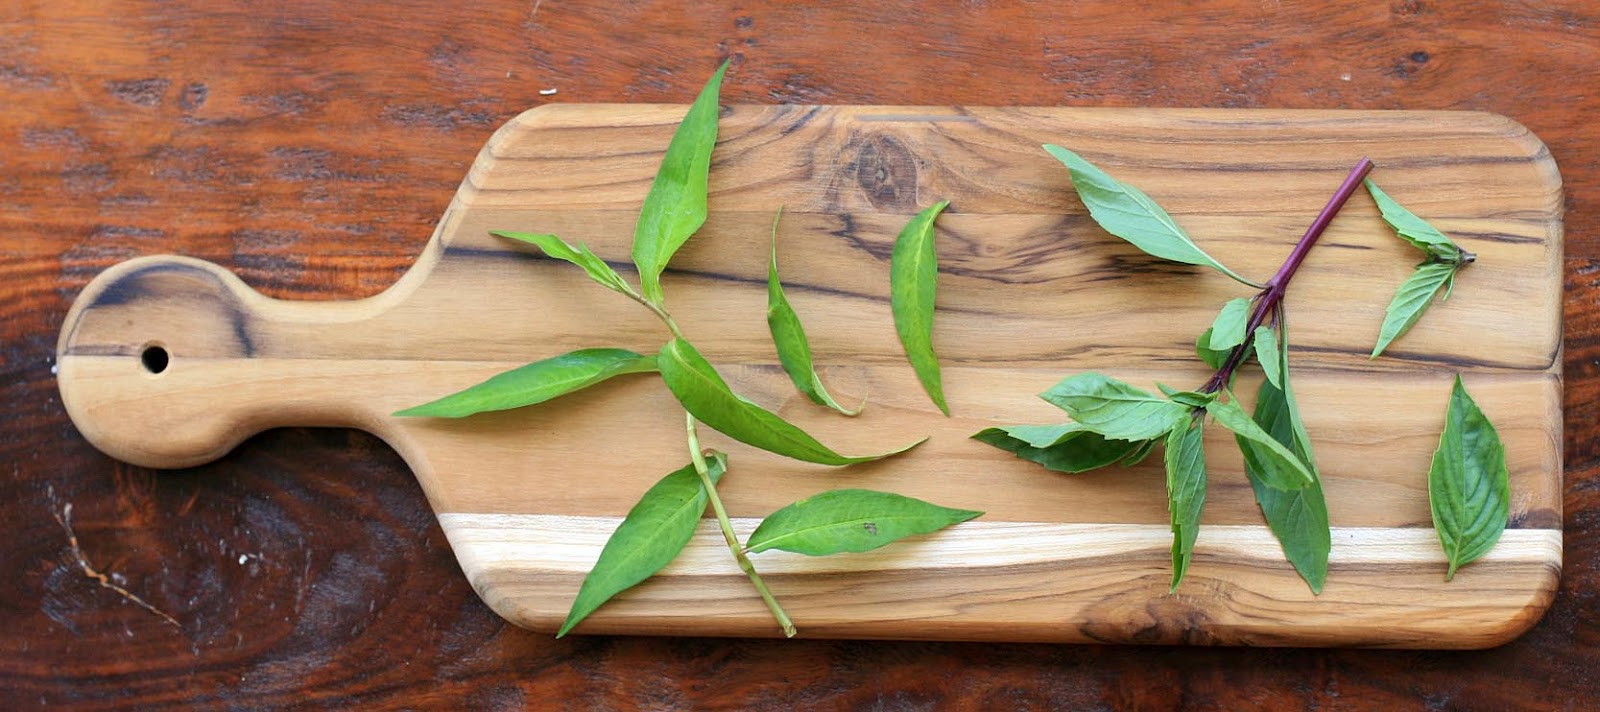
Besides the standard carnival rides, there’s a White Elephant, vintage/antique sale, local produce stand, and all sorts of activities for kids.  Just come ready for crowds.

The main draw?  The food.  People come from all over the island for the malasadas, Portuguese bean soup, teri burgers, gyros, Saimin, etc., etc.  Want to try it all?  They stock plenty of boxes so you can take a couple meals to go.
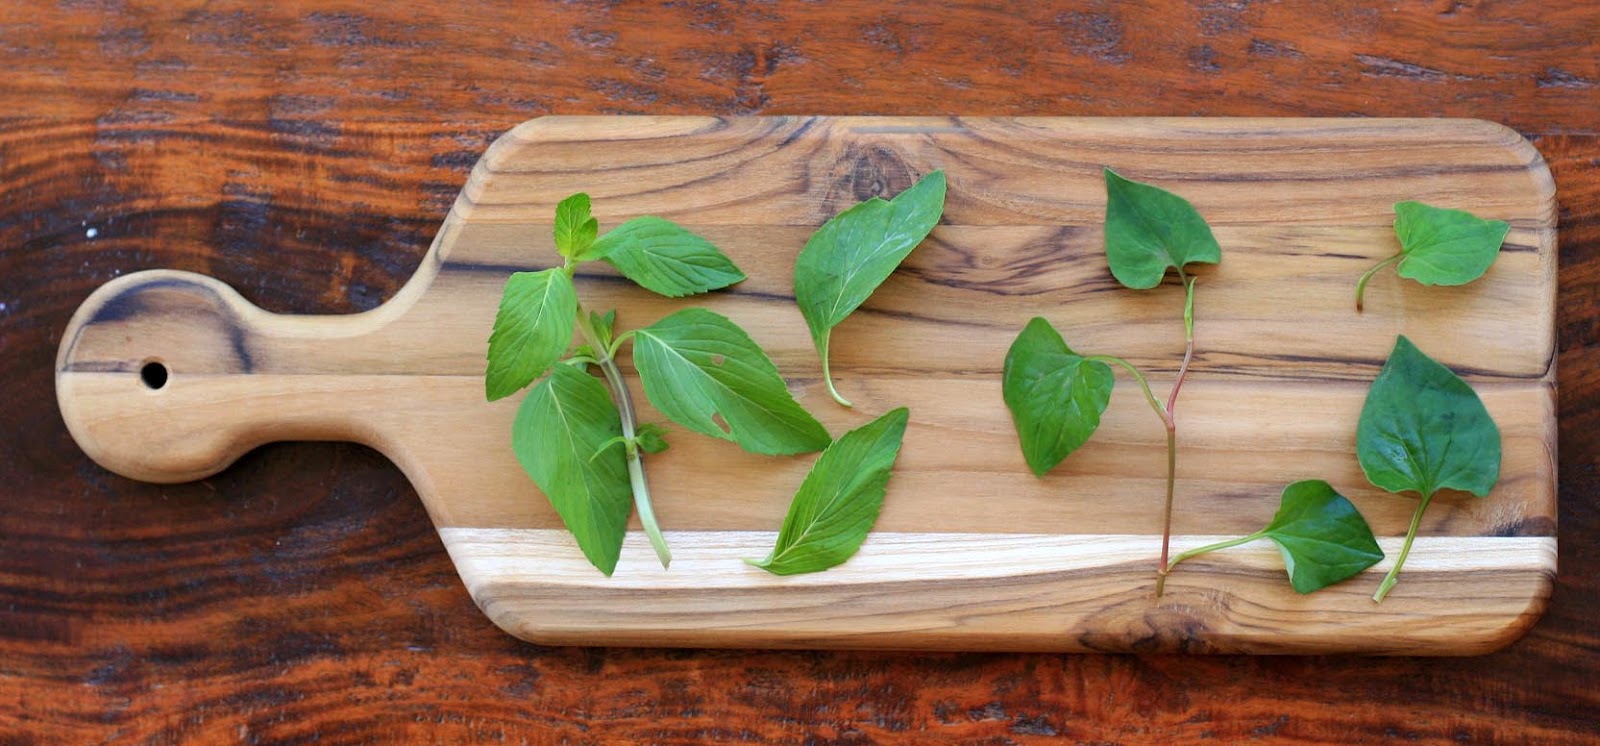
I was relegated to the few gluten-free items that they sell, but you could do worse than an Orange Dream smoothie and beef nachos.  Although I wouldn’t have minded a salsa upgrade.  I haven’t bought the jarred stuff in years; the lack of fresh cilantro is a total deal-breaker.

And so now it’s one of those basics that I always make myself… super easy and so much better than store bought.  People are always surprised to find out that I use canned tomatoes but I find that they’re more reliable than standard supermarket tomatoes.  Plus they’re always available, inexpensive, and I invariably have a can or two in the pantry.

I’ve been meaning to post this for over a month now.  My mom wanted the recipe and I told her to just wing it and throw some tomatoes, onion, cilantro, and lime juice together.  Apparently that wasn’t satisfactory.  So mom, this one is for you…  I’m still working on that chicken tortilla soup recipe.

Fresh Cilantro Salsa

2 15-ounce cans diced tomatoes, drained
1 red or yellow onion, chopped
leaves from 1 bunch fresh cilantro
1 fresh jalapeno pepper, partially seeded and diced (or use a couple jarred jalapeno pepper rings)
2 Tablespoons lime juice
1/2 teaspoon sugar
1 teaspoon salt
1/2 teaspoon pepper

Combine all the ingredients in a bowl.  Use an immersion blender to pulse several times until the ingredients are chopped finely and well combined.  Alternatively, pulse in a food processor or blender.

Toor Dal- Nepali Yellow Dal

0

When I think of comfort foods, rich and unhealthy items like macaroni and cheese or ice cream come to mind.  I’m hoping that I’ll eventually be able to train my mind to first turn to something healthy, like this warming and nutritious dal.

In this Nepali vegetarian dish, yellow split peas and diced tomatoes combine with a spiced onion mixture.  The ingredients are pretty simple, but everything combines to create a dish that is anything but boring.

So far Nepal has challenged my perception that spices like cinnamon, cloves and cardamom are only for sweet, not savory dishes.  The inclusion of cinnamon and cardamom is really the major difference between this yellow dal and the Indian yellow dal I often make from 5 Spices, 50 Dishes.  As long as they’re used somewhat sparingly, these spices add a nice, slightly perfumed aroma and extra depth of flavor to savory dishes.

I often eat dal plain, but feel free to serve it over some Basmati rice for a full meal.  And one final note: dal makes a great weekday meal for company.  I often make the split peas the day before.  The day of, all that’s left to do is reheat the split peas and then cook up the onion mixture.  Easy peasy.

Toor Dal- Nepali Yellow Dal

Yield: 4-6 servings

Ingredients:

* 4 cups water
* 1 cup yellow split peas
* 1/2 cup diced tomatoes, drained
* 3 Tablespoons vegetable or canola oil
* 1/2 teaspoon cumin seeds
* 1 onion, chopped
* 1/2-inch piece fresh ginger, peeled and grated (I freeze peeled ginger and use a Microplane zester)
* 2 cloves garlic, minced
* 1 cinnamon stick
* 2 bay leaves
* 1/2 teaspoon turmeric
* 2 cardamom pods, crushed
* 1 Tablespoon butter
* 1/4 cup chopped cilantro leaves
* salt and pepper

Directions:

Combine the water, split peas, and diced tomatoes in a large saucepan. Cover and simmer over low heat until the split peas have softened.

While the split peas are cooking, heat the oil in a large pan over high heat until very hot. Add the cumin and cook, stirring, until very fragrant. Reduce heat to medium-high and add the onions. Cook, stirring occasionally, until the onion has browned. Add the ginger, garlic, cinnamon, bay leaves, turmeric, and cardamom and stir to mix. Pour into the prepared split peas. Add butter, cilantro and salt and pepper to taste. Let cook over low heat for a couple minutes to allow the flavors to meld.

Gluten-Free Mini Ricotta Doughnuts with Bittersweet Chocolate and Salted Caramel Dipping Sauces

0

Resistance is futile.  Even if you have the willpower to resist the doughnuts, the bittersweet chocolate and salted caramel will likely lure you in with their siren song.  Although the doughnuts themselves are pretty spectacular… super moist, impossibly fluffy, with just the slightest hint of citrus.  One plain, one with chocolate, one with caramel.  Eat and repeat.

The recipes for the chocolate and caramel sauces make more than you’ll need for these doughnuts, so you’ll have plenty for a double batch.  Or use any extra to top some ice cream.  I’ll throw out another idea for any sauce leftovers tomorrow…

Gluten-Free Mini Ricotta Doughnuts with Bittersweet Chocolate and Salted Caramel Dipping Sauces

Yield: 16-24 doughnuts, depending on size

Ingredients:

Doughnuts:
canola or vegetable oil for frying
1/2 cup superfine rice flour
1/4 cup potato starch
2 Tablespoons tapioca starch
2 teaspoons baking powder
1 teaspoon grated lemon zest
1/4 teaspoon salt
1 cup whole milk ricotta cheese
2 eggs, lightly beaten
2 Tablespoons sugar
1 teaspoon vanilla extract
powdered sugar
bittersweet chocolate and salted caramel dipping sauces

Bittersweet Chocolate Sauce:
2/3 cup bittersweet chocolate chips
1/2 cup heavy cream, heated on the stovetop or microwave until very warm

Salted Caramel Sauce:
1 cup sugar
1/4 cup water
3/4 cup heavy cream
2 Tablespoons butter
1 teaspoon sea salt

Directions:

Heat several inches of oil on a small, heavy saucepan to 370 degrees.

While the oil is heating, combine the rice flour, potato starch, tapioca starch, baking powder, lemon zest and salt in a medium bowl. In a large bowl, combine the ricotta, eggs, sugar, and vanilla. Add the flour mixture and whisk until blended.

Working in small batches, drop heaping Tablespoons of batter into the hot oil, turning occasionally, until the exterior is golden and the insides are cooked, about 4 minutes. Using tongs or a slotted spoon, transfer to a paper towel-lined plate to drain.

Lightly dust with powdered sugar and serve with bittersweet chocolate and salted caramel dipping sauces.

To make the chocolate sauce, place the chocolate chips in a microwave safe bowl and microwave in 30-second intervals until soft. Stir until smooth. Whisk in the warm heavy cream until smooth.

To make the salted caramel sauce, combine the sugar and water in a small, heavy-bottomed saucepan over medium-low heat until the sugar dissolves. Increase the heat to medium-high and bring to a boil without stirring, washing down any crystals on the side of the pan with a wet silicone or pastry brush.

Boil until the syrup is a deep amber/caramel color. Remove the mixture from the heat and carefully whisk in the heavy cream (the mixture will bubble). Stir in the butter and salt.

Pinattipannukakku – Finnish Gluten-Free Rolled Spinach Pancake

I suppose it’s confession time: even after making and eating this dish, I’m not quite sure what to make of it.  Is it a breakfast dish?  A lunch dish?  Of all the Finnish cookbooks I have, nobody provided much in the way of background.  I’m going to take the easy way out and guess that it’s best served at brunch.

A pancake baked in the oven is topped with spinach that’s flash cooked to keep its vibrant color and spiced with grated nutmeg.  You then roll it up like a jelly roll and top it with a heavy sprinkle of grated cheese.  Things got even more interesting with a (non-traditional) dollop of sour cream.

Finns are onto something with the whole giant pancake baked in the oven and prepared jelly roll style.  Maybe next time Nutella as the filling?

Pinattipannukakku- Finnish Gluten-Free Rolled Spinach Pancake

Yield: 4-6 servings

Ingredients:

Melted butter, for greasing pan

Pancake:
2 eggs
2 cups milk
1/3 cup rice flour
d1/3 cup sorghum flour
1/3 cup potato starch
1 teaspoon salt
1 teaspoon baking powder
1/4 teaspoon xanthan gum

Filling:
2 Tablespoons butter
3/4 to 1 pound baby spinach, washed
salt and pepper
1/4 teaspoon nutmeg

Topping:
Grated Parmesan

Directions:

In a medium bowl, beat the eggs with the milk. Sift the rice flour, sorghum flour, potato starch, salt, baking powder and xanthan gum into a large mixing bowl. Add the egg mixture and stir until smooth. Let rest for 30 minutes, uncovered.

While the batter is resting, preheat the oven to 350 degrees and generously butter a flat, rimmed baking sheet (I used my 13 by 18-inch sheet).

Pour the batter into the prepared pan and spread evenly across the bottom. Bake for about 20 minutes, or until set.

While the pancake is baking, melt the butter in a large frying or sauté pan over medium-high heat. Add the spinach, in increments if necessary, and cook only until just wilted. Add the nutmeg and then season to taste with salt and pepper.

Spread the prepared spinach over the cooked pancake. Gently roll up the pancake like a jelly roll and cut into slices. Top with grated Parmesan.

My Top Tips For Gluten-Free Baking

I’d actually planned on taking a break from baking over the holidays.  After all, I was traveling and away from my well-stocked gluten-free kitchen.  But then my mother decided to try going gluten-free and I knew I wanted to make the transition as easy as possible… especially during the holiday season when there are so many glutinous temptations around.

So I stopped by a store that sold gluten-free provisions and stocked up on whatever they had, thinking that the results would be the same as when I baked using my usual ingredients and tools at home.  Boy was I mistaken.  Only then did I understand why a lot of people think of gluten-free baked goods as gritty and unappealing.

I thought it was time to pass along a few tips that will help ensure your gluten-free baking endeavors are a success. These tips are really geared towards novice gluten-free bakers (hi mom!), but I’d love to hear any additional tips or suggestions from seasoned gluten-free bakers in the comments.

1.  Find Ultrafine Gluten-Free Flours.

I can’t stress this point enough.  I’m extremely lucky in that there are dozens of Asian stores that sell ultrafine gluten-free flours within a several mile radius of where I live.  In addition, the health food stores sell an excellent brown rice flour in their bulk bins.  I almost always buy my white rice flour, tapioca starch, potato starch, and glutinous rice flour from Asian supermarkets.  Even in Honolulu these tend to be very inexpensive (about $1.00 or less for a 1-pound bag).  I’ve also heard great things about the Authentic Foods superfine rice flours.

For sorghum flour and teff flour I’ve always used the Bob’s Red Mill varieties.  Although as much as I love Bob’s Red Mill, I would definitely caution you not to use their stone ground rice flours.. unless you like gritty baked goods.   I’m also not a huge fan of the Bob’s Red Mill Gluten-Free All Purpose Baking Mix.. probably because of the bean flours.

2.  Buy Quality Ingredients:

No, I’m not suggesting that you need to buy $20/pound anything to get good results, but sometimes you really can get much much better results just by spending a little bit more.  For instance, the difference in taste between Nestle or Hershey chocolate chips and the Ghiradelli bittersweet chips (which really only cost a little bit more) is substantial.  Ditto for unrefined sugar and coffee.  Have some fun and do a blind taste test to see what is worth the splurge and what isn’t.

3.  “Splurge” on Tools that Make Your Life Easier (and Your Baked Goods Better):

I’m not going to say you need to go out and buy a  Kitchenaid mixer or a Vitamix blender (although I love both!),  but there are a couple low-cost tools that I consider to be total kitchen necessities.  For instance, an immersion blender and a Microplane zester, will make your life so much easier.  Ditto for a pastry cutter/blender, which I somehow still haven’t acquired despite the fact that I make a mental note to buy one every single time I make shortbread, biscuits, or a pie crust.

4.  Don’t Be Afraid of Failure/Learn to Improvise.

Sometimes your gluten-free baked goods won’t turn out, even if you follow a recipe carefully.  There are plenty of times I’ve painstakingly followed tested recipes from a trusted gluten-free source and the results have been total flops. The more you bake the easier it’ll be for you to tweak recipes to your liking and/or spot when a recipe is headed for disaster.  You’ll also get more comfortable substituting flours to add more whole grains, lighten the result, add more protein, etc.

Hope these tips have helped some of you… with all the great gluten-free products and tools out there, there’s really no reason to be eating substandard baked goods!  I’m sure I’ve forgotten some other basic tips, so I’ll be sure to update this post as soon as I think of other suggestions.  And again, I’d love to hear other tips from readers… I’m sure you guys could all teach me a lesson or two 🙂