Home Blog Page 89

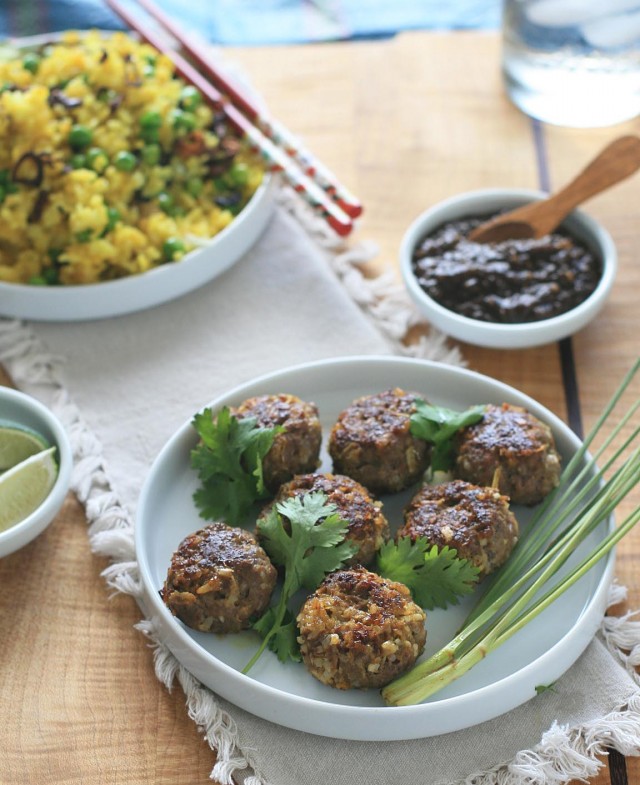
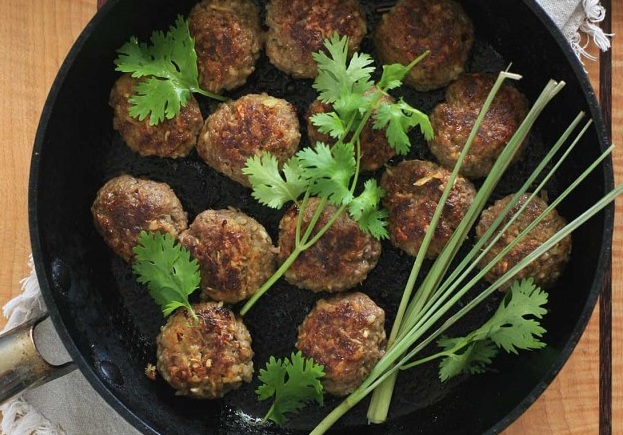
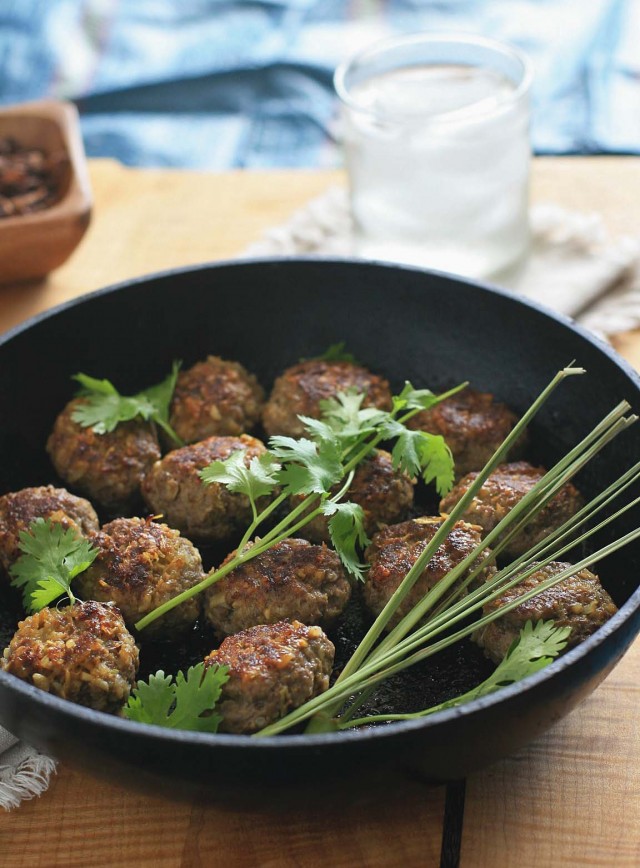
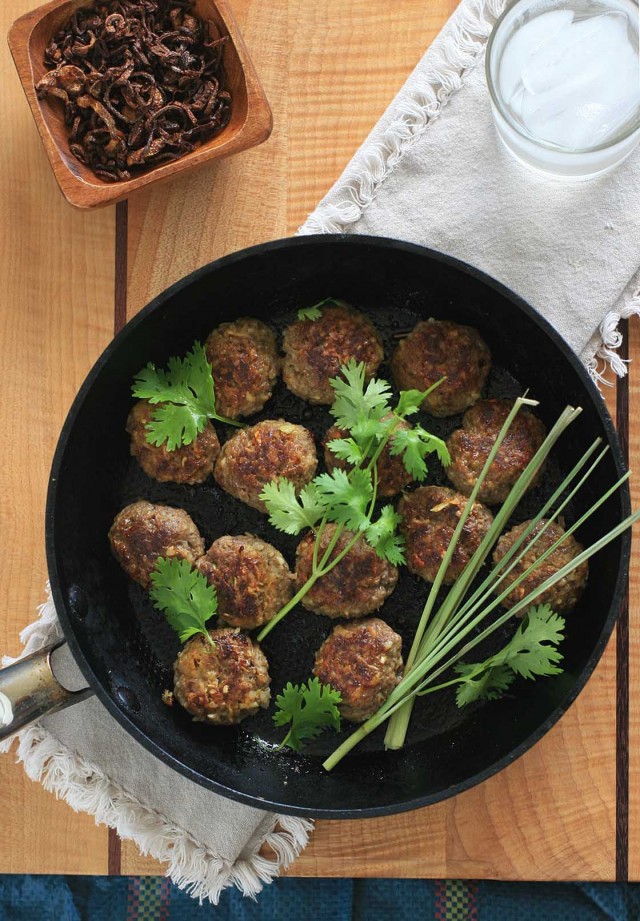
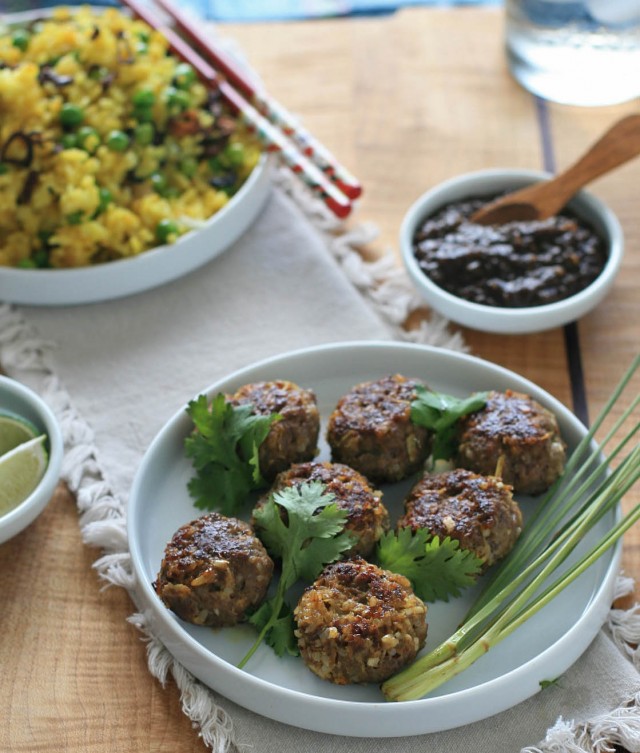
Bo Nuong Xa- Grilled Lemongrass Beef

My favorite beaches in Hawaii?  Waimea, Hanalei, and Lanikai are certainly near the top of the list, but I’ve got another favorite right here in urban Honolulu: Ala Moana Beach Park.

I mean, what’s not to love?  It’s got a golden sand beach, calm water that’s ideal for swimming or stand-up paddle boarding, awesome off-shore surf breaks, a jogging loop, a launching area for outrigger canoes, a beach volleyball area, tennis courts, plenty of grassy areas (and parking!) for get togethers, and a picture perfect view of Diamond Head.

If you ever decide to visit Hawaii, I have one crucial piece of advice: don’t go hungry.  It’s pretty much inevitable that, even during a quick lap around the park, you’ll encounter the smell of heavenly BBQ at least half a dozen times.

Next time I leave the park totally ravenous and craving some grilled meat, this is the recipe I’m turning to.  The potent lemongrass, fish sauce and garlic marinade means that the meat is ready to go in just 30 minutes.  I tried it on beef and chicken and it was perfection on both.

You really can’t go wrong here: the beef or chicken makes a great appetizer dipped in nuoc cham.  It was also great sliced up and tossed into a bowl of bun or served with rice and a Vietnamese salad on the side.

Even if you don’t want to put together a whole Vietnamese spread, consider swapping out your standard steak for this lemongrass beef at your next backyard get-together.  I wouldn’t be surprised if it became your new staple.

Bo Nuong Xa- Grilled Lemongrass Beef

Yield: 4-6 servings

Ingredients:

 1 teaspoon sugar
2 teaspoons ground black pepper
4 cloves garlic
2 stalks lemongrass, woody and dry ends trimmed and removed, and thinly sliced
1/4 cup fish sauce
3 Tablespoons olive or vegetable oil
1/4 teaspoon salt
1 pound beef sirloin tip, thinly sliced (freeze the beef for 1-2 hours for easier slicing)
finely chopped cilantro
crushed, unsalted and toasted peanuts

Directions:

In a food processor, combine the sugar, pepper, garlic, lemongrass, fish sauce, oil, and salt and process until nearly smooth. Place the beef in a bowl or ziplock bag and pour the marinade over it. Toss to coat each piece of beef. Set aside to marinate for 30 minutes. While beef is marinating, preheat grill.

Place the beef on the preheated grill (you can also thread the beef onto pre-soaked skewers, if desired). Grill for 1-2 minutes on each side.

Slice beef (you can skip this step if you’ve used skewers) and transfer to a serving platter. Drizzle with any accumulated juices and sprinkle with chopped cilantro and crushed peanuts.

A Vietnamese Herb Primer and Visual Guide

Although you’ll still be able to make some great Vietnamese food even without access to a lot of special (read: hard to find) herbs, I wanted to include a quick primer for those of you with access to a good Vietnamese or Asian market in case you’d like to do some experimenting.  In the photos below I placed all of the herbs on the same cutting board to give you a sense of scale.

There are also a couple of herbs that I’ve yet to get a good photograph of (I get to the market too late and they’ve already sold out!), so I’ll be sure to try to update as soon as possible with photos of wild betel leaf and sorrel.

Cilantro

Cilantro is also called coriander leaves and Chinese parsley; unless you’ve been living under a rock, you probably already know about cilantro and have determined out whether you’re in the love or hate camp.  I love it’s bright, citrusy flavor but it can taste soapy to some unlucky individuals.

Mint

Although there are several types of mint that are popular in Vietnam, standard grocery store mint will work just fine in all Vietnamese recipes.

Culantro

Culantro is also called Mexican coriander and saw-tooth herb; this Vietnamese herb is highly aromatic and pungent… almost like cilantro on steroids.

Rice Paddy Herb

The small, delicate leaves grow in sturdy pale green stalks and taste of cumin and orange citrus.

Rau Ram

Rau Ram is also called Vietnamese coriander; similar in taste to cilantro, but peppery and lemony.

Thai Basil

Also called Asian basil; has purple stems and purple buds.  Think of Thai basil as a spicier and less sweet version than the Italian cousin.

Vietnamese Balm

Also known as Vietnamese mint; this saw-edged, slightly fuzzy herb tastes of lemon and mint.

Fish Mint

Very appropriately name, this spade-shaped herb has got a very distinctive fishy smell and taste.

Water Spinach Curls

Not actually an herb at all, but these water spinach curls are a fun addition or garnish for a lot of Vietnamese dishes.  They provide texture but not much flavor.  You can even purchase a special tool to make them.

Lemongrass

A favorite in many dishes, both savory and sweet.  Lemongrass tastes and smells, not surprisingly, like lemon.  Although it’s started to be sold fresh in many supermarkets, I’ve read that many Asian markets sell frozen, finely ground lemongrass.

Green Onions

Also called scallions; a very common Asian herb with round, hollow stems and a delicate onion flavor.

Garlic Chives

Also called Chinese chives. Has flat leaves with a delicate onion and garlic flavor.

Purple Perilla

Also called red perilla and shiso. These leaves are green on top and purplish on the underside.  They have a subtle taste that I’ve heard described as being reminiscent of cinnamon, licorice, mint and lemon.

Any other Vietnamese herbs that I should try?

Thit Heo Kho- Vietnamese Pork in Caramel Sauce

More than a couple friends and former roommates have marveled at my ability, or perhaps willingness is a better word, to eat the same thing over and over again.  The people who don’t like leftovers?  Don’t understand them.  At all.

I’d probably be happy to eat the same things over and over again for the rest of my life, but it’d make for one boring food blog.  Getting me out of my (admittedly contented) food rut was one of the biggest reasons for starting Girl Cooks World in the first place.

In my pre-blog life, I’d probably make the Ga Kho I recently posted every week for the next month or so, happily devouring it each and every time.  These days I have to do the next best thing: make something similar to practically guarantee success while trying something new.  Everybody wins.

These types of caramelized dishes, often cooked in clay pots in Vietnam, are popular for a reason: they’re quick, simple to make and taste like you spent all day cooking.  The caramelized pork recipes that I found were all pretty basic so I decided to stick with the same basic formula that worked so well with the chicken, but just reduced the number of Thai chiles.  The garlic, fish sauce and sugar cooked down to create a sticky sauce with just a touch of heat. Pair it with some rice for an easy and surprisingly quick weeknight meal.

Thit Heo Kho- Vietnamese Pork in Caramel Sauce

Yield: 4-6 servings

Prep Time: 15 minutes

Cook Time: 15 minutes

Total Time: 30 minutes

Ingredients:

* 1-1/2 pounds boneless pork loin
* 2 Tablespoons vegetable oil
* 4 cloves garlic, minced
* 1/2 inch piece peeled fresh ginger, grated (peeled, frozen ginger is easy to grate)
* 2-3 small shallots, minced (I used shallots about the size of ping pong ball)
* 1 Thai chile, sliced
* 3 Tablespoons fish sauce
* 2 Tablespoons palm sugar or brown sugar
* 1 Tablespoon sugar
* 1/2 teaspoon black pepper
* 1/4 cup water
* 1 teaspoon caramel color (optional, but check to make sure it’s gluten-free if using)
* 1-2 green onions, finely sliced on the diagonal for garnish (optional)

Directions:

Cut the pork into large chunks and set aside.

Heat the vegetable oil in a large skillet or frying pan over medium-high heat. Add the pork and cook, stirring occasionally, until most of the pieces are no longer pink. Push the pork to the perimeter of the saucepan and add the garlic, ginger, shallots and Thai chile. Cook for several minutes, until softened.

Combine the fish sauce, both sugars and black pepper in a small bowl and stir to mix.

Toss the pork and garlic mixture and then pour in the fish sauce mixture and stir to coat. Bring to a boil for a minute or two and then add the water and caramel color, if using. Adjust heat to a low simmer and then let the pork cook, stirring occasionally, until the sauce is thick and the pork is cooked through.

Remove from heat, sprinkle with the green onion and serve with rice.

Che Chuoi- Coconut Soup with Banana and Tapioca Pearls

0

This isn’t your grandmother’s tapioca pudding…. unless of course you have a Vietnamese grandmother.  In fact, I probably shouldn’t even call this a pudding at all… this dish is definitely more like a soup.  More specifically, a rich and creamy sweet coconut-based soup with small, chewy tapioca pearls and chunks of fresh banana.

You can slurp up this soup hot, at room temperature, or cold.  It’s total comfort food any way you serve it.  Just know that the soup will thicken a bit as it cools.  Of course if you are looking for a more pudding-like texture, you can always increase the amount of tapioca pearls.

If you anticipate leftovers, I’d recommend adding fewer bananas and taking care to ladle out all the banana chunks during the initial serving.  That way you can add fresh banana when reheating any leftovers.

This banana version is one of the most common che desserts, but I’ve also had it with chunks of honeydew melon or cooked taro chunks.  Feel free to get creative/adventurous with the mix-ins.

Che Chuoi- Coconut Soup with Banana and Tapioca Pearls

Yield: 6 servings

Cook Time: 15 minutes

Total Time: 30 minutes

Ingredients:

* 3 cups water
* 1/2 cup very small tapioca pearls
* 3-4 regular bananas or 6-8 mini bananas
* 14-ounce can unsweetened coconut milk
* 1/3 cup sugar
* 1/4 teaspoon salt
* toasted coconut or toasted, chopped peanuts (optional)

Directions:

Place the water in a medium saucepan over high heat. Bring to a boil and then add the tapioca pearls, stirring to prevent any clumping. Adjust heat and let the mixture simmer, stirring occasionally, until the tapioca pearls are almost translucent with just a small white dot in their centers.

While the tapioca is simmering, cut the banana into bite-sized chunks. Set aside.

Once the tapioca has softened, add the coconut milk, sugar, and salt. Cook, stirring, to heat everything through and dissolve the sugar. Gently stir in the banana chunks and cook another minute or two. Remove from heat and let sit for 10-15 minutes to cool and thicken.

Spoon into individual bowls and sprinkle with coconut or peanuts, if desired.

Ca Tim Dau Hu Kho- Braised Eggplant with Tofu

Although there are plenty of vegan and/or vegetarian recipes here on Girl Cooks World, there’s only one with tofu.  It’s not that I dislike tofu, but there’s just a lot of other things that I like even better.  But things have been pretty meat-heavy around here lately, so I thought it was time to expand my horizons a bit and give the beloved bean curd another day in the sun.

I’ve been a super-fan of all the Vietnamese kho dishes that I’ve cooked so far.  The sauces tend to be thick, sweet and flavorful.  It’s been magic for both chicken and pork, so I figured that it would also work for this eggplant and tofu dish.

And it does.  A long, slow simmer practically melts the eggplant into smooth, velvety chunks, which provides a nice contrast with the firm tofu.  You have the sweet, salty and sticky sauce that’s typical in kho dishes but with a little flavor twist courtesy of the star anise.  A hefty sprinkle of chopped Thai basil adds an element of freshness.

I should note that because there’s fish sauce, the dish isn’t vegetarian.  However, I have seen vegetarian versions of fish sauce at the market, so vegans and vegetarians might want to check those out since the rest of the ingredients are both vegan/vegetarian-friendly.

Ca Tim Dau Hu Kho-Braised Eggplant with Tofu

Yield: 4-6 servings

Ingredients:

* 2 large Asian eggplants, peeled and cut into large chunks
* 1-1/2 Tablespoons salt
* 1-1/2 Tablespoons sugar
* 3 Tablespoons vegetable oil
* 1 yellow onion, peeled, quartered and separated
* 3 cloves garlic, minced
* 2 star anise
* 10-ounce package firm tofu, cut into large chunks
* 1/4 cup fish sauce
* 1/2 Thai chile, thinly sliced
* 3/4 cup coconut juice
* 1/2 teaspoon black pepper
* 1/4 cup roughly chopped fresh Thai basil leaves

Directions:

Place the eggplant chunks in a colander set over a large plate and sprinkle with the salt. Use your hands to gently massage the salt into the eggplant. Let sit for 20 minutes. Rinse the eggplant under cold water. Pat the eggplant dry. Place in a medium bowl and toss with the sugar.

Heat the oil in a large skillet or saute pan over medium heat. Add the eggplant and cook, stirring for 2-3 minutes. Add the onion, garlic, star anise, and cook, stirring for 4-5 minutes.

Finally, add the tofu, fish sauce, chile, coconut juice and give the mixture a gentle stir. Bring the mixture to a boil and then reduce heat, cover and simmer gently for 15 minutes. Remove the lid and let the mixture simmer without stirring until the liquid has reduced to a thick sauce.

Remove from heat and sprinkle with black pepper and the Thai basil leaves. Serve with rice.

Gluten-Free S’mores Bars

0

Summer doesn’t technically begin for another day or two, but that doesn’t mean I haven’t already been indulging in one of my favorite summer treats- gluten-free s’mores bars!  I’ve already lamented about the fact that gluten-free graham crackers are both expensive and hard to find, so I’ll stop yapping about it.

After all, I suppose I should be thankful since it’s exactly those reasons why I opted to skip the usual press in graham-cracker crust, choosing instead to adapt a shortbread base to achieve the same cinnamon and honey graham goodness.

It worked perfectly, probably even better than the gluten-filled original.  And just like in the gluten-free graham cracker crust I used for the Barefoot Contessa’s Frozen Key Lime Pie, the amaranth flour is key.  If you have a hard time finding amaranth flour, you can just process some whole grain amaranth in your (clean) coffee grinder or Vita-mix.

With a sturdy graham-like base, a thick layer of bittersweet chocolate and a gooey layer of toasted marshmallow, these s’mores bars are like an ultra portable little piece of heaven.   And the best part?  There’s no campfire necessary, perfect for all of us apartment dwellers with no real vacation or camping adventure in sight…

Gluten-Free S’mores Bars

Yield: 16-24 bars, depending on size

Prep Time: 15

Cook Time: 25

Total Time: 3 hours

Ingredients:

 1/3 cup superfine rice flour, plus extra for dusting baking pan
1/3 cup amaranth flour (I usually just grind amaranth seeds in my coffee grinder or   Vitamix)
 2 cups of mini marshmallows
1/4 cup sorghum flour
 1/4 cup potato starch
 2 Tablespoons of honey
1/4 cup sugar
1-1/4 teaspoons xanthan gum
1/8 teaspoon cinnamon
6 Tablespoons cold butter, cut into small pieces
2-1/2 cups high quality chocolate chips

Directions:

Preheat oven to 350 degrees. Grease a 8-inch square baking pan with cooking spray and dust generously with rice flour.

In a large bowl combine the rice flour, amaranth flour, sorghum flour, potato starch, sugar, xanthan gum and cinnamon and stir to mix. Then, add the honey and butter and use a pastry cutter to blend until crumbly. Press firmly into the bottom of the baking pan. Bake 17-19 minutes, or until lightly golden.

Remove from oven and immediately sprinkle with the chocolate chips. Let stand for 2-3 minutes and then use a spoon to evenly spread out the melted chocolate. Sprinkle with the marshmallows.

Move your oven rack approximately 6 inches below the broiler element and turn your oven to broil. Broil the bars for a couple minutes, watching the bars the whole time, until the marshmallows are golden. Remove from oven and let cool to room temperature. Place the baking pan in the fridge for 2+ hours to chill thoroughly.

Cut into squares and enjoy!

The Barefoot Contessa’s Frozen Key Lime Pie, Gluten-Free

I subscribe to at least as many design and lifestyle blogs as I do food blogs.  One of my favorites?  Steph Modo.  Steph recently sung the praises of the Barefoot Contessa’s frozen key lime pie, saying it was her favorite non-chocolate dessert and that it pretty much changed her life.

Other reviews were equally enthusiastic, with one reviewer saying this was their “death row dessert” (hopefully not literally).  Was I intrigued?  You bet.

A sweet, tart and creamy key lime filling inside a crunchy graham cracker crust?  Sign me up.  And as we head into summer, I think we could probably all use some make-ahead desserts for those hot and brutal days to come.

The only roadblock for those of us who are gluten-free?  The graham cracker crust.  Gluten-free graham crackers are just too expensive and I don’t want to have to bother making graham crackers from scratch just to make a pie crust.

My solution?  Adapt my favorite tart shell crust by adding some amaranth flour, honey and cinnamon.  You end up with a crunchy, sturdy and graham-tasting crust that holds up perfectly- even the first slice came out perfectly clean.

Ina Garten’s Gluten-Free Frozen Key Lime Pie, Adapted from The Barefoot Contessa with Extra Tips from Steph Modo

Crust:

1/4 cup superfine rice flour, plus extra for dusting pan
1 Tablespoon honey
1/4 cup potato starch
1/4 cup amaranth flour (I just grind amaranth seeds in my coffee grinder or Vitamix)
1 teaspoon xanthan gum
1/8 to 1/4 teaspoon ground cinnamon
3 Tablespoons sugar
5 Tablespoons cold butter, cut into small pieces
1/4 cup sorghum flour

Pie Filling:

6 extra large egg yolks (or 7 large egg yolks), at room temperature
1/4 cup sugar
14-ounce can sweetened condensed milk
3/4 cup key lime juice
3 Tablespoons key lime zest

Topping:

1 cup cold whipping or heavy cream
1/4 cup sugar
1/4 teaspoon vanilla extract
thin slices of key lime, for garnish (optional)

Preheat oven to 350 degrees.  Grease a 9-inch pie pan with cooking spray and dust generously with rice flour.

In a large bowl combine the rice flour, sorghum flour, potato starch, amaranth flour, xanthan gum, cinnamon, and sugar and stir to mix. Add the honey and butter and use a pastry cutter to blend until the mixture is crumbly.  Press into the bottom and up the sides of the prepared pie pan.  Bake for 16-18 minutes, or until the crust begins to turn golden.  Remove from oven and set aside to cool.

In a large bowl beat the eggs and sugar using an electric mixer on high speed for at least five minutes… it should be nice and thick.  While the mixer is on, pour in the condensed milk, key lime juice and key lime zest. Pour into the cooled pie shell.  Freeze for at least an hour.

Prepare the topping by beating the whipping or heavy cream until soft peaks form.  Add the sugar and vanilla extract and beat until firm.  Either spread the topping on using a spoon or silicone spatula, or pipe the topping on using a pastry bag.  Freeze 8 hours or overnight.

Remove from freezer immediately before serving.  Top with slices of key lime, if desired.

Serves eight to ten.

Note: this recipe uses raw eggs.  Please note that there is a small risk of salmonella and other food-borne illness.  You can reduce this risk by using fresh, clean and properly refrigerated eggs.

Shrimp and Asparagus Risotto

Oh risotto.  You’re such a lovely dish and I don’t know why you suffer with an unfair reputation of being difficult to make.  It’s not your fault.  I suppose somebody in a fancy restaurant started the rumor so that people would be willing to pay unreasonable amounts of money for such a simple grain-based meal that’s easy to make at home.

I suppose I should mention that there’s also some stirring involving.  OK, there’s a lot of stirring involved.  But as far as kitchen tasks go, I’d like to think that stirring is definitely on the easy end of the spectrum.  Molecular gastronomy it is not.

I often make asparagus and mushroom risotto for myself, but when I’m in the mood for just a little bit of extra protein, this shrimp and asparagus risotto is just the ticket.  And if you serve this to company, everybody will think you’re a total rockstar for making it.

Shrimp and Asparagus Risotto

Yield: 6 servings

Ingredients:

1-2 Tablespoons olive oil
1 pound asparagus, washed, ends trimmed and cut on the diagonal into 1-inch pieces
3 Tablespoons butter
1 small onion, diced
1-1/4 cups Arborio rice
1/2 cup dry white wine
5 cups chicken or vegetable broth
3/4 pound medium shrimp, shelled and deveined
1 tsp lemon zest (optional)
1/2 cup freshly grated Parmesan cheese
salt and pepper

Directions:

In a medium saucepan heat the broth over medium-low heat. You want the broth to be nice and hot so that it doesn’t slow down the cooking process when you add it to the rice later on.

In a large saucepan, heat the olive oil over medium-high heat. Add the asparagus and cook, stirring frequently, until tender-crisp. Remove from heat and remove the asparagus to a plate or bowl.

In the same large saucepan, melt the butter over medium heat. Add the onion and cook, stirring, until softened and translucent. Add the rice and stir to coat. Cook for 2-3 minutes. Add the wine and cook, stirring constantly, until the liquid is almost entirely absorbed by the rice.

Add 1/2 cup of hot broth and continue to cook, stirring constantly, until the broth has been almost entirely absorbed. Repeat the process, adding broth in 1/2 cup increments. Start tasting the risotto after adding 3-1/2 cups of broth- the amount you need will vary depending on your rice. You want the rice nice and tender but with a little bite/firmness still left. Note: you may end up with leftover broth. In the event that you’ve added all the broth but your rice isn’t softened enough, you can just use hot water.

Add the shrimp and asparagus and continue to cook, stirring frequently, until the shrimp has turned pink and is cooked through. Add the lemon zest (optional) and Parmesan cheese and stir briefly to incorporate and melt the cheese. Season with salt and pepper to taste.

Ocopa Arequipena- Peruvian Potatoes with Spicy Cheese Sauce

0

I’m sure glad I didn’t do a Google image search for Ocopa Arequipena before I decided to make this recipe.  It’s a pretty safe bet that the results aren’t going make your mouth water, unless, of course, you already know and love this classic Peruvian potato dish.

But how could it be anything but great?  Sautéed onions, garlic, and red bell pepper are cooked in a spicy milk broth and then pureed with crumbled queso fresco and walnuts to create a spicy, thick and complex sauce for the lightly golden potatoes.

The recipe that follows makes about double the amount of sauce you’ll need for the potatoes.  Trust me- that’s a good thing.  You’ll want to use it on anything and everything; so far I’ve also used it to top roasted broccoli and as a dip for tortilla chips (although not intended for use as a dip, it still sails right to the top of my favorites list, along with this roasted red pepper and feta dip and this garlic and cheddar black-eyed pea dip).

I should note that the classic version of the dish contains an herb called huacatay, which isn’t widely available in the United States (unless you have a well-stocked South American grocery nearby); I’ve also read that some find it to be very off-putting.  If you can find fresh huacatay or huacatay puree, feel free to add a little bit when you add the cheese and walnuts.  It’ll tint the sauce a pale green color.  As for the taste?  You’ll have to let me know…

Ocopa Arequipena- Peruvian Potatoes with Spicy Cheese Sauce

Yield: 6-8 servings

Ingredients:

8 Yukon gold potatoes
3 Tablespoons olive oil, divided
salt and pepper
1 medium onion, diced
2 cloves garlic, minced
1/2 red bell pepper, seeded and diced
3 Tablespoons Mirasol sun dried hot yellow pepper paste
12-ounce can evaporated milk
4 ounces queso fresco, feta cheese or crumble goat cheese
1/2 cup walnuts
lettuce leaves
4 hard boiled eggs, halved lengthwise
chopped olives

Directions:

Preheat oven to 400 degrees and line a rimmed baking sheet with parchment paper. Peel the potatoes and quarter. Place on the prepared baking sheet and drizzle with 1 Tablespoon of olive oil. Toss to coat and sprinkle with salt and pepper. Bake for approximately 20 minutes, or until the potatoes are cooked through and just beginning to turn golden.

While the potatoes are baking, heat the remaining 2 Tablespoons of olive oil in a medium saucepan. Add the onion, garlic and red bell pepper and cook, stirring occasionally, until the vegetables have softened. Next, add the pepper paste and stir to combine; cook for another minute.

Add the evaporated milk and simmer until the sauce has thickened slightly. Remove from heat and let cool slightly. Pour mixture into a blender and combine with the cheese and walnuts. Process until smooth, adding a little extra milk or olive oil if necessary to thin the sauce. Season with salt and pepper to taste.

Line a serving tray or large plate with lettuce leaves. Scatter the potato quarters on top of the bed of lettuce and then pour the sauce over the potatoes. Place the eggs on the side of the dish. Top with chopped olives, if desired.