I’m a huge fan of Lärabars. I’m a huge fan of chocolate. So it was a pretty safe bet that I’d probably love the Chocolate Chip Brownie Lärabars. I generally stock up on Lärabars when the local health food store has them on sale, but they never discount the Chocolate or Jocalat flavors. And well, $2.00 per bar seems a little steep.
Taking a quick glance at the ingredients, it seemed like it would be easy enough to recreate…and it was. These delivered intense chocolate flavor with no added sugar. The best part? They only took a couple minutes to make start to finish. For you coconut lovers out there, definitely add some dried, unsweetened coconut into the mix as well.

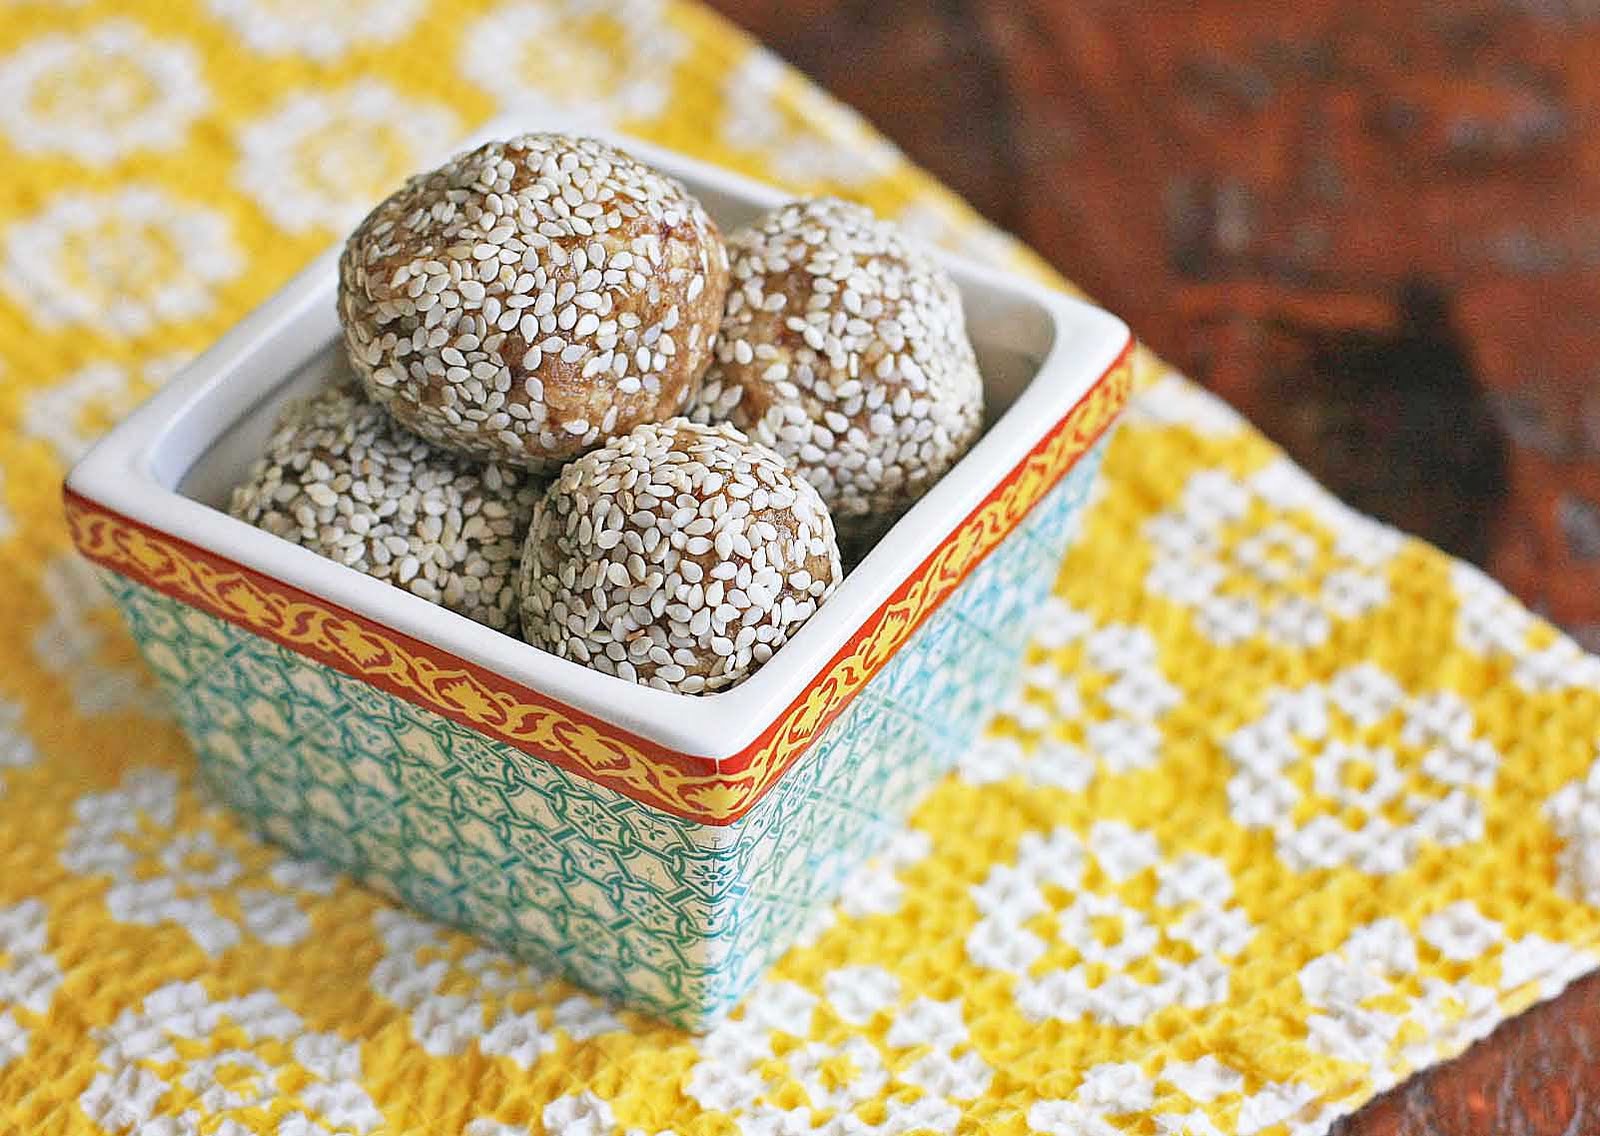
Homemade Chocolate Chip Brownie Lärabar with Coconut
Ingredients:
1/2 cup almonds*
1/2 cup roughly chopped walnuts
1 1/3 cups dates, pits removed
4 Tablespoons cocoa powder
1 teaspoon vanilla extract
1/4 cup chocolate chips (optional)
1/2 cup dried, unsweetened coconut (optional)
Directions:
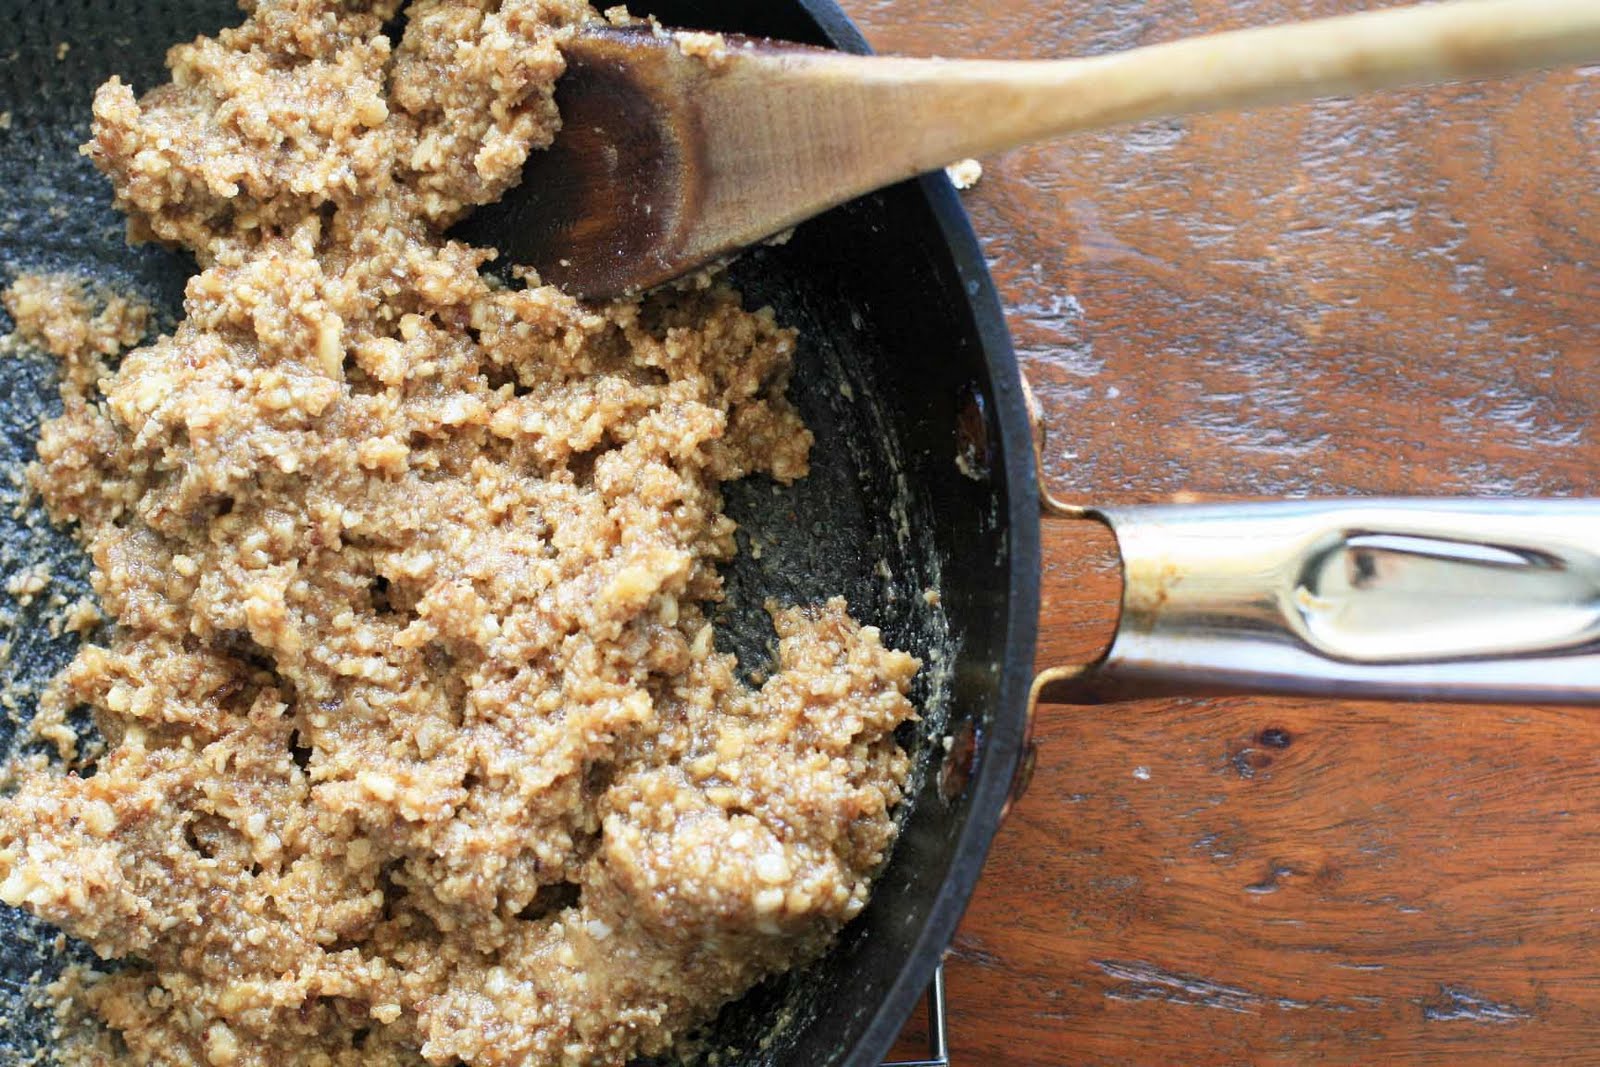
Process the almonds, walnuts, dates, cocoa powder, vanilla extract and coconut, if using, in a food processor or high speed blender. If using a blender, you’ll probably need to use the tamper. If you’d like these extra chocolatey, you can also process with the chocolate chips, or chop the chocolate into small pieces and manually mix it in.
Roll the mixture into small balls and enjoy!
* Note: you can also use all almonds or all walnuts in this recipe, but the original Lärabar uses both.