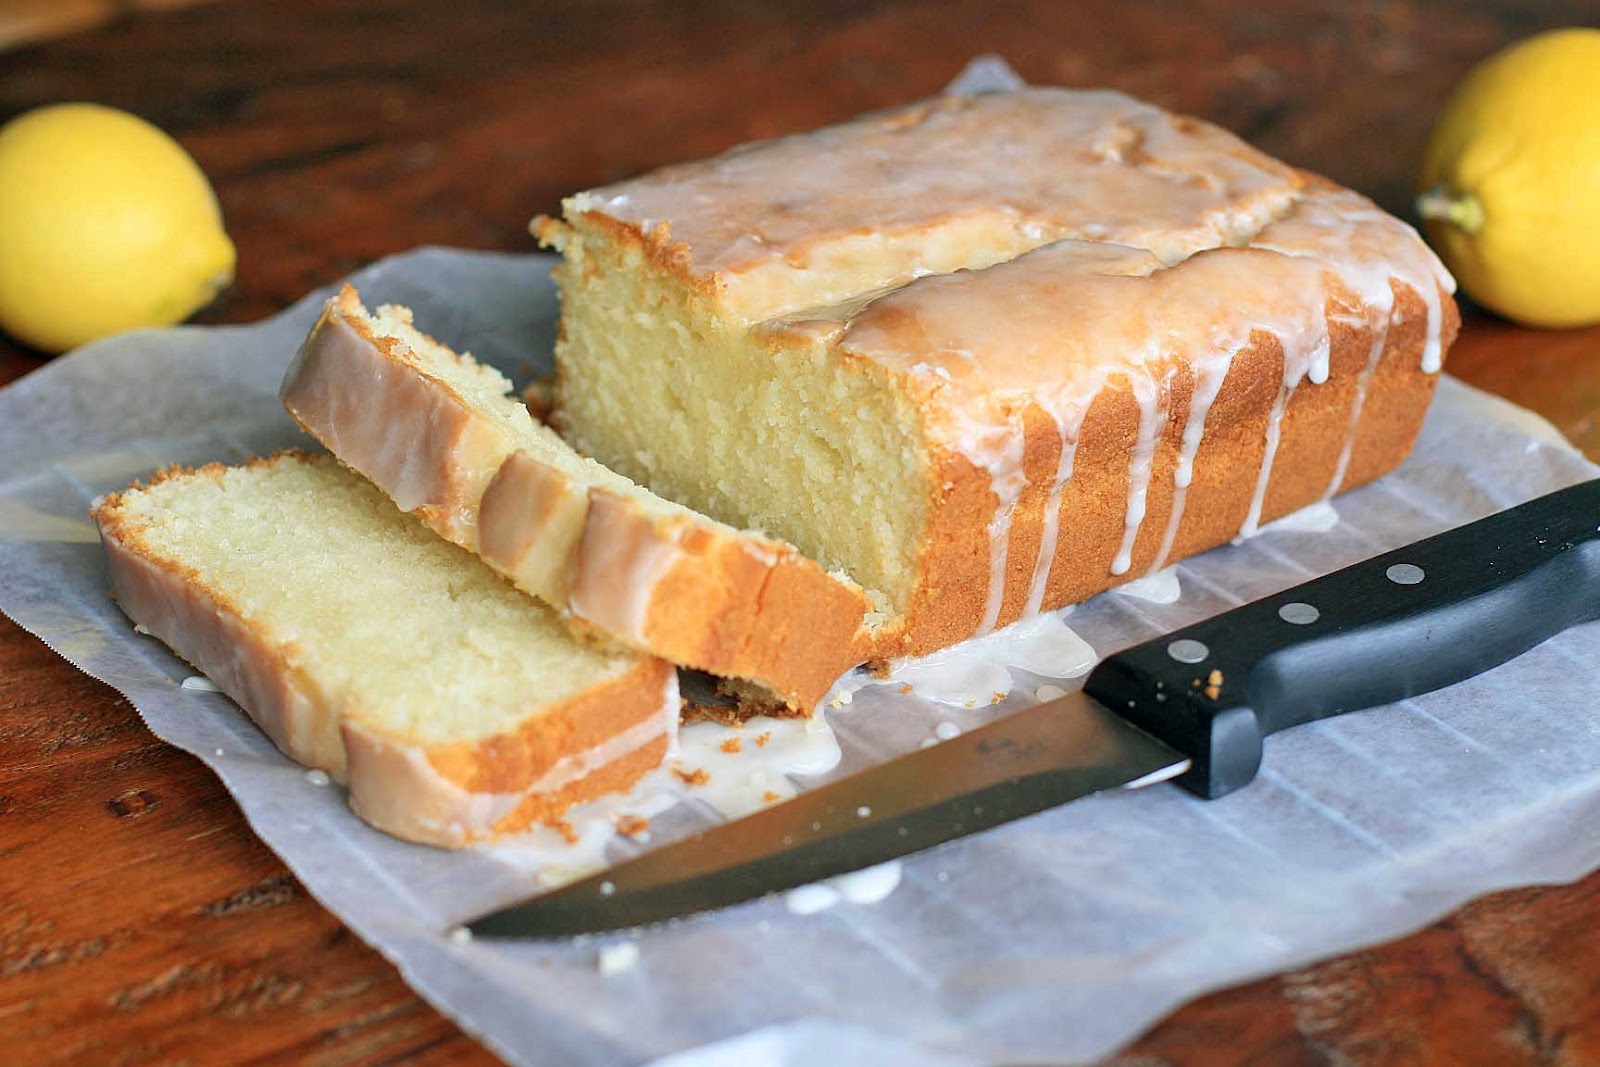
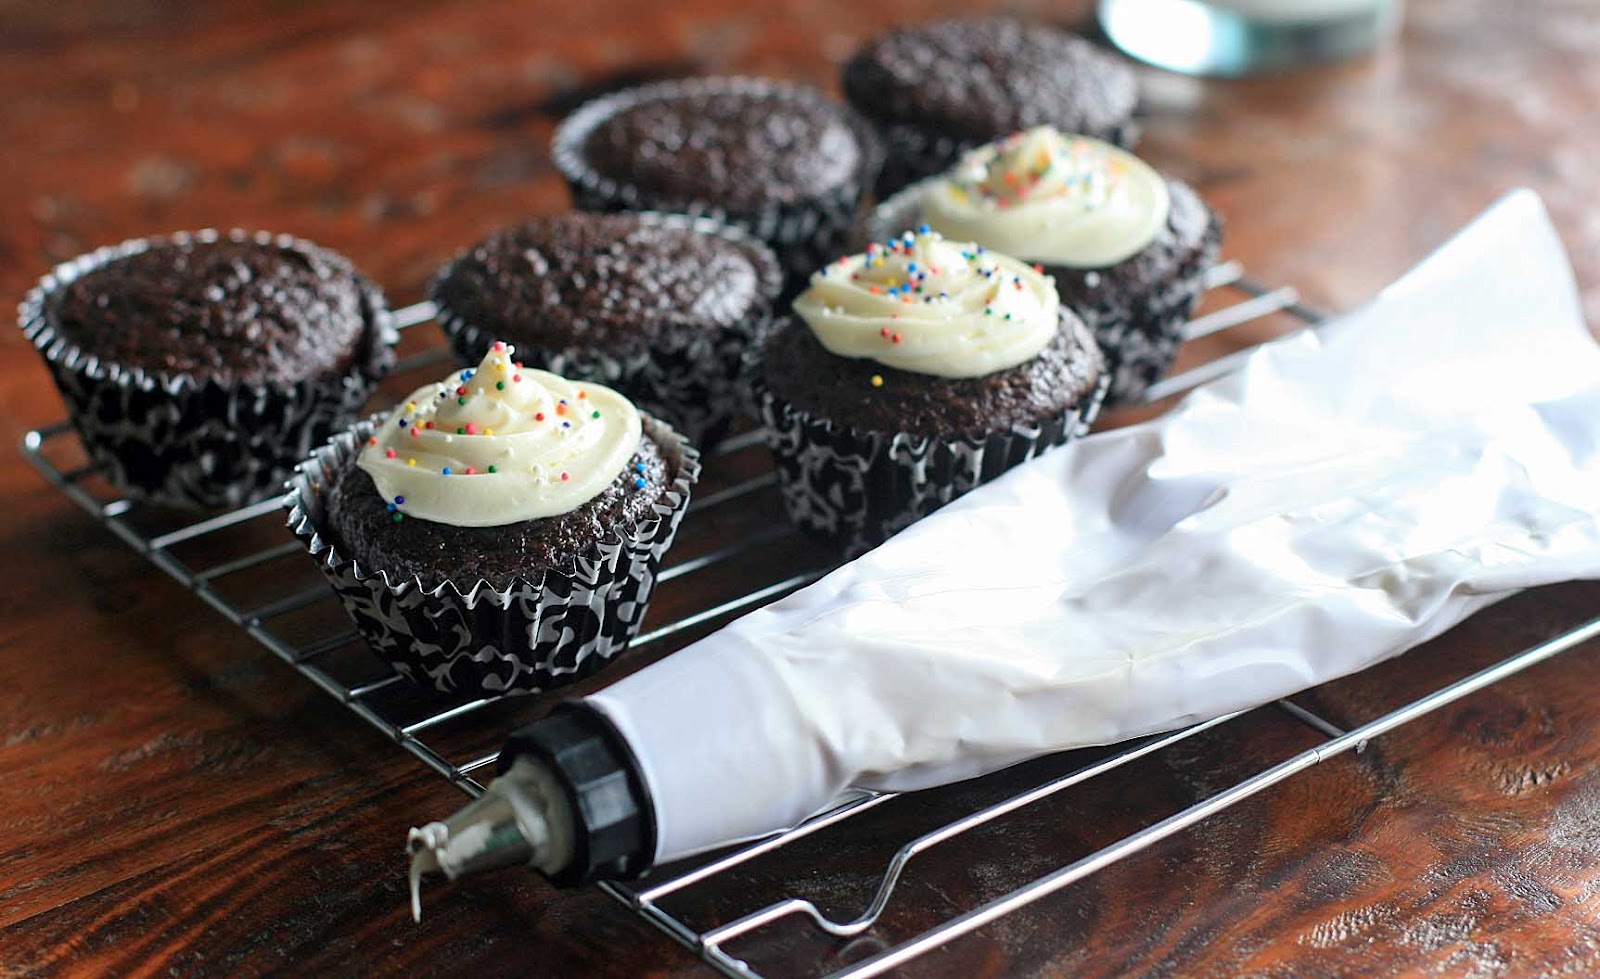
 Among the things that one must absolutely have in life: a go-to chocolate cake/cupcake recipe. And not just any chocolate cake, but a rich, moist chocolate cake that can work for children’s cupcakes as easily as the base for a death-by-chocolate cake.
 I’d heard great things about Elizabeth Barbone’s gluten-free recipes over at Serious Eats (she posts on Tuesday, so go check her column today!), and decided to give one of her chocolate cakes a whirl. Never one to leave well enough alone, or actually try a recipe as stated without making adaptions, I changed things up to use one of my preferred gluten-free flour and starch combinations.
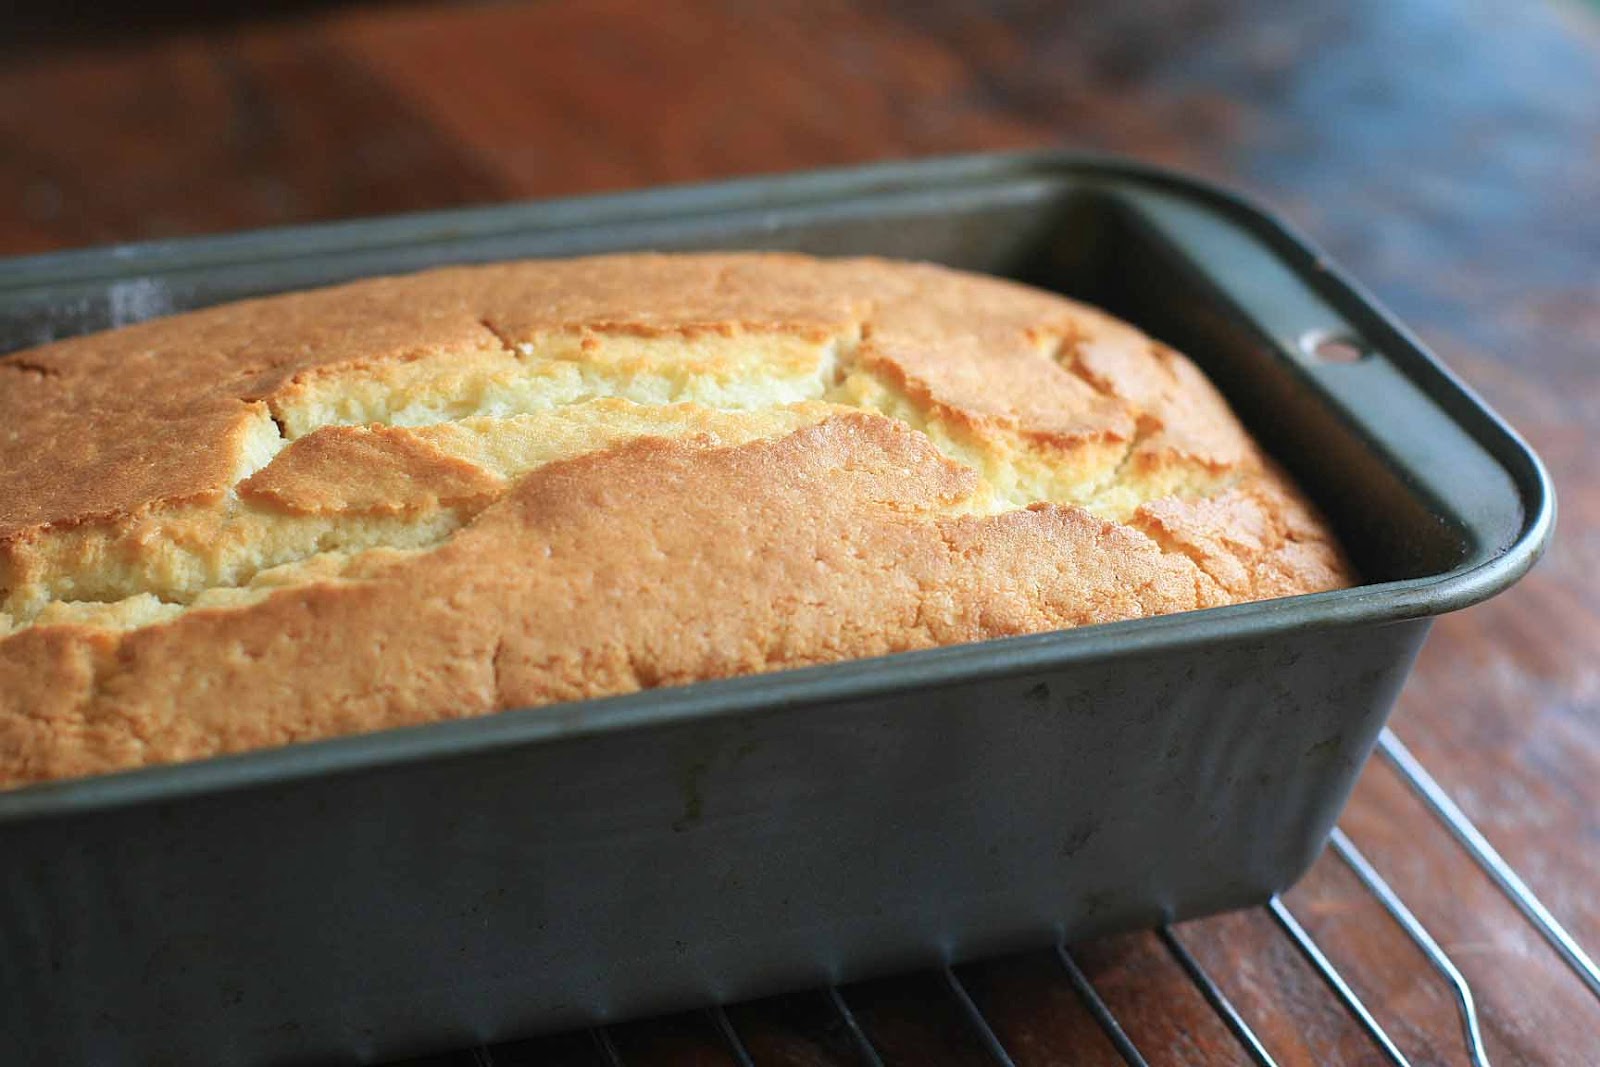
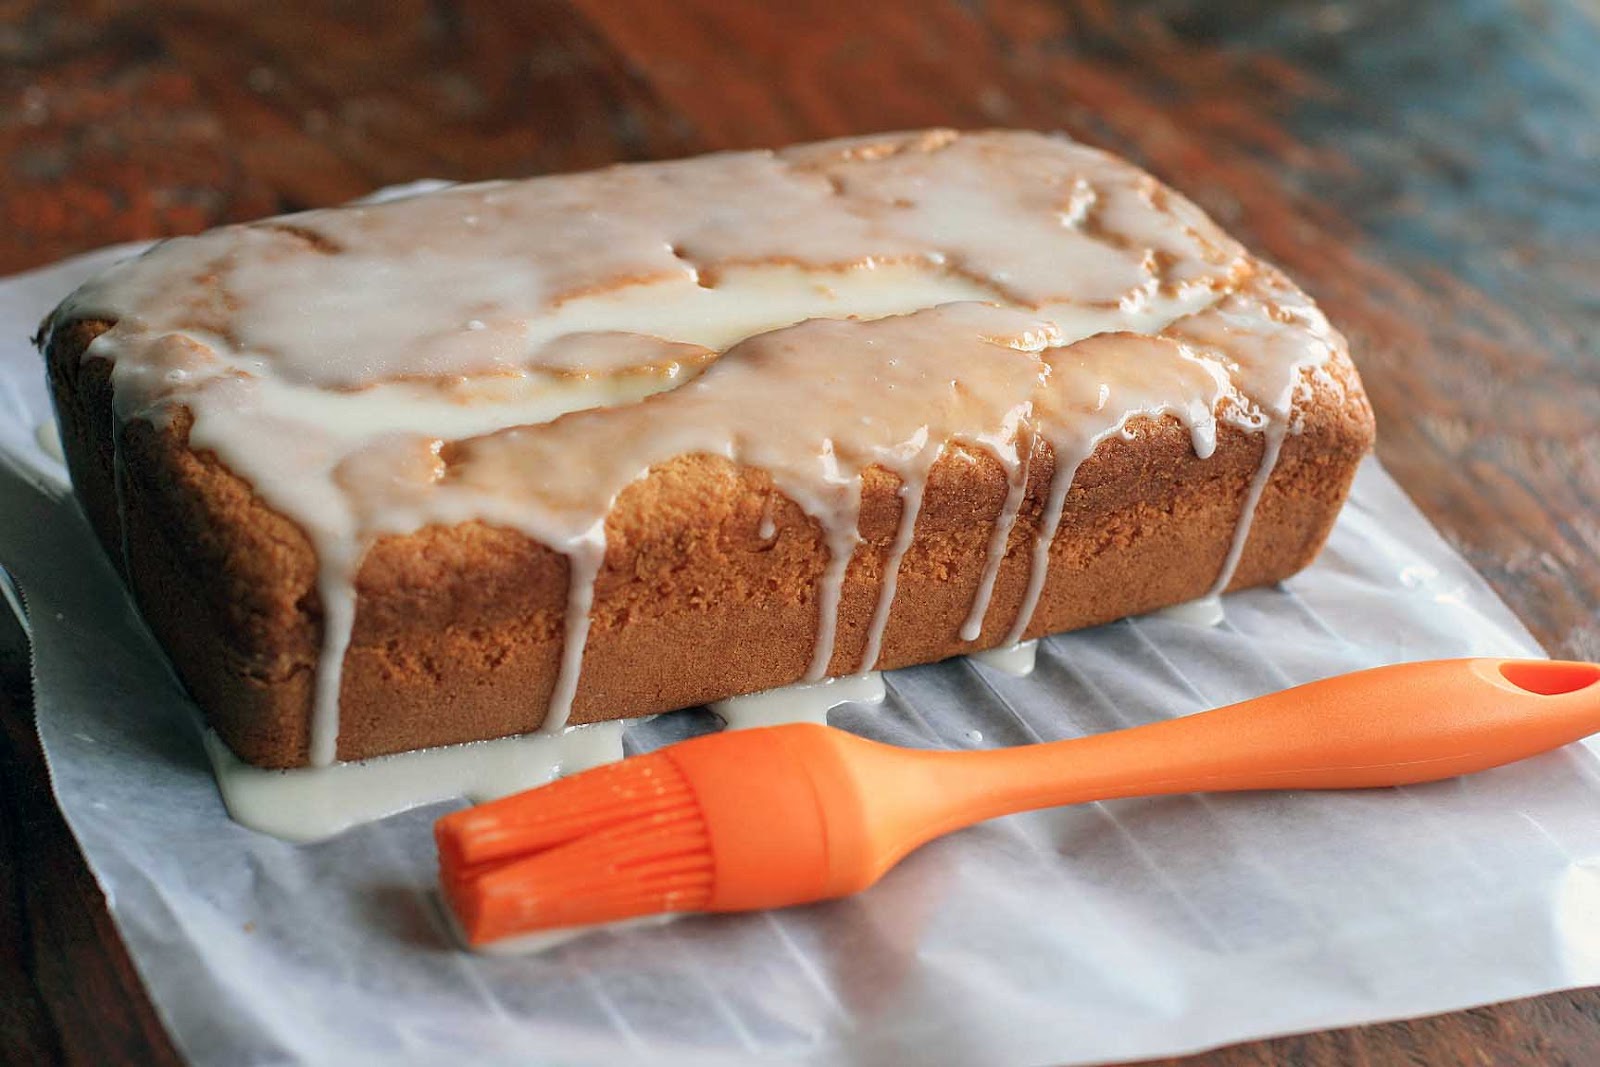
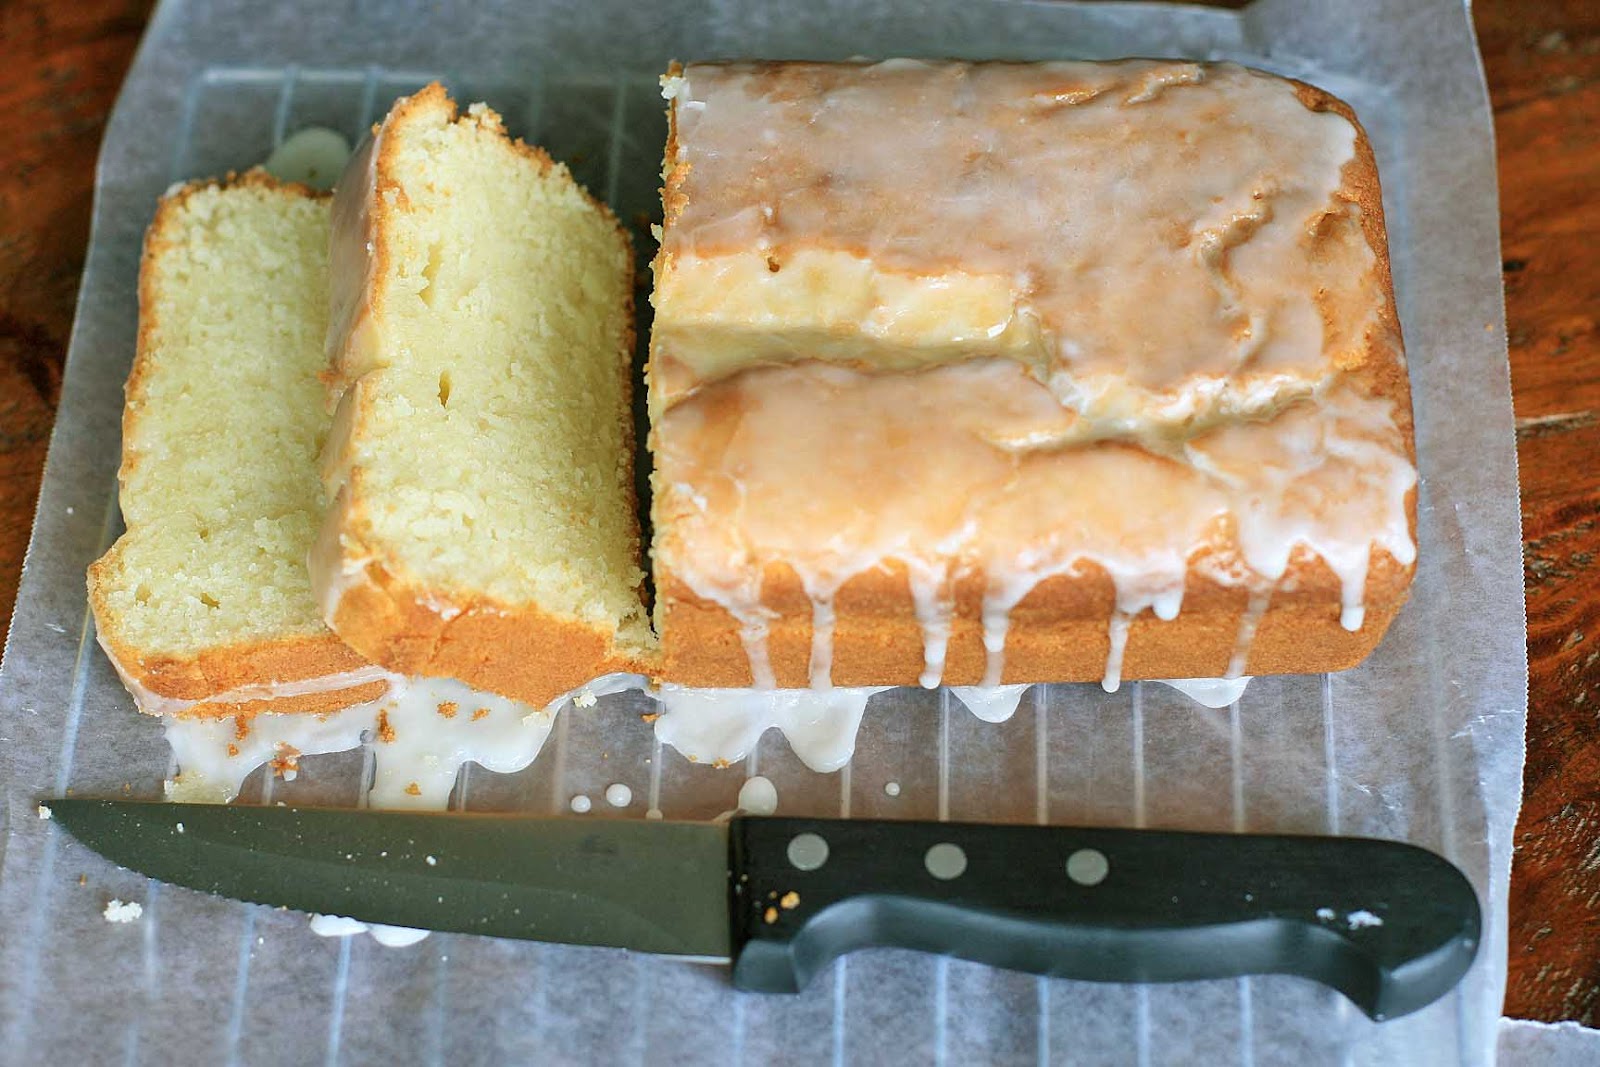
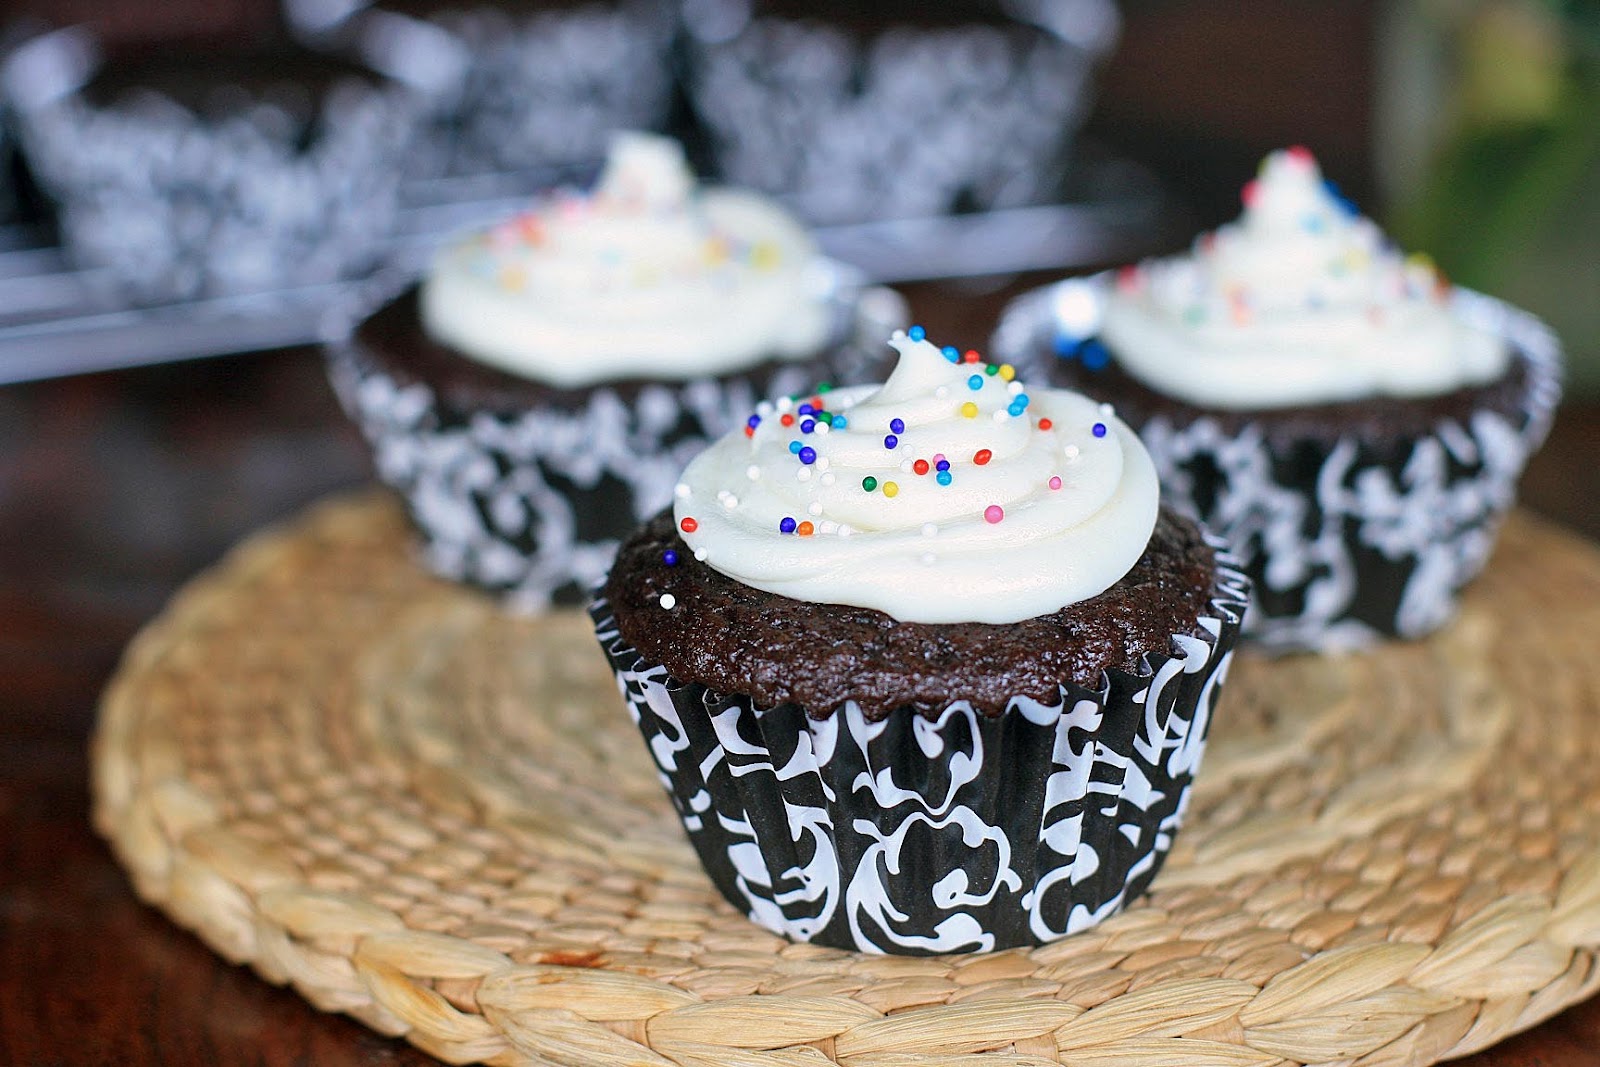
 Wow. It’s rich, moist and virtually indistinguishable from the Hershey “Perfectly Chocolate” cake that served as the inspiration. And she gets major bonus points for making this a one-bowl affair. I’m looking forward to reading through her Gluten-Free Tuesday archives to see what other goodies she has posted. I’ll be sure to report back with any special finds.
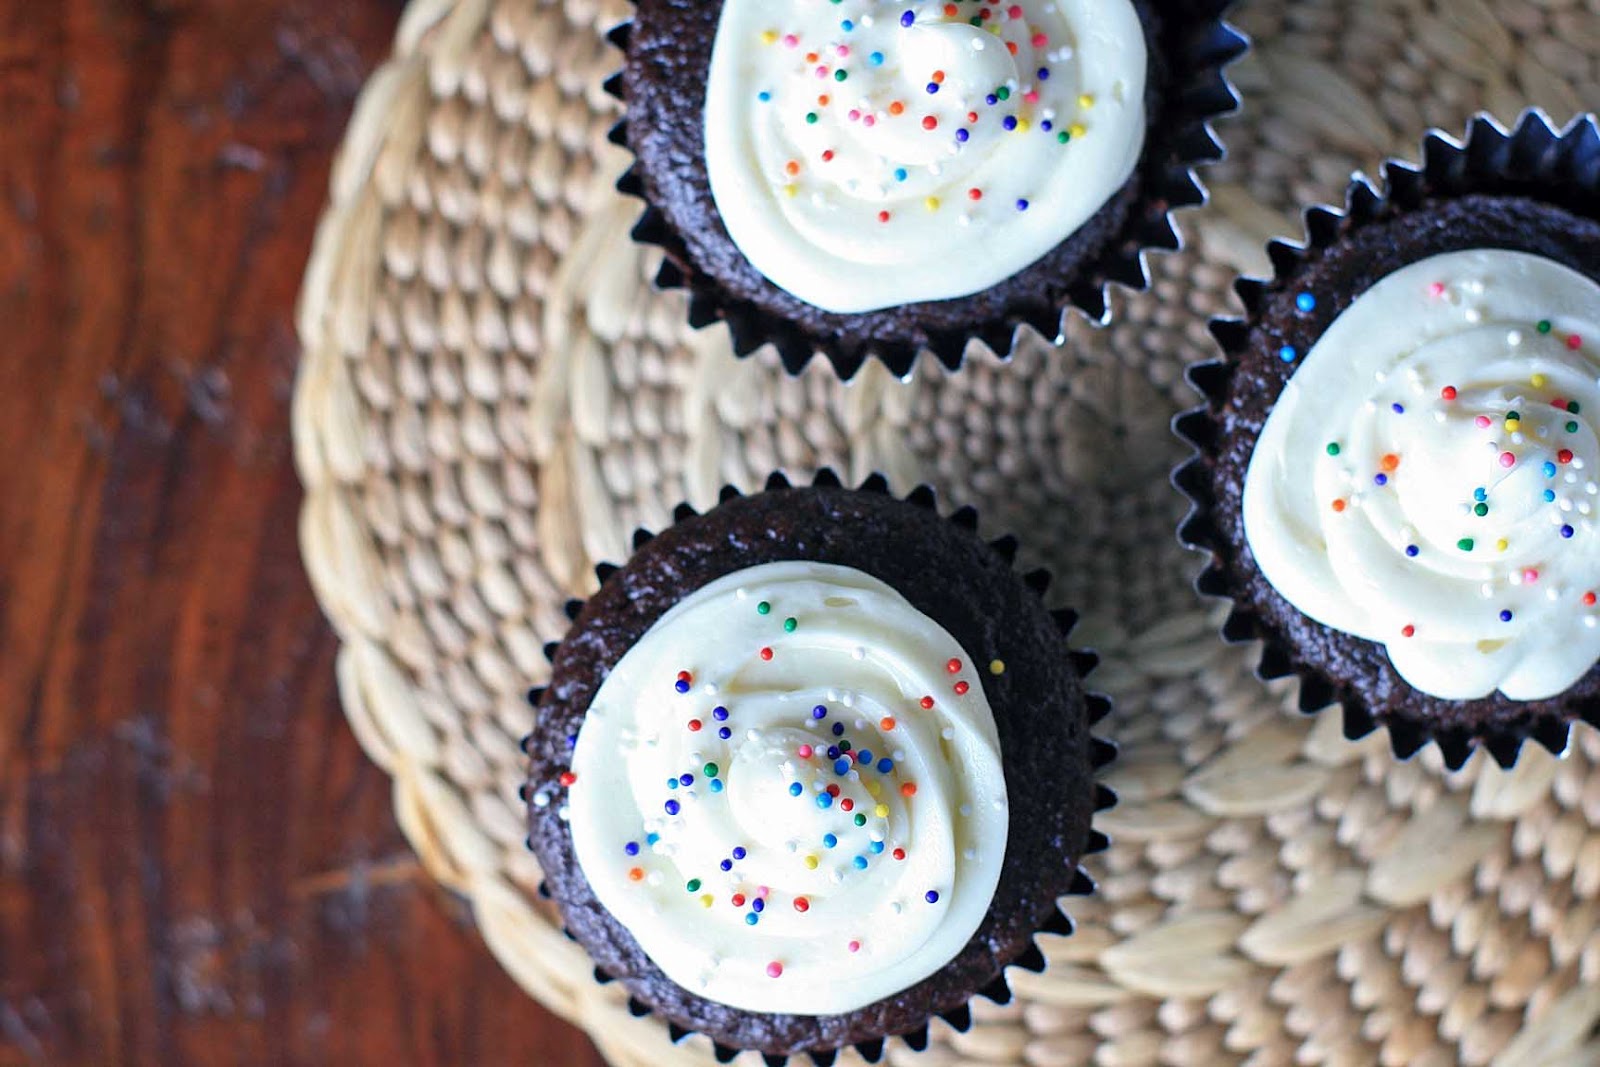
Dark and Rich Gluten-Free Chocolate Cupcakes
Yield: 12-14 cupcakes
Ingredients:
* 1 cup sugar
* 1/2 cup rice flour
* 1/4 cup potato starch
* 2 Tablespoons tapioca flour
* 1/2 cup cocoa
* 3/4 teaspoon baking powder
* 3/4 teaspoon baking soda
* 1/2 teaspoon salt
* 1/2 teaspoon xanthan gum
* 1 egg
* 1/2 cup milk
* 1/2 cup vegetable or canola oil
* 1 teaspoon vanilla extract
* 1/2 cup warm water or coffee
Directions:
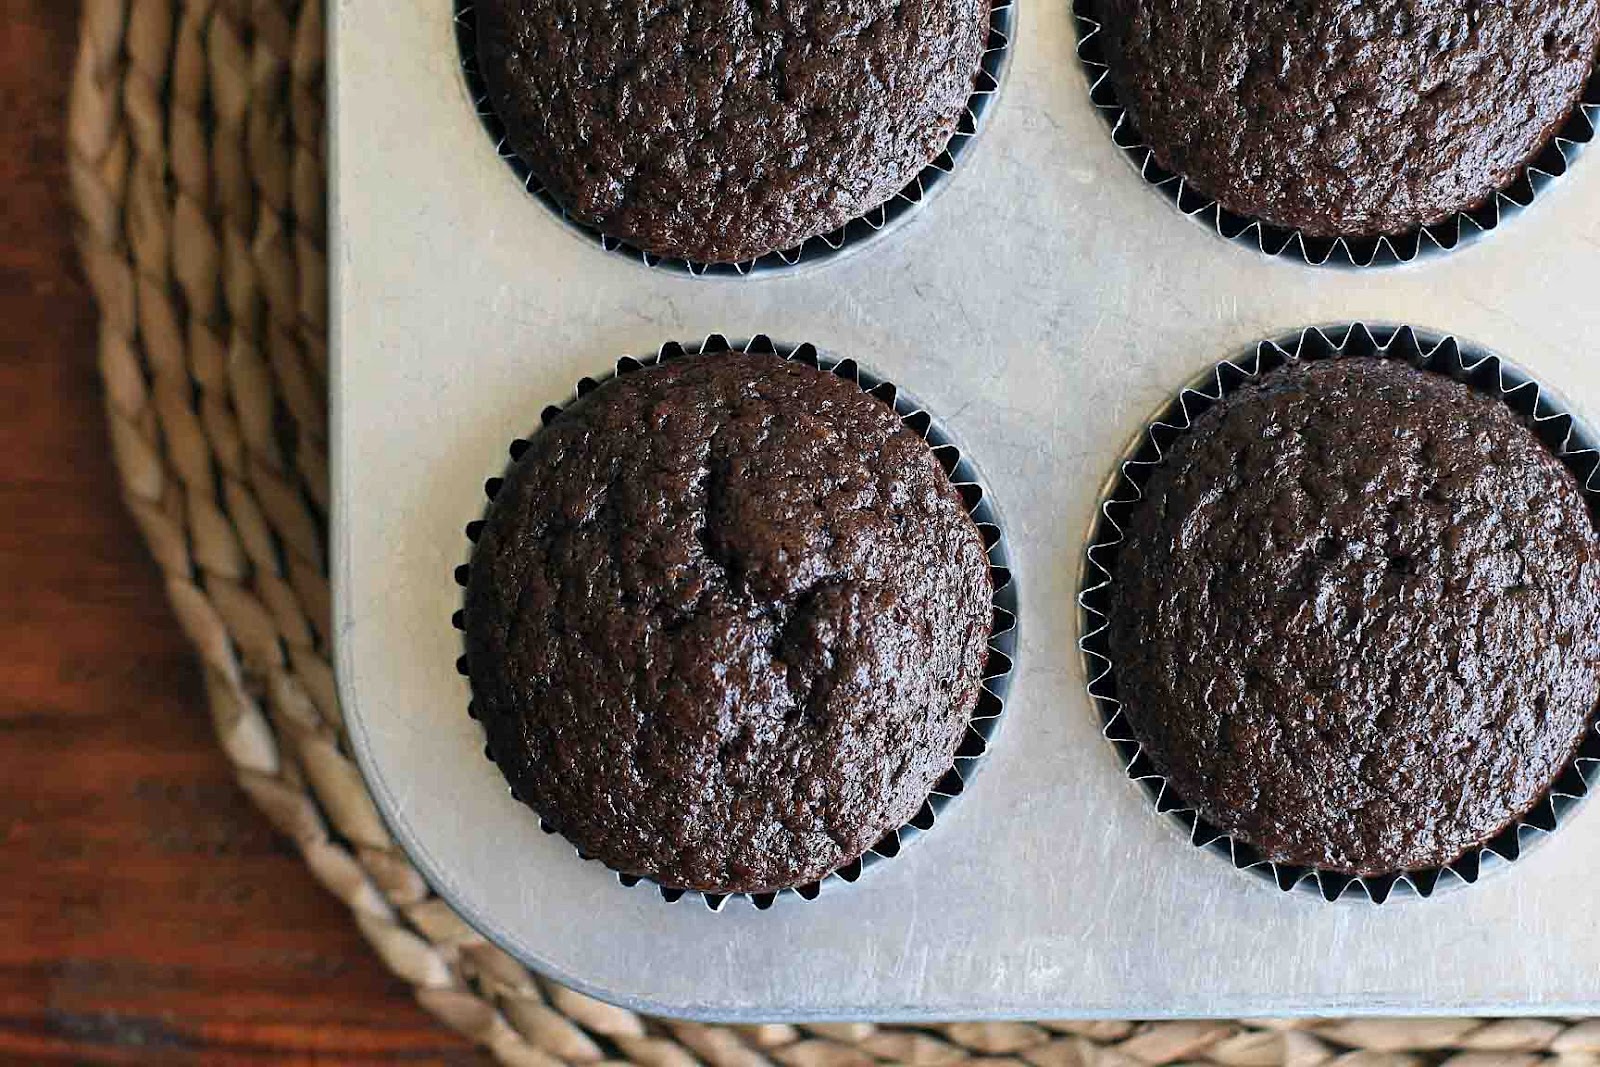
Preheat oven to 350 degrees and line a 12-well muffin tin with paper liners.
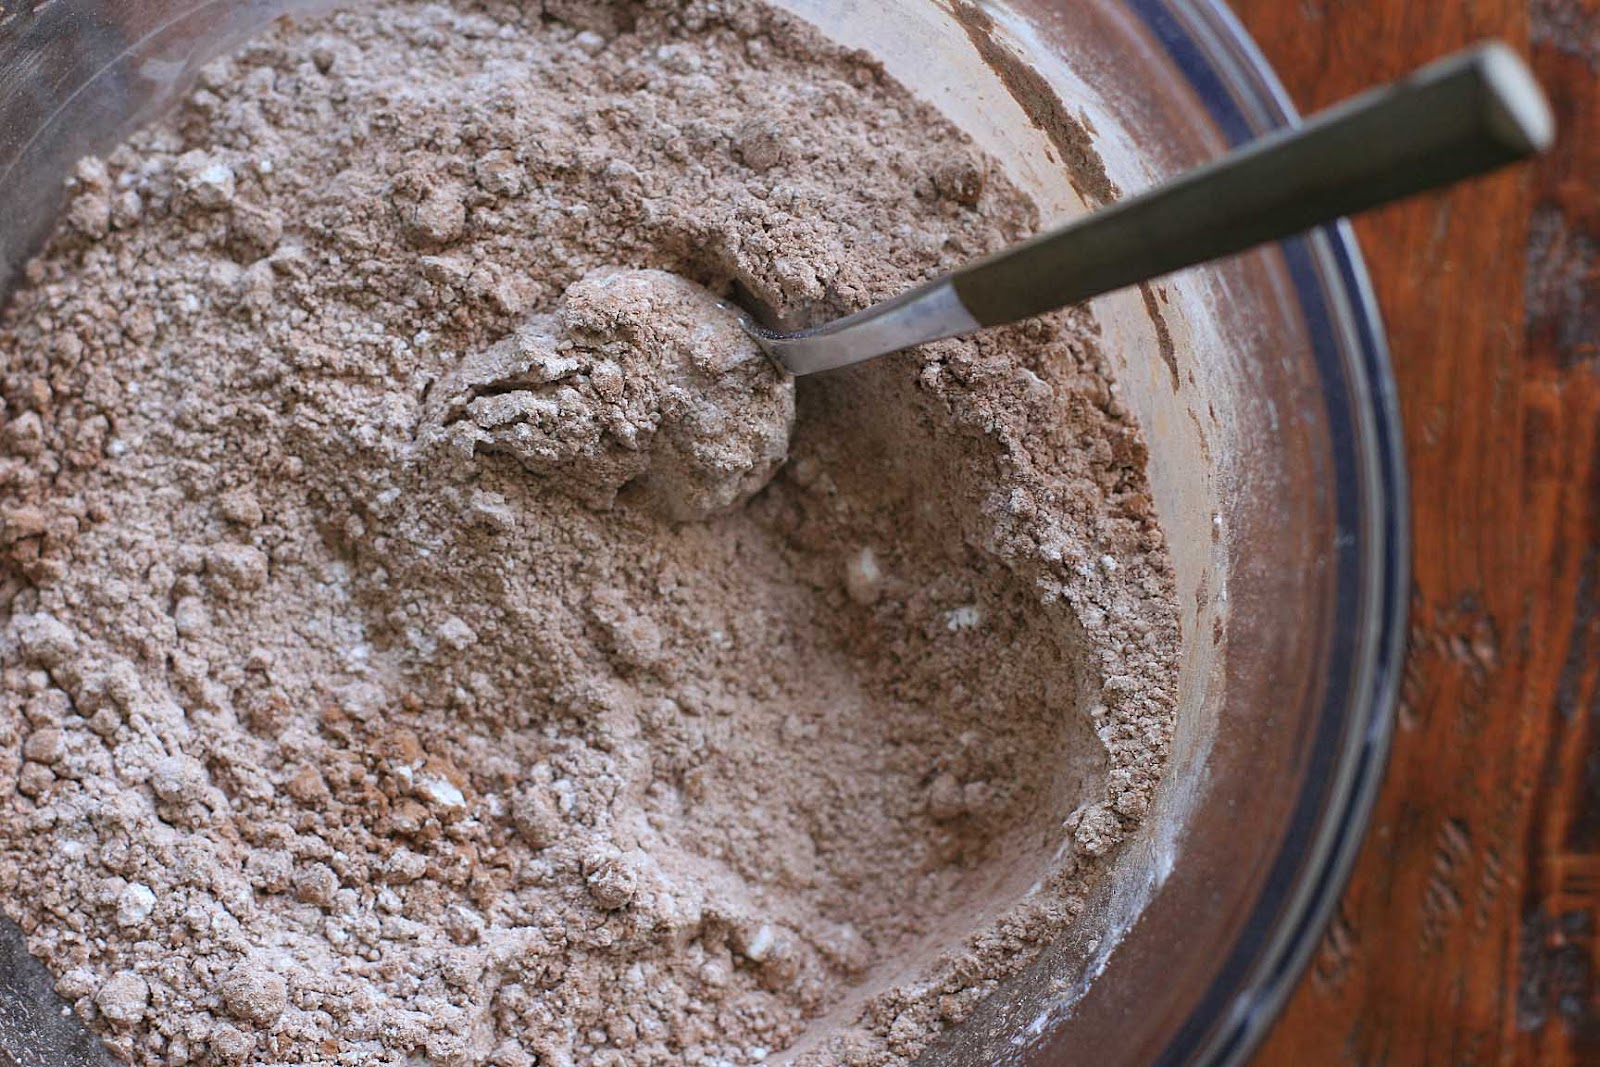
In a large bowl combine the sugar, rice flour, potato starch, tapioca starch, cocoa, baking powder, baking soda, salt and xanthan gum. Mix well.
Add the egg, milk, oil, vanilla extract and water (or coffee). Mix until smooth. Divide evenly among the prepared muffin wells.
Bake for 18-20 minutes, or until a toothpick inserted in the center comes out clean. Cool completely and top with your favorite frosting.
Note: recipe can be doubled. Click to see the original recipe (which uses rice flour, cornstarch and sweet rice flour) and baking times for two 8-inch round cakes or one large 9×13 pan.