Although I’d hardly consider myself to have been deprived as a child (or as an adult for that matter), I’ve never eaten corn nuts before. After all, if I’m in the market for a salty snack at a grocery or drug store, potato chips pretty much have my full and undivided attention. And now, having tasted the far superior fresh version, I’m pretty sure that the bagged variety will fail to impress me.
 Cancha is a staple snack in Peruvian bars and set out on tables in Peruvian restaurants in lieu of a bread basket. For commercial producers, it’s often packed in custom mylar bags to maintain crunch and protect it from moisture. It’s also oftentimes added as a garnish or side to ceviche. Some call it unpopped popcorn, which isn’t necessarily true. It pops, but it just doesn’t puff up.
If, like me, you’re a fan of the old maids (the half-popped kernels) at the bottom of a bag of popcorn, then you’re in for a real treat. You get a pleasant crunch with a whole lot of salty starchiness.
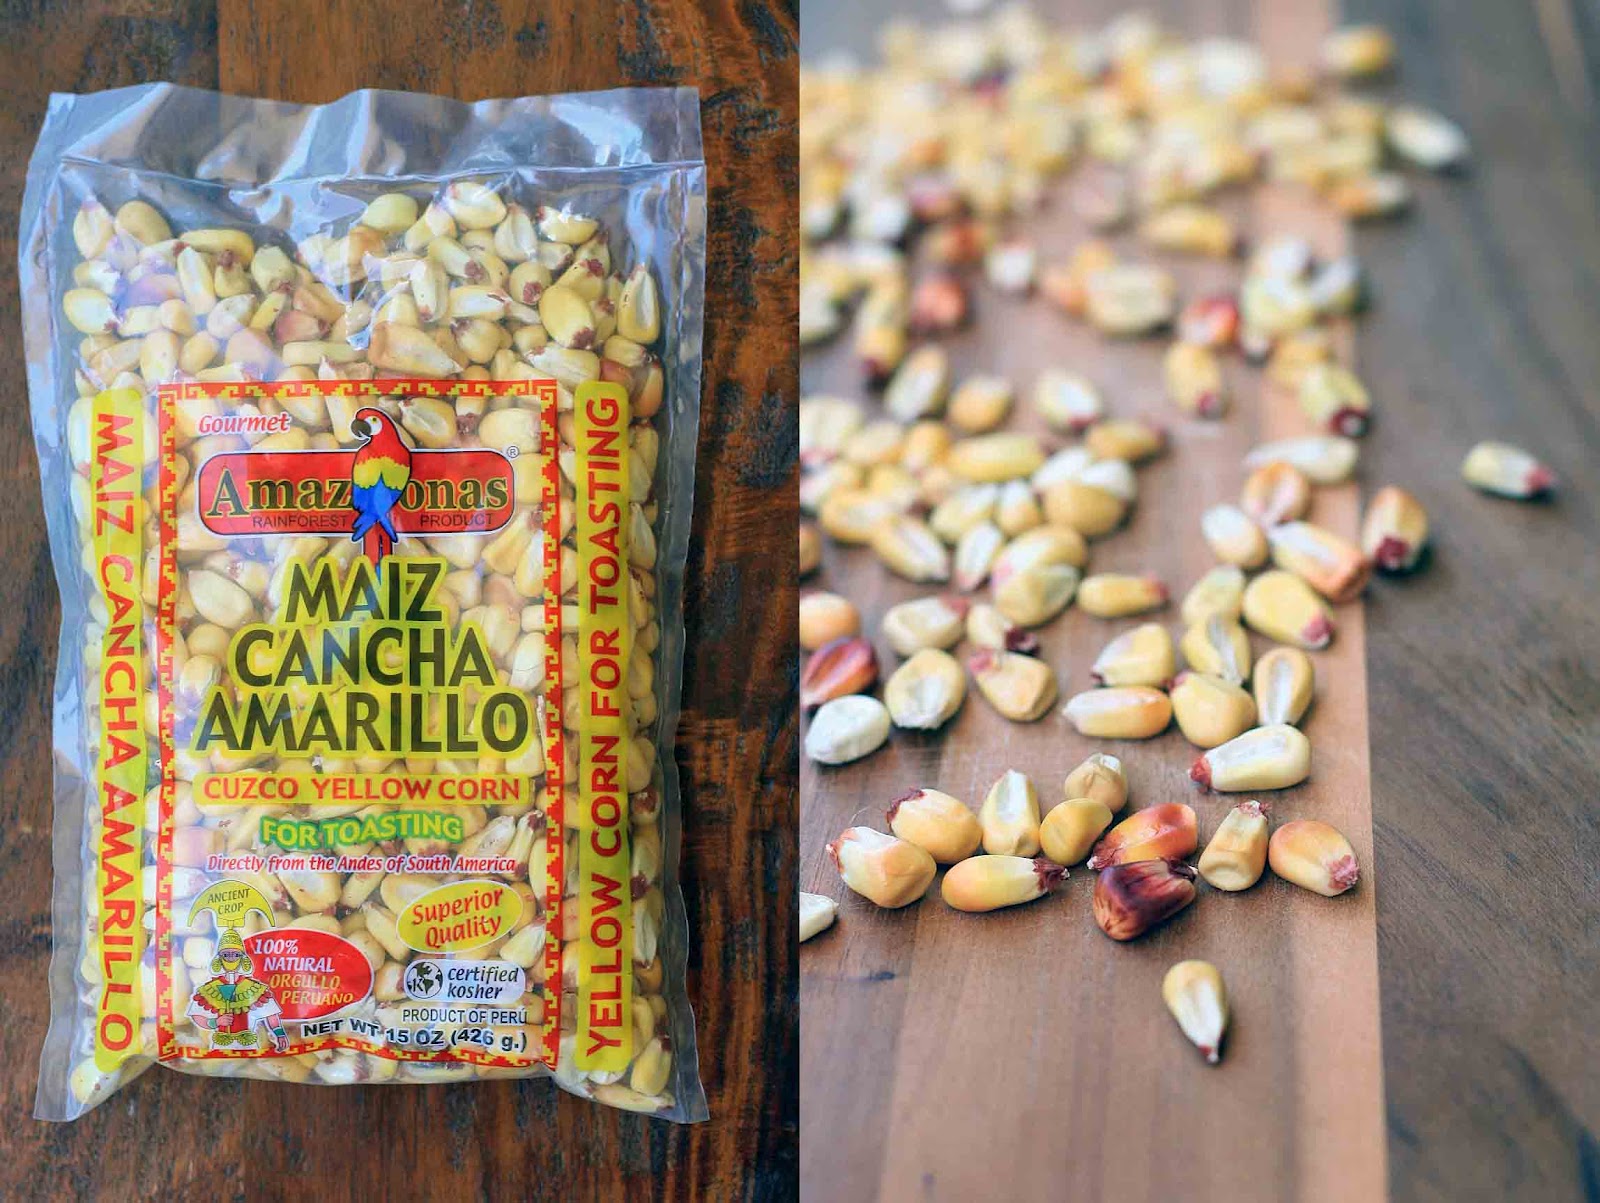
 The recipe couldn’t be easier; the toughest part will probably be finding the special jumbo Peruvian corn. The tiny Latin American market in Honolulu carried it, so there’s always hope. And it looks like Amazon also carries several options (albeit at very expensive prices). Just do a search for maiz cancha.
Although I loved it plain, I couldn’t resist spicing half of it up with some ground Mexican chile pepper and some sugar. Salty and sweet with a little kick? Now we’re talking… You can serve them as a side to a tasty chicken quesadilla like Chef Dennis does as well.
Cancha- Peruvian Corn Nuts
Yield: 2-3 snack-sized servings
Ingredients:
1-2 Tablespoons canola or vegetable oil
1 cup Peruvian corn kernels
salt
ground red chile pepper and sugar (optional)
Directions:
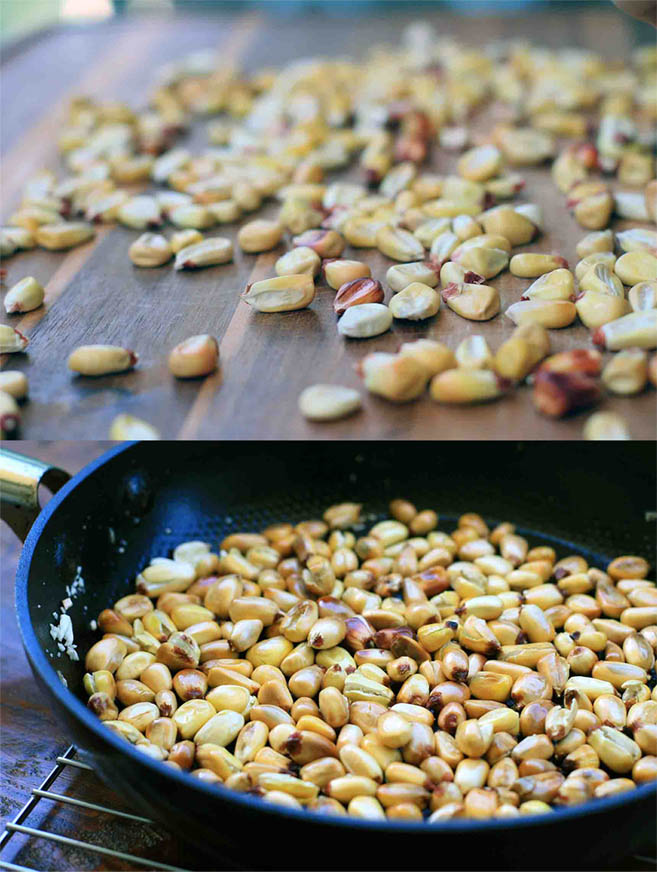
Heat the oil in a large, heavy-bottomed skillet or frying pan over medium-high heat for 1-2 minutes. Add the corn kernels, cover with a lid and reduce heat to medium. Once you hear the kernels begin to pop, shake the pan to prevent the kernels at the bottom from burning. Cook until the kernels have stopped popping and are deep golden brown, about 5-8 minutes.
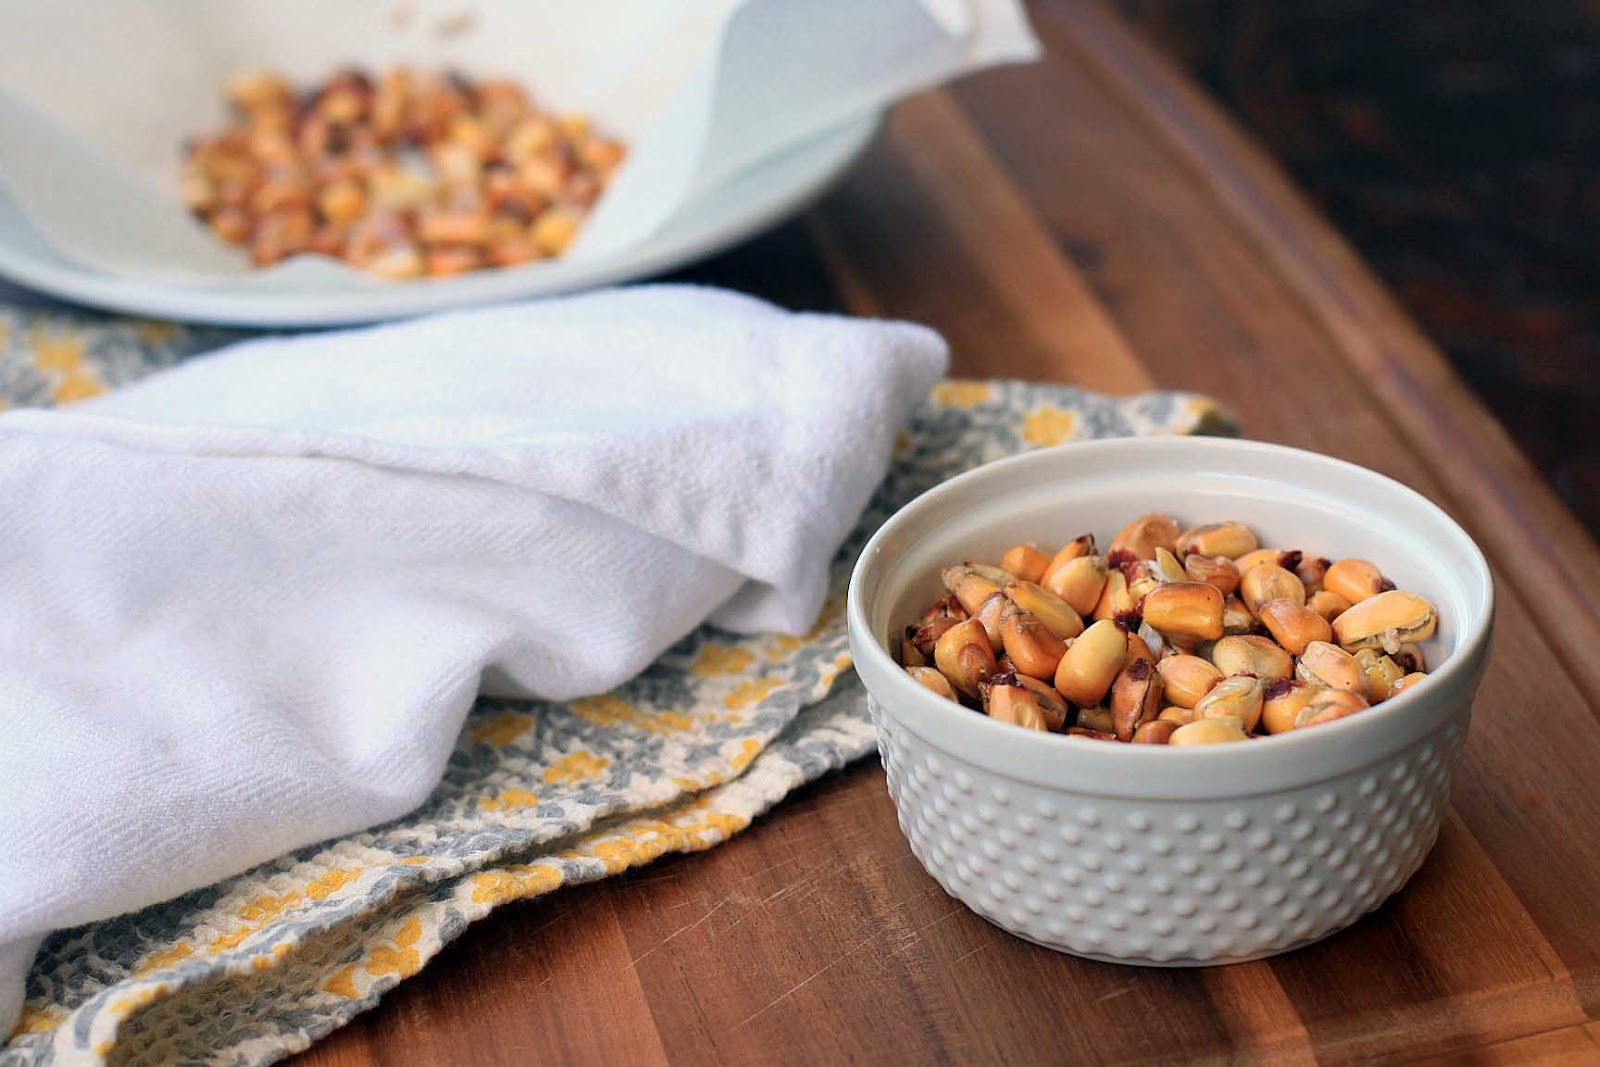
Drain on a plate lined with paper towels. Season with salt and, if desired, a sprinkle of ground red chile pepper and sugar.