Home Blog Page 121

Gingery Lime Pickle

I know, I know, another one. Look, I’m not trying to hide the fact that during January and February I’m a citrus pickle making machine. Nor am I trying to hide my addiction to what I call Indian ‘sun’ pickles. Meaning pickles that are preserved – fermented actually – by allowing them to sit in the sun for a number of weeks.

I figure since I’m gettin’ in your face with a whole lotta these recipes this season, the least I can do is give you a little background info:

These citrus pickles are really not much different than the typical middle eastern preserved lemons by way of which they are preserved. In the middle eastern variety, there is always salt and sometimes spices in the mix.

In the Indian variety, there’s salt and always spices. Sometimes a lot of spices. There’s sweet chutney-like versions with sugar. And some traditional Indian citrus pickles even include oil, but those are not my favorite.

gap

One distinct difference between the two is the amount of salt – the middle eastern version typically has more. Because of the high amount of salt, each section is usually rinsed before eaten, and the lemon flesh is discarded or used for other purposes. Middle eastern preserved lemons are most often added to a dish; chopped and tossed in a tagine, a lentil dish, or a salad.

An Indian pickle is served as a condiment on the side of the plate, or more accurately in a little bowl all it’s own. They are most often eaten with the main curries, flatbreads, or rice dishes. They are not rinsed, but usually only a scant tablespoon will be consumed with the entire meal. Taken in little bites along with mouthfuls of the main dish, a good Indian or south Asian pickle will be powerfully salty, hot, sweet, or sour. Often more than one of these combined. And it will almost always be too intense to eat on its own.

GAP

A 2 pound batch of citrus can make enough to last a year or more. For the best keeping quality of both Indian pickles or middle eastern preserved citrus, follow these precautions:

  • When making them, be sure that the peels are absolutely free of water, they must be completely dry. Water-wet peels going into a jar are pretty much guaranteed to foster mold.
  • Once it has completely broken down, and for long term storage in the fridge, make sure all of the citrus is submerged in the gel-like liquid.
  • A clean and dry spoon must be used to take out what will be served. Place the cap right back on, and if you go back for more, use a new spoon. If there is an uneaten portion, never put it back in the jar, just eat it later!
  • When making big batches, I transfer them to smaller jars before putting in the fridge, and go through them one at a time. Doing this usually eliminates any problems as you are not going in and out of a jar for over a year.

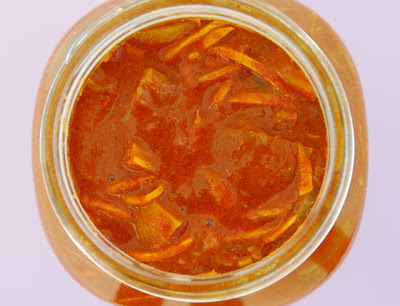
This is my yearly lime version – hot and gingery!

Gingery Lime Pickle

8 large organic limes
juice of 3 limes (or 2 lemons)
1/2 cup sea salt
1/2 cup sugar
1/4 cup cayenne powder (or paprika, or 1/2 & 1/2)
1 cup julienned ginger
3 teaspoons turmeric powder
1 tablespoon plus 1 teaspoon fenugreek seeds
1 teaspoon black or brown mustard seeds
1/4 teaspoon asafoetida powder
1/2 gallon jar

Directions:

1. Wipe limes clean with a wet cloth, and then a dry. Let sit in a warm place for an hour or so to dry completely. Slice off button ends, and quarter.

2. Place one teaspoon of fenugreek seeds, mustard seeds and asafoetida powder in a dry skillet and toast for about 3-4 minutes, until the fenugreek seeds are just a shade darker. (If you have never smelled asafoetida powder before, don’t be alarmed, it’s supposed to smell that way). Let cool and grind in a spice grinder or with a mortar and pestle.

3. Fill the jar with limes and ginger. Add the spice powder, fenugreek seeds, salt, sugar and turmeric. Add the cayenne powder, paprika, or some mixture thereof. Or you can go for this:

gap

Extra hot cayenne pepper. Do take note, that though this seems like a lot of hot, it mellows out during the preserving process – and you do want a bite.

4. Pour the lemon juice into the jar. Place the cap on and give it a good shake this way and that, making sure that the spices distribute evenly around the ginger and citrus.

5. Place it in the sun, giving it a good shake once a day. If you see the cap lifting in the center from pressure, or the whole thing hisses at you when you walk by, don’t take it personally, slowly open it and release the fermentation gasses. Gently. If it’s hot outside when you make these, put them outdoors, making sure to bring them in at night. Or just keep them on a sunny windowsill.

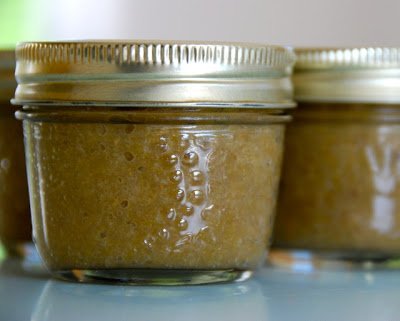
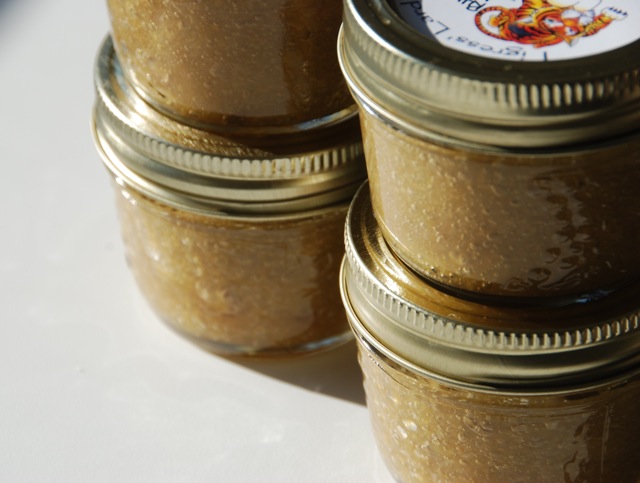
6. This Indian pickle generally takes about 6 weeks, and sometimes up to 8 or 9. Test after the 5 week mark. Limes are usually slower to break down than lemons. You want to be able to sink your teeth into them, and your mouth should explode when you do.
Homemade Feta

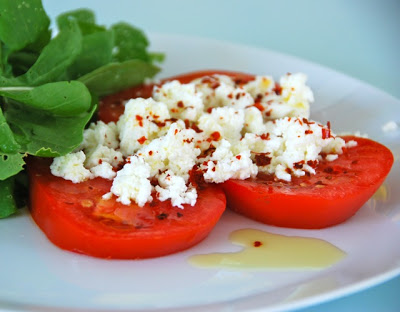
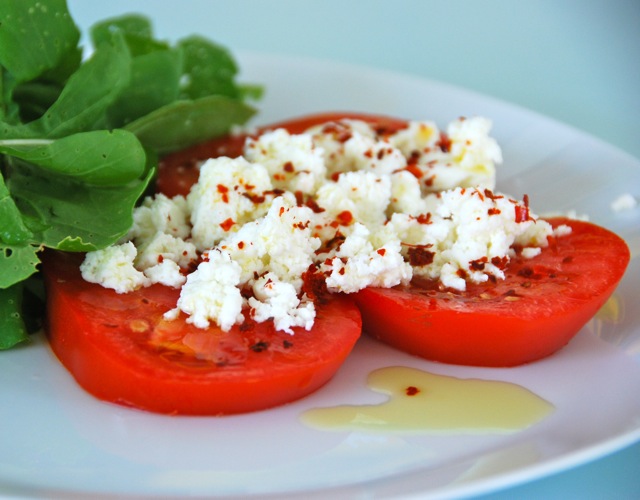
Some of you may remember my trip to Turkey last summer. I fell in love with the country, its people and their way of eating. Feta is a very common type of cheese in that part of the world, eaten in many ways.

Upon arriving home from Turkey last summer, I set out to learn how to make it. We’ve been eating it regularly ever since. Although it’s slightly more involved than say, homemade yogurt, it’s not all that difficult. And as with anything homemade, once you get the hang of it, you can tweak it until you get exactly what your taste buds are looking for.

I cannot begin any discussion about home cheese making without first paying homage to Madame Fromage – Ricki Carroll, whom I was lucky enough to take a cheese making workshop with about 3 years ago. Her book is to cheese making what Linda Ziedrich’s book is to pickling: indispensable. And even better, her mail-order biz New England Cheesemaking Supply co. is a one stop shop for everything needed for home cheese making, all artfully packaged in non-threatening home dairy making sizes. And the stuff gets to your door quick!

Feta is a salty cheese traditionally made with sheep or goat’s milk. Store-bought pasteurized goat’s milk is what is needed for this feta recipe, and it should be fairly easy to find.

Homemade Feta

Adapted from Home Cheese Making 

1 gallon pasteurized whole goat’s milk
1 packet direct set (DS) mesophilic starter
1/2 teaspoon liquid rennet or 1/4 vegetable rennet tablet
2 tablespoons cheese salt or sea salt (must be fine grained & contain no iodine) thermometer slotted spoon or flat ladle
fine meshed cheese cloth or butter muslin
yield – 1 pound

Directions: 

1. Place milk in a large stainless steel pot. Heat to 86 degrees. This is how you do it:

Fill the sink with hot water – hopefully in line to the top of the milk, or as close as you can to it. Place the pot in the water with a thermometer and let sit until 86 degrees.

2. Once milk reaches 86 degrees, take the pot out of the sink and add the packet of mesophilic starter. Stir to combine, cover and let sit for 1 hour.

3. Dilute either 1/2 teaspoon of liquid rennet or 1/4 rennet tablet in 1/4 cup cool unchlorinated water. (Do not measure this over the milk please! I don’t want you to learn the hard way). Add this to the milk and stir in an up and down motion. Do this for approximately 3 minutes.

4. Cover the milk. Reheat the water in sink and place pot back in. Bring the milk temperature back to 86 degrees. Keep it at 86 degrees for 1 hour. To keep the milk at 86 degrees for one hour, you will need to periodically adjust the water by adding hot and/or cold to adjust the temperature.

If you are like me, you probably won’t be able to keep it at exactly 86 degrees for one hour. It will be fluctuating, and you will be dancing with the water, your sink, and the pot. That’s ok.

gap

Put on some good music.

The goal is to let it set for that hour, so if you find that the temperature is too high, and it is not coming down fast enough when you add cold water to the sink, lift it out of the sink for a bit, but do it gently. Inside the pot, magic is happening. The whey is separating and the milk is starting to coagulate!

5. After one hour, take the top off and: happy dance!

6. Now you get to cut the curds. You can do this with a curd cutter, or a regular old knife. You want to try and cut the curds into 1/2 inch cubes. If the set is a bit soft and you feel like it will crumble (this batch set soft), you can go a bit bigger on the cubes. Start by slicing one way, and then the other. Like a tic tac toe grid.

After you’ve cut the grid, you need to cut down. To do this, start in the center pointing toward one side of the pot. Angle 1/2 inch down and cut across the pot and all the way to the end. Then go down 1 inch and do the same, then 1 1/2 inches down and do the same. Once you’ve cut one side all the way down to the bottom, start in the middle all over again toward the other side of the pot. Yes, I’m available for questions.

7. Stir the curds very gently for 20 minutes.

gap

8. Place cheesecloth in a colander and pour curds & whey over. Lift the cheesecloth up and tie the ends in a knot. Hang over the sink to drain for 4 hours.

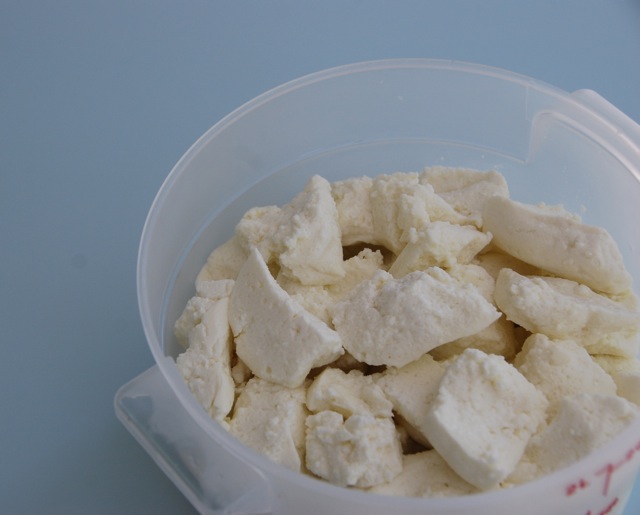
9. After 4 hours untie the cloth and cut the cheese into approximately one inch cubes by first slicing, and then cubing. I am not very particular about this because I like the rustic look of uneven cubes, and when eaten I usually crumble it. That said for the proper aging and salting, you will want it to be somewhat uniform. In a container, place a layer of cheese cubes, sprinkle with salt, another layer of cheese cubes, sprinkle with salt, etc. Cover and place in refrigerator to age. Cheese will be ready to eat in 4-5 days.

The possibilities for serving feta are endless: on tomatoes, in bean and grain dishes, on its own with a drizzle of olive oil and a sprinkling of black pepper & fresh herbs – take that and smash it all over a thick slice of country bread, or just a warmed pita. In all manner of salads, egg dishes, & veggies of every persuasion. And my personal fave – served with big hunks of fresh summer melon and a shot of ground chili pepper.

Rhubarb ketchup

I just saw rhubarb for $4.99 a pound at my local co-op. Can someone remind me to have a rhubarb harvesting party next year? ‘Cause I’m sittin’ on a goldmine …er, greenmine? Grant it, it was the ‘prettier’ red kind, but I can’t complain. This patch was here when I got here and I have a feeling it will be here long after I am.

It’s the first to wake each year and promptly unfurl it’s lushness over an otherwise barren landscape. (Over a month into its return and you can just start to see flecks of green on both the gooseberries and blueberries to the left). It’s arrival signals the start of the new preserving season in earnest and it always offers me this challenge: what am I gonna do with 50 kabillion tons of rhubarb?

Rhubarb Ketchup

Adapted from preserves: river cottage handbook #2 by Pam Corbin
4 & 1/2 pounds rhubarb, sliced lengthwise, then to 1/4 inch dice
4 medium shallots, about 1 & 1/4 cup chopped
3 garlic cloves, peeled & chopped
scant 1/2 cup cider vinegar
1/2 cup light brown sugar
1 tsp ground cumin
d1 tsp ground coriander
1 tsp salt
roasting trays
food mill or sieve
1/2 pint & pint mason jars yield: 4-5 pints


Directions

1. Preheat oven to 350 degrees as you are chopping the rhubarb, shallots & garlic.

2. Place chopped vegetables on 1 or 2 roasting trays and place in oven. If you are using 2 & placing on two racks. Switch positions halfway through. Roast for approximately one hour until everything is very soft.

3. If you use whole spices (and I strongly suggest that you do, they last longer & taste better!) place them in a mortar or spice grinder and grind to a fine powder.

4. When vegetables are done, push through a sieve or grind through a food mill.

5. Place in a heavy bottom sauce pan along with the sugar, vinegar, salt & spices. Heat on low until the sugar melts, once melted turn up the heat and bring to a simmer. Simmer for 20 minutes or until desired thickness.

6. Process in a hot water bath for 15 minutes. (Note: when filling hot jars, make sure to give the full jar a few taps on the counter before putting the lid on to release any air bubbles).

In the *olden* days peeps used to make ketchup out of many things. Whenever I run across an old ketchup recipe that sounds nothing like the tomato-y stuff we are so accustomed to today I’m intrigued. Since I have plenty of rhubarb to experiment with I thought, why not? Verdict? It’s…interesting. Don’t get me wrong, it’s good! It has a pungent tang that is surely more mouth puckering than regular tomato ketchup. The salt and sugar are most definitely needed to balance that effect. The shallots, garlic and spices are a nod in the direction of the condiment we know so well.

Blueberry Curd

Blueberries must like rain, and cool weather cause I have four bushes that look like Christmas trees right now. All lit up with a ton of dark blue orbs. Well as I said… It’s been rainy. And I’ve been drinking a lot of tea this summer (forget the coolers, folks). I’ve been thinking about the months I spent in London some years ago. And all the wonderful sweet preserves and baked goods that are the tradition in that part of the world, served at nigh around 4 o’clock daily.

Sweet fruit curds people! That’s what I’m talkin about!

Blueberry Curd

Adapted from Fruits of the Earth by Gloria Nicol

1 1/2 pints blueberries
zest and juice of two lemons
6 tablespoons unsalted butter, cubed
1 3/4 cup fine granulated sugar (I use raw)
3 large eggs, preferable organic, beaten
double boiler, or heat proof bowl to place in pan

Yield: this makes approximately 3 cups so have 3 small jars or containers ready. One to go directly into fridge and two for the freezer.

Directions: 

1. Place whole blueberries, lemon zest & juice in pan and cook on low until berries are very tender – about 10 minutes.

2. Place a sieve over the bowl you are using as the double boiler and mash berries through, so that the juice flows to the bowl and the berry skins and lemon zest stay in sieve. If you have a very fine sieve you can use that and all of the tiny blueberry seeds will also stay in the sieve. Mine isn’t fine but I don’t mind the little berry seeds in the curd.

3. Set the bowl over simmering water and add the sugar. Mix until sugar is dissolved. Add butter cubes.

4. Pour the beaten eggs through a sieve into the bowl and stir the curd. Make sure everything is blended.

5. Continue to cook and stir until the curd becomes thick enough to coat the spoon. This will take about 20 minutes.

6. Fill the three small containers.

Note: in the olden days, home canners used to hot water bath can curd in order to store it at room temperature. This is not considered safe anymore because of the egg and butter content.

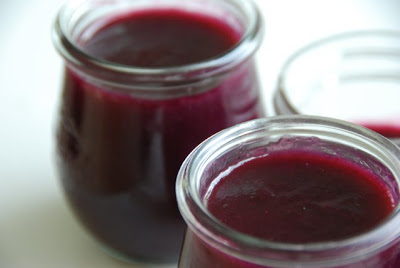
But it’s the egg and butter content that makes it, oh so good! Curd stays fresh in the fridge for 2 weeks and you can preserve it in the freezer for up to 6 months.

Or you can be like me:

And eat the whole first container on the day you make it before it ever gets to see the light of fridge.

Just a suggestion… spread a bit atop a lovely scone, or perhaps a dollop in a tiny pastry cup.

Fermented Sriracha

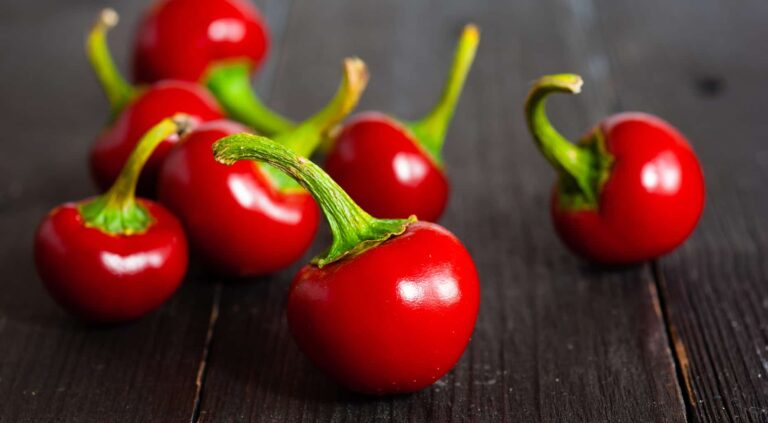
It’s no secret I’m a hothead. I love me my chiles and those of you in more hot & dry climates may not know it, but this year the Berkshires had a damn good chile year. That’s not particularly easy to come by in the short – and usually wet – season we call summer.  These juicy little hotties were the prize from my garden’s chile patch. Red hot cherries! Perfect for homemade sriracha. This is how I do it:

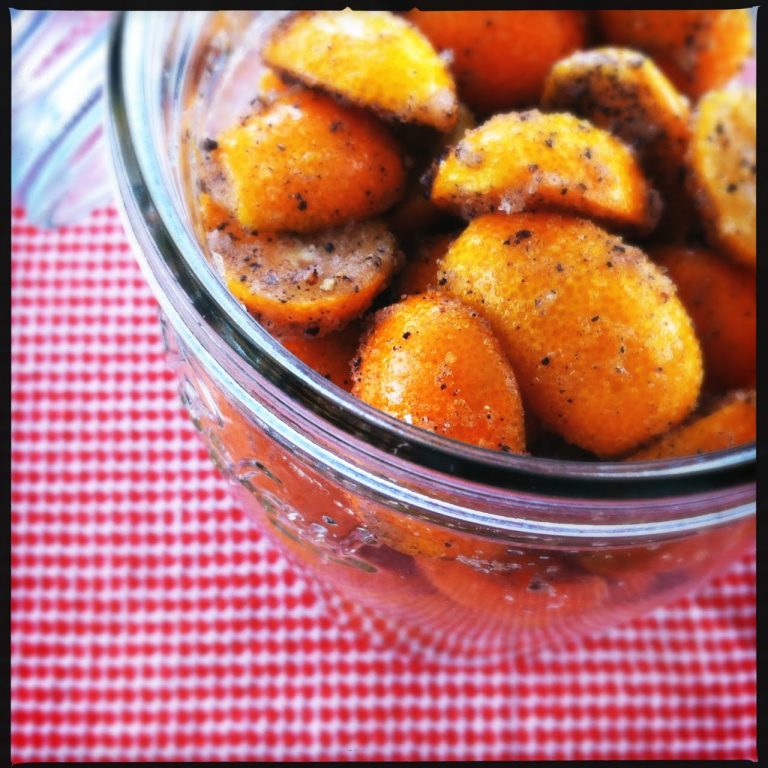
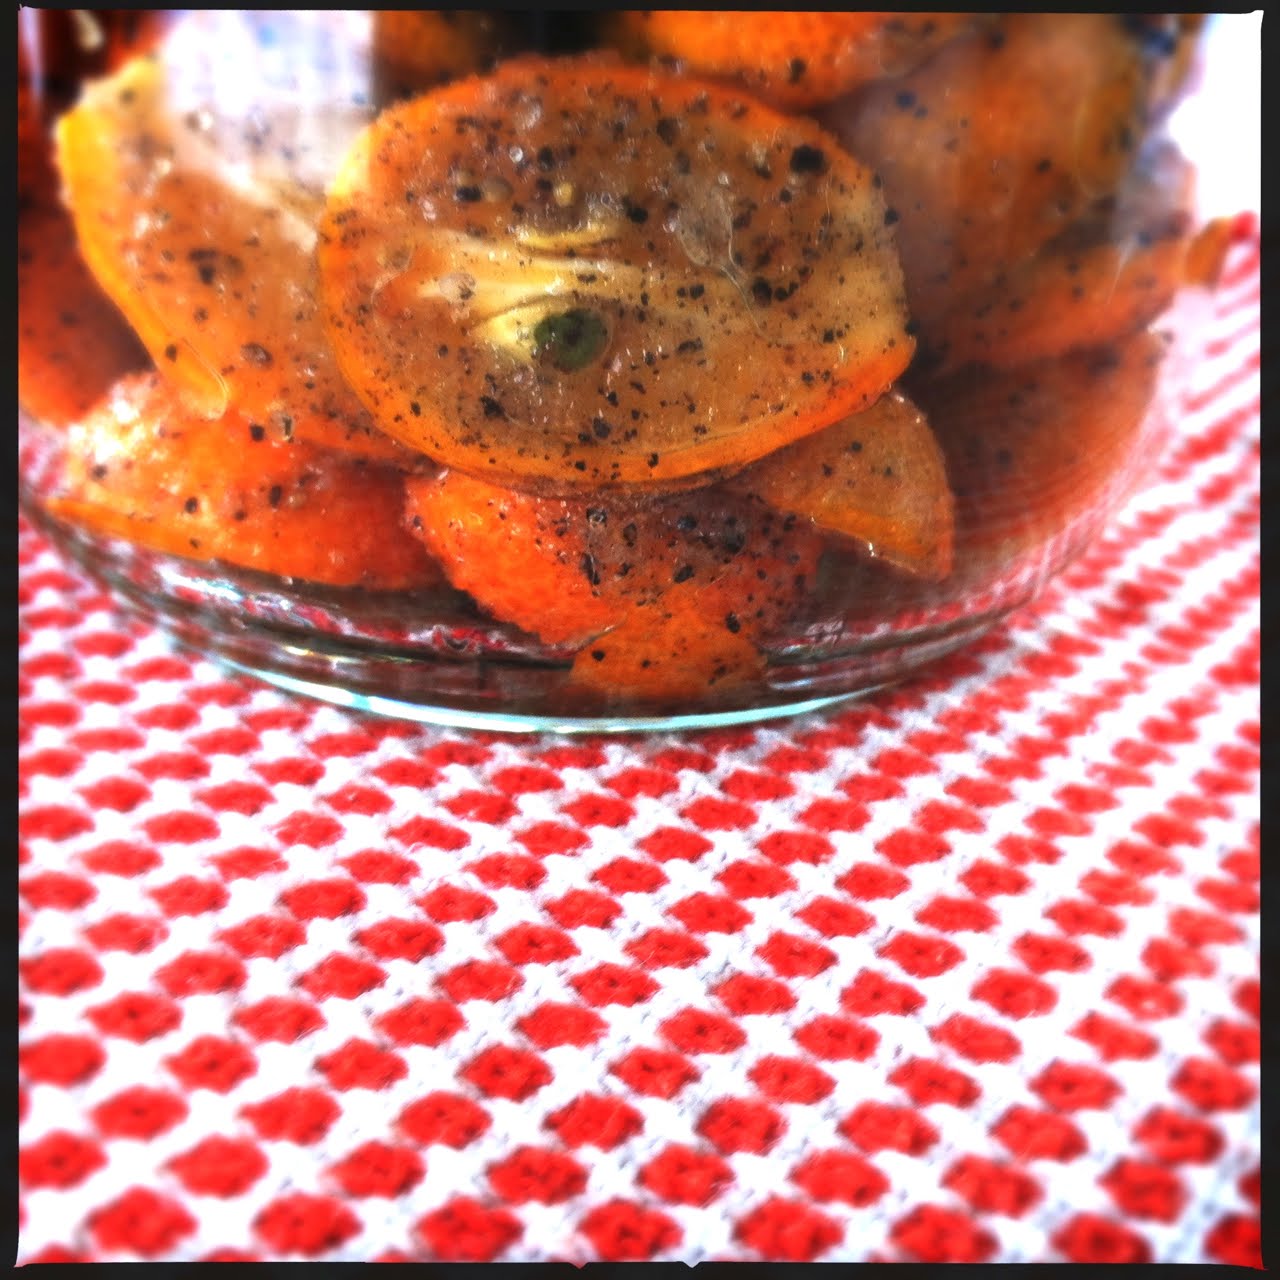
Salt & Pepper Preserved Kumquats

This is so simply a play on the ubiquitous preserved lemons. Those same preserved lemons that I rinse, chop, and throw on everything with either a grain, green or bean all winter. Yes, the ones that everyone does with just salt, but my favorite version has a bit more oomph than that. Of course.

Feeling a bit oomph deprived lately, and having just gotten my paws on 10 lbs. of the most wonderful kumquats I think I’ve ever tasted, I’ve come up with this:

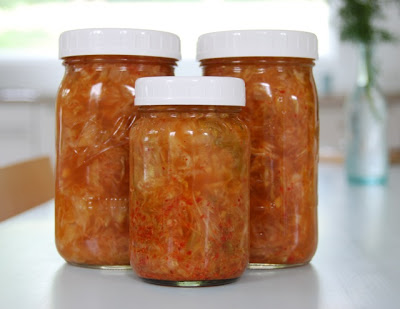
Turkish Fermented Cabbage

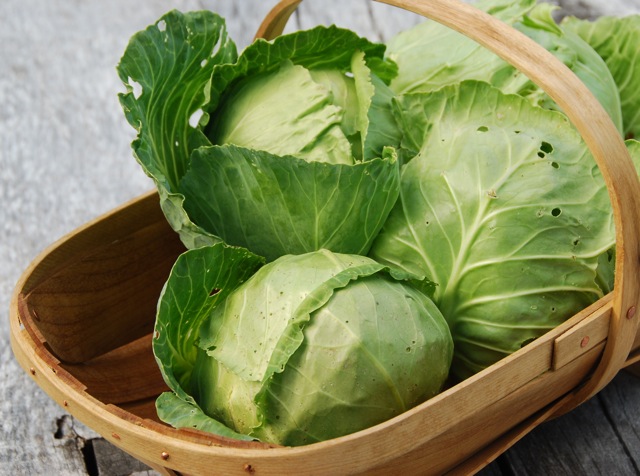
Remember that heatwave we were having a couple of weeks ago? 95 degrees in New England. Of course my early cabbage decided to sing in unison “we’re done, come & get us, now!”

I didn’t grow a kabillion-kazillian pounds of cabbage to eat coleslaw all summer. This cabbage is supposed to get us through that long locavorian boat-ride called winter. Sweltering heat or no, these heads were gettin’ pickled!

(In a passionate preserver’s logic – I quickly surmised that since it gets very hot in Istanbul, and they have pickle carts everywhere, they must know something about warm-weather fermenting). Right?

Turkish Fermented Cabbage

adapted from The Joy of Pickling by Linda Ziedrich

4 lbs. cored & trimmed white head cabbage, shredded
6 tablespoons sea salt
3 tablespoons minced garlic (I used mid-summer scapes, heads only)
3 tablespoons minced ginger
3 tablespoons aleppo pepper (or korean, or 2 tbsp. Hungarian paprika & 1 tbsp. cayenne powder)
1 & 1/2 teaspoon sugar
4 & 1/2 cups water
you can use gallon, 1/2 gallon or quart 2 piece screw cap or wire-bail jars
yield: approximately 2 & 1/2 quarts

Directions:

1. To shred cabbage you can use this or you can use a knife. Get it as fine as you can either way. Once shredded, toss in a large bowl with 3 tablespoons salt. You will see the cabbage begin to ‘sweat’ immediately (well, I said it was hot, didn’t I?). Place a plate over the cabbage to give it a little pressure and let sit for 3 hours at room temperature.

2. Drain the cabbage in a colander, rinse with cold water and drain again. Mix in the minced garlic & ginger, pepper and sugar.

A note about summer garlic: if you grow your own, let the scapes stay on through mid-summer – until the heads are ready even – and use them as you need them. They get stronger as they go and the garlic heads (just pulled up yesterday) don’t seem to mind. It’s a great way to enjoy local garlic all summer.

gap

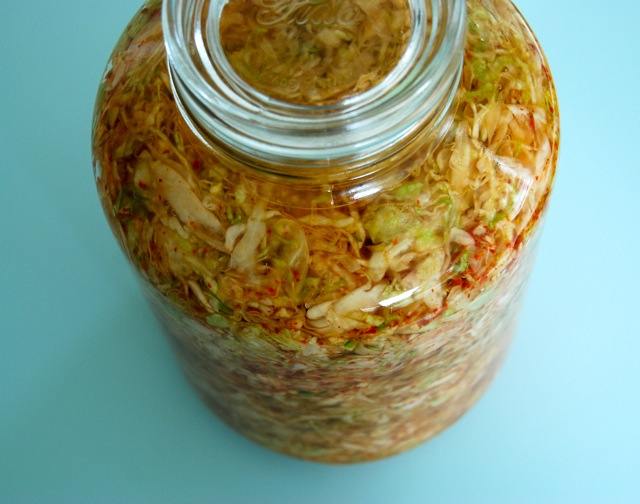
3. Pack the mixture into clean and dried jars (I actually worked with double the amount of this recipe and a very large wire bail jar). Dissolve the remaining 3 tablespoons of salt in 4 & 1/2 cups of cool water. Pour enough of this brine over the cabbage to cover it. Try and leave a good 3 inches of headspace (space between top of cabbage & top of jar) in each jar.

4. In the art of fermenting you want to allow the gasses to escape but prevent a lot of air from getting in. If you are using a two piece screw cap – simply screw it on lightly. If you are using the European wire bail jar you can actually take the wire bail apart and just rest the glass lid on top – (as I did in the photo below). Don’t worry, you can easily re-assemble the wire bail.

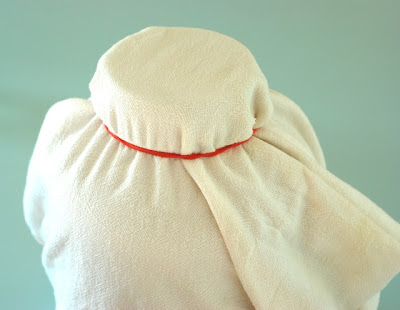
5. The jar should be kept out of sunlight throughout the fermenting process. A cotton kitchen towel & elastic work nicely.

gap

6. Once a day for 10 to 14 days, take the top off and give it a good stir with a very clean spoon. If you do this daily, you don’t have to bother with the weighting down as in the traditional sauerkraut method. Try and get some of the bottom on top and the top on the bottom with your stirring – nothing to be exact about though.

Ideally the temperature should be between 65 and 72 degrees. As I said, I did this in the middle of the heat wave. There were days over 90 so I had to bring it down to the cellar – where the temp was around 76 and rising. I would say that there were a few days where it was in 80 degree temperatures.

But have no fear because on about the 2nd or 3rd day, gassy bubblies will happen. There will be a lot o’ action in those jars. You may even need to switch out the towel due to a bit of leakage, depending on how bubbly things get in there. On about the 6th day the raw veggie smell is all but forgotten, and the most delicious aroma replaces it. You will know it’s done when things settle down and the bubbles have subsided.

gap

The warmer the weather, the faster the fermentation happens. My batch was full-on done at the 10 day mark. Don’t be afraid to taste! If you like it more sour, then leave it another day or two.

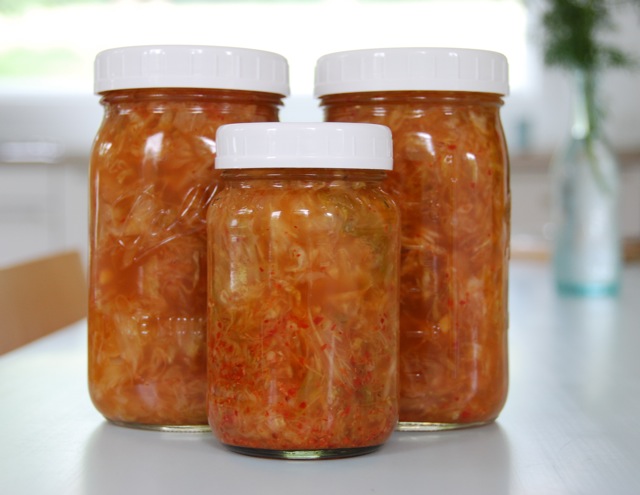
7. Once you’ve determined it’s doneness, you can place the jars directly in the fridge as is, or re- dispense to different size jars. I like to do the fermenting in 1 jar if possible, and then transfer to quarts and pints. Plastic caps are nice here for storing the jars in the fridge. This will last well for 6 months or more in the fridge. Do remember to label your jars with date & contents.

I love this fermented cabbage, it is quite the cross between sauerkraut & kimchi and goes well with everything. We’ve been serving it cold alongside all manner of Turkish & Middle Eastern meze – with a side of feta, and hummus, etc.

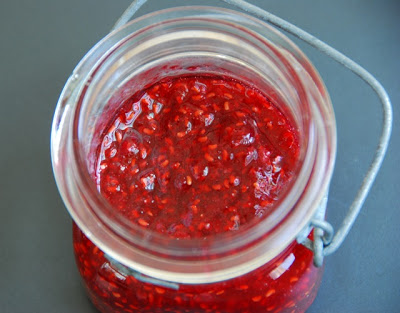
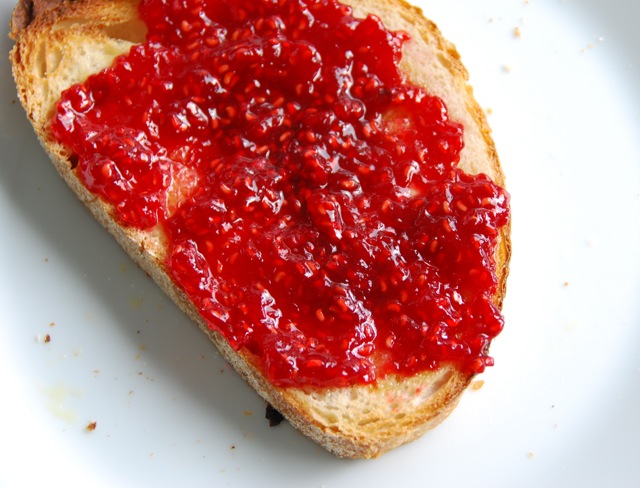
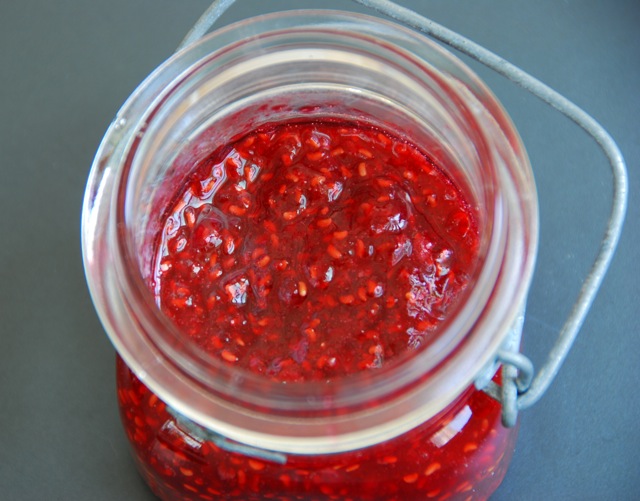
Raspberry Rose Jam

Raspberry Rose Jam

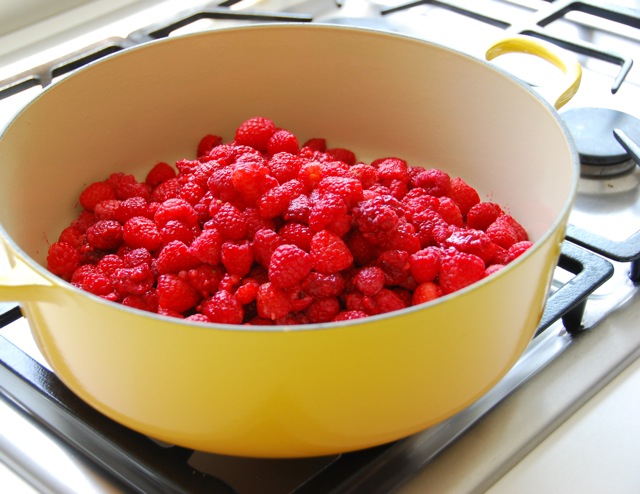
2 & 3/4 pounds raspberries (organic if you can)
3 & 3/4 cups sugar
juice of one medium lemon
1 & 1/2 ounces rose water
1/2 pint or smaller canning jars

yield: approximately 3 pints

Directions:

1. Prepare your jars for hot water bath canning. No need to sterilize them as processing time is 10 minutes. Place 3 small plates in the freezer for testing the set.

2. It is really best not to wash the raspberries. If yours are organic, put them directly into your canning pot. Add sugar and lemon juice and heat on medium until sugar dissolves.

3. Once sugar has completely dissolved, turn up the heat and bring to a boil. Boil for 10 minutes stirring occasionally. At 10 minutes take off heat, skim off any foam that has surfaced, and stir the rosewater in. Bring back to a boil for one minute.

4. Check the set by placing a teaspoonful on a frozen plate. Place plate back in the freezer for one minute. Run your finger through the jam. If it wrinkles even slightly under your finger the jam is set. If your finger makes a clean break, boil for one minute more. You may need to do this a couple of times.

Spring Things

It’s springing around here! The coyotes are howling at night.

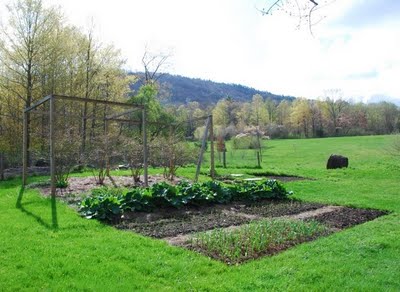
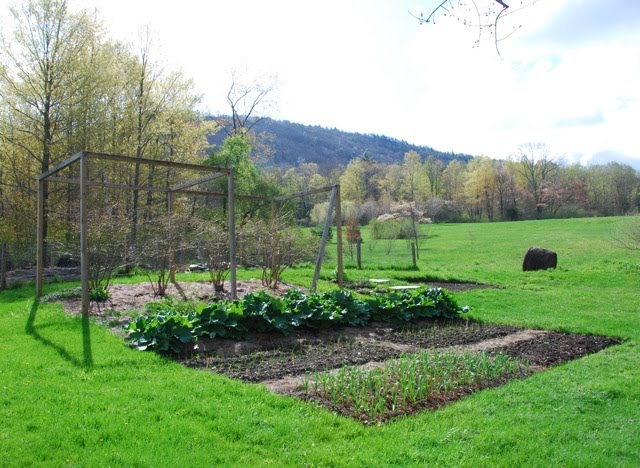
The garlic is popping; the rhubarb…forgettaboutit! The blueberry frame’s shoulder is broken. The wicked winter brought it down. The onions are planted; the squash bed is ready. The grass is a cow’s green dream!

And possibility is positively tangible! But this, this is what I have been dreaming about. The stone fruit orchard is here! There’s a history to this little wanna-be orchard that goes, in brief, like this:

The Santa Rosa (I think?) plums in the back were here when we got here. We didn’t even know they were there that first year, or what a plum tree even looked like – yikes! Until one day we looked up and there we see a sea of blushing beauties bobbing in the breeze – 1000 plums or more! Then they were gone and never came back.

Three years ago, we ordered eight little sticks promising all kinds of fruit. We planted them and they grew a little. The deer loved them all, completely, until those little budding sticks were no more. So after lamenting the loss of our lovelies last year, we decided to bring in the professionals.

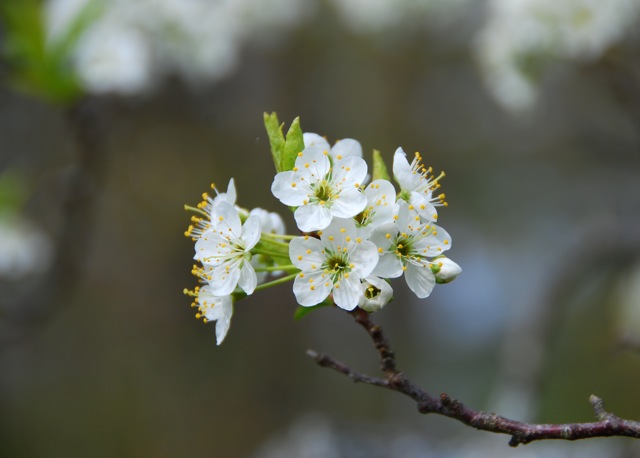
They pruned the hell out of those old plums and told us there is a good chance they’ll fruit again! They planted, moving forward from the plums, a Regina cherry, a Rynbrandt cherry, a Goldcot apricot, a Blenheim apricot, a Reliance peach and a Redhaven peach! And lo, they also saved one other of those sticks we planted three years ago that actually grew.

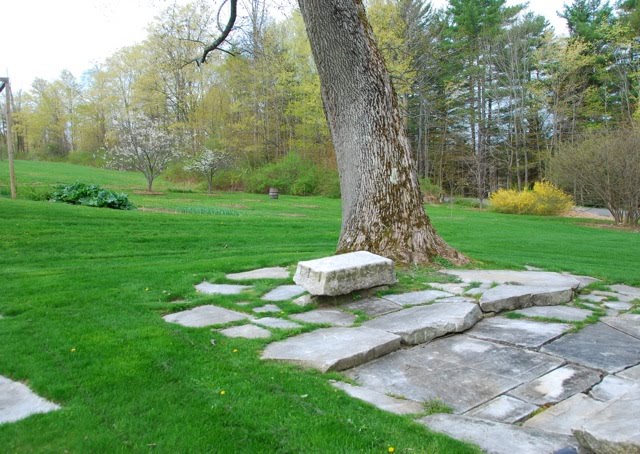
I have a soaring hope that someday we’ll be chillin’ on this little stone bench overlooking our stone fruit orchard, the sky heavy with fruit. The air intoxicating.

And hope is the essence of spring, no?