When the carbs are reduced, and the fat is maximized, your body will enter into a state known as ketosis. After that, the body will start transforming the fat into ketones, molecules that can provide energy for your brain. However, keto is considered an extreme diet so if you are thinking of incorporating it then first consult some of the Top Rated Doctor in UAE to first understand your body, and whether keto is the right diet for you.

Today, several companies have come up with exciting meal options in the Keto domain. To know more about this, you can check out FreshPrep by Mealkitcomparison.com. Once you decide what you need, you can select all that you want and get benefitted from it. Explore a variety of grain-free, low-carb bread recipes in the Keto Breads Book by Kelley Herring, designed to enhance your overall health. The cookbook also provides recipes for alternatives such as Dairy-Free Sour Cream, expanding the options for a versatile keto baking experience.
Understanding the keto diet
When the carbs are reduced, and the fat is maximized, your body will enter into a state known as ketosis. After that, the body will start transforming the fat into ketones, molecules that can provide energy for your brain.
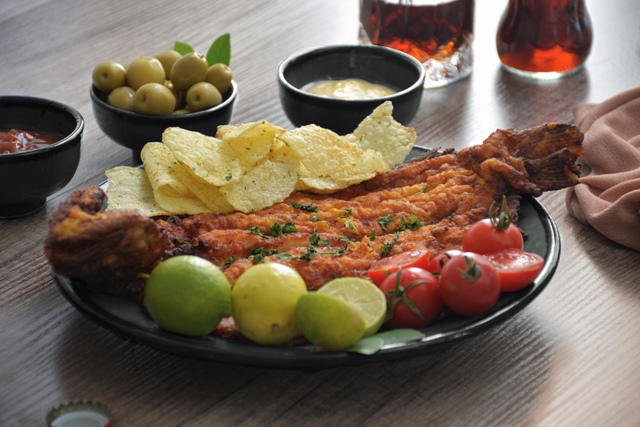
Once you have been on this diet for a few weeks or even days, your brain and body get highly effective in burning the fat. When you are on this diet, it can help to reduce the insulin level, which can act highly advantageous for enhancing insulin sensitivity and helps in blood sugar management. Some of the staple food that is essential in the ketogenic diet includes:
- Oils
- Meat
- Heavy cream
- Fish
- Cheese
- Eggs
- Butter
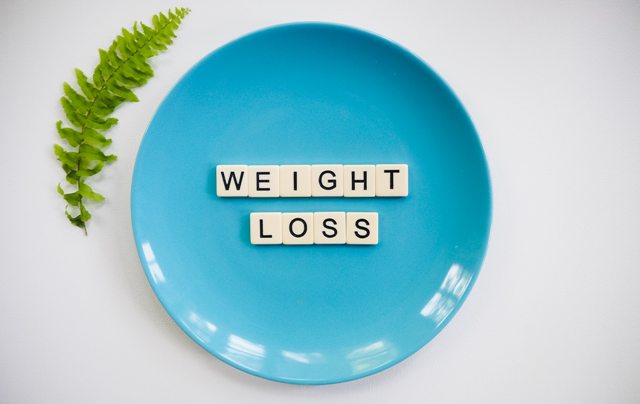
The link between weight loss and a keto diet
Today, there is ample proof that a keto diet can lead to weight loss. It can enable you to lose fat, enhance the several markers of diseases, and persevere muscle mass. A few studies have suggested that a ketogenic diet is highly effective compared to a low-fat diet for boosting weight loss.
According to the studies conducted, the people who were on a keto diet experienced more weight loss than the ones who were consuming a low-fat diet. They noticed that their cholesterol and triglyceride levels also got enhanced. But both groups had minimized calorie consumption through a comparable amount, which can have maximized weight loss.
That is not all. There has been yet another study done in 2007 that stated that a group on a low-carb diet lost almost 15.2 pounds, and the group on a low-fat group lost up to 4.6 pounds. And in three months, the group on the low-carb diet had witnessed close to 3 times more weight loss.
There wasn’t any difference in both groups’ protein or fat intake. But there was zero difference in the group’s lipid, ketone, and HbA1C levels. That aside, the ones with a low-carb diet have minimized calorie intake. It is essential to note whether people are maximizing their fat intake as they opt for the keto diet.
Today, researchers are studying more about this connection to help people in their weight loss journey and enable them to lead a good life. Keep one thing in mind; in addition to changing your diet, you also need to exercise. Mere dieting will not take you anywhere. It has to be a mix of both. Are you ready to make the change?