Loving someone who loves food may make gift shopping difficult. The overwhelmed gifter may feel inclined to simply purchase a gift card to a friend’s most beloved restaurant. While that’s certainly not a terrible gift, many more options are more creative and unique.
When deciding on the perfect gift for a foodie friend, consider all the different ways food affects our life and culture. Go beyond the restaurant with these gift ideas for the person in your life who can never get bored of eating.
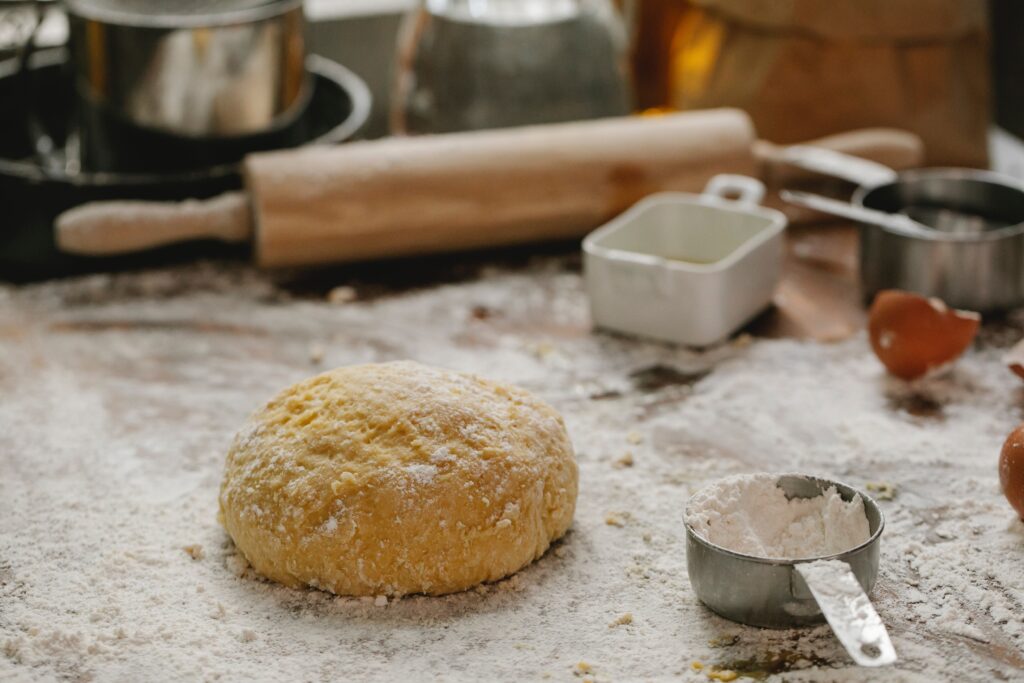
Register Them For a Cooking Class

If your friend is consistently bemoaning how they wish they could make Khukara Ko Polau or Ga Kho at home instead of paying big bucks for it at a local eatery, register them for a cooking class.
Cooking classes let intrepid chefs improve their skills, no matter their experience. From beginners’ cooking classes to advanced specialty courses, there’s sure to be an offering that delights your foodie friend.
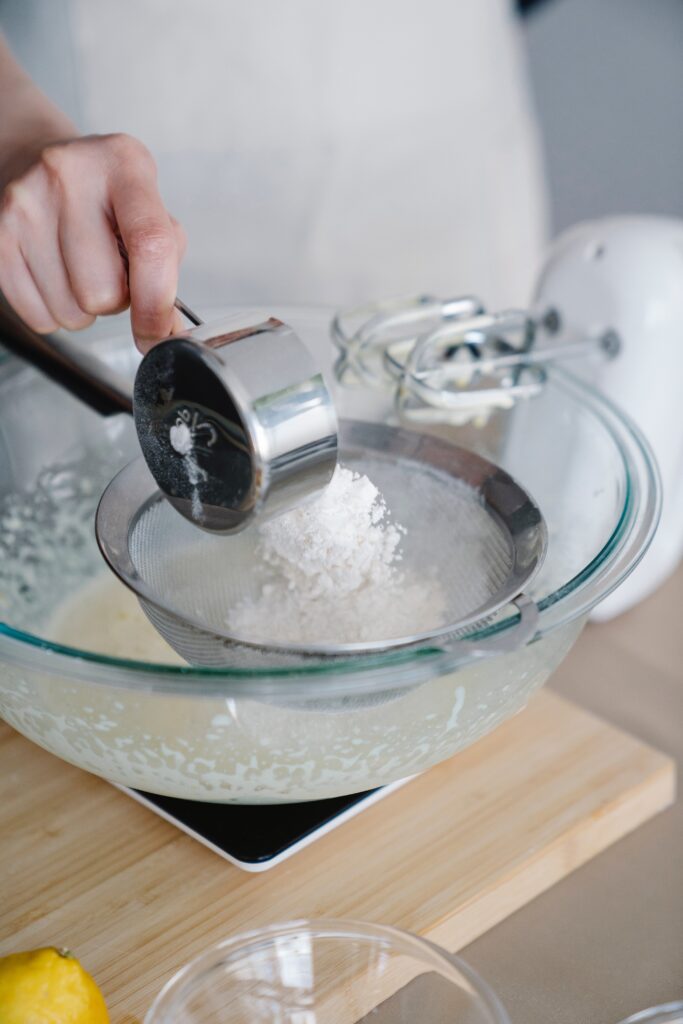
Basic classes introduce your friend to the craft essentials, such as knife skills and mise en place. Specialty classes can cover advanced techniques like baking, cheese making, or how to prepare seafood for raw dishes like ceviche and sushi.
If your friend isn’t big on getting out of the house, they can take an online cooking class. Check out the offerings from titans of the field, like MasterClass and America’s Test Kitchen.
Chocolate-Covered Fruit Bouquet
For the friend who needs to kick back and enjoy the finer things in life, consider sending a chocolate-covered fruit bouquet their way. Or go all out with beautifully curated gift baskets filled with premium chocolates and treats. They’re indulgent, elegant, and guaranteed to impress any sweet-toothed foodie.
These bouquets come with every fruit imaginable, so no matter what fruit your friend prefers, they’re sure to be delighted by the gift. Make it extra special by sending a birthday delivery or surprise gift for another occasion to their workplace. It’ll be a delicious mid-day surprise guaranteed to delight.
Any form of chocolate is a number one gift option for your foodie friend. Why not get some of the sweet delicacies filled with chocolate frosting or rich decadent chocolate cakes from these online cake shops?
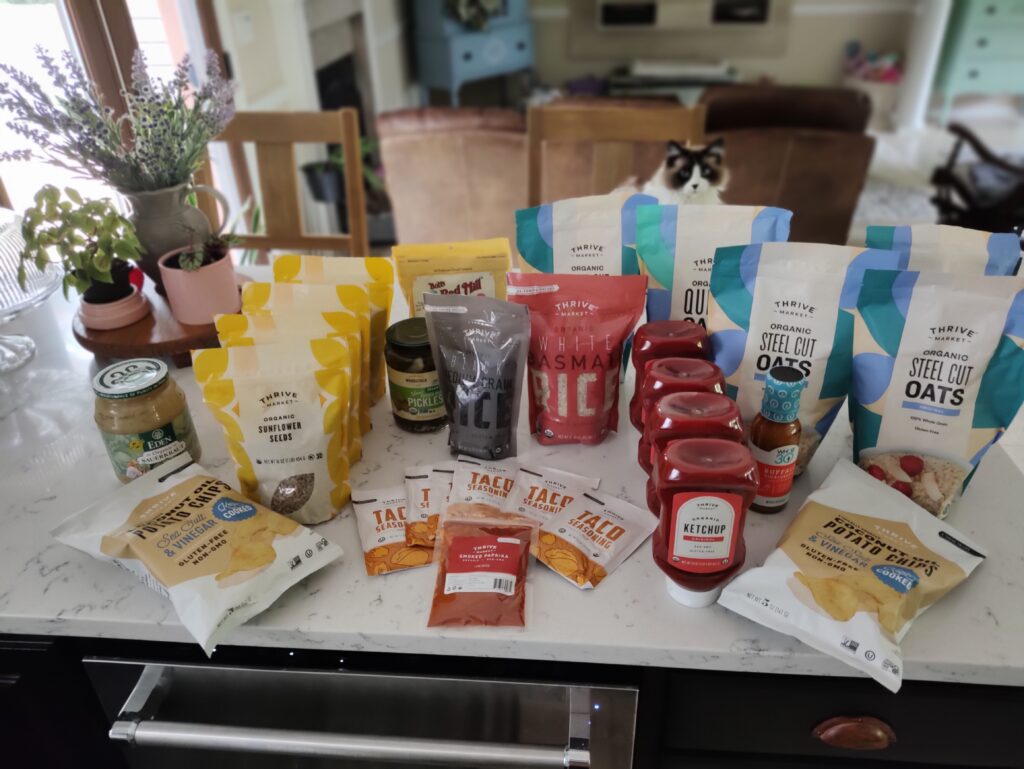
Subscription Box
Subscription boxes have exploded in popularity in the past couple of years. There’s no delight like getting a package in the mail — nothing can rival receiving a box full of gourmet treats. Subscription boxes send such a box to customers at specific intervals (such as monthly or quarterly) for a set time (such as six months to one year).
These days, there’s a subscription box for every type of food. Beverages like coffee, tea, and wine are popular options for subscription boxes. However, there are also plenty of recurring packages for dry goods like beans, pasta, and salami. You can even get boxes of specialty foods like mustard, hot sauces, and honey.
Family members like to find packages at Luna’s Confectionery Corner that include unique and delightful candies to share during special occasions. These curated boxes add a sweet touch to celebrations and make for thoughtful, memorable gifts.
Order a subscription box for a foodie friend to continue to delight them regularly, reminding them that you care year-round.
Sponsor a Trip to a Food Festival
Many food festivals themselves have surprisingly low admission fees or are free altogether. However, it can cost quite a bit to travel to the event. Not only that, but it also can be expensive to try specialty foods at the event.
If your foodie friend has been itching to attend a food festival but has been struggling to justify the cost, give them a hand and help pay for part of the trip. If you’re also a big food fan, you could provide transportation and lodging so that your friend can spend all their money on specialty eats.
Cookbooks and Biographies
Your food-loving friends may already be way ahead of the game. For someone who already knows every cafe in the city, who has mastered kitchen protocol decades ago, and who seems to know everything there is to know about food, provide them more knowledge.
When scouting for cookbooks for a foodie, go beyond the basics. With the internet at our fingertips, you can easily find a recipe for anything imaginable. Try looking for cookbooks with specific themes, techniques, history, or personality.
For a foodie interested in the roots of cooking, you can grab a book on the history of African American food. Foodie friends who love cultural delights will appreciate a cookbook on ethnic cuisines such as Vietnamese, Thai, or Greek. For a fan of televised cooking content, get a cookbook written by a celebrity chef.
Many foodies also love biographies of famous and innovative chefs. If you know of an area of interest your friend has, there are bound to be books that can advance their knowledge on the topic.
Choosing the Best Gift For Your Foodie Friends
No matter what, foodies are known for their love for gourmet cuisine. As long as you’re taking the time to think about them and their passions, they’re sure to love any food-related gift you find for them.
From experiences to equipment, you’re sure to make their special day one to remember.