Before taking to the great outdoors you need to make sure the tools that can make a trip out more comfortable are as ready as you are. When it comes to a pocket knife, they can be quick to go blunt so a decent sharpener is important. The better products last a long time and are easy to work with but with so many on the market, it is easy to make a mistake.
To help make sure you don’t end up ordering something that makes life difficult, we have created the following list of the best pocket knife sharpeners so you can always enjoy a sharp blade. That way, you are ready for whatever a hike or camping trip throws at you.
List of the Best Pocket Knife Sharpeners
- Editor’s Choice: Spyderco Tri-Angle Premium Sharpmaker Set (Amazon) – Review
- Best For Versatility: Smith’s PP1 Pocket Pal Multifunction Sharpener (Amazon) – Review
- Best For Hunting Knives: Smith’s CCKS 2-Step Knife Sharpener (Amazon) – Review
- Best 6-in-1: Sharpal 101N 6-In-1 Pocket Knife Sharpener (Amazon) – Review
- Best Compact: Victorinox 4.3323 VN43323 Fixed Blade (Amazon) – Review
- Best Multiple Angle: Lansky QuadSharp QSHARP (Amazon) – Review
- Best Sharpening Stone: Whetstone Cutlery 20-10960 Knife Sharpening Stone (Amazon) – Review
Editor’s Choice: Spyderco Tri-Angle Premium Sharpmaker Set
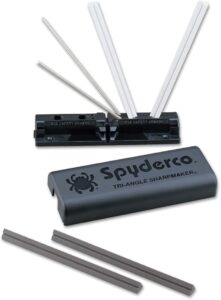
It’s impossible to ignore this all in one sharpening set, partially because it has everything you need to keep tools sharp and is made from high-quality materials. It is the ceramic and two grit stone options (medium and fine) that are great for keeping fishing hooks sharp once you have used it as a pocket knife sharpener. You’ll find it easy to take in the bottom of your bag thanks to the sturdy carry case and even comes with all the instructions you need to get the most out of it with a manual and a DVD.
If you want to keep it in your workshop it can be attached to any countertop. Use the keyed holes to change the angle 30 or 40 degrees and make sure you can always enjoy a sharp pocket knife.
Best For Versatility: Smith’s PP1 Pocket Pal Multifunction Sharpener
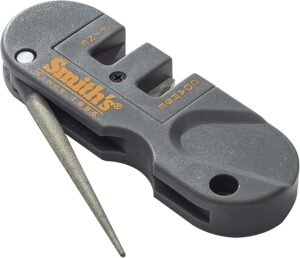
This weighty product feels durable before you have even pushed a blade over one of the tapered round diamond-coated rods that can be used on both a standard blade and a serrated edge. This makes it ideal for fishing trips where you might need multiple tools to be sharp enough to use for different situations.
The carbide blades are great for setting your edge and the ceramic stone helps to finish the blade off and keep it razor sharp. There is a small lanyard hole to make sure it is easy to attach to your bag and allows you to take it anywhere. This is good because the device itself has some weight to it – a sign of a durable product.
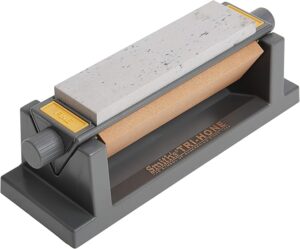
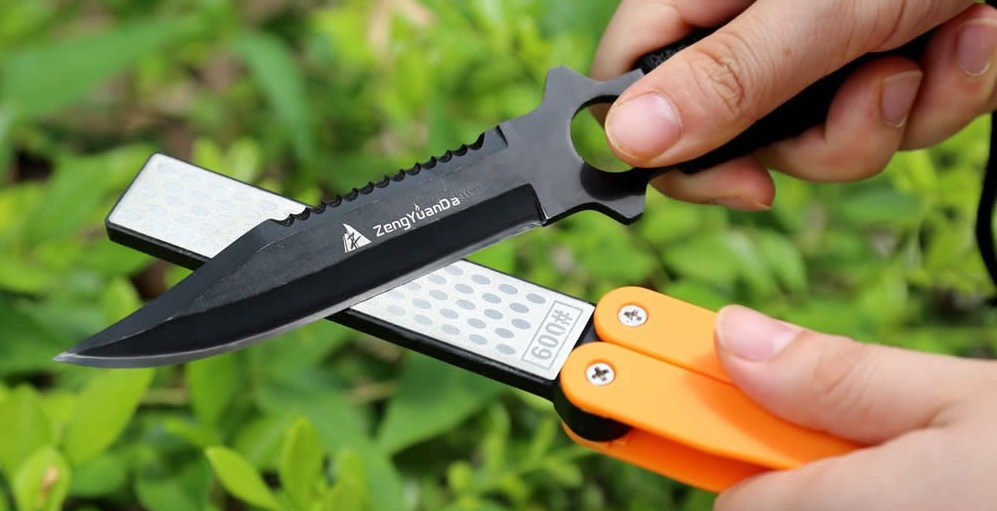
Best For Hunting Knives: Smith’s CCKS 2-Step Knife Sharpener
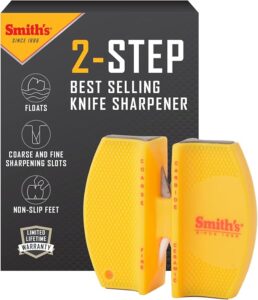
Anyone who just wants a handy tool to take camping will enjoy the convenience and ease of Smith’s pocket knife sharpener. It can also be used on hunting knives, and other types of blades and is known for being one of the fastest devices going.
The base is anti-skidding to make sure you can stay saw when operating and is made up of two sides. Its crossed carbide blades provide the user with a quick edge setting then flip it over to use the crossed ceramic rods for a sharp edge. You can conveniently use the small hole to make it easy to hang on your backpack or toolbox so you never forget where it is when you need it.
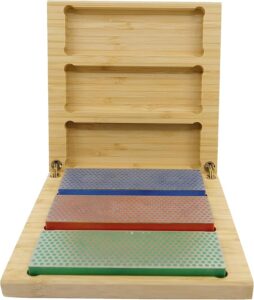
Best 6-in-1: Sharpal 101N 6-In-1 Pocket Knife Sharpener
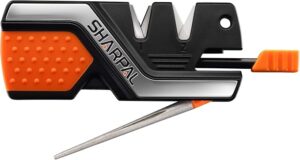
We love to see a company add some features to a simple device and that’s exactly what we are getting here. It is a 6 in 1 pocket knife sharpener and that includes a fire starting tool and an emergency whistle. This neat little product can help get you out of a tricky situation and keep your knives sharp thanks to the edge setting blades that are made from quality tungsten carbide.
To give the blade an extra finish, the ceramic blades are easy to use and it even has grooves in the 400 grit diamond rod for serrations so it can be used on a variety of knives and tools. A lot of people comment on how it is easy to use and is great for bringing an old tool back to life.
Best Compact: Victorinox 4.3323 VN43323 Fixed Blade
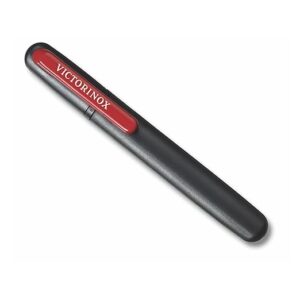
Although the Victorinox name might make you think this is going to be an expensive option, the truth is that it is very reasonably priced. What you get is a quality pocket knife sharpener that is convenient to carry. With the appearance of a pen, you can use the dual sides for different purposes.
There is a coarse ceramic rod at one end that is great for medium sharpening and a ceramic notch at the other and weighs just 40g. To top it all off, this high-quality product is one of the best options for anyone looking to keep their bag light on a trip and is easy to use for those who are not so familiar with sharpening a pocket knife.
Best Multiple Angle: Lansky QuadSharp QSHARP
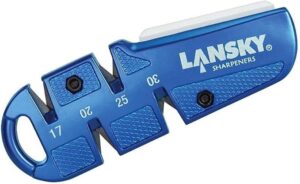
For a lot of people, the different angles that are made possible by this sturdy pocket knife sharpener are what makes it so good. You can choose from 17, 20, 25 & 30 degrees before using the ceramic polishing stone to finish the blade off. It only takes 3-4 strokes of the carbide slots to get your knife nice and sharp and the V-groove design makes it perfect for anyone who has serrated blades and fishing hooks to sharpen.
This is one of Lansky’s most versatile tools and fits into your pocket or anywhere in your backpack with ease.
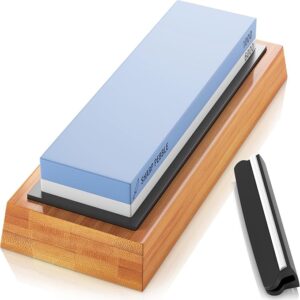
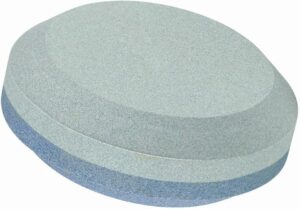
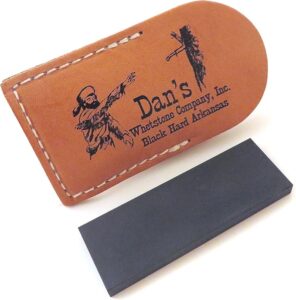
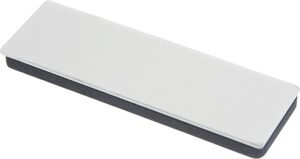
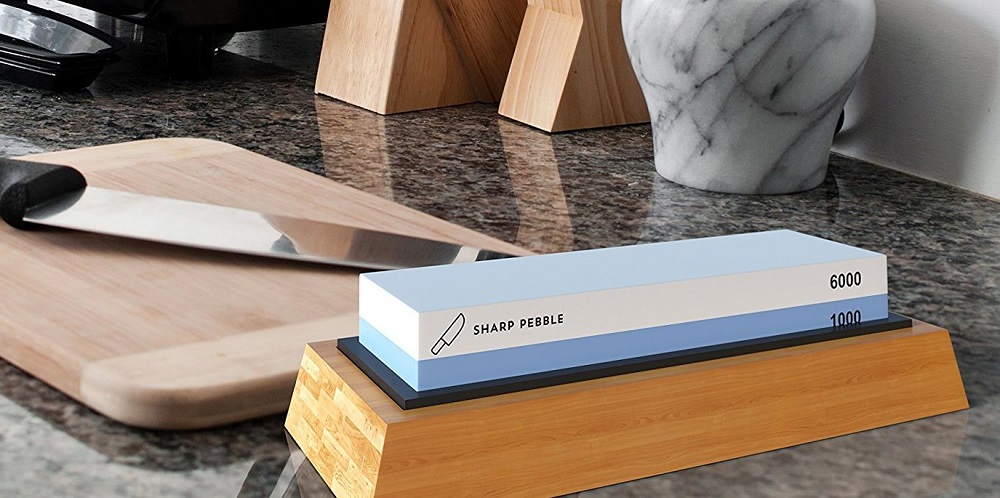
Best Sharpening Stone: Whetstone Cutlery 20-10960 Knife Sharpening Stone
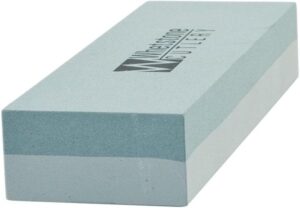
With dual sides for variable grit (400 for sharpening and 1,000 for polishing) this quality stone may look simple but that is the beauty of it – it’s so easy to use. The convenience of having a stone means it is always ready to be used and although it might weigh a little more than other products, it is easy to get to grips with.
You soak it for 5 – 10 minutes and the great thing is you only need water. A lot of people like to use a sharpening stone because it can be used on a variety of tools and household items so scissors, cutlery, and razors are always sharp.
Pocket Knife Sharpener Guide
Whether you are whittling or trying to prepare fruit a pocket knife needs to be sharp it is will lose its ability to perform its main purpose. That’s where you can end up without the convenience that these neat tools offer, sometimes ruining your camping or fishing trip.
To keep things sharp and make cutting a breeze, a pocket knife sharpener is an essential tool for anyone who owns such a blade. The better products can be used on different types of blades. When you take a look at the following guide, you’ll come to expect a little more from these useful gadgets.
What To Look For In A Pocket Knife Sharpener
Multiple Angles
Not all pocket knife sharpeners give you different sharpening angles but it is certainly something to keep an eye out for. Not only does it give you the option to sharpen multiple blades but being able to sharpen serrated edges as well as fishing hooks and standard blades means you will get a lot more mileage out of the sharpener and won’t have to buy a different one for another blade.
Compact Size
If you are looking for a sharpener for your pocket knife you aren’t going to want a product that is twice as big as the blade itself. The convenience of being able to take it away with you is what makes them so good. The better products will be small enough to go in your pocket or the bottom of your camping bag or toolbox.
Light but Sturdy
A mix of the two is going to add to portability but you still need it to be strong enough to withstand a fair bit of use. The blade and handle need to be made of high quality materials.
However, keep in mind the fact that when using it, a light pocket knife will feel better.
Value
The better products will have a few uses and be made from sturdy materials but won’t break the bank. Unless you are looking for an elite, multi-purpose pocket knife sharpener with the best materials you can find, you will want to go for something that isn’t too expensive. The good news is, there are products in all sorts of price brackets, just be sure to find something that has a reputation for being durable.
Multiple Functions
Some people just want a pocket knife sharpener that does the simple task of keeping the blade razor-sharp whilst other people want to make use of a conveniently sized gadget. Those people will be on the look out for a sharpener that doubles up as something convenient to them such as an emergency whistle and even a fire starter.
Pocket Knife Sharpener Stages
If you find a pocket knife sharpener with one sharpening station, this might not give you everything you need. The best products are the ones that can make a dull knife sharp with different angles and even variable coarseness if possible. Then there is a polishing stage to hone the blade to how you like it.
Different Types of Pocket Knife Sharpener
Rods
Often made from ceramic or steel these are better for keeping an already sharp knife pristine rather than bringing a dull one back to life. They are a good option who wants to try and maintain the longevity of their pocket knife.
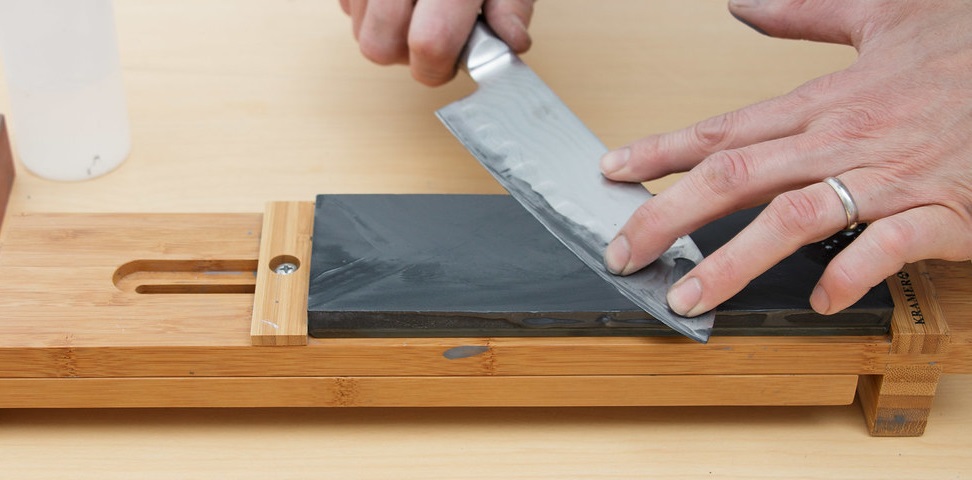
Stone
A lot of people still prefer this traditional way of sharpening their knives but they aren’t always as good for bringing an old knife back to a former glory. But, dual-sided stone sharpeners can sharpen and polish.
Plates
Used to sharpen both sides of the blade with ease these are ideal for sharpening both standard and serrated blades. Another benefit of using these types of pocket knife sharpeners is that the blades are often replaceable so when they start wearing down, you can replace them.
Is A Pocket Knife Sharpener Cheaper Than Using a Professional?
As a one off, a professional pocket knife sharpening service is often cheaper, but that’s only if you want to get one or two blades sharper. This is because it tends to cost around $5 – $8 per blade.
However, before too long you’ll need to sharpen them all over again which is why it is convenient and cheaper to get your own sharpener.
Best Uses for a Pocket Knife Sharpener?
The better sharpeners are versatile enough on multiple blades and even other tools and goods. If you manage to get an all in one style tool you’ll find that it is capable of sharpening serrated blades, fishing hooks, scissors, gardening tools, and a lot more.
Different Grit Levels of A Sharpening Tool
The stage and type of finish will determine which level of grit is appropriate for your needs. The higher the grit number, the better it will be for polishing. However, this won’t be so good for sharpening or repairing an old knife.
Typically, anything around 3 – 400 grit will be good for sharpening a dull knife, 1,000 and above for polishing.
What Is The Best Angle For A Pocket Knife?
Having multiple angles is always good because it opens up the number of uses a sharpening tool can provide. A lot of the time, an angle of 20 – 30 degrees is a good number for a pocket knife.