Home Blog Page 58

Classic French Beef Stew (with an Asian Twist)

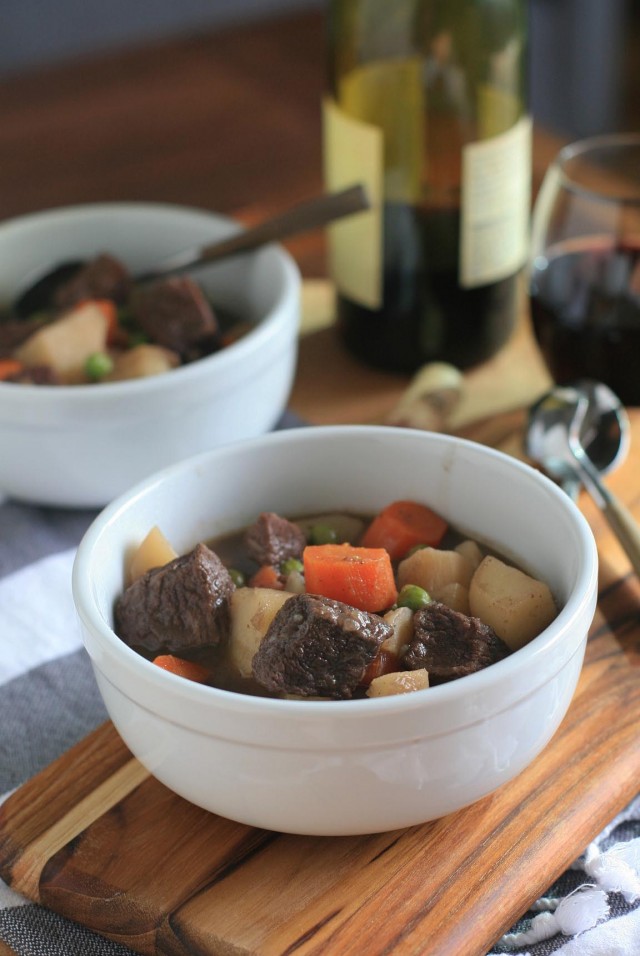
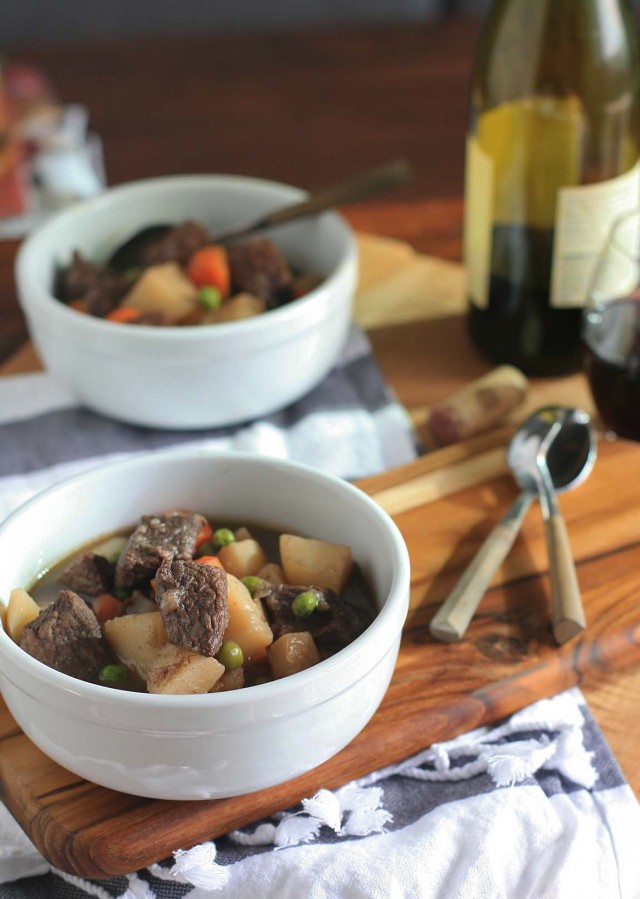
Beef cubes simmered in a red wine and beef broth until it’s so tender that it can be cut with a spoon?  Purely French.

That addition of fresh ginger?  Not so French.  But oh so good.

Living in predominantly Asian Honolulu (and having formerly lived with three Asian roommates- Taiwanese, Vietnamese and Japanese, all of them excellent cooks) has certainly affected how I approach all sorts of dishes, not just Asian ones.

When I tasted a beef stew similar to this one at a potluck– very heavy on the wine and ginger– I knew that ginger would become standard in my beef stew from that point forward.    But this isn’t the local Chinese-influenced beef stew that you’ll find at plate lunch places in Hawaii, with tomato sauce, shoyu or even curry powder.   It’s French at its core, just with a little twist.

Fancy enough for a dinner party, but easy enough for a family Sunday supper, this is one of my go-to meals that I make when I visit my family in the Northeast during the winter.  There always seems to be a couple packages of beef in the freezer and just enough vegetables in the pantry or crisper to pull this stew together.   And since my parents don’t ever have fresh ginger on hand, ground ginger comes to the rescue.

Sometimes I stick with just carrots, potatoes and peas; other times I’ll throw in some parsnips or turnip.  Play around with this one… it’s hard to mess it up.
Classic French Beef Stew (with an Asian Twist)

Yield: 8 servings

Prep Time: 15 minutes

Cook Time: 1 hour, 45 minutes

Total Time: 2 hours

Ingredients:

* 3 Tablespoons olive oil
* 2 medium onions, diced
* 4 cloves garlic, finely chopped
* 2 pounds your favorite stew beef (chuck, top or bottom round, etc.), cut into 1-inch cubes
* 3/4 inch piece peeled ginger, grated (easiest to grate frozen ginger with a Microplane zester)
* 2 cups red wine
* 3 cups beef broth or stock
* 2 bay leaves
* salt
* 1 pound carrots, peeled and cut into 3/4-inch cubes (can also use half carrots, half parsnips)
* 1 pound potatoes, peeled and cut into 3/4-inch cubes
* 1-1/4 cups frozen peas
* 1 Tablespoon corn starch (optional)
* pepper

Directions:

Heat the oil in a very large pot over medium-high heat. Add the onions and garlic and cook, stirring, until softened. Use a slotted spoon to remove the garlic and onions to a large plate. Add just enough beef to form a single layer in the pot. Brown the beef on all sides and remove to the same plate as the onions and garlic. Repeat with the remaining beef.

After removing the last of the browned beef from the pot, add the grated ginger to the pan and cook, stirring constantly, until highly fragrant, about a minute or two. Return the onions, garlic and browned beef to the pot. Add the red wine, beef broth, bay leaves and season with a touch of salt. Bring to a boil and then reduce heat and simmer, partially covered, until the meat is tender, about 40-60 minutes. Add the carrots and potatoes and cook until they can be pieced with a fork, about 20-30 minutes.

If you’d like to thicken the stew a bit, mix the corn starch with 1 Tablespoon of water to make a slurry, making sure there are no lumps. Add to the stew and stir well. Add the frozen peas, stir, and cook until the peas are heated through and the stew has thickened slightly.

Add salt and pepper to taste.
Chocolate Hazelnut Financiers with Chocolate Ganache

0

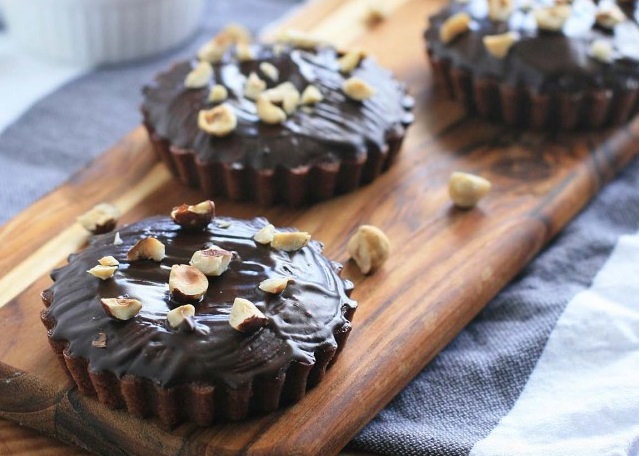
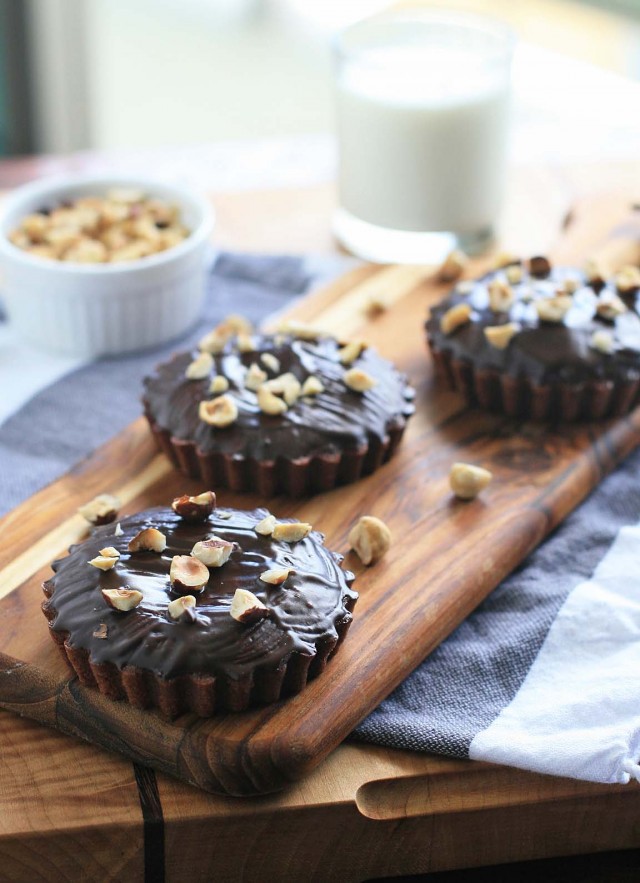
I think I need help.  I can’t seem to stop making financiers and financier-like mini tea cakes.  But after the recent successes of the brown butter almond financiers and the coconut friands, I just knew I wanted to make at least one more variation.  Especially since I had excess egg whites from making ice cream (recipe to come soon!).
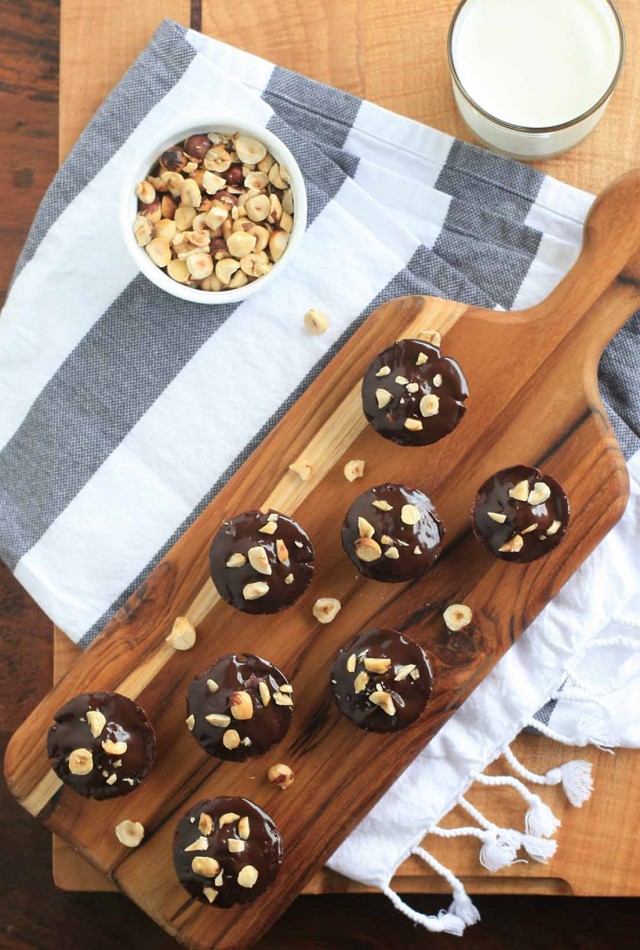
My initial thoughts?  I wanted to make either a hazelnut or chocolate variation.  It didn’t take long to realize that the most obvious (and delicious) solution would be to kill two birds with one stone.

And because I couldn’t leave well enough alone, I decided to top the financiers with a chocolate ganache and some toasted, chopped hazelnuts.  After all, this isn’t exactly the season for restraint, right?

But they’re also great plain… they end up like a slightly less dense version of these flourless double chocolate hazelnut and brown butter brownies.  If you decide to skip the ganache these freeze really well… just pull out one or two for an afternoon treat when you get one of those inevitable afternoon chocolate cravings.

Chocolate Hazelnut Financiers with Chocolate Ganache Glaze

Yield: 24 mini muffin sized financiers

Ingredients:

Financier:
* 10 Tablespoons butter, cut into 10 pieces
* 1 cup hazelnuts, plus extra for garnish
* 1 cup sugar, separated
* 6 large egg whites
* 1/3 cup plus 1 Tablespoon superfine rice flour
* 1/3 cup plus 1 Tablespoon unsweetened cocoa powder,plus extra for dusting pan

Ganache (Optional):
* 1/3 cup bittersweet chocolate chips
* 1/4 cup heavy cream

Topping (Optional):
* extra hazelnuts, toasted and roughly chopped

Directions:

Preheat oven to 350 degrees and place the hazelnuts (the one cup for the financiers plus a little extra for garnish) in a baking pan large enough to hold the hazelnuts in a single layer. Bake until the hazelnut skins are beginning to darken and blister. Remove from oven, turn off oven, and let cool slightly. When cool enough to handle, use your fingers or a clean dishtowel to help rub the skins off of the hazelnuts. Some skins will cling to the nut.

Place the butter in a small saucepan over medium heat. Bring the butter to a low boil, stirring from time to time. Remove the saucepan from the heat once the butter has turned golden brown and smells nutty. Set aside.

Place 1 cup of the hazelnuts and 1/2 cup of sugar in a food processor and process until the mixture has turned into sweetened hazelnut flour (the sugar helps the hazelnuts achieve a finer grind and prevents the hazelnuts from turning to hazelnut butter). Place the hazelnut mixture into another small saucepan and add the remaining 1/2 cup of sugar. Add the egg whites, stir, and place the saucepan over low heat. Heat the mixture, stirring constantly with a wooden spoon, until the mixture has heated through, is slightly white and runny. Remove from heat.

Add the superfine rice flour and unsweetened cocoa powder and stir to mix. Gradually stir in the browned butter. Transfer the mixture to a heatproof bowl and let cool, until it has reached room temperature. Press a piece of plastic wrap on the surface and place in the refrigerator for at least one hour or up to overnight.

When you are ready to bake, preheat the oven to 400 degrees. Butter or spray your mini-muffin tins or mini tart molds and then dust generously with unsweetened cocoa powder. Tap out the excess. Fill each mold almost to the top with batter.

Bake for 11-13 minutes, or until the cakes are golden and a toothpick inserted into the center comes out clean. Remove from oven and un-mold as soon as possible. If the financiers are sticking, you can run a blunt knife around the edges to help remove the cakes. Transfer to a cooling rack.

Prepare the ganache by putting the chocolate chips and heavy cream in a small bowl. Microwave for 20 seconds. Let stand for a minute or so and then stir until smooth (you can microwave the mixture for additional 10-15 second increments, if necessary, to get the mixture totally melted and smooth). Let cool slightly. Use a silicone brush to spread the ganache over the top of the financiers and sprinkle with the chopped hazelnuts.

Cool, allowing the glaze to set. Place in the refrigerator, if necessary, to get the ganache to harden. Store at room temperature or in the refrigerator.

40 Cloves of Garlic Quiche

The bar, my friends, has officially been raised.
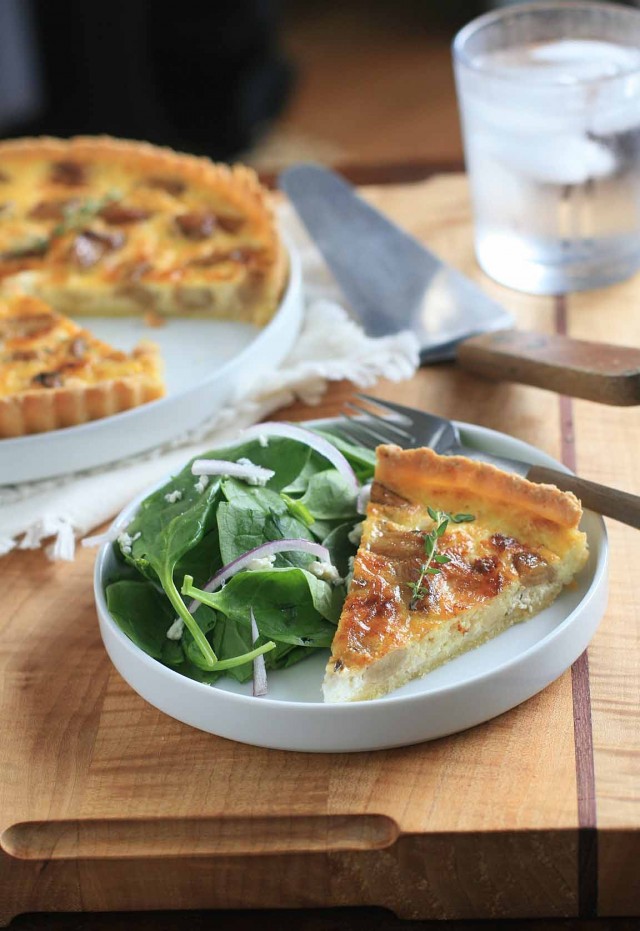
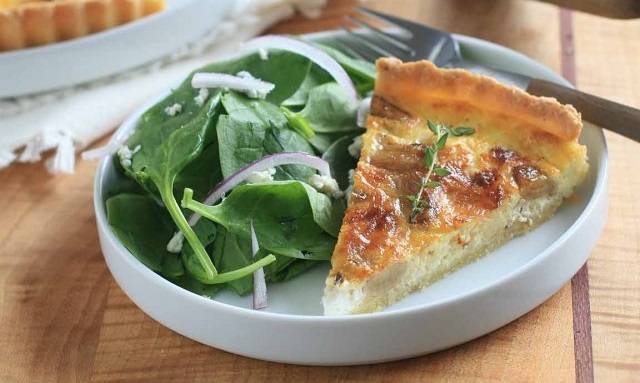
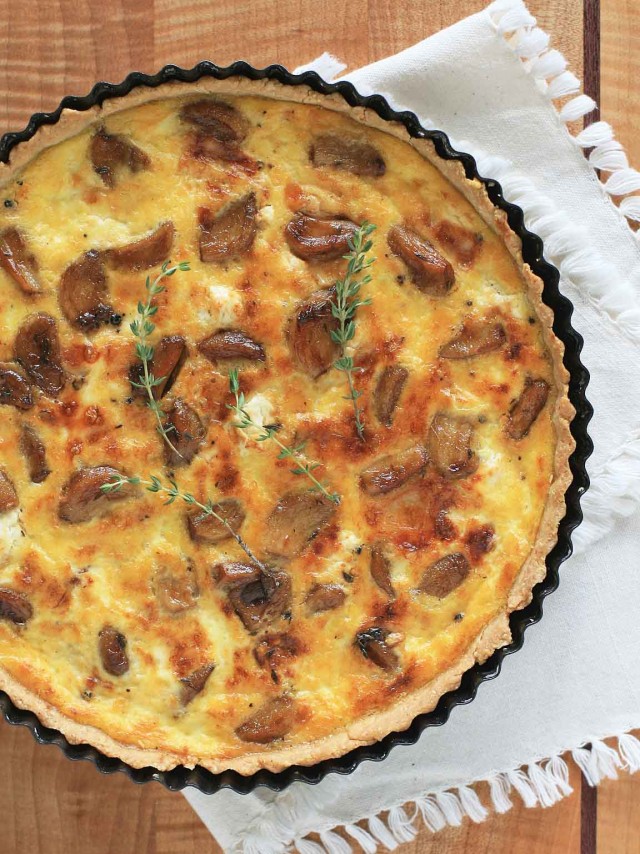
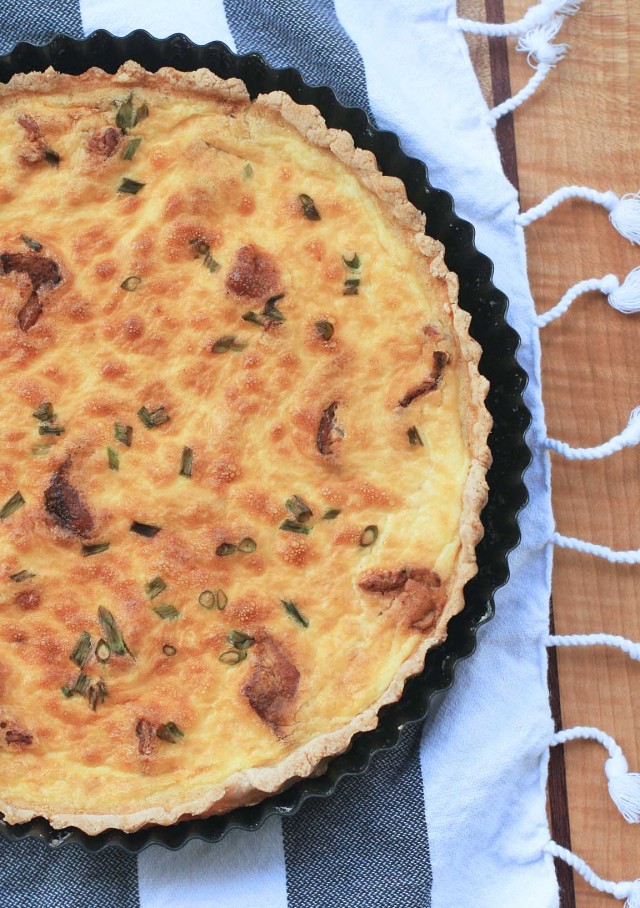
From this point forward, this quiche will be the benchmark against which all others will be judged.   But I should have known that magic would ensue when you combine forty cloves of sweet, caramelized garlic and tangy goat cheese and then surround it with rich and creamy quiche custard.

The quiche is adapted from London chef Yotam Ottolenghi’s Caramelized Garlic Tart, which is included in his first cookbook,  Plenty (and by next week I should have his follow-up cookbook, Jerusalem, in my hot little hands).

I figured this would be a good recipe to try, considering that the headnote mentioned that the recipe-tester proclaimed it the “most delicious recipe in the world!”

Yeah, it’s really that good.

Because the original recipe used puff pastry as the crust, I used my tried and true quiche crust instead.  And since the crème fraîche I had in the fridge wasn’t really all that “fraîche”, I decided to use my go-to quiche custard from Julia Child that uses eggs and heavy cream.

And there’s no need to worry about the garlic being overly potent.  Just like in those 40 cloves of chicken recipes, the garlic mellows out considerably after being blanched and caramelized.  Of course, you still need to be a garlic fan, since each serving will have about a half dozen cloves.   If any of you are having any holiday brunches and still need a couple extra dishes, I’d highly highly recommend this one…

40 Cloves of Garlic Quiche

Yield: 6-8 servings

Ingredients:

Crust:
1/3 cup millet flour
1/3 cup superfine rice flour
2 Tablespoons sweet rice flour
2 Tablespoons tapioca starch
1/2 teaspoon sugar
1/2 teaspoon xanthan gum
1/4 teaspoon salt
6 Tablespoons cold butter, cut into at least 6 small pieces
1 large egg
2 teaspoons lemon juice
1/3 cup potato starch

Filling:
40 cloves of garlic, peeled
1 Tablespoon olive oil
1 cup water
2-1/4 teaspoons sugar
1 teaspoon chopped fresh thyme
1/4 teaspoon salt
4 ounces soft goat cheese (chevre), crumbled
1 teaspoon Balsamic vinegar (Balsamic vinegar reviews)
4 ounces hard goat cheese, such as goat cheddar, shredded (you can also substitute cow’s milk cheeses)
2 eggs
1 cup heavy cream
1/2 teaspoon salt
black pepper

Directions:

Preheat oven to 375 degrees and spray a 9 or 10-inch tart pan with cooking spray and dust generously with rice flour.

In a large bowl combine the millet flour, rice flour, potato starch, sweet rice flour, tapioca starch, sugar, xanthan gum and salt. Add the butter and use a pastry cutter to cut the butter in. Add the egg and lemon juice and mix until the mixture comes together in a ball. Use the heel of your hand to quickly knead the dough to ensure even blending. Do not overwork the dough; you do not want to melt the butter.

Place the dough on a large piece of waxed paper. Cover with another sheet and roll out the dough to the appropriate size. If the dough feels tacky, you can refrigerate it for 10-15 minutes. Gently peel off the top layer of wax paper and invert the dough into the tart pan. Remove the other sheet of waxed paper and press into the pan.

Partially bake the crust for ten minutes. Remove from oven and place on a wire rack to cool. Reduce oven temperature to 325 degrees.

Caramelized garlic

While the crust is baking, make the caramelized garlic. Place the garlic cloves in a small saucepan, cover with water, and bring to a simmer. Blanch for about 3 minutes and then drain well. Dry the saucepan and place over high heat. Add the garlic and give it a stir or two to make sure the cloves are dry.

Incorporate the olive oil and cook, stirring constantly, for two minutes. Now, include the balsamic vinegar and water and bring to a boil, then reduce heat and simmer for 10 minutes. Add the sugar, thyme and 1/4 teaspoon salt and continue to simmer until the liquid has mostly evaporated, leaving the cloves coated in syrup. Set aside.

Final Touches for Garlic Quiche

Scatter both cheeses into the pre-baked crust. Spoon the garlic and syrup over the cheese. In a medium bowl combine the eggs, heavy cream, 1/2 teaspoon salt and some black pepper. Pour mixture over the garlic and cheese, taking care to fill in the gaps between the cloves of garlic. Make sure you leave some of the garlic visible; you may need to use slightly less filling than the amount prepared.

Bake the quiche for approximately 45 minutes, or until the filling has set and the top is golden. Remove from oven and let cool. Garnish with a couple sprigs of thyme, if desired, and serve at room temperature or chilled.

Tarte au Citron- Lemon Tart

0

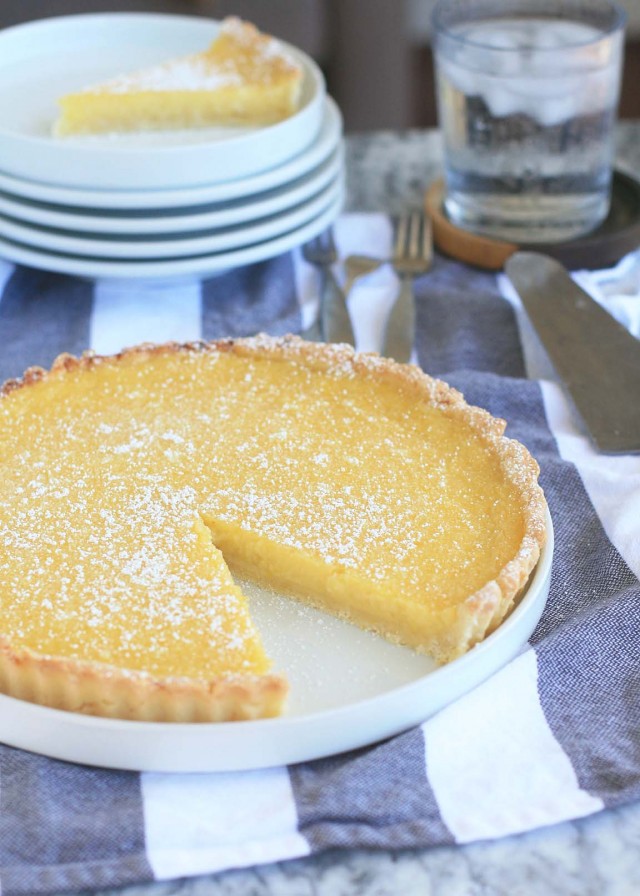
Although I’d like to consider myself a relatively good cook and baker, I’m pretty sure that I’d flunk Decorative Arts and Design if I ever went to pastry school.   Every time I’m inspired to do something out of my comfort zone (royal icing, fondant, cake pops), the result looks more like it was created by an elementary school-aged child than it does a Bakerella piece of edible art.
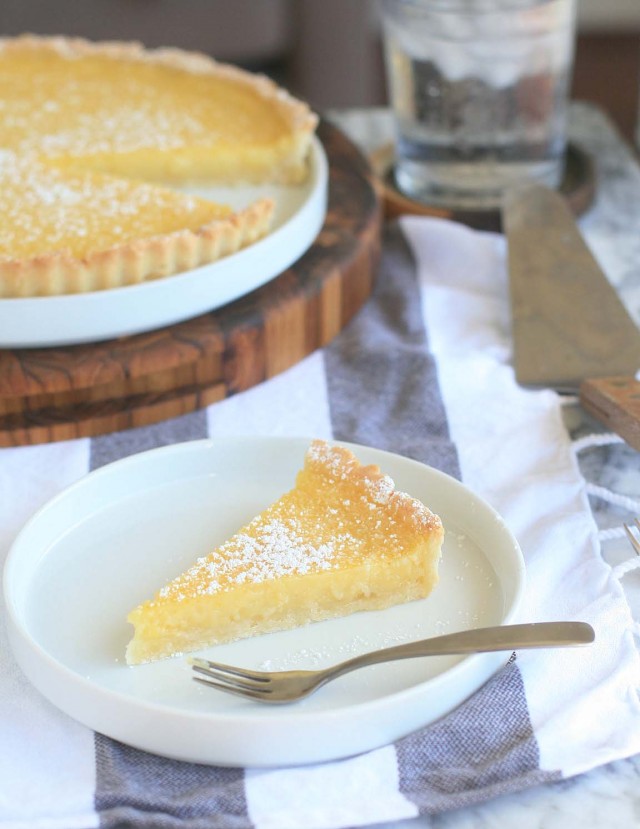
And that’s precisely why I love making tarts.  Even a crust that was clumsily pressed into the pan by unsure hand ends up with pretty, crimped edges (and a dusting of powdered sugar on top can also hide a multitude of imperfections).

I didn’t do much tart making prior to going gluten-free, but I have a hard time believing that tart shells made with wheat flour could match this crust.  It’s like a crunchy, barely sweet cookie.

And there’s no chance of your tart getting the soggy bottom blues… gluten-free pie and tart shells have excellent staying power.

And then there’s the filling: a sweet, tart, pucker-inducing lemon filling.  It’s not quite as buttery/jiggly as some of the other tarte au citrons that you’ll find out there.  This one is  closer to a firmer set lemon curd.  In other words, lemon perfection.

Tarte au Citron- Lemon Tart

The filling on this lemon tart is somewhat softly set. If you’d like a sturdier filling, feel free to add a Tablespoon or two of rice flour.

Yield: 6-8 servings

Total Time: 1 hour 30 minutes

Ingredients:

Crust:

1/3 cup rice flour, plus extra for dusting pan
One third cup potato starch
1/3 cup tapioca starch
1/4 cup sweet rice flour (also called glutinous rice flour, one brand name is Mochiko)
1 Tablespoon sugar
1/2 teaspoon xanthan gum
1/4 teaspoon salt
6 Tablespoons cold butter, cut into small pieces
1 egg
2 teaspoons vanilla extract

Lemon Filling:
2 large or extra large eggs
2 large or extra large egg yolks
2/3 cup sugar
grated zest of 2 lemons
2/3 cup lemon juice
1/2 cup creme fraiche or sour cream
confectioner’s/powdered sugar

Directions:

Preheat oven to 350 degrees and spray a 9-inch tart pan with cooking spray and dust with rice flour. Set aside.

In a large bowl combine the rice flour, potato starch, tapioca starch, sweet rice flour, sugar, xanthan gum and salt. Add the butter and use a pastry cutter to cut the butter in. Add the egg and vanilla extract and mix until the mixture comes together in a ball. Use the heel of your hand to quickly knead the dough to ensure even blending. Do not overwork the dough; you do not want to melt the butter.

Place the dough on a large piece of waxed paper. Cover with another sheet and roll out the dough to the appropriate size. If the dough feels tacky, you can refrigerate it for 10-15 minutes. Gently peel off the top layer of wax paper and invert the dough into the tart pan. Remove the other sheet of waxed paper and press into the pan.

Partially bake the tart shell for ten minutes. Remove from oven shell cool slightly.

In a large bowl combine the eggs, yolks, and sugar. Add the lemon zest and juice and stir to mix. Whisk in the creme fraiche or sour cream until smooth and completely incorporated. Pour the mixture into the prebaked tart shell.

Bake for 15-20 minutes or until just set. Remove from oven and let cool on a wire rack. Dust with the confectioner’s sugar and serve.

Julia Child’s Quiche Lorraine, Gluten-Free

0

I’ve noticed over the past year and a half that I tend to shy away from trying and posting recipes from the revered masters, which means you won’t find many of Diana Kennedy, Marcella Hazan or Julia Child’s recipes on Girl Cooks World.
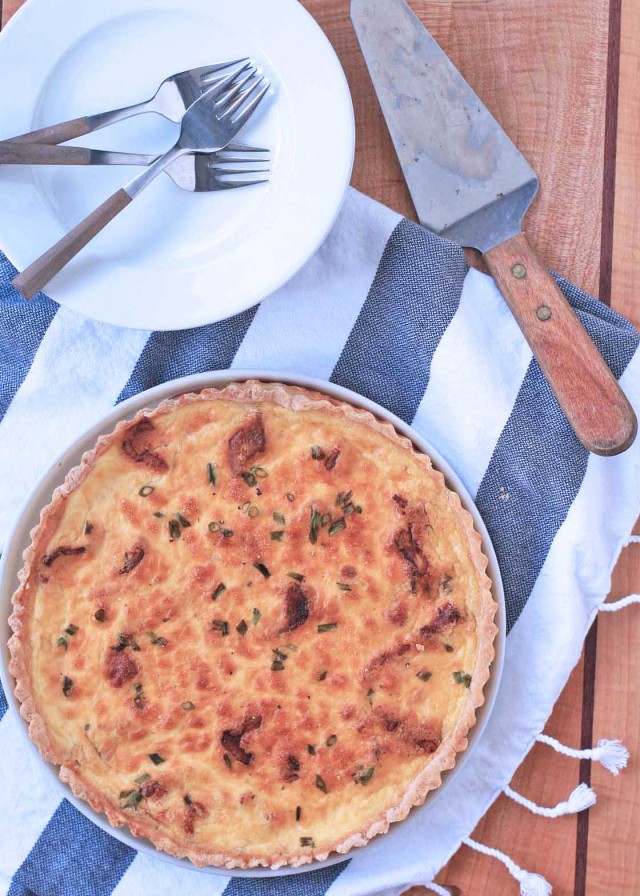
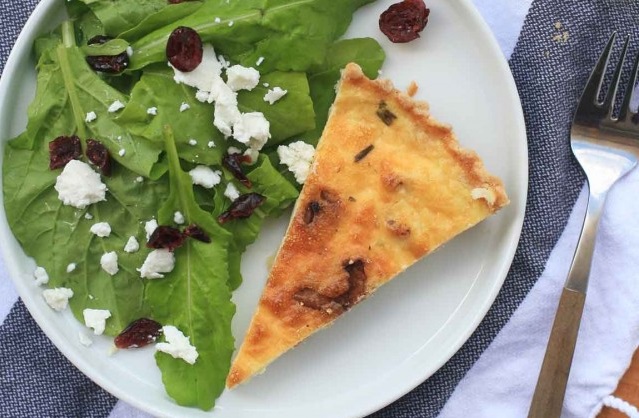
Partially because most of their recipes have been blogged to death already and partially because I’m drawn to modern cooks who put a fresh spin on the classics.  But for every rule there’s at least one exception or two.  And the exception for France is this quiche, Julia Child’s Quiche Lorraine.

My first taste of a Julia Child quiche?  At a Mother’s Day brunch that my sister hosted.  She’d made at least six quiches as a part of a much much larger spread.  Oh, and did I mention that this was the day after her wedding?!?  Yes, totally impressive.
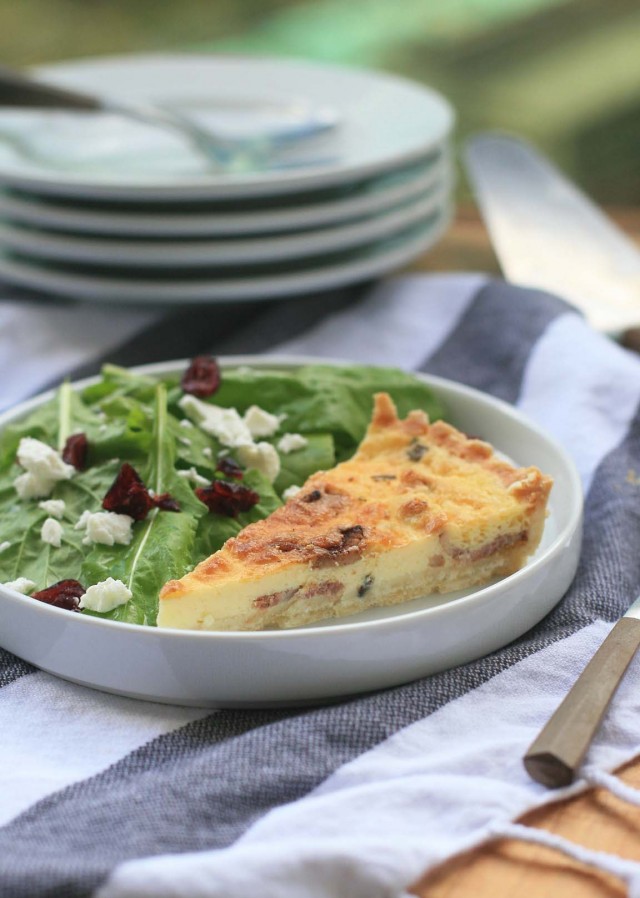
I can’t remember what else was served that May morning, but I do remember wanting to take an entire quiche and put it aside so I could eat the whole thing myself after everybody left.  The only thing that stopped me?  I couldn’t decide between the lobster quiche and the sausage quiche.
So this is a recipe that even I refuse to tweak or modernize.  Of course these days the crust has to be gluten-free, but I never stray from Julia’s original filling, which is extremely simple and completely unapologetic in its use of heavy cream.  Heavy cream, eggs, bacon, salt and pepper.   Done.  Unless you want to get really wild and sprinkle on some fresh herbs.
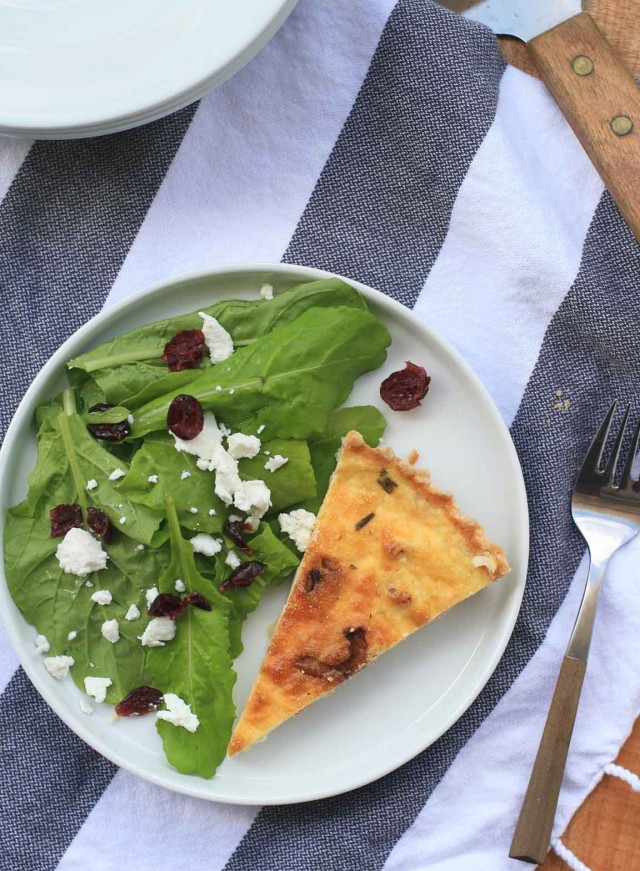
Around here one innocent quiche always inspires  a sort of quiche-making frenzy, in which excessive amounts of butter and heavy cream are used.  And so it goes for several weeks until I reach a  breaking point:  it’s either new clothes (or elastic waistbands!) or cut back on the quiche.  So far I’ve always chosen the latter, but it’s never an easy decision.

Julia Child’s Quiche Lorraine, Gluten-Free
Yield: 4-6 servings

Prep Time: 15 minutes

Cook Time: 50 minutes

Total Time: 1 hour 15 minutes

Ingredients:

Crust:
* 1/3 cup millet flour
* 1/3 cup superfine rice flour
* 1/3 cup potato starch
* 2 Tablespoons sweet rice flour
* 2 Tablespoons tapioca starch
* 1/2 teaspoon sugar
* 1/2 teaspoon xanthan gum
* 1/4 teaspoon salt
* 6 Tablespoons cold butter, cut into at least 6 small pieces
* 1 large egg
* 2 teaspoons lemon juice

Filling:
* 4 ounces bacon
* 3 eggs
* 1-1/2 cups heavy cream (can also use half heavy cream and half whole milk)
* 1/2 teaspoon salt
* black pepper
* finely sliced green onion (optional)

Directions:

Preheat oven to 375 degrees and spray a 9 or 10-inch tart pan with cooking spray and dust generously with rice flour.

In a large bowl combine the millet flour, rice flour, potato starch, sweet rice flour, tapioca starch, sugar, xanthan gum and salt. Add the butter and use a pastry cutter to cut the butter in. Add the egg and lemon juice and mix until the mixture comes together in a ball. Use the heel of your hand to quickly knead the dough to ensure even blending. Do not overwork the dough; you do not want to melt the butter.

Place the dough on a large piece of waxed paper. Cover with another sheet and roll out the dough to the appropriate size. If the dough feels tacky, you can refrigerate it for 10-15 minutes. Gently peel off the top layer of wax paper and invert the dough into the tart pan. Remove the other sheet of waxed paper and press into the pan.

Partially bake the crust for ten minutes.

In a large skillet fry the bacon until nearly crisp. Drain on a plate lined with paper towels and reserve the bacon grease for another use.

In a medium bowl beat the eggs, cream and salt. Pour into the partially baked crust and crumble the cooked bacon into the filling. Sprinkle with black pepper and some green onion, if using.

Set in the upper third of the oven and bake for approximately 25 minutes, or until the quiche has puffed and browned. Remove from oven. Serve warm or at room temperature.

Gluten-Free Chocolate Crêpes

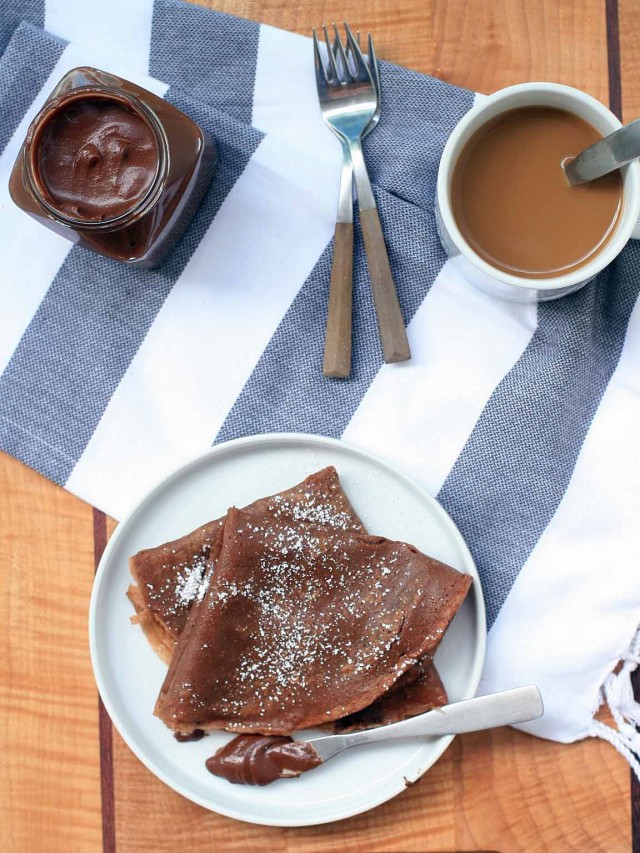
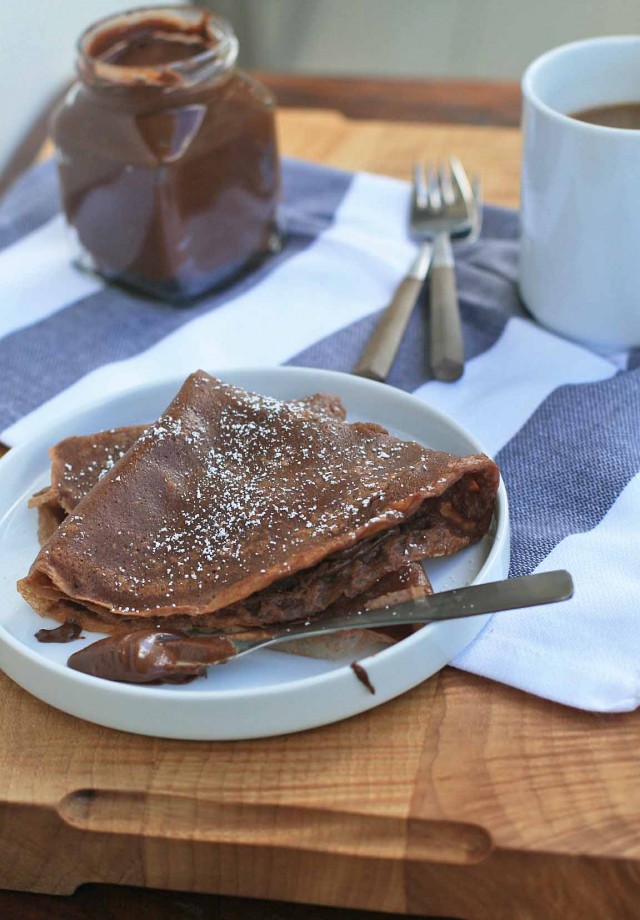
A couple months ago, when I was working my way through a Sam’s Club 3-pack of Nutella, I became obsessed with the idea of chocolate crêpes filled with Nutella and topped with roasted hazelnuts.  I tried my hand at a couple chocolate crêpe recipes without much success.    There’s only so many crêpes a girl can eat without getting discouraged and/or needing to graduate to elastic waistbands and so my recipe development plans were put on hold.
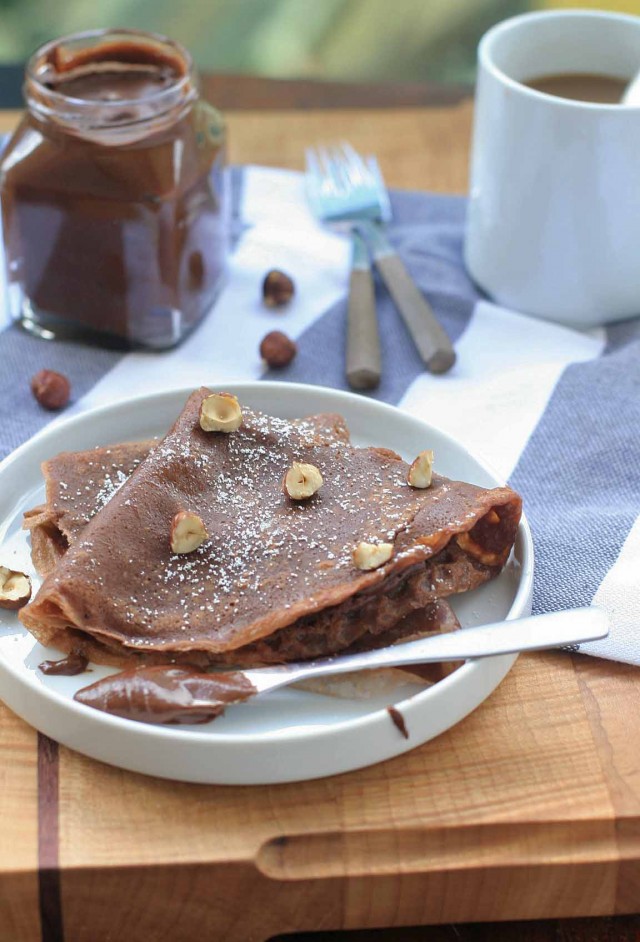
But after making some homemade Nutella a couple weeks back, I decided to give it another shot.

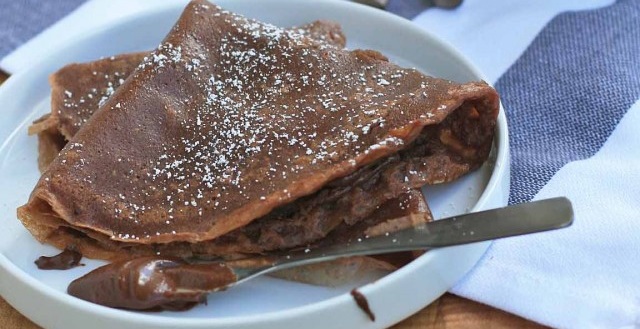
This time I used my very favorite buttermilk crêpes as my starting point.  Finally, success.   A crêpe with the undeniable, unmistakeable taste of chocolate that was still pliable and didn’t have the texture of an old corn tortilla.

These taste great alone or with just a little sprinkle of powdered sugar.  If you’re in the mood for a decadent breakfast perhaps you’d like to try my favorite Parisian crêperie filling: Nutella and slices of fresh banana.  I mean the fruit totally makes it healthy and appropriate for breakfast, right?

Gluten-Free Chocolate Crêpes
I resisted the urge to make these super sweet because I had a feeling that I’d usually be serving them with a sweet filling. If you’d like your crêpes to be very sweet, up the sugar to 1-1/2 or 2 Tablespoons.

Prep Time: 5 minutes

Cook Time: 10 minutes

Total Time: 15 minutes

Ingredients:

* 2 large eggs
* 1 Tablespoon sugar
* 3/4 teaspoon salt
* 1 cup milk
* 2 Tablespoons melted butter, plus extra butter for cooking
* 1/2 cup rice flour
* 1/4 cup cocoa powder
* 1/4 cup potato starch
* powdered sugar or whipped cream (optional)

Directions:

In a large bowl, beat the eggs and sugar together. Add the salt, milk and melted butter and whisk together. Add the rice flour, cocoa powder, and potato starch and whisk together until smooth.

Heat a pat of butter in a small to medium sized frying pan over medium high heat. Add about 1/4 cup of batter and swirl the pan to distribute the batter evenly. Cook until golden. Flip and cook other side until golden. Repeat with the remaining batter, adding additional butter when necessary.

Fill as desired and top with powdered sugar or whipped cream, if using.

Roasted Carrot and Quinoa Salad

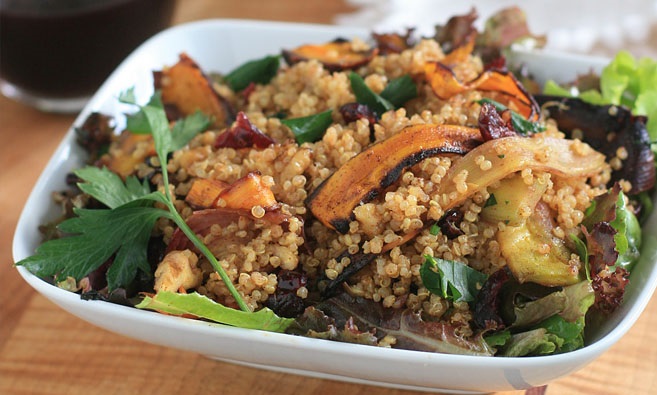
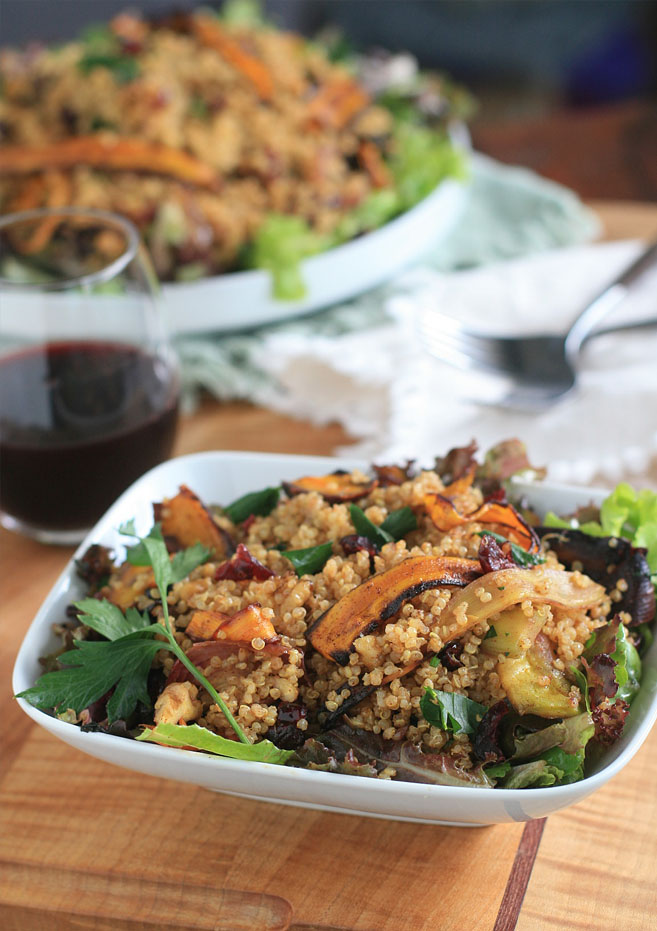
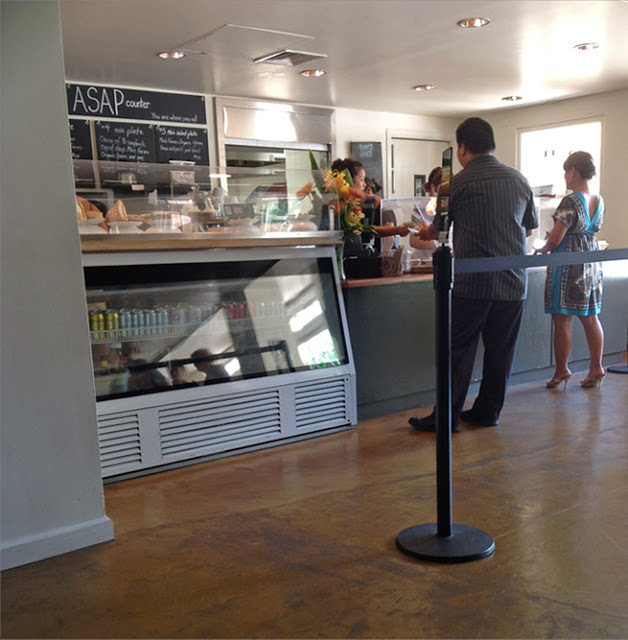
A couple weeks ago my favorite restaurant in Honolulu, Downtown @HiSAM, shut down.  Located inside the Hawaii State Art Museum (in the downtown area, as you might guess), it was a perfect place to meet up with friends for a leisurely lunch or, during more frantic days, grab something from their to-go counter or a delicious quinoa salad with roasted carrots.

Sure, I haven’t been able to partake in their panini or quiche plates for the past couple years, but I certainly haven’t been suffering.  Their antipasti mix salad plate pretty much represented my ideal diet: lots of vegetables, some whole grains, and the occasional touch of meat, fish or dairy.

The antipasti were simple, but they invariably combined ingredients I would never have thought to pair or used some sort of unusual preparation technique.  I’d like to think that I’m a pretty good cook, but I certainly don’t have the came culinary creativity of the folks who were running the show at Downtown.

I can, however, spot a good recipe when I see it.  And when I was looking through the October Food and Wine, I spotted a recipe for a dish that could have easily been served at Downtown.

The recipe in question?  A hearty quinoa salad with roasted carrots and onions infused with a punchy blend of spices like paprika, cumin, coriander, cinnamon and cardamom.  It’s served over a bed of dressed greens and tossed with dried cranberries and toasted walnuts for sweetness, color and crunch.

Don’t be scared off by the long list of ingredients.  The preparation takes some time because there are several components to the dish, but it certainly isn’t difficult, especially if you’ve got a rice cooker.  If you’re looking to cut corners, I’d make double or triple of the spice mixture so that you’ll breeze right over those ingredients and steps next time you make it.

I can definitely foresee this being my new go-to potluck item for the holiday season.

Roasted Carrot and Quinoa Salad

Yield: 6-8 servings

Ingredients:

Spice Mix:
2 teaspoons sweet paprika
1 teaspoon ground turmeric, cumin, ginger, coriander and cinnamon
1/2 teaspoon cayenne pepper
1/4 teaspoon ground cardamom
1 teaspoon salt
1 teaspoon black pepper

Salad:
4 large carrots, thinly sliced lengthwise
1 small red onion, thinly sliced
4 cloves garlic, peeled and finely chopped
7 tablespoons olive oil, divided
1 cup quinoa (you’ll want to rinse the quinoa in a fine mesh strainer if the brand of quinoa you buy is not pre-rinsed)
1-3/4 cups water
2 tablespoons fresh lemon juice
5 ounces mixed salad greens
salt and pepper
zest from 1/2 lemon
1 teaspoon Dijon mustard
1/2 cup dried cranberries
1/2 cup roughly chopped walnuts, toasted until fragrant and lightly browned
3 Tablespoons chopped flat-leaf parsley

Directions:

Preheat the oven to 400 degrees and line a rimmed baking sheet with parchment paper.

In a small bowl, combine the paprika, turmeric, cumin, ginger, coriander, cinnamon, cayenne, cardamom, salt and black pepper. Stir well to mix.

In a medium bowl, toss the carrots, onion and garlic with 2 tablespoons of the olive oil. Add 1 Tablespoon of the prepared spice mixture and toss to coat. Spread the vegetables on the prepared baking sheet and roast for 20 to 25 minutes, tossing once or twice, until the carrots are tender and the garlic and onion is fragrant.

While the vegetables are roasting, prepare the quinoa. Either combine the quinoa, 2 teaspoons of the spice mixture and the water in a rice cooker or use a medium saucepan to cook on the stovetop. If you’re going with the latter route, combine the quinoa, 2 teaspoons of the spice mixture and the water in a medium saucepan and bring to a boil. Cover, reduce heat, and simmer until the water is absorbed, about 17-19 minutes. Remove from heat, let sit for five minutes. Uncover and fluff the quinoa with a fork and let it cool slightly.

In a large bowl, whisk together 2 Tablespoons of the olive oil with 1 Tablespoon of the lemon juice. Season with salt and black pepper. Add the salad greens and toss to coat. Spread on a large platter.

Using the same large bowl, whisk the remaining 3 Tablespoons of olive oil with the lemon zest, the remaining 1 Tablespoon of lemon juice, mustard and 1 teaspoon of the spice mix. Add the quinoa, walnuts, cranberries, parsley and roasted vegetables and toss well. Spoon the quinoa mixture onto the bed of greens and serve.

Want more recipes with healthy quinoa? Click here.

Gluten-Free Carrot Cake with Sour Cream Frosting

0

This carrot cake came this close to not getting posted.  But certainly not because it didn’t taste good.  I’ve been making, and thoroughly enjoying, versions of this cake for years.  I like to bring it on longer ridge hikes and enjoy a piece at the top of the Koolau summit.  Studded with walnuts, coconut and raisins, the carrot cake is always a nice reward for hours of hard work, but not so decadent that you feel like you’re negating all of your efforts calorie-wise.

So what was the problem?  My oven is still broken and I had to use a counter-top toaster oven to bake it.  The temperature fluctuations caused the cake to fall big time.  It wasn’t pretty.

Any other week and the cake would have been deemed unsuitable for company and I certainly wouldn’t have blogged about it.  But I had just read Melissa Clark’s excellent piece, No Apologies Necessary When A Dish Goes Awry, and was feeling like the whole thing could be salvaged.  Time to break free from the Cult of Foodie Perfectionism, as she calls it.

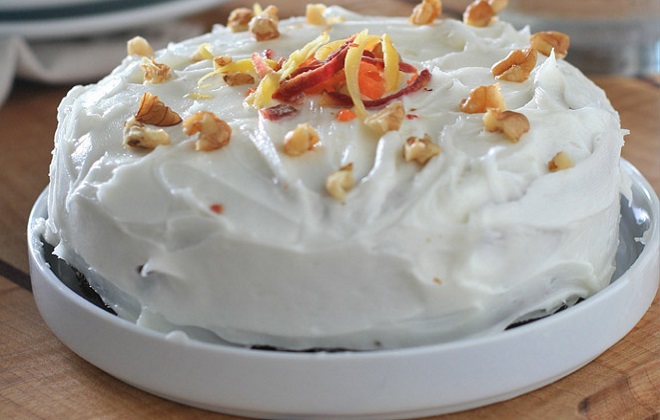
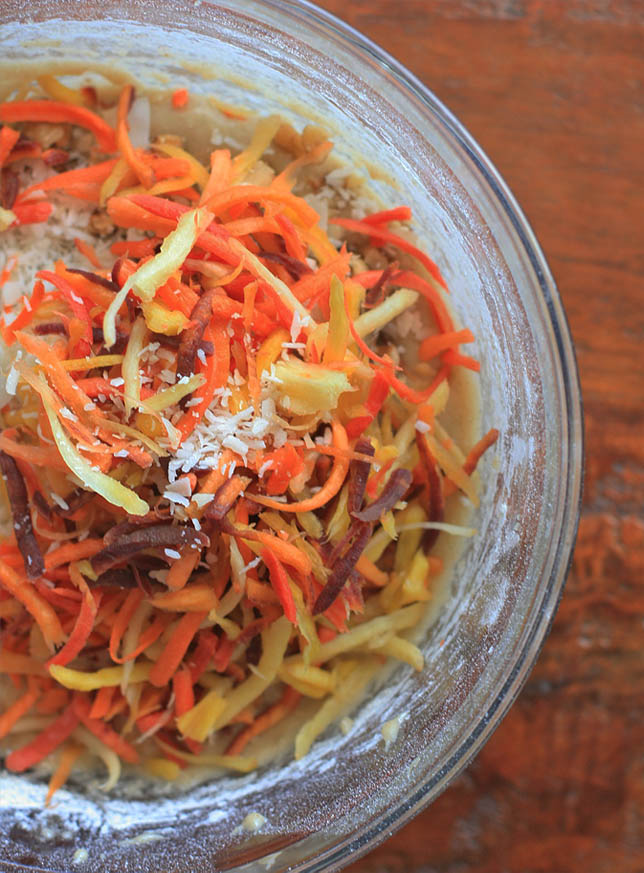
Although I normally eat this particular cake plain, I smeared on a heavy layer of sour cream frosting to even out the top and gussied it up with a couple chopped walnuts and some shavings from some of the multi-colored heirloom carrots.  I couldn’t quite catch myself from offering a quick apology for the less than brilliant appearance, but I shouldn’t have bothered: everybody loved it.

Gluten-Free Carrot Cake with Sour Cream Frosting

Ingredients:

Carrot Cake:
3/4 cup superfine rice flour
1/2 cup sorghum flour
1/4 cup potato starch
3/4 teaspoon xanthan gum
1-1/2 teaspoons baking powder
1 teaspoon baking soda
1/2 teaspoon salt
1 teaspoon cinnamon
1/4 teaspoon nutmeg
1/4 teaspoon ground ginger
1 cup sugar
3/4 cup coconut oil (can also use vegetable oil)
2 eggs
1 teaspoon vanilla extract
1 cup grated carrots
1/2 cup chopped walnuts
1/2 cup unsweetened, dried, shredded coconut
1/3 cup raisins (I used a mix of golden raisins and regular raisins… dried cranberries would also work)

Sour Cream Frosting:
2 Tablespoons butter, softened but not melted
1/4 cup sour cream
One fourth teaspoon vanilla extract
1/4 teaspoon lemon juice
pinch salt
1-1/2+ cups powdered sugar

Directions:

Preheat oven to 350 degrees and lightly spray a 9-inch round layer cake pan with cooking spray.

In a medium bowl combine the rice flour, sorghum flour, potato starch, xanthan gum, baking powder, baking soda, salt, cinnamon, nutmeg, and ginger and whisk to combine.

In a large bowl beat the sugar, coconut oil, and eggs and mix until smooth. Add the vanilla and mix well. Next, add the dry ingredient and stir to combine. Finally, add the carrots, walnuts, coconut and raisins.

Bake for approximately 40 minutes or until a toothpick inserted into the center of the cake comes out clean. Remove from oven, let cool and then frost with sour cream frosting, if desired.

To make the frosting, combine the butter, sour cream, vanilla extract, lemon juice and salt in a medium bowl. Stir to combine. Add the powdered sugar and beat, using an electric mixer, until smooth. If you’d like a stiffer frosting, add additional powdered sugar in small increments until you achieve your desired consistency.

Sweet Potato Salad with Black Beans and Corn

Every once in awhile when I’m having one of those days at work, I daydream about opening my own gluten-free cafe.  And if I were ever to take the plunge, I’d model it after the super cute coffee shop/cafe that I worked at during my high school summer vacations.

The place was always swarming with tourists, who gravitated to the coffee drinks, baked goods, and sandwiches.  But in-the-know locals would come in route to picnics on the beach and clean out our deli case, which was always stocked with goodies like stuffed peppers, quinoa salad and potato salads.

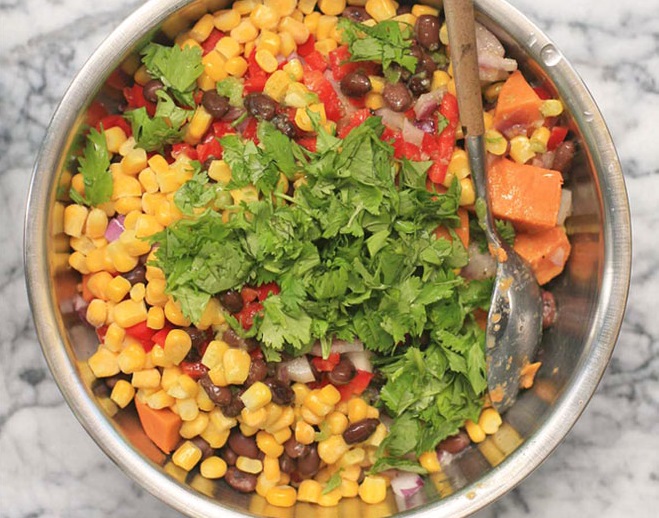
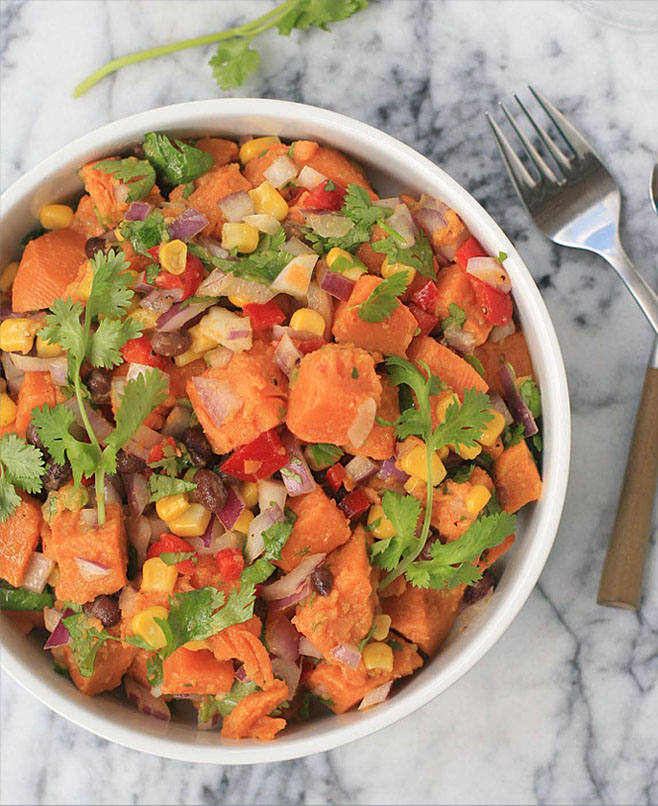
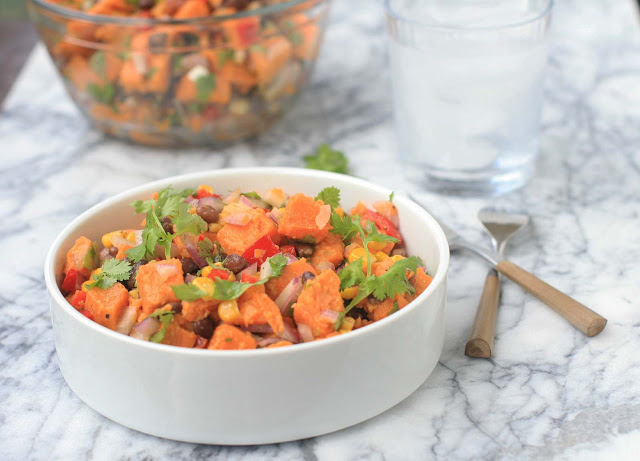
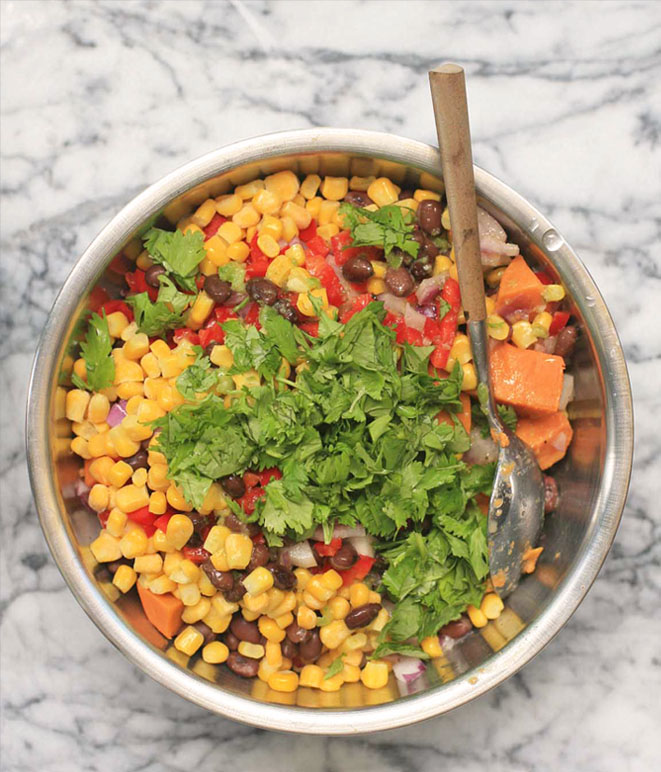
My clear favorite was the sweet potato salad, so colorful with its corn, black beans and cilantro.  In my attempts to recreate it, I stumbled across a recipe for Mark Bittman’s Roasted Sweet Potato Salad, which proved to be a perfect starting point.

I adapted the recipe a bit to add corn and cumin (I tried it the original way as well but felt they both, the cumin especially, really add something special) to bring it a little closer to the version I already knew and loved.

Unfortunately I had to make another minor adjustment as well.  Since my oven recently bit the dust, I had to boil the sweet potatoes and leave the red onion raw, although I still wrote the recipe below to specify that the sweet potatoes should be roasted as I have no doubt it takes it to the next level of deliciousness.

But if you’re stuck in one of those efficiency kitchens with just a fridge and a hotplate, don’t feel like you have to miss out on the fun.  It’s still a total winner even with basic boiled sweet potatoes.

Roasted Sweet Potato Salad with Black Beans and Corn

Yield: 6-8 servings

Total Time: 45 minutes

Ingredients:

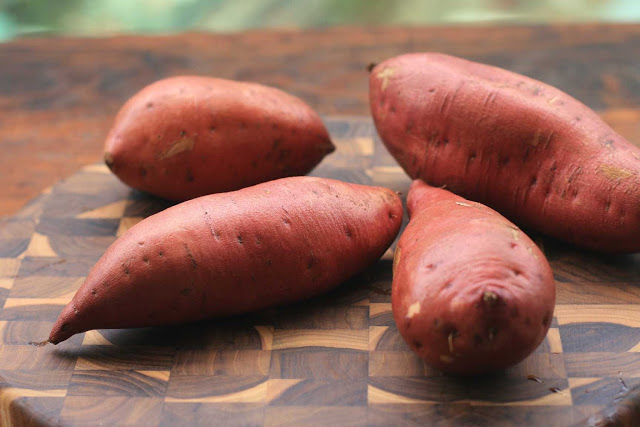
4 medium sweet potatoes or yams, peeled and cut into 3/4-inch chunks
1 large red onion, chopped
1/2 cup olive oil, divided
pepper
1 to 2 jalapeño chili peppers, seeded and diced
1 clove garlic, peeled

 salt
1/4 cup lime juice
1/2 teaspoon ground cumin powder
1-1/2 cups cooked black beans, drained (approximately 1 can, drained)
1-1/2 cups frozen corn, slightly thawed
1 red bell pepper, seeded and finely diced
1 cup chopped fresh cilantro

Directions:

Preheat oven to 400 degrees. Place sweet potatoes and onions on a large baking sheet and drizzle with 2 tablespoons of the olive oil. Toss to coat and spread out in a single layer. Sprinkle with salt and pepper. Roast, turning the potatoes once or twice, until they begin to brown and are tender, approximately 20-30 minutes. Remove from oven and let cool slightly.

Place the chili pepper, garlic, lime juice, and remaining olive oil in a blender or mini food processor and a sprinkle of salt and pepper. Process until blended.

Place the potatoes and onions in a large bowl. Add the beans, corn and bell pepper. Drizzle with the dressing and cilantro and toss to coat. Taste and adjust salt and pepper, if necessary. Serve warm or at room temperature. The salad can also be refrigerated for several days.

Note: if you chose to boil the potatoes, you can leave the red onion raw. In addition, instead of dividing the oil you can put the full 1/2 cup in the blender or food processor when making the dressing.