Home Blog Page 57

Golden Crispy Shallots and Shallot-Infused Oil

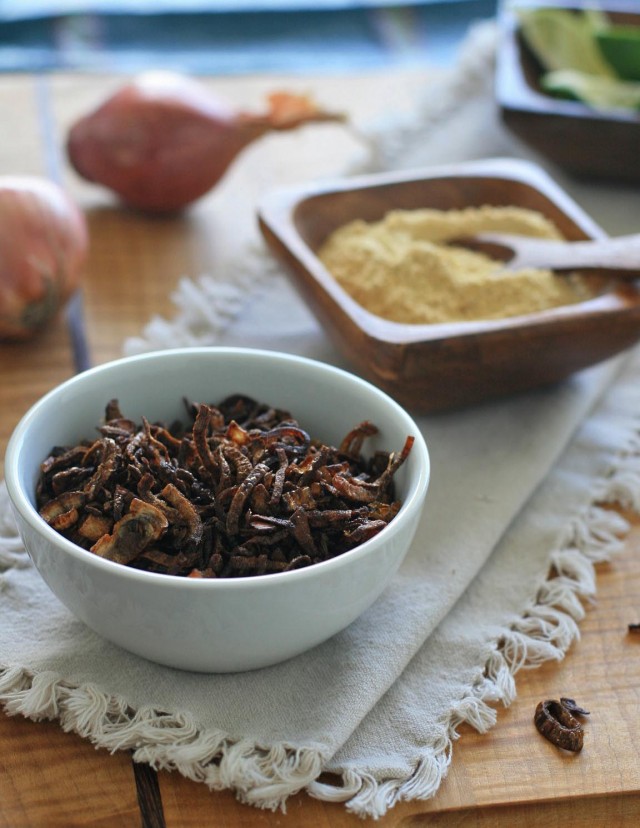
Before I move on to more Burmese entrees, salads and desserts, I thought it would be best to go back to the basics.  So over the next couple days I’ll be focusing on Burmese pantry staples that pop up in just about every savory Burmese recipe.

Would it have made most sense to start with these from the get-go?  Of course.  But I tend to get impatient and want to skip right ahead to the more exiting and complicated recipes.  It’s a little character flaw of mine.  And yes, I’m working on it.
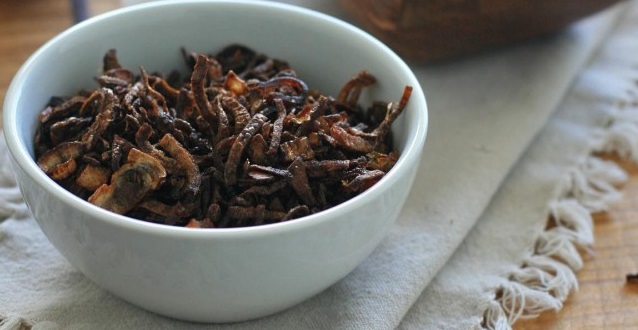
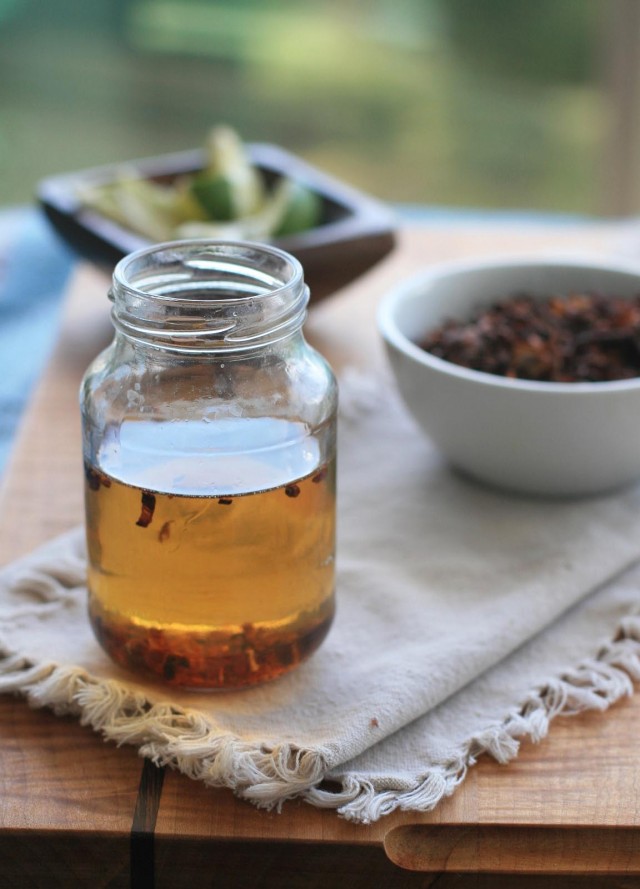
Because I’ve been making Indian Burnt Onions for years, it didn’t occur to me to look at the recipes for Crispy Shallots in the Burmese cookbooks I picked up.    Big mistake on my part.  Because with this recipe, in addition to crispy, sweet shallots, you’ll end up with plenty of shallot-infused oil for your favorite curries and stir-fries.  That’s what I call a win-win.

Feel free to adjust the recipe to make any quantity you’d like- just stick to the 2:1 shallot to oil ratio.  I found myself wishing I’d made a double or even a triple batch.  They’re like little pieces of umami heaven.

Golden Crispy Shallots and Shallot-Infused Oil

Prep Time: 5 minutes

Cook Time: 15 minutes

Ingredients:

* 2 cups thinly sliced shallots
* 1 cup peanut or another neutral oil

Directions:

Place one slice of shallot and the oil in a small, heavy-bottomed saucepan over medium-high heat. When the shallot rises to the surface and begins to sizzle, carefully add the remaining shallots. Continue to cook, stirring constantly with a long wooden spoon, until the shallots are golden brown. This should take about 10-15 minutes. If you find that the shallots are browning very quickly (within the first 5 minutes), turn down the heat to medium to slow down the process.

Use tongs, a slotted spoon, or a kitchen spider strainer to remove the shallots to a plate lined with paper towels. Let cool slightly. Use immediately or store in an airtight container in the fridge.

Strain all but the last bit of oil into a jar (the last bit of oil on the bottom of the saucepan will invariably have some shallots sediment).
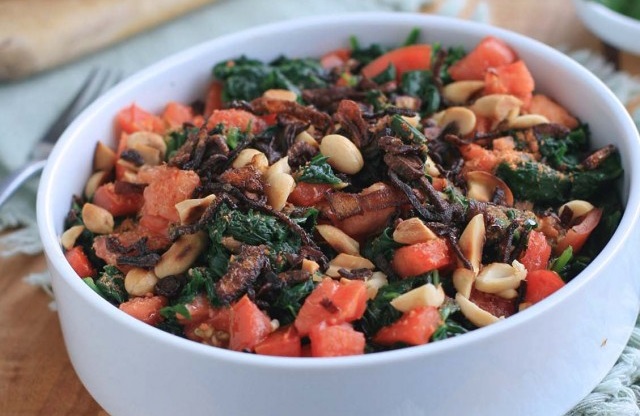
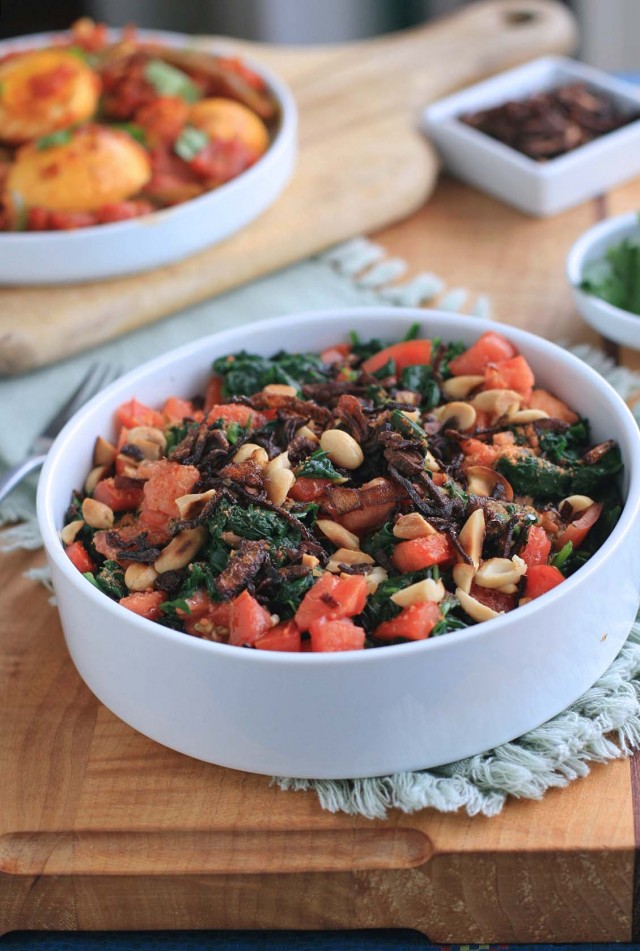
Burmese Wilted Spinach Salad with Tomatoes and Crispy Golden Shallots

0

Although I always enter grocery stores with a very specific list, I rarely leave without a couple of impulse purchases.  And those extra items usually fall into one of two categories: dark chocolate or super clearance items.  Bargain shopping is in my blood.
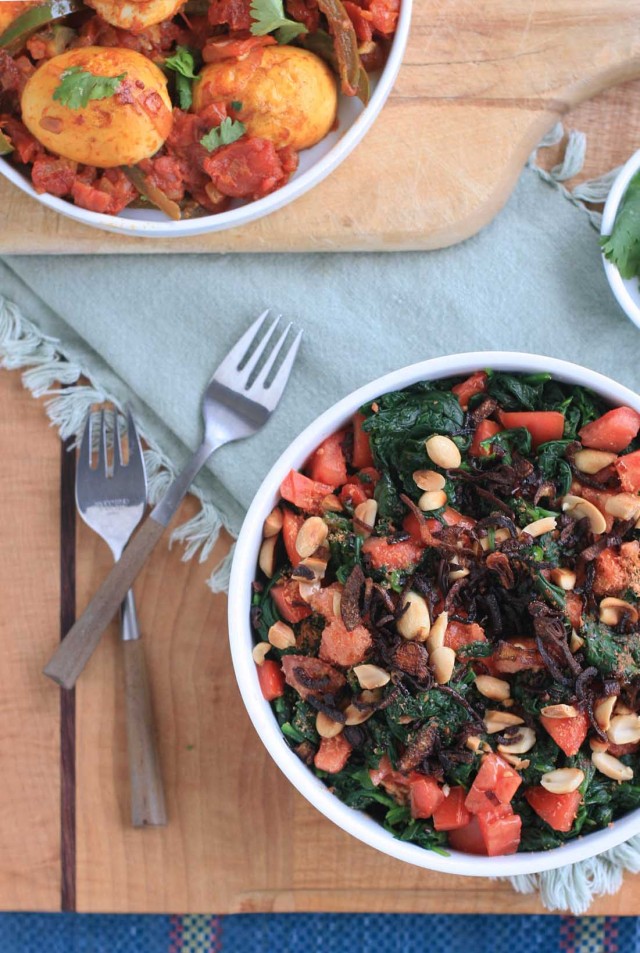
And my inability to walk away from a great deal is exactly why I left Costco with a bed pillow-sized bag of spinach a week or so ago.  Two dollars for two pounds of spinach?  That’s not a deal you come across every day, especially in Hawaii.

Since fridge space is always an issue (and because I can only drink so many green smoothies), I decided to wilt the spinach down to a more manageable size and make this vibrant Burmese salad.
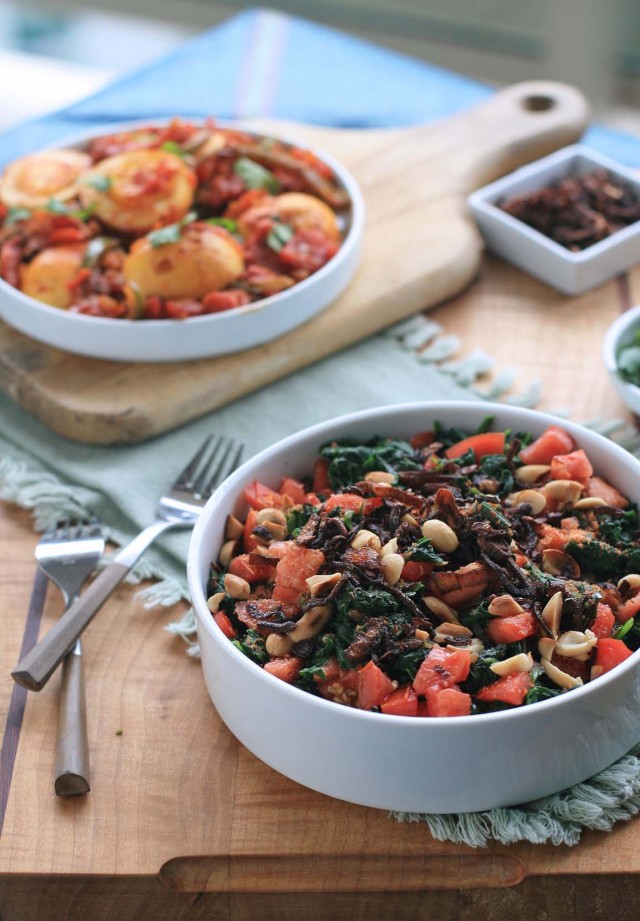
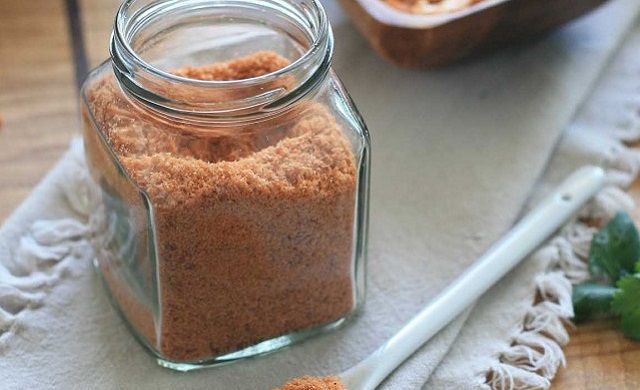
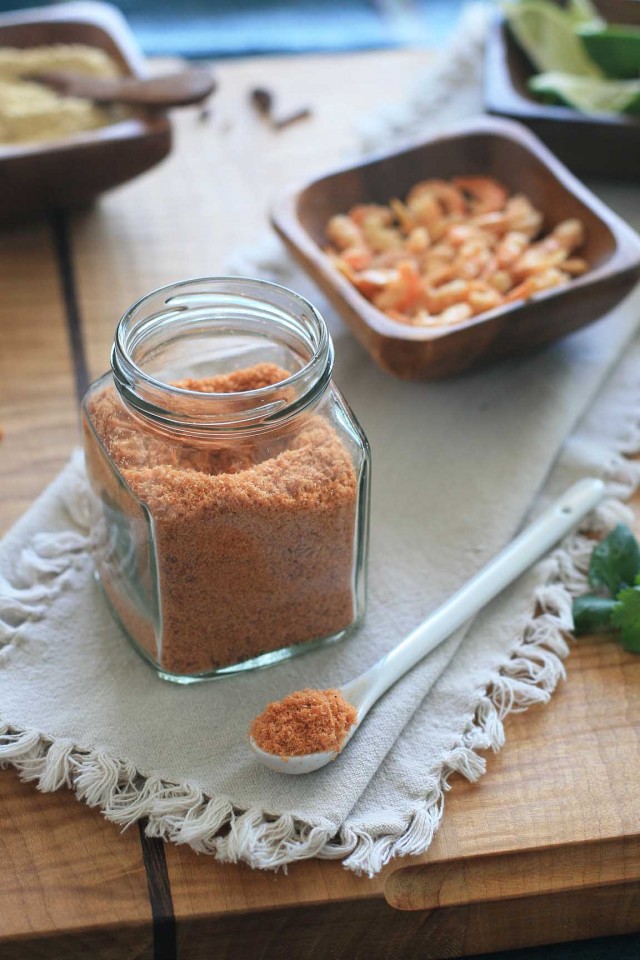
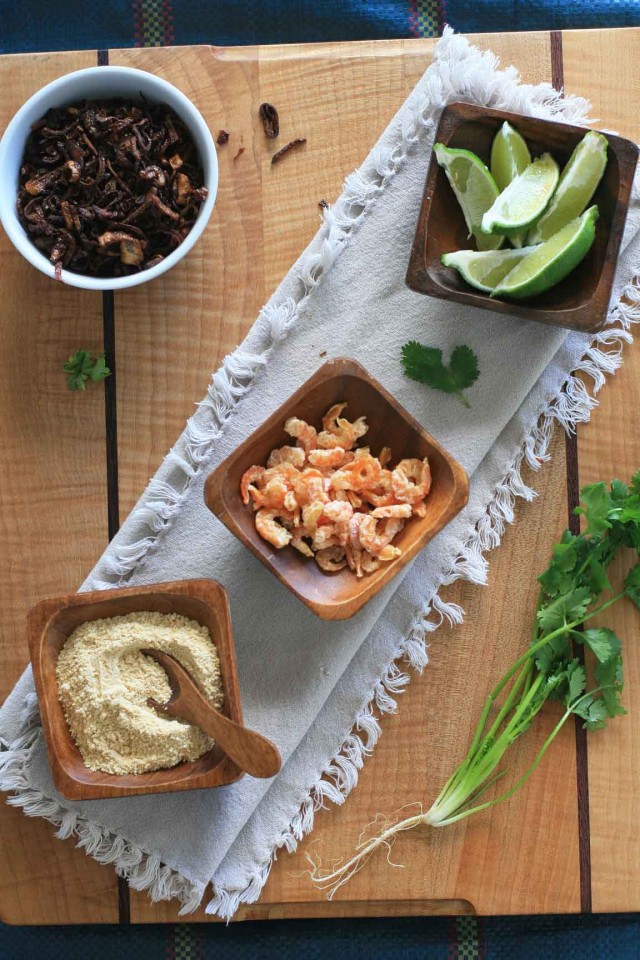
If you eschew salads because you think they’re boring, then this is the salad for you.  It’s colorful, healthy, and with plenty of pleasing crunch courtesy of the golden crispy shallots and toasted peanuts.  The dressing is a simple combination of shallot oil and fish sauce, but shrimp powder adds an extra depth of flavor and umami.  I’d happily trade in my usual goat cheese, tomato and spinach salad for this punchy and flavorful side.

Burmese Wilted Spinach Salad with Tomatoes and Crispy Golden Shallots

Yield: 3-4 servings

Ingredients:

* 1 pound spinach, washed and tough stems trimmed
* 1 large tomato, diced
* 1-1/2 teaspoons shrimp powder
* 1/4 cup dry toasted peanuts
* 2 Tablespoons golden crispy shallots
* 1 Tablespoon shallot oil
* 2 teaspoons fish sauce
* 1/2 teaspoon salt
* 1/4 teaspoon cayenne pepper

Directions:

Thoroughly wash the spinach. Place it in a very large skillet, cover and place over medium-high heat. Cook until the spinach begins to wilt and turns a vibrant green. If necessary you can wilt the spinach in two batches. Remove from heat and transfer the spinach to a colander. Let drain and, when cool enough to handle, press out any liquid. Roughly chop the drained spinach and place in a large, shallow bowl or on a platter.

Top with the remaining ingredients and toss to mix. Serve at room temperature or cold.

Burmese Shrimp Powder

0

So many Southeast Asian cuisines are known for their dishes that incorporate hot, sour, salty and sweet elements.  But Burma seems to place no less importance on umami, which is often referred to as the fifth taste.
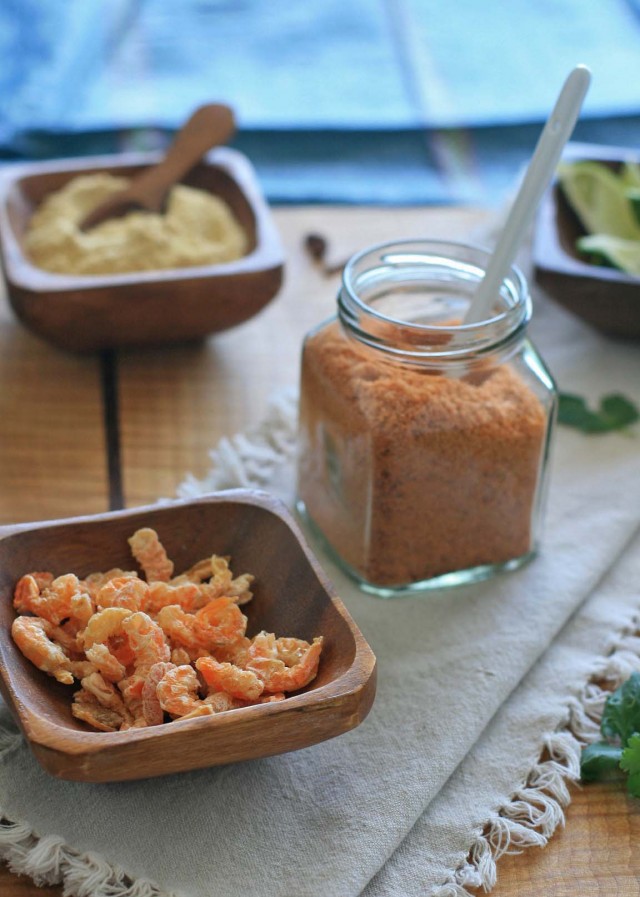
We’ve already covered two vegan Burmese basics that add some umami (golden crispy shallots and toasted chickpea flour), but this dried shrimp powder might just be the ultimate way to add some funky umami punch to your favorite Burmese dishes.

Although you certainly won’t be doing anything wrong if you just blend up dried shrimp in your food processor or high-speed blender, I’m going to defer to Southeast Asian cuisine expert extraordinaire, Naomi Duguid on how to correctly make shrimp powder at home.
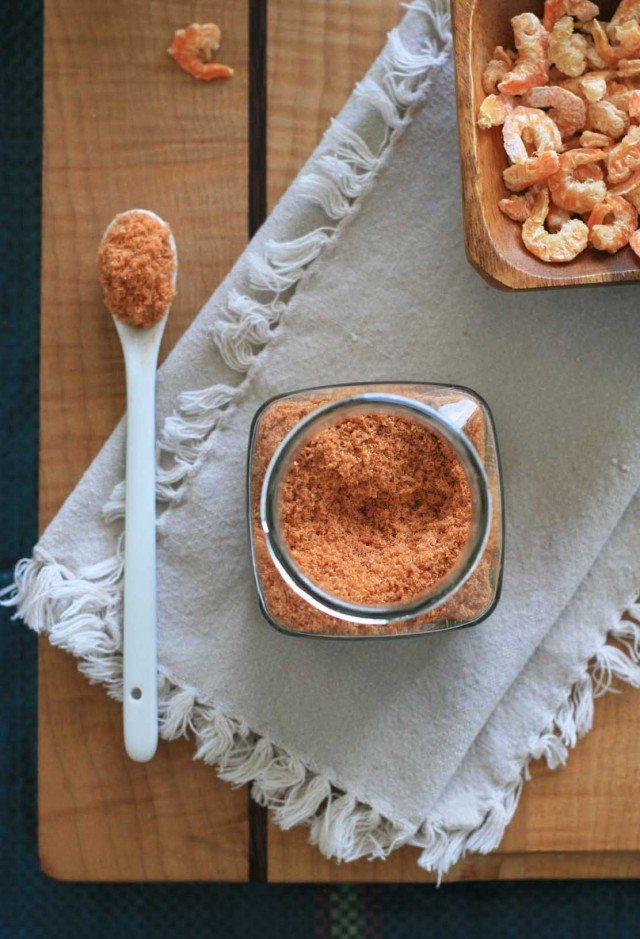
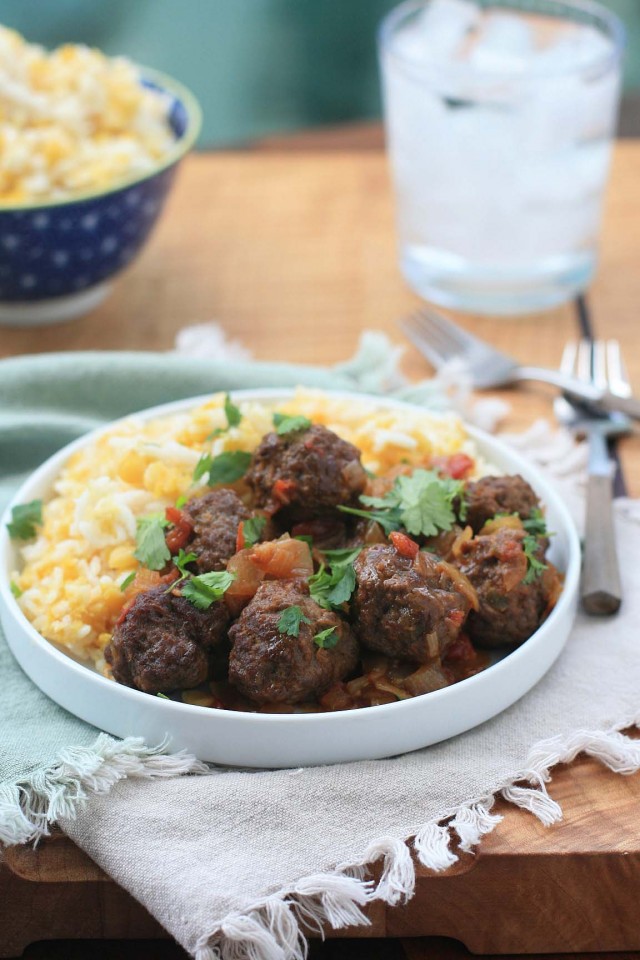
Duguid recommends soaking the shrimp a bit to soften them up, which is helpful if your blender or processor blades aren’t quite as sharp as they once were.

Burmese Shrimp Powder

Yield: approximately 1-1/2 cups

Prep Time: 15 minutes

Total Time: 15 minutes

Ingredients:

* 1 cup small dried shrimp, preferably 1/2-inch long or larger

Directions:

Place the shrimp in a bowl and cover with water. Let sit for 20 minutes. Drain and pat dry with paper towels.

Place the shrimp in a high-speed blender or food processor. Process until the powder is light and fluffy, stopping occasionally, if necessary, to wipe down the sides of the blender jar or processor bowl.

Burmese Meatball Curry

Is it weird that I have go-to recipes for things like kimchi and Goan shrimp curry, but I don’t even have a meatloaf recipe?  Sometimes I wonder whether I should just stick to tried and true American favorites instead of cooking all of these dishes from unfamiliar cuisines.  But that wouldn’t be nearly as much fun, would it?
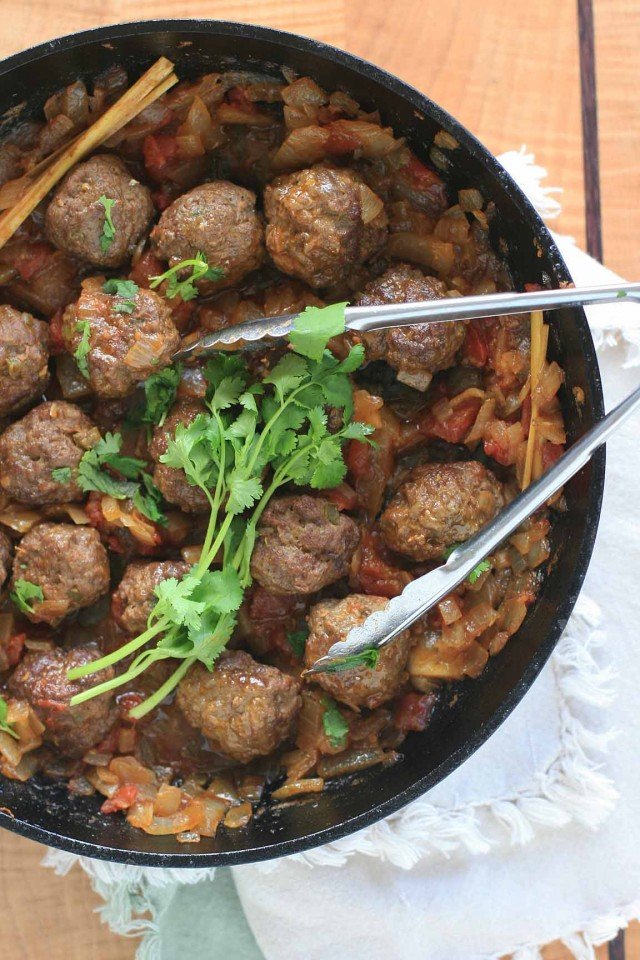
And besides, there are plenty of times when these foreign dishes end up reminding me a whole lot of childhood classics.  Take, for instance, this Burmese meatball curry dish.  The seasoned beef meatballs are simmered in a sweet, savory and tangy sauce that combines garlic, onion, ginger, tomatoes and tamarind liquid.  It was reminiscent of those ketchup glazed meatloaves I ate when I was younger… except a whole lot better.
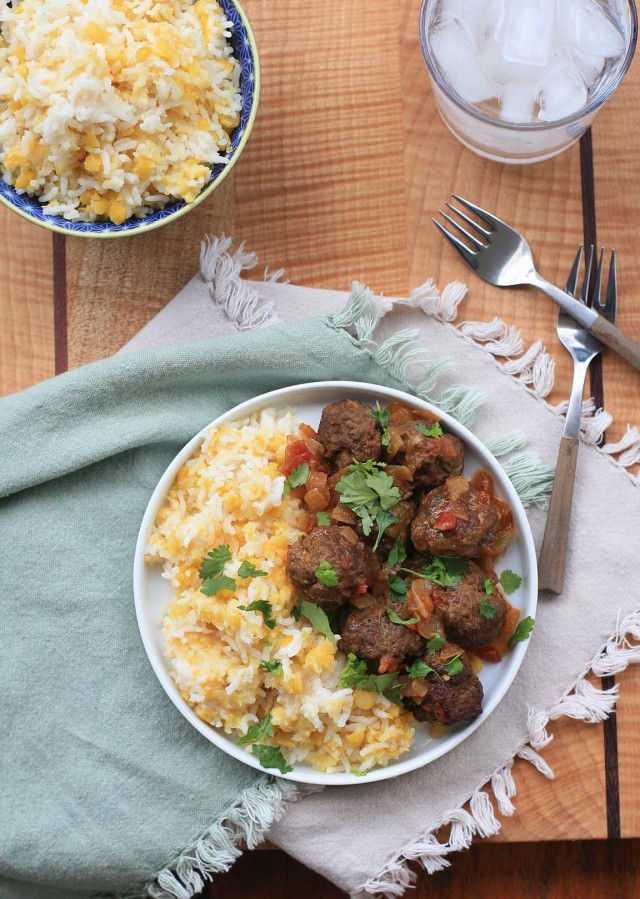
So if you were also a fan of those ketchup-glazed meatballs as a child, I’m guessing your adult palate is going to really like this one.  Whether you serve them as an appetizer, main dish, or sandwich stuffing, I really don’t think you can go wrong.

Burmese Meatball Curry

Yield: 4 servings

Prep Time: 15 minutes

Cook Time: 25 minutes

Total Time: 35 minutes

Ingredients:

* 2 teaspoons tamarind paste
* 1-1/4 cups water, divided
* 1 pound ground beef
* 2 teaspoons rice flour
* 1/4 teaspoon ground turmeric
* 1/2 teaspoon salt
* 1 teaspoon fish sauce
* 1 medium (or 1/2 a large) Jalapeno pepper, seeded and minced
* 2 Tablespoons oil
* 1 teaspoon minced fresh ginger
* 2 cloves garlic, minced
* 1 medium yellow onion, finely chopped
* 1 stalk lemongrass, bruised and woody ends trimmed
* 1/2 teaspoon cayenne pepper
* 1/2 cup diced tomatoes in their juice
* roughly chopped cilantro leaves

Directions:

Combine the tamarind paste with 1/4 cup warm water. Mash the pulp with a fork and set aside for five minutes. Strain through a fine mesh sieve into another bowl and discard any seeds and pulp.

In a large bowl, combine the ground beef, rice flour, turmeric, salt, fish sauce and Jalapeno pepper. Mix until well combined and shape the mixture into meatballs approximately 1-inch in diameter.

Heat the oil in a large skillet over medium heat and lightly brown on all sides; do not worry if they are not cooked through. Set aside on a plate.

In the same skillet, add the ginger, garlic and onion and cook, stirring frequently, until the onions have softened. Add the lemongrass and cayenne and stir to mix. Add the tomatoes and cook for 2-3 minutes, stirring frequently and using your stirring utensil to mash the diced tomatoes.

Return the meatballs to the skillet and add the tamarind liquid and the remaining 1 cup of water. Reduce heat to medium low and let the mixture simmer until the sauce has thickened.

Sprinkle with cilantro and serve immediately.

Burmese Golden Egg Curry

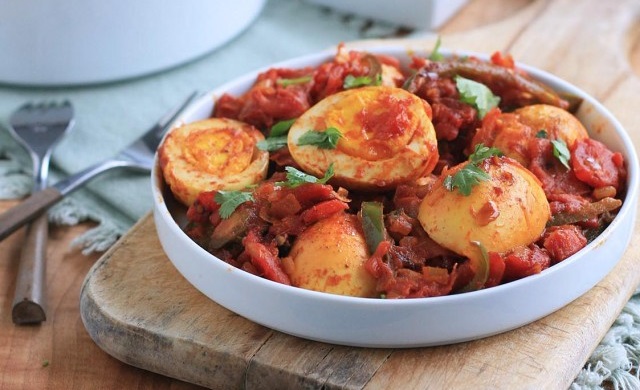
To all the shakshuka lovers out there:  I think you guys are really really going to like this one.  It’s the same basic format as the famous Israeli and North African dish, with eggs nestled in a fiery, chili pepper-laced tomato sauce.
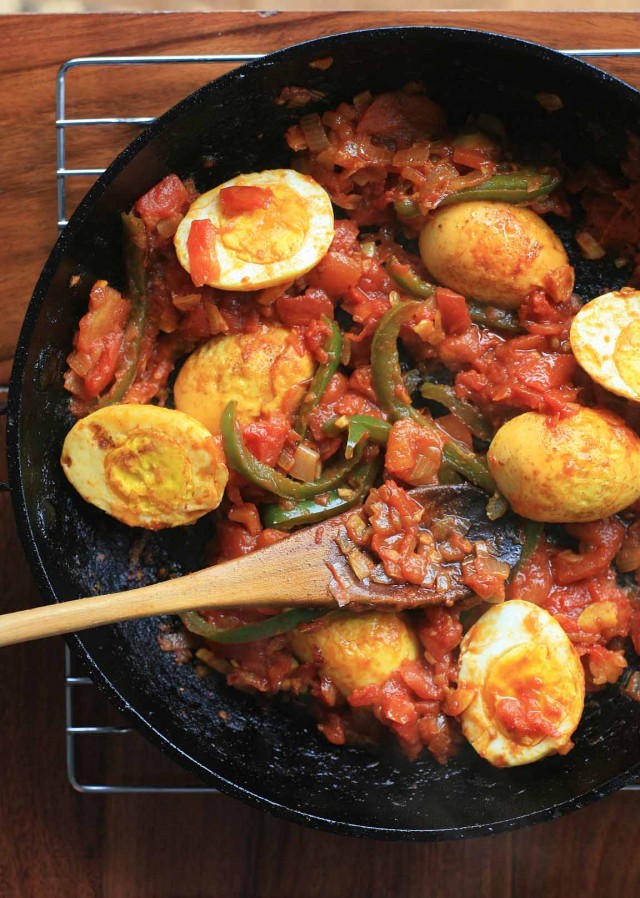
But that’s where the similarities end.  Instead of cracking uncooked eggs into the sauce, as is done with shakshuka, hard boiled eggs are fried in turmeric-tinged oil until golden and blistered and then added to the sauce.  It’s pretty magical.

And that’s a pretty bold statement considering that I wouldn’t even eat hard boiled eggs a couple years ago.  But that was before I learned the trick to the perfect hard-boiled eggs:  8 minutes at a low boil with an immediate  subsequent dunks into ice water.  You end up with the most perfectly creamy golden yellow centers.
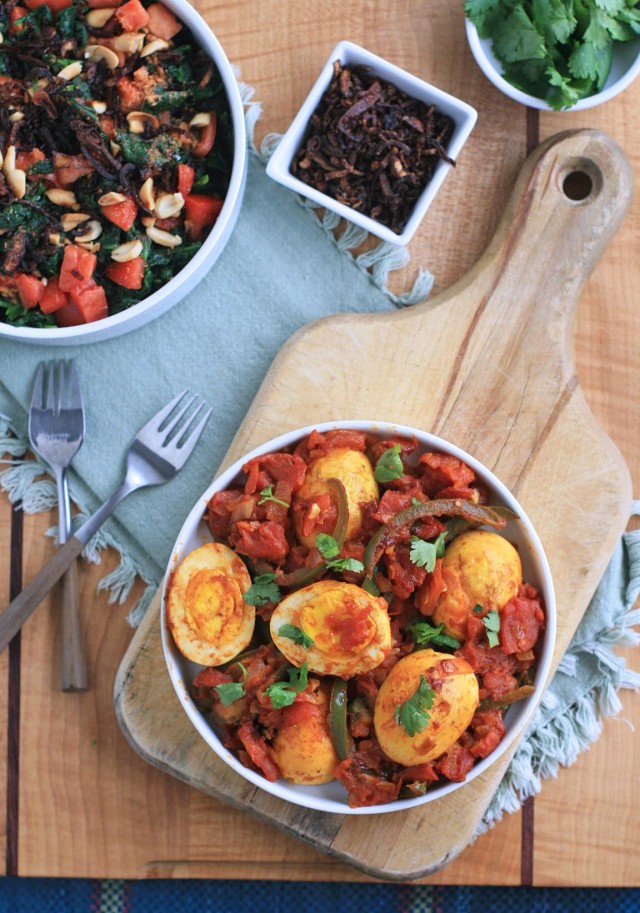
No scary grey yolks here folks.

I could make the obvious statement that this would be great brunch food, but this curry would be awesome anytime of day.   And it was particularly great when paired with the spinach salad that I’ll be posting in a couple days.  Seriously, match made in heaven.  All those leftover Easter eggs will be the perfect excuse to try this one.

Burmese Golden Egg Curry

Yield: 4 servings

Ingredients:

 4 eggs, at room temperature
1/3 cup oil, such as untoasted sesame oil or a neutral flavored oil
1/4 teaspoon turmeric
1/2 cup finely chopped shallots
2 cloves garlic, minced
1/4 teaspoon cayenne pepper
15-ounce can diced tomatoes with their juice (approximately 1-3/4 cups)
2 teaspoons fish sauce
1/2 teaspoon salt
2 Jalapeno chili peppers, seeded and thinly sliced lengthwise
chopped cilantro leaves

Directions:

Bring a medium saucepan of water to a low boil. Carefully lower the eggs into the water and cook at a low boil for 8 minutes. Remove the eggs and place immediately into an ice bath to stop them from cooking further. When cool, peel the eggs and set aside.

Heat the oil in a heavy-bottomed skillet over medium-high heat. Add the turmeric and give it a quick stir. Add the eggs and cook, turning them occasionally to evenly expose them to the oil, until the eggs are golden yellow and slightly blistered on all sides. Remove from heat and set aside on a plate. Cut the eggs in half lengthwise.

Remove all but 2-3 Tablespoons of the turmeric oil (save it for another purpose). Add the shallots and garlic and cook, stirring, until the shallots have softened. Then add the cayenne pepper and give it a quick stir. Add the diced tomatoes and cook, stirring frequently, until the tomatoes begin to break down. Add a little water, if necessary, to prevent the tomatoes from sticking/burning. You can also help break up the chunks of tomato with a wooden spoon.

Add the fish sauce, salt and Jalapeno chili pepper. Cook, stirring frequently, until the chili pepper begins to soften. Add the hard-boiled eggs, cut side down, into the pan and cook for approximately 2-3 minutes. Remove from heat and sprinkle with cilantro.

Burmese Coconut Rice

0

As a child, the only time I ever really ate rice was when my mother made rice pudding.  We were a meat and potatoes family, through and through.  But these days I’ve joined the billions of other folks worldwide who consider rice a diet staple.
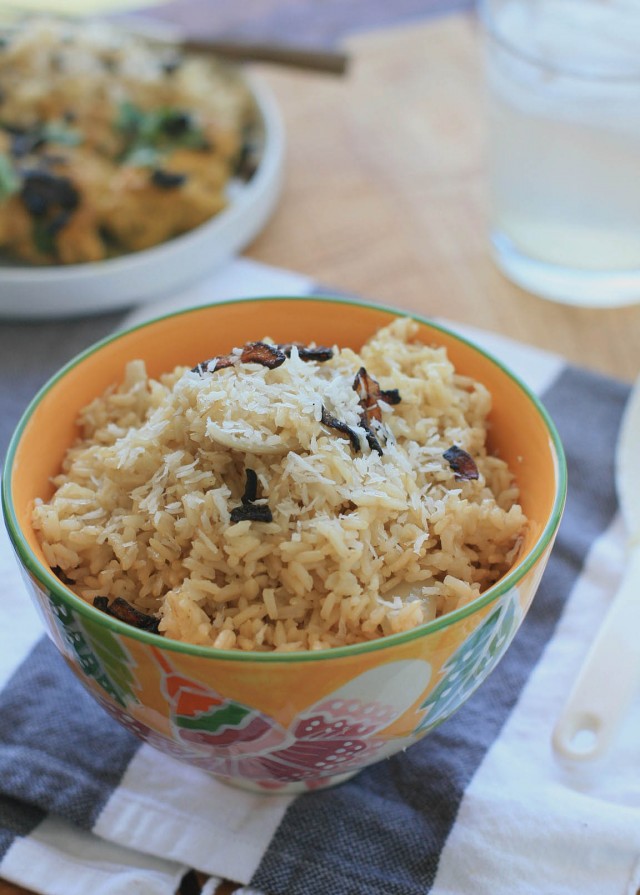
I love the versatility of rice.  Not only do you have a seemingly countless amount of varieties and colors, but it’s equally appropriate as an appetizer, side, main course, or dessert.

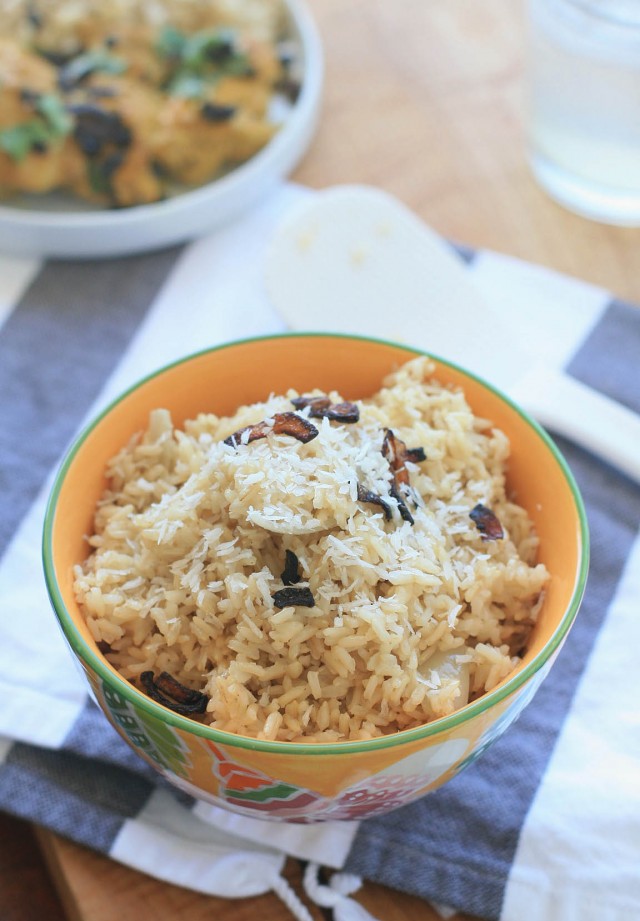
Even simple coconut rice can have endless variations.  I’m used to making sweet, sticky coconut rice that I serve with mango or mango sorbet for dessert, but this savory long grain version is just the ticket when plain ol’ white or brown rice isn’t doing it for you.  And if you have a rice cooker, this is one of those “throw everything in the rice cooker and turn it on” kind of dishes.  Perfect.

White rice results in a slightly more striking dish, but I’ll take the nutty chew of brown rice any day.

Burmese Coconut Rice

Yield: 6 servings

Ingredients:

 2 cups long grain white or brown rice
1-3/4 cup coconut milk (approximately 1 can)
1-1/4 cups water (use an additional 1/3 cup if you’re using brown rice)
1/2 yellow onion, cut into several wedges
1 Tablespoon oil
1/2 teaspoon sugar
1/2 teaspoon salt

dried, shredded unsweetened coconut (optional)

Directions:

If using a rice cooker, combine all of the ingredients except for the unsweetened coconut in the bowl of the rice cooker and turn on. When it turns from cook to heat, let the rice rest an additional 10 minutes. Fluff with a fork, top with coconut, if desired, and serve.

If you’re using a saucepan, combine all ingredients except for the unsweetened coconut in a saucepan with a glass lid. Bring the mixture to a boil and then reduce heat to very low, below a simmer. Let the rice cook until all of the liquid is absorbed, about 15-25 minutes, depending on whether you’re using white or brown rice. Remove from heat and let stand 10 minutes. Fluff with a fork, top with a coconut, if desired, and serve.

Asian Broccoli with Garlic and Ginger

You’d think that since I have a food blog that I wouldn’t fall into ruts in my eating.  Sadly that’s not the case.   In fact, when I come home with a Costco-sized bag of broccoli, it’s pretty much guaranteed that I’ll be making it all Barefoot Contessa-style.
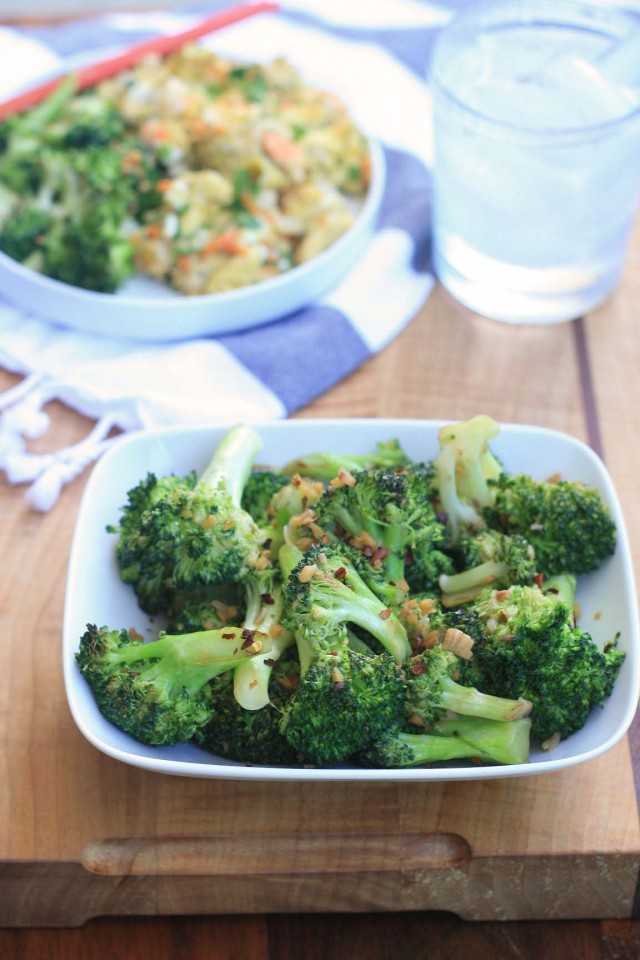
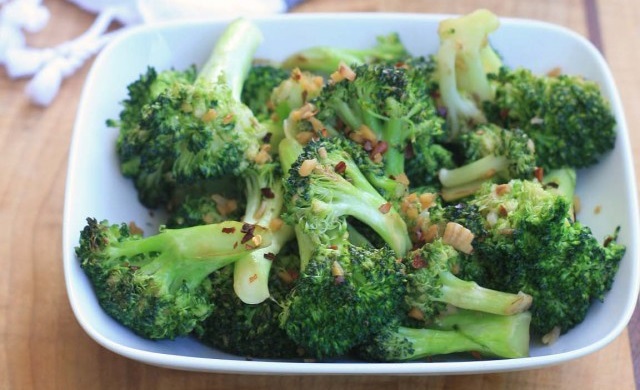
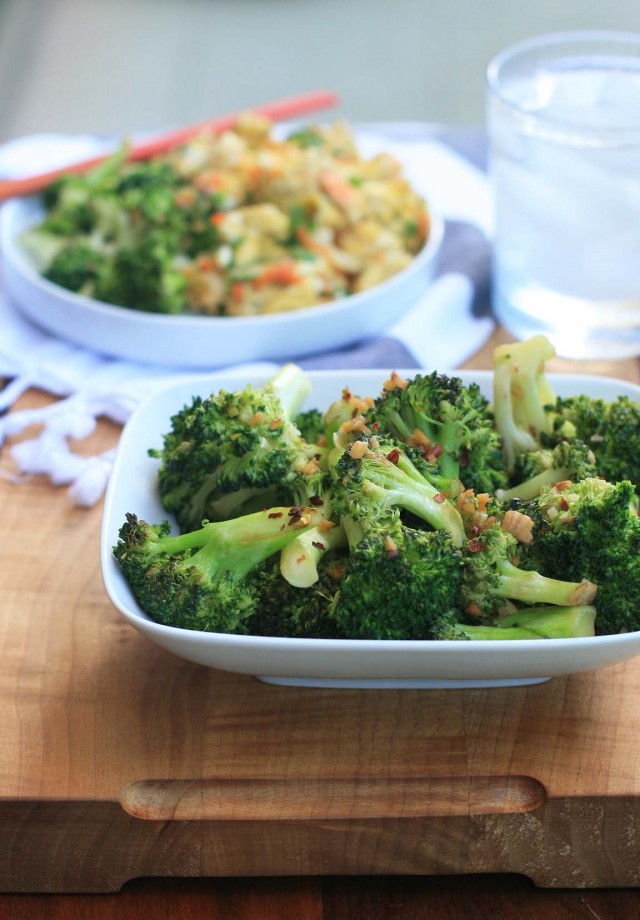
While that Parmesan roasted broccoli is pretty much the cat’s pajamas, variety is the spice of life.  And since I seem to be on something of a Chinese food kick lately,  I thought I’d try to prepare the broccoli in a way that would complement all of the other Chinese dishes I’ve been making.

In this quick and healthy recipe broccoli gets stir fried with bits of garlic and ginger in a flavorful Asian sauce made from soy sauce and fish sauce until tender crisp.  Those looking to add a bit of heat can sprinkle a bit of crushed red pepper on the finished dish.
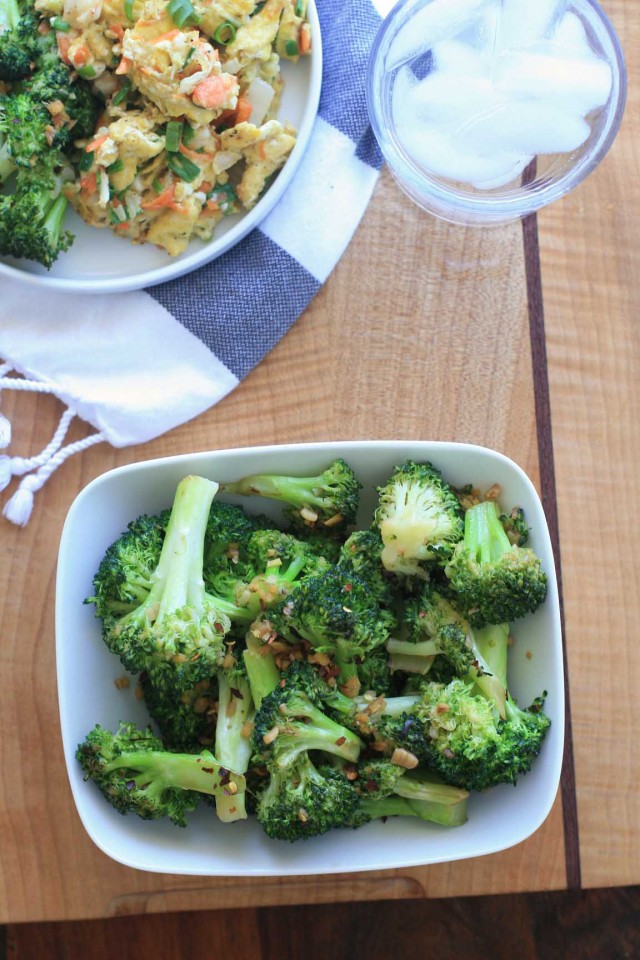

Asian Broccoli with Garlic and Ginger

Yield: 4 servings

Prep Time: 10 minutes

Cook Time: 10 minutes

Total Time: 20 minutes

Ingredients:

 2 Tablespoons oil
1 Tablespoon minced fresh ginger (peeled)
1 Tablespoon minced garlic
approximately 6 cups broccoli florets
3+ Tablespoons water or chicken broth
1 teaspoon Asian sesame oil
1 teaspoon Vietnamese fish sauce
salt
crushed red pepper flakes (optional)

Directions:

Heat the oil over high heat in a large wok or skillet until a small piece of garlic or ginger sizzles when it touches the pan. Add all of the ginger and garlic and cook, stirring constantly, until very aromatic, about 20-30 seconds. Add the broccoli florets and toss to combine. Cook, stirring frequently, for about a minute.

Add the water or chicken broth, sesame oil and fish sauce and cook, stirring occasionally, until the broccoli has some charring and is tender-crisp. If the sauce dries out before the broccoli is done, add additional water or broth in small increments.

Taste and add salt if necessary. Remove to a serving plate and top with crushed red pepper flakes, if desired.

Peppermint Bark Ice Cream

Fashonistas eagerly anticipate the September issues of fashion magazines; I eagerly anticipate the Williams-Sonoma holiday catalog, filled with all  sorts of goodies that a gluten-free girl like myself can’t actually eat.
Should they ever develop a pill to make it safe to occasionally indulge in gluten, I’m going to go hog wild one year with the lobster mac and cheese, mini beef wellingtons, and chocolate croissants.

But until that day comes, I’m stuck with the gluten-free items in the holiday catalog, including their peppermint bark which has become a holiday favorite of mine over the past couple years.  And since my willpower seems to go into hiding anytime peppermint bark is around, I try to find ways to extend its life by incorporating it into other desserts, like this peppermint bark ice cream.

Here, chunks of peppermint bark  get swirled into a subtle peppermint flavored ice cream.  It’s reminiscent of one of my favorite holiday treats growing up- Friendly’s Peppermint Stick ice cream.

And I’m now in the market for some peppermint schnapps.  I’m thinking a schnapps-spiked peppermint bark affogato would be pretty killer on a lazy winter morning.  When you add espresso to ice cream, it makes it OK to have for breakfast, right?

Peppermint Bark Ice Cream

Yield: 6-8 servings

Prep Time: 5 minutes

Cook Time: 15 minutes

Total Time: 6 hours

Ingredients:

* 3 cups half and half
* 6 egg yolks
* 3/4 cup sugar
* 1-1/2 teaspoons vanilla extract
* 1/4 teaspoon peppermint extract
* couple drops red food coloring (optional)
* 1 cup chopped peppermint bark

* whipped cream for topping (optional)
* chocolate fudge sauce for topping (optional)
* crushed candy canes or extra peppermint bark for topping (optional)

Directions:

Pour the half and half into a medium heavy-bottomed saucepan over medium-high heat. Warm until steam begins to rise from the surface; remove from heat.

In a medium bowl, whisk together the egg yolks and sugar until blended. While whisking constantly, gradually add several ladles of the hot half-and-half. Pour the egg yolk mixture into the saucepan and place over medium-low heat. Cook, stirring constantly with a wooden spoon, until the custard thickens and can coat the back of the spoon, about 5 minutes.

Pour the custard through a medium-mesh sieve set over a large bowl. Stir in the vanilla extract and peppermint extract. Add a couple drops of red food coloring to get the desired color of pink. Allow the custard to cool to room temperature, stirring occasionally (if you’d like to speed up the process you can place the bowl over an ice bath). Refrigerate until cold, at least 1 hour.

Freeze in an ice cream maker according to the manufacturer’s instructions. Just before the cycle is complete, add the chopped peppermint bark and continue processing just until it is blended into the ice cream. Transfer to a freezer-safe container, cover and freeze until firm, at least 4 hours.

Serve with whipped cream, fudge sauce and crushed candy canes, if desired.

Maple Walnut Fudge

0

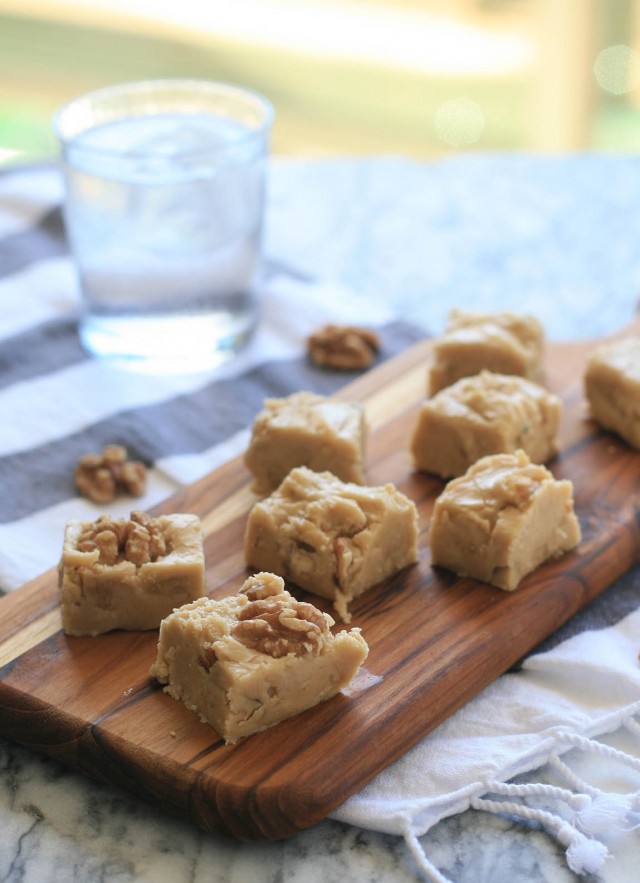
A couple years ago, when I was unable to travel to New England to see family for Christmas, my mother sent me a holiday care package.  Inside were some small Christmas decorations and some packaged goodies, including a large bottle of local maple syrup.
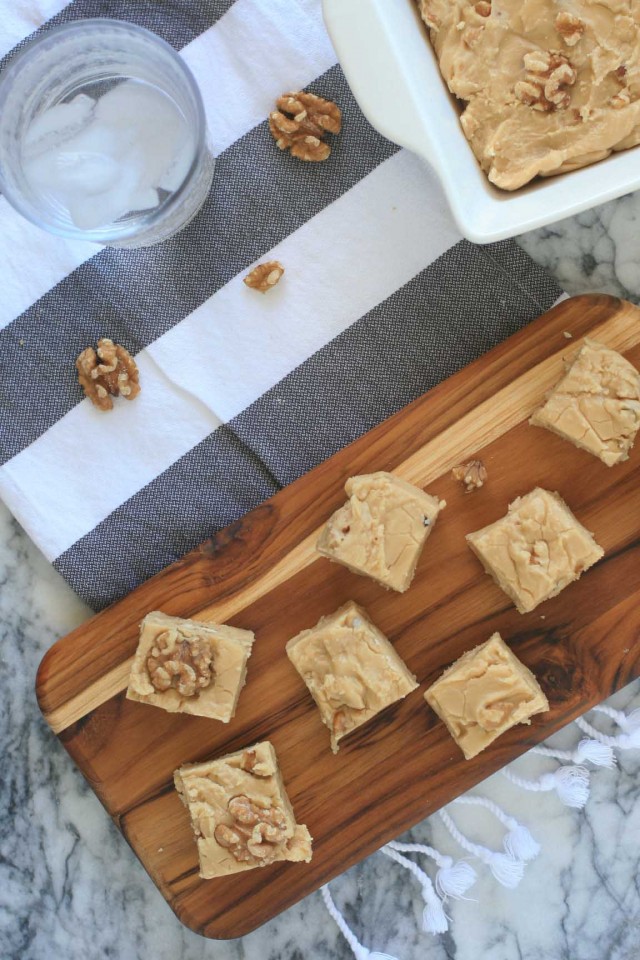
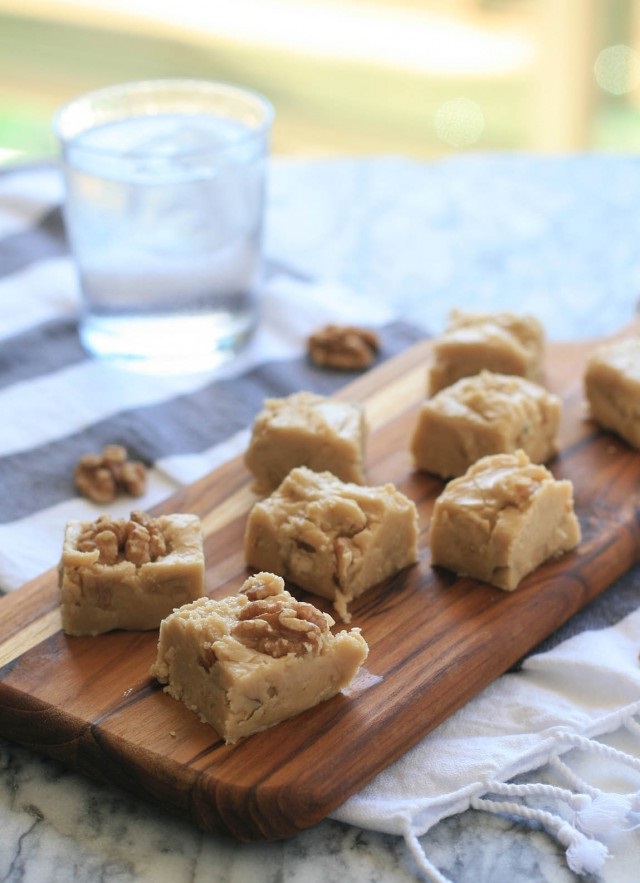
As part of my thank you, I’d made a batch of this maple walnut fudge and sent it back her way, which meant that some of that maple syrup logged about 10,000 miles in the span of one week.  Even after a couple days in transit I’d like to think it could compete head to head with the stuff from her favorite local fudge shop.

Fudge and Candy Thermometers

For years I botched batch after batch of fudge.  My mistake?  Not buying a candy thermometer (best candy thermometers).  Now, fudge-making is a snap, which only requires a few simple steps.

1. Gently heat mixture until sugar has melted.

2. Boil mixture until it reaches the soft boil stage.

3. Let the mixture cool to 110 degrees.

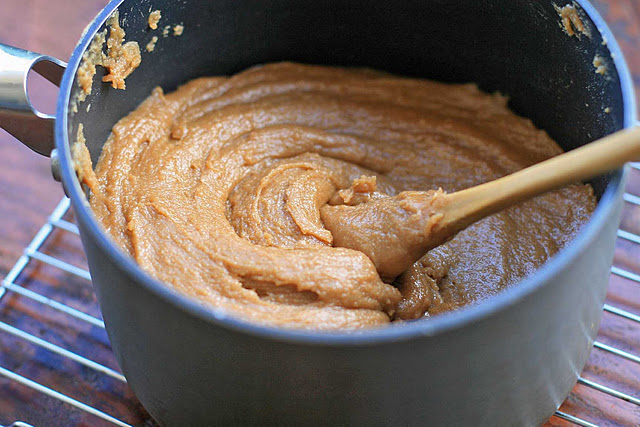
4.  Beat the mixture with a wooden spoon until it loses its gloss and starts to pull away from the pan.

That’s it.  Easy.  It’s just something of an arm workout sometimes.

Those aren’t the greatest photos ever, but I wanted to help illustrate the changes that can happen in just a couple swirls of a wooden spoon.  One second the mixture goes from being very liquid and very glossy (and you wonder whether you made a mistake because you can’t ever imagine this stuff setting up properly) and less than a minute later, the mixture is matte and easily pulls away from the side of the pan.

The Maple Walnut Fudge Recipe

This comes from a recipe from a friend of David Lebovitz.  Candy-making can be somewhat intimidating if you’re not used to it (if you follow the link you’ll see that lots of folks commented that they had problems getting the mixture to set up properly), but I’ve made this fudge successfully quite a few times… and I’m still very much a novice.

Just make sure you’ve got an accurate candy thermometer and try to make it on a clear, non-humid day.  But even if the fudge doesn’t set properly, I’m sure some maple walnut fudge sauce would be great on ice cream.  Or you can check out some advice for how to salvage a botched batch of fudge.  Practice makes perfect.

Maple Walnut Fudge

Prep Time: 5 minutes

Cook Time: 20 minutes

Total Time: 2 hours

Ingredients:

 1 cup Grade B maple syrup
2 cups sugar
1 cup heavy cream
2 Tablespoons light corn syrup
1/2 teaspoon vanilla extract
1 cup roughly chopped walnuts, toasted

Directions:

Line a 9 x 9 inch (or similar-sized) pan with parchment paper, leaving slight overhang on two sides and lightly spray with cooking spray.

Combine the maple syrup, sugar, cream and corn syrup in a medium heavy-bottomed saucepan over medium-low heat. Heat gently, stirring occasionally with a wooden spoon, until the sugar has melted and the mixture is smooth. Stop stirring and increase heat to medium. Clip a candy thermometer to the side of the saucepan, bring to a boil and cook until the temperature reaches the soft ball stage, 236 degrees Fahrenheit. Remove from heat and let cool until the mixture has reached 110 degrees Fahrenheit.

Add the vanilla and beat the mixture with a wooden spoon until it just begins to thicken and loses its gloss. The mixture is just about ready when it starts to pull away from the pan. Do not over-mix.

Gently stir in the nuts and spread the mixture into the prepared pan. Allow to cool completely, then remove from the pan by lifting up on parchment paper overhand. Cut into squares.