I did a fair amount of research before creating this dish for the blog. And you know what I found? The vast majority of the recipes are named plain ol’ Shrimp and Grits. The problem with that? Well it totally ignores two of the dish’s most delicious and marketable components: bacon and cheddar. Obviously some folks need to work on their advertising and marketing skills (my brief stint in PR finally pays off!). Calling this shrimp and grits is like calling a bacon cheddar burger just a hamburger.

 This dish brings together so many of the Southern favorites: pork, corn, and seafood. It’s by no means a complicated recipe. In fact, this is one of the fastest one-dish meals I’ve blogged about. And the components are common and relatively inexpensive. But it comes together as a hearty dish that’s attractive and fancy enough for a dinner party. Think of it as Southern seafood and pork polenta.
 Having this blog means I don’t often get to make recipes multiple times since I’m always testing something new, even when I’m a big fan. But I’m making it a top priority to make this again before the week is out. I hope you guys will give this one a shot.
Just one final note. Although I’m a huge proponent and lover of leftovers, this is one dish that really is best eaten immediately. The shrimp and bacon are a perfect complement to the puddle of creamy and soft grits.

Smoky Bacon and Cheddar Shrimp and Grits
Yield: 4 servings
Ingredients:
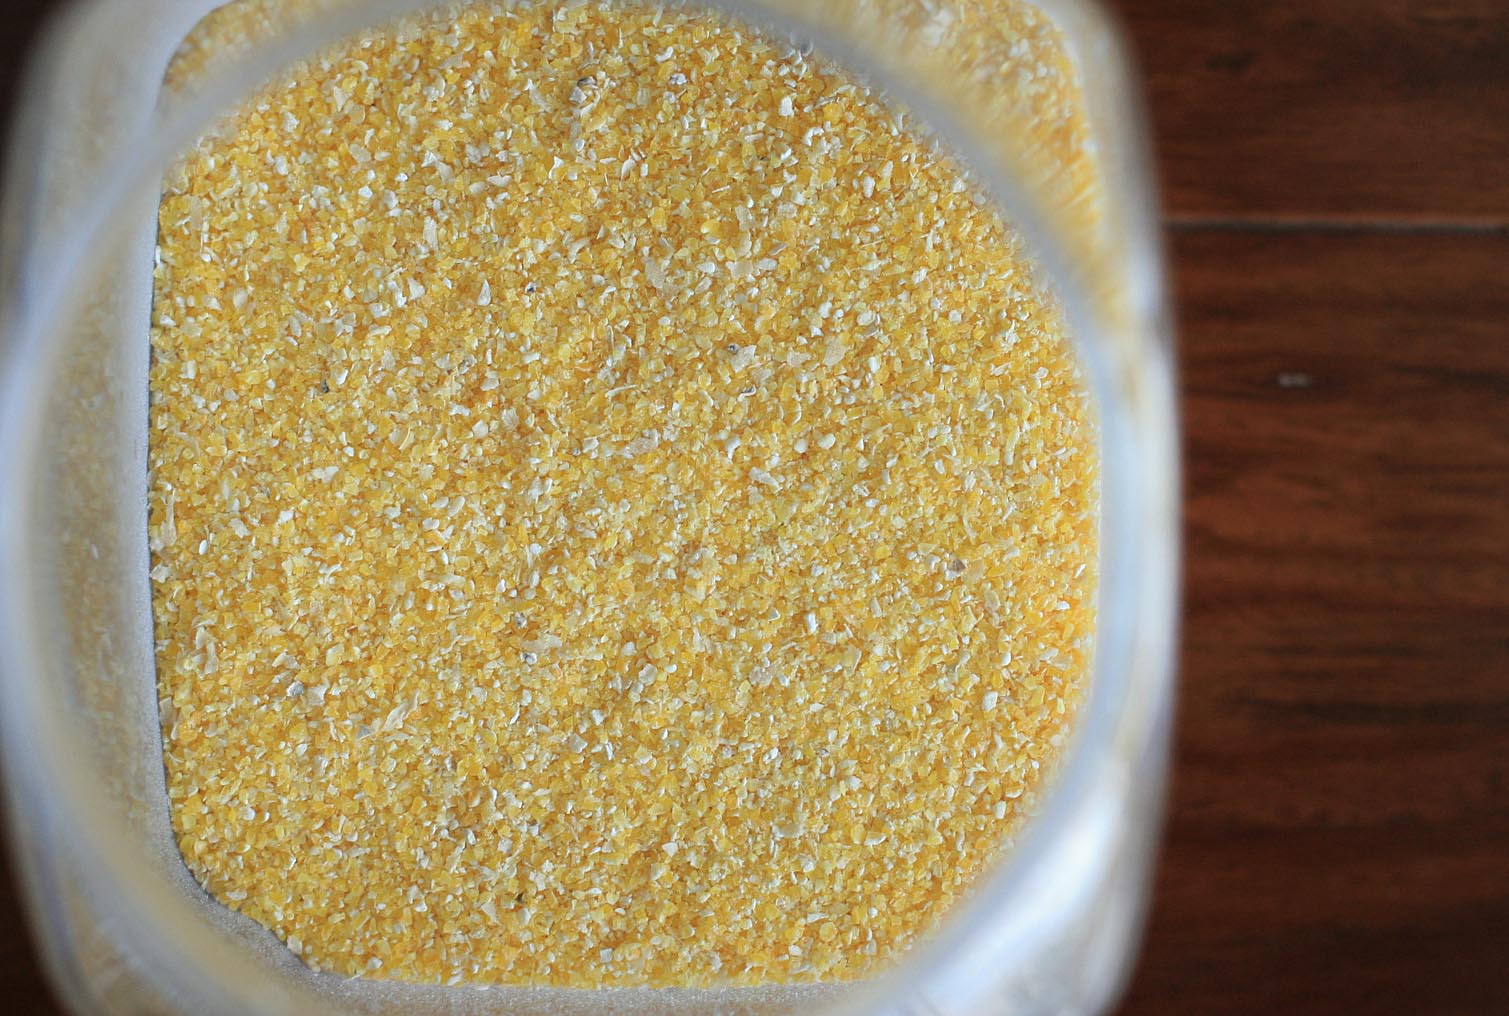
* 1 cup stone ground grits (can substitute polenta if you’re unable to find traditional grits)
* 4 cups of water or shrimp stock (can also substitute milk for a cup or two of water)
* salt and pepper
* 4 Tablespoons butter
* 1 1/2 cups shredded cheddar cheese
* 6 slices bacon, chopped (this is easier to do if the bacon is slightly frozen)
* 1 pound shrimp, peeled and deveined
* 3 cloves garlic, minced
* 1 Tablespoon lemon juice
* 1/2 cup thinly sliced green onions
* 1/2 teaspoon cayenne pepper, or to taste
* salt and pepper
Directions:
Prepare the grits by bringing the water or stock (or water and milk) to a boil in a large saucepan. Slowly whisk in the grits and season with salt and pepper. Reduce heat to the lowest setting and cook, stirring constantly, for approximately 15 minutes or until all the liquid is absorbed. Remove from heat and stir in the butter and cheese. Keep warm.
If you’re a good multi-tasker and you’ve already measured/laid out all the ingredients, you can probably prepare the bacon and shrimp while the grits are cooking. Just remember to give the grits a good stir now and again.
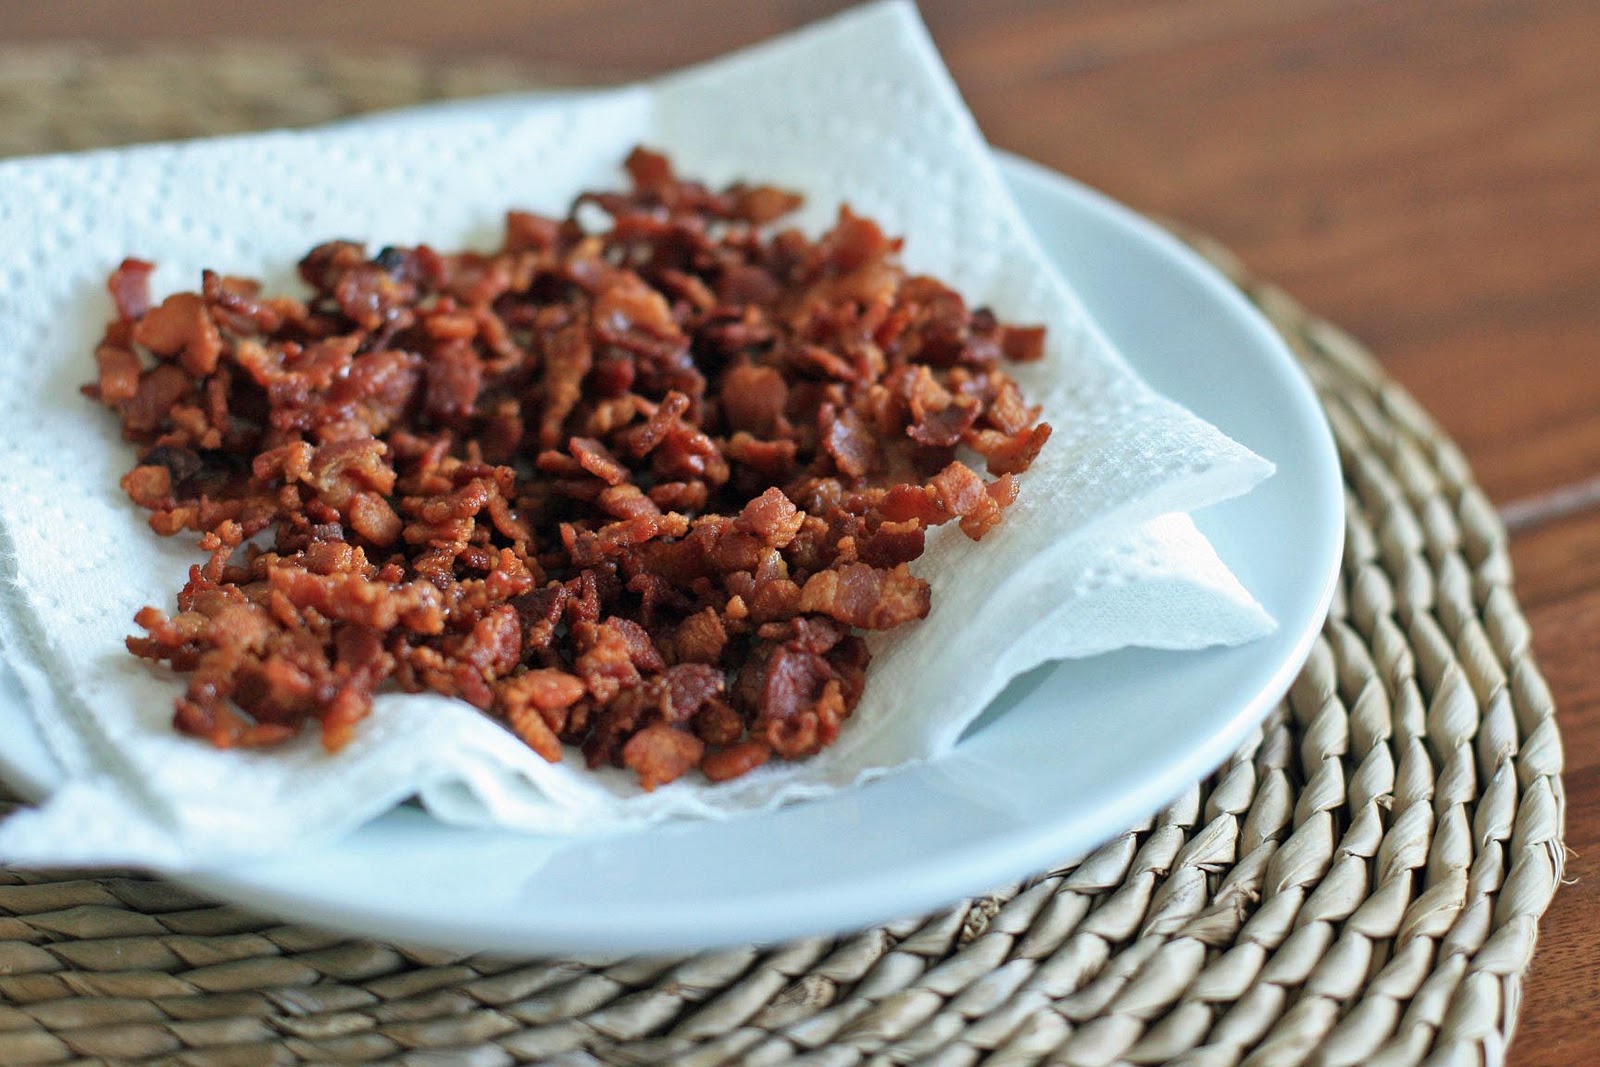
Fry the bacon pieces in a large skillet or saute pan until crispy, draining off some of the fat as it’s rendered (save for another use). Remove the bacon with a slotted spoon and drain on a paper towel. Again drain off any excess bacon fat, we just want about a Tablespoon or two to remain in the pan.
Add the shrimp and garlic to bacon grease and cook, stirring frequently, just until the shrimp has turned pink. Add the lemon juice, green onions and cayenne pepper and give the mixture a good stir.
Ladle some grits into a four individual bowls and top with a 1/4 of the shrimp mixture. Top with the crumbled bacon. Season, if necessary, with salt and pepper. Serve immediately.