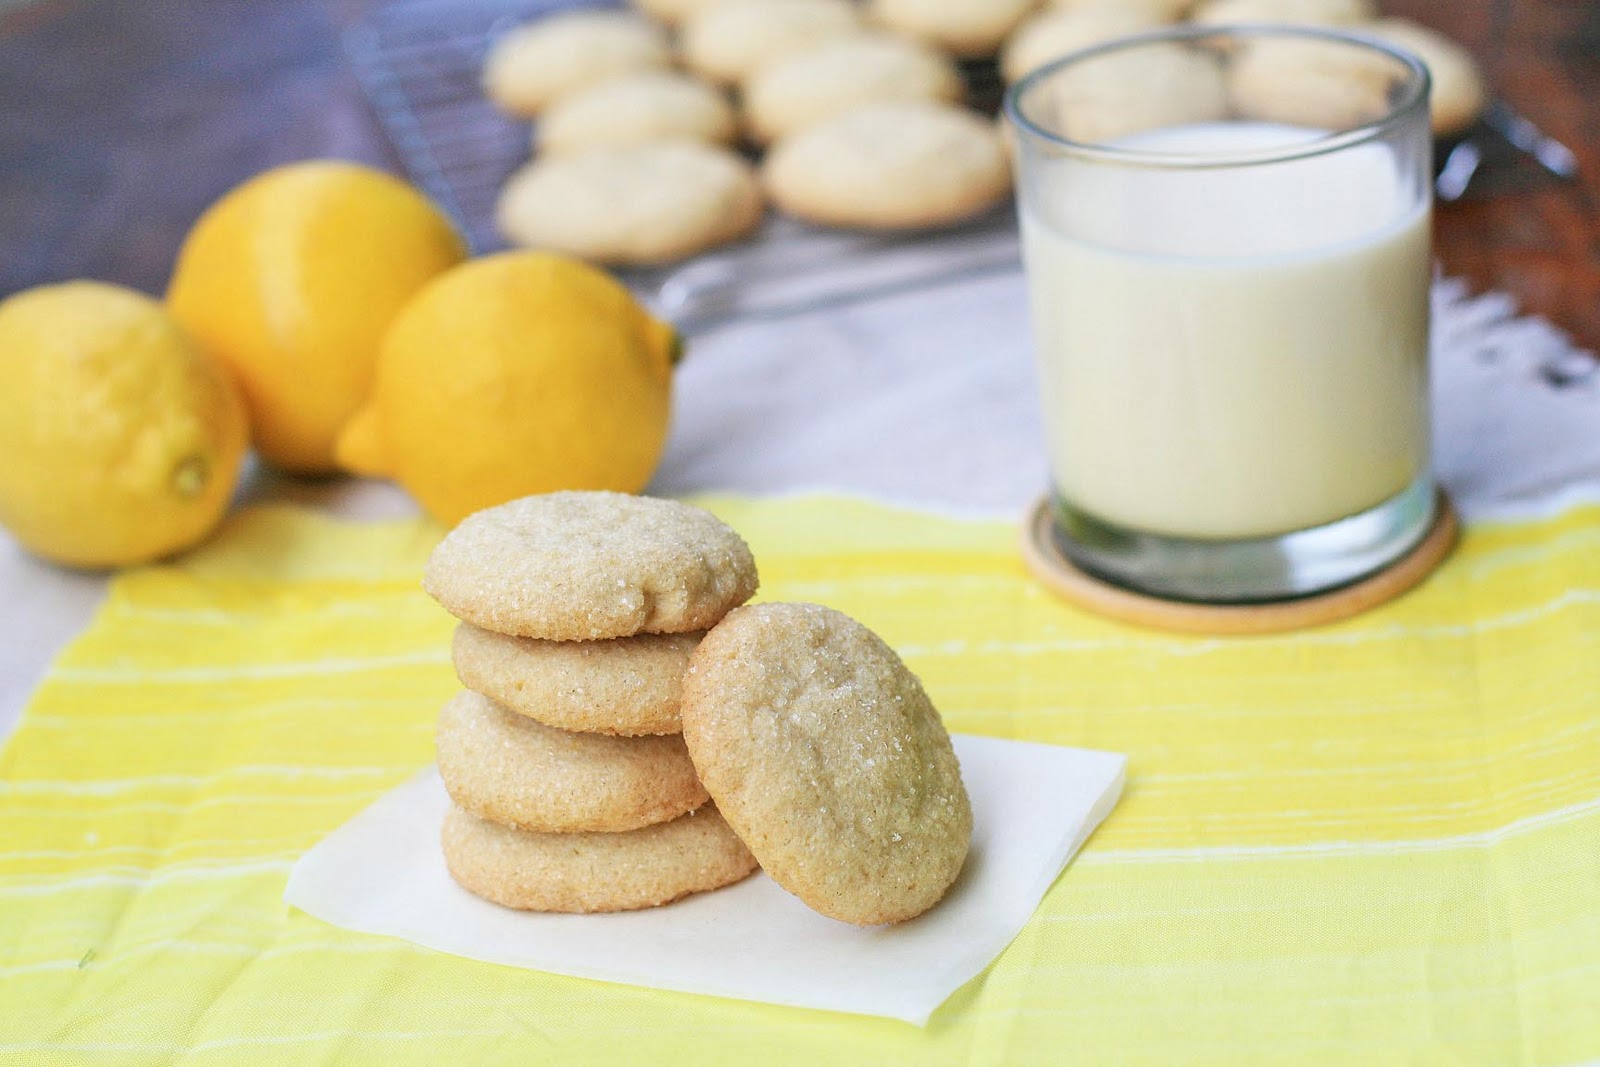
 A happy accident turned plain lemon cookies into something extra special. My homemade vanilla extract was just about gone and as I was pouring out the last of the liquid, a large reserve of vanilla seeds came along with it, turning these lemon cookies into a lemon-vanilla hybrid. They’re soft and chewy the first day and leftovers, should there be any, will be crunchy the next day.
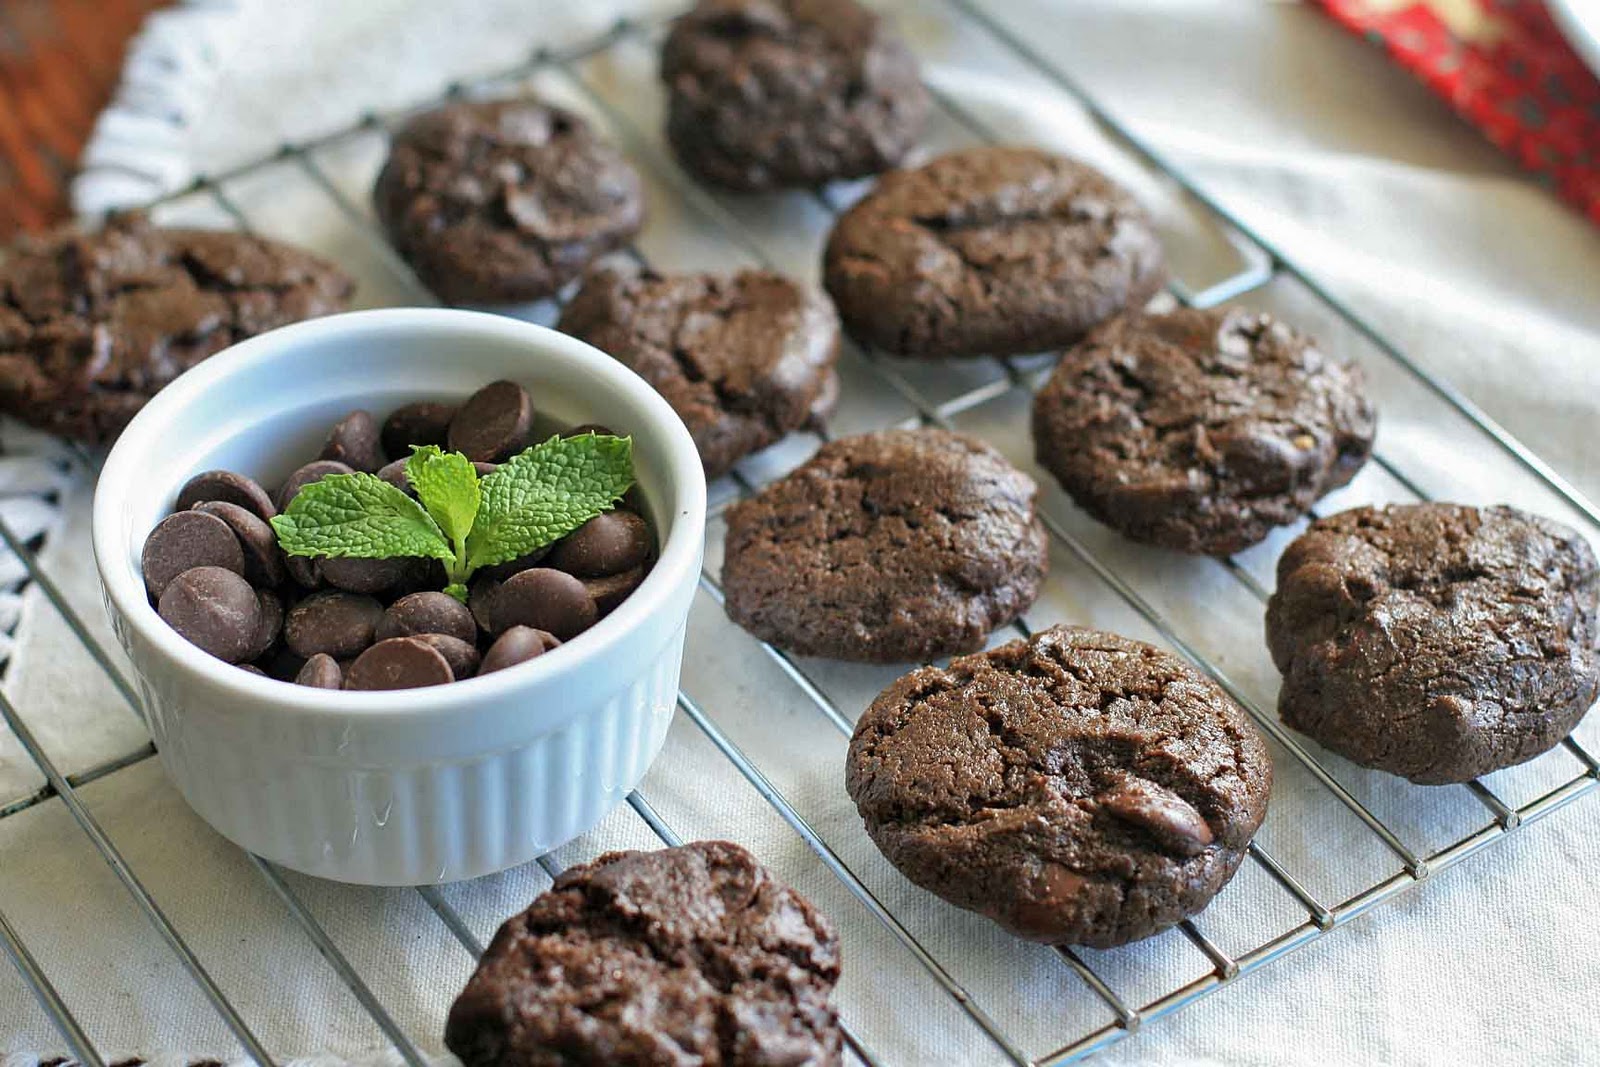
 And I’m not the only one who was smitten with these delicate tea cookies. I was surprised when, on a cookie platter surrounded by chocolate-based varieties, these were the first to go. Totally great for the holidays, but I’ll be sure to add this recipe to my regular cookie rotation as well.
Gluten-Free Lemon-Vanilla Sugar Cookie
Ingredients:
3/4 cup butter
1 cup sugar, plus extra for coating (optional)
One egg
1 teaspoon vanilla extract
seeds scraped from 1/2 vanilla pod
1 teaspoon pure lemon extract
zest from 1 lemon
3/4 cup rice flour
1/2 cup sorghum flour
1/2 cup potato starch
1/4 cup sweet rice flour (also goes by brand name Mochiko or glutinous rice flour)
1 teaspoon baking powder
1 teaspoon xanthan gum
1/4 teaspoon salt
Directions:
Cream butter and sugar until well combined. Add egg, vanilla extract, vanilla seeds, lemon extract, lemon zest and mix until smooth. Add the rice flour, sorghum flour, potato starch, sweet rice flour, baking powder, xanthan gum and salt and mix until thoroughly combined. Cover and chill dough for at least one hour.
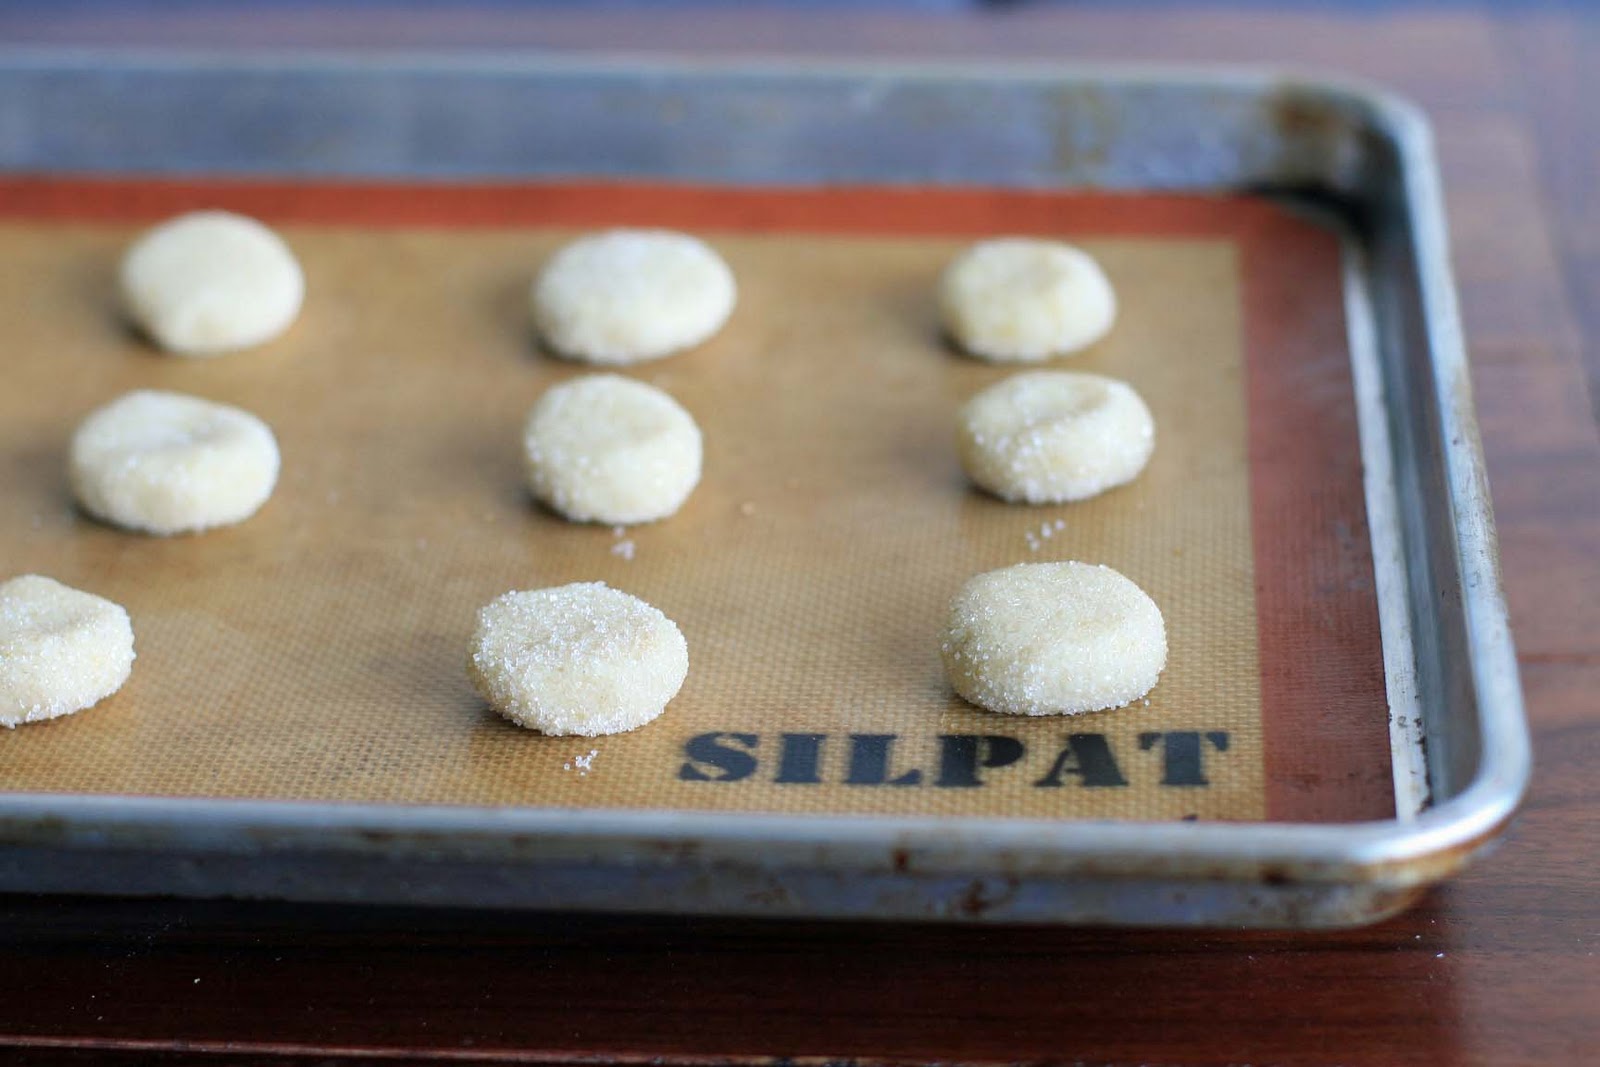
Preheat oven to 350 degrees. Line a baking sheet with parchment paper or a Silpat baking mat.
Pour a thin layer of sugar onto a large plate or bowl. Roll teaspoon sized pieces of dough in the sugar to coat. Use your hands to press the dough slightly flat.
Bake for 12-15 minutes, or until the edges are a light golden color. Transfer to a wire rack to cool.