So, I pretty much never ever do these kinds of posts, because I worry that it would come across like I’m just trying to make a couple bucks from Affiliate links. But this time I’m making an exception because, really, it’s more like a Public Service Announcement.
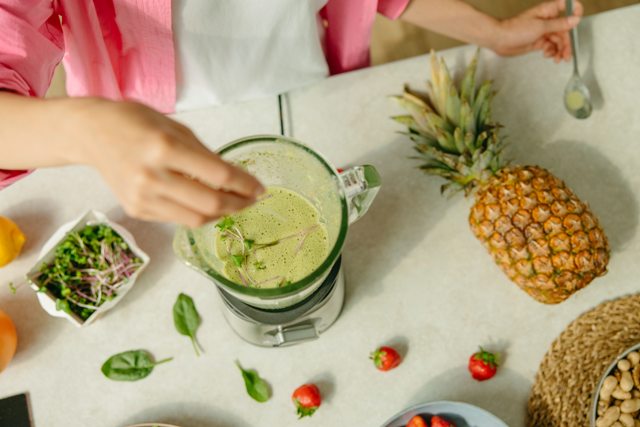
I first heard about high-speed blenders soon after I was diagnosed with Celiac disease. I was looking at getting a grain mill for making my own gluten-free flours and was researching different models. Then in some online forum I saw a recommendation to buy a high-speed blender instead of a grain mill because it wasn’t a single purpose appliance. In addition to grinding flour, you can use it to make soups, smoothies, nut butters, ice cream, etc. as well. Within the hour I was pretty much obsessed with the idea of getting one. I didn’t want to plop down $400-$500 for a blender, so I stalked Craigslist and finally became a proud owner of a used model several months later.
It’s an expensive appliance, but so, so worth it. Five+ years later and I still use it pretty much every day for green smoothies, shakes or soup (or homemade Nutella!). I’ve bought a couple high speed blenders to give away as gifts and several friends have, after seeing what mine could do, bought one for themselves (although those Will it Blend videos may have also influenced them 🙂.
High Speed Blender Deals
I wanted to give you a heads up that Blendtec (one of the two most popular brands of high-speed blenders… the other is Vitamix) is having an amazing sale right now. They’re new and they come with a 2 year warranty. If you’ve been wanting to buy one, now’s the time.
A well-deserved reward for sticking to your New Year’s get healthy resolution? Or a nudge to get you back on track? If you use the links I provided I’ll get a small commission from any purchase you make (at no extra cost to you). But if you prefer, you can also get the same exact deal if you went straight to the Blendtec site.
Happy shopping and blending!

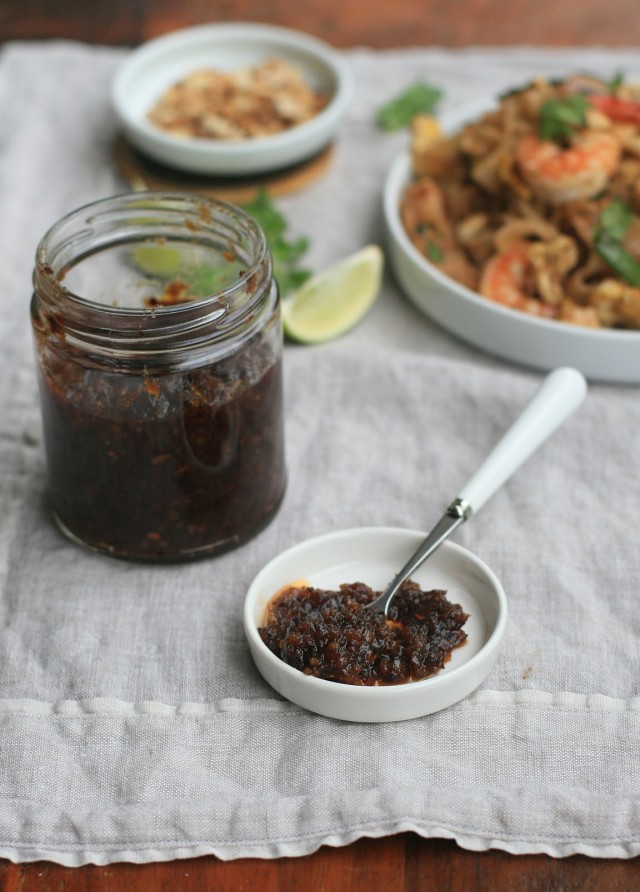 For those of you who have already tried nam prik pow, I certainly don’t need to sell you on its virtues… you’re likely already a huge fan of the stuff. But for those of you who maybe aren’t that familiar with Thai cuisine and haven’t ventured beyond Pad Thai and Thai iced tea? Well, I’m not sure any words can really convey the magic of nam prik pow.
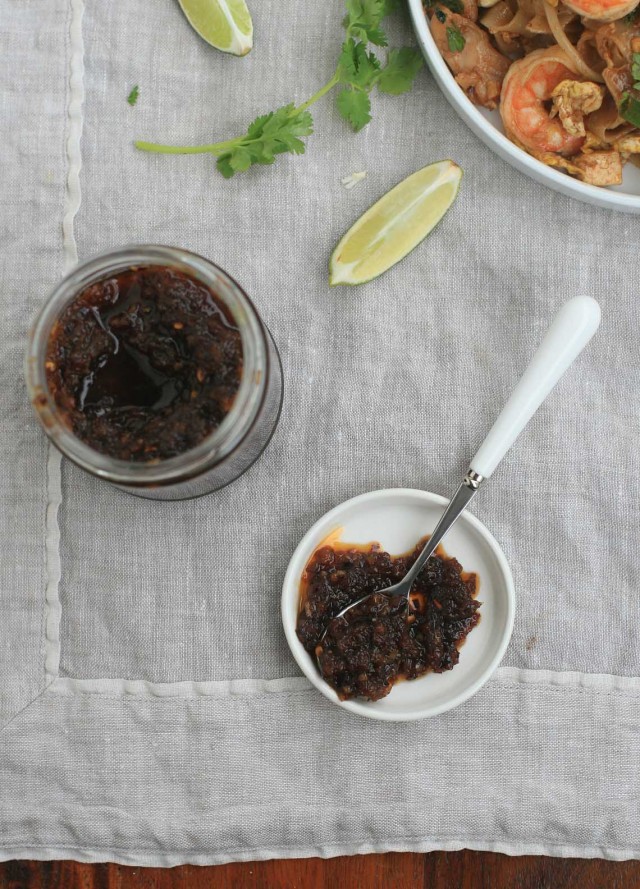

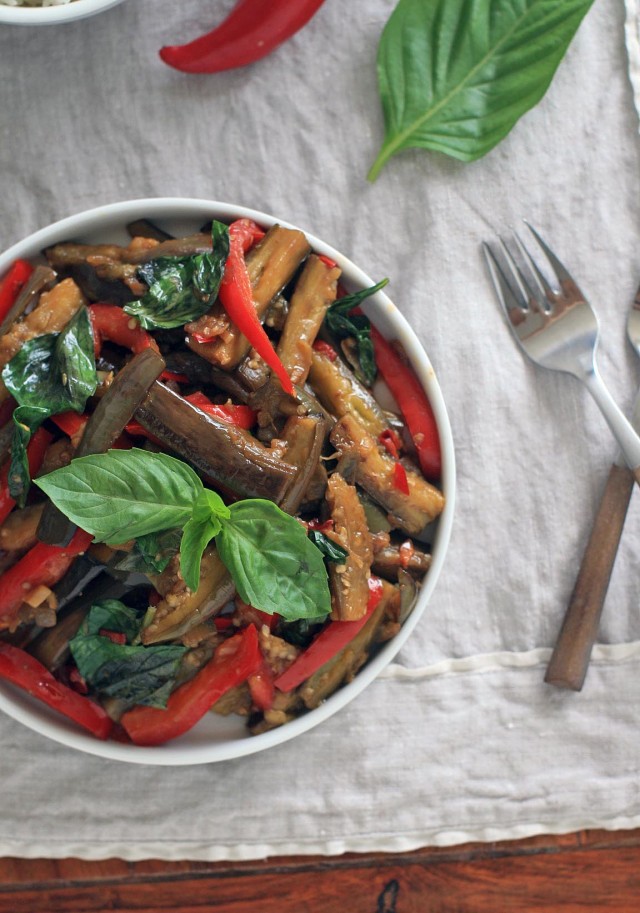 Every so often I stumble upon a food blog post in which the author is trying to persuade his or her readers into “trying eggplant again,” with the underlying assumption that a lot of folks have tried eggplant and not liked it. Really? I guess I’ve always assumed that everybody was fully on board the eggplant train.
 I think what I love most about

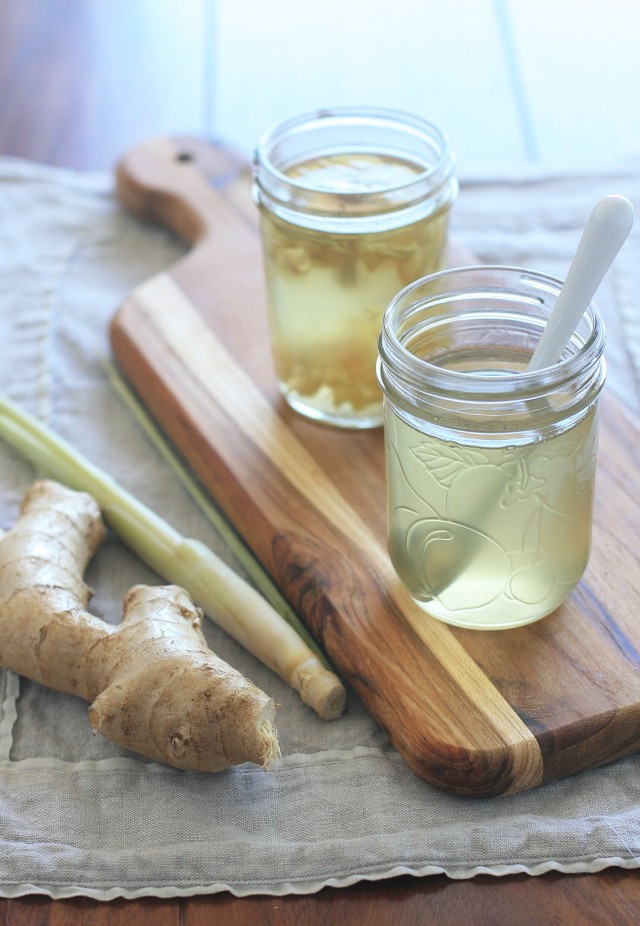 It’s not exactly groundbreaking, but here’s the lovechild of my two favorite syrups: ginger and lemongrass. The condiment shelves in my fridge are generally stuffed to the gills, and so I’m considering the consolidation of two bottles into one to be a step in the right direction. I’m not sure why I didn’t take the leap years ago.

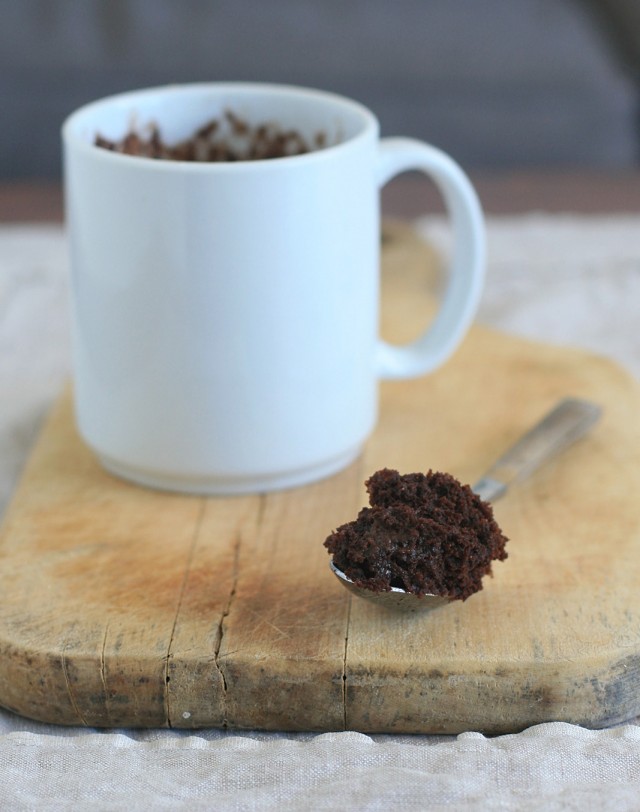 I’ve never been much of an early adopter when it comes to food. Evidence? I tried a single serving mug cake for the first time about a month or so ago. A recipe from a very, very popular food blogger had just popped in my reader earlier that day and I was in dire need of some chocolate.
 Her recipe was easy to convert to gluten-free (although for full disclosure, I made it even MORE chocolatey) and nearly impossible to muck up. I’ve used regular, coconut and almond milk… all with great success. And despite the fact that I almost never measure carefully when I’m not working on a blog recipe, it’s worked every single time. There’s a pretty big margin for error here folks.

 Is it just me, or is getting sick in the middle of summer just plain cruel? Sometimes in the rainy season I half hope that I’ll come down with a little cold. Staying home from work and curling up on the sofa with a hot cup of tea, without any chores to accomplish, sounds pretty good to me.
 I’m finally starting to feel like my old self again, which means I’ll be giving this whole blogging thing the old college try again. I’ve long had my next destination picked out, but I can’t get in the swing of things before I do a much-needed fridge and pantry clean out.
")
 Every summer, when it seems as though the heat and humidity can’t get any worse, I turn to my turn to my friend, the Arnold Palmer. You may know him as a half-and-half or a tea with lemonade. The one-two punch of caffeine and sugar with plenty of mouth-puckering lemon never fails to get me out of my heat-induced stupor.
 Posting the recipe for the drink seemed a little to Captain Obvious (make some extra strong tea, add sugar, lemon juice and ice. If you’d like a Tipsy Palmer, otherwise known as a John Daly, add some bourbon or another liquor), but it recently occurred to me that it would make one heck of a sorbet.
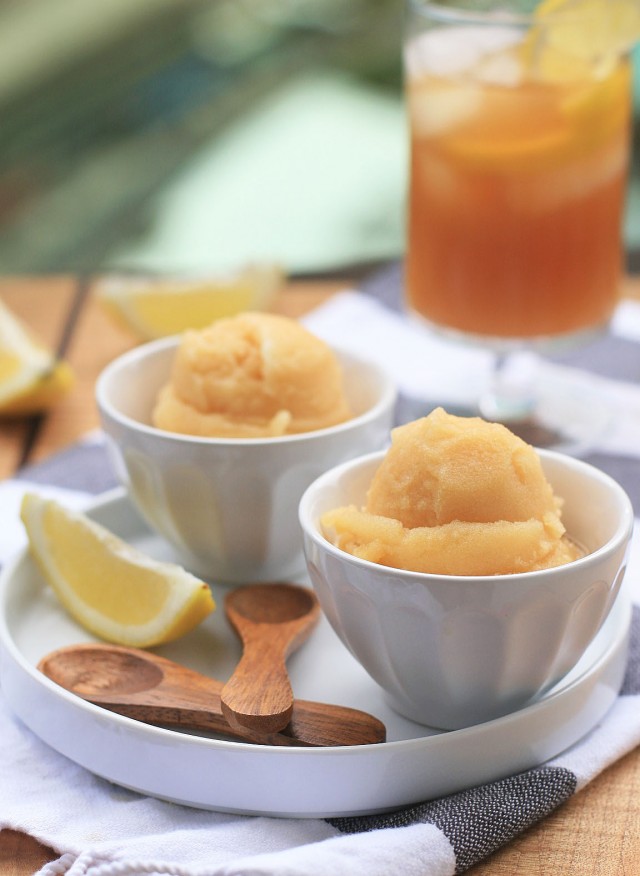

 I’m in the middle of a massive fridge, freezer and pantry clean-out, which means that all of my dried beans and legumes have got to go before I even think about putting in another order from
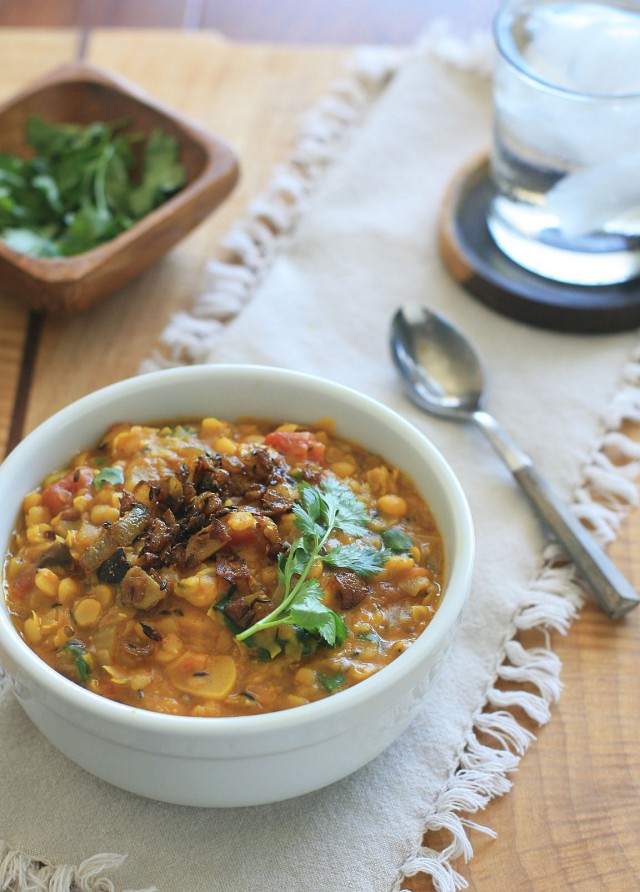
  And that, my friends, is kind of a travesty. After going overboard with lentils a couple years back, yellow split peas have become my pulse of choice. They’re great because, like lentils, they don’t require super-lengthy cooking times or overnight soaks. And with their happy and vibrant hue, they’re like a warming bowl of sunshine.

 Even though we’ve got pretty great weather year-round here in Honolulu, I’m certainly not immune to a little spring fever. The longer, warmer days mean even more frequent trips to the beach and, more importantly, more frequent beach picnics.
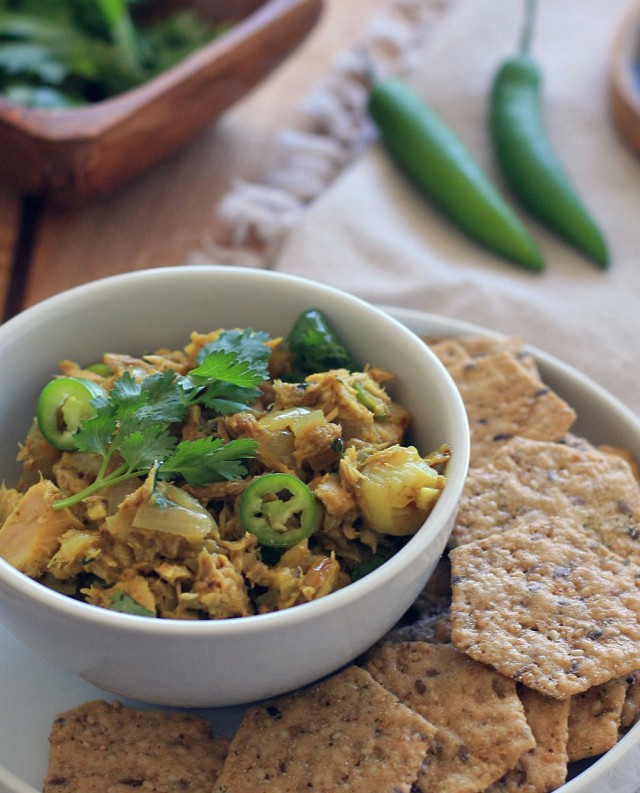
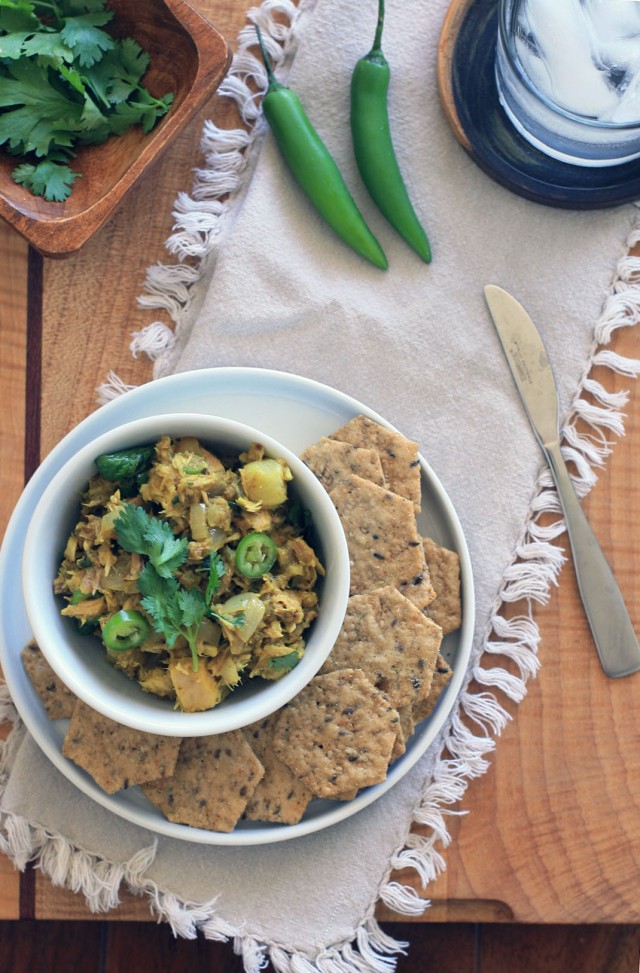 In this quick and easy dish, canned tuna is combined with sauteed onions, garlic, ginger and a hefty dose of curry powder while some sliced Serrano chile pepper provide a bit of heat . I’d happily eat this stuff plain with a fork, with crackers or in a sandwich. Hot, warm or cold. With mayo or without. Honestly, it’s hard to go wrong here.