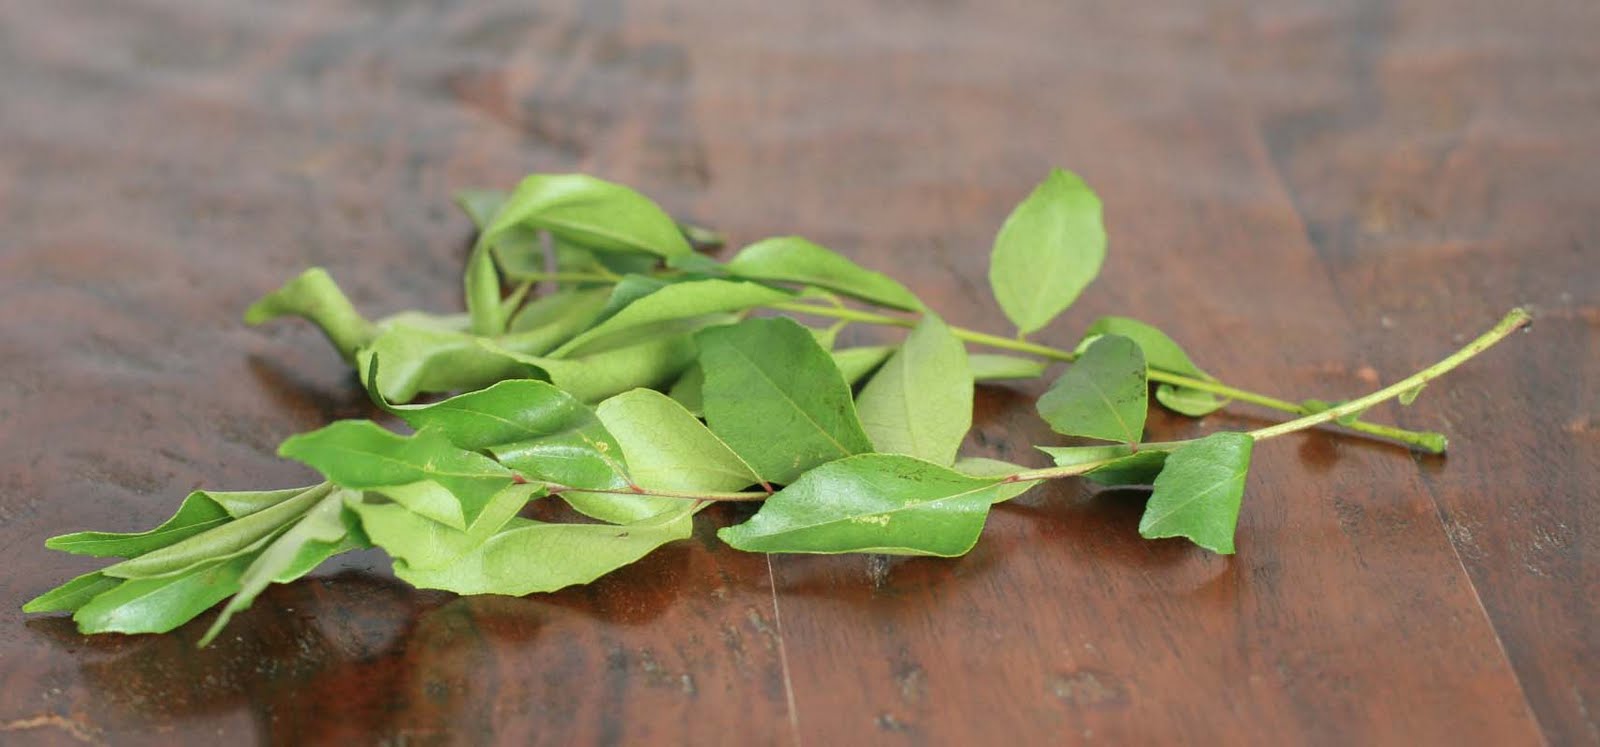
 You might be wondering why I felt I needed to post two different Sri Lankan rice recipes in as many weeks. Well, it’s because those Sri Lankans sure know how to knock it out of the park when it comes to healthy, flavorful, aromatic rice. Last week’s fragrant rice dish was simply spiced with some curry leaves, cardamom and cinnamon. This week’s version packs in a little more flavor: lemongrass, plenty of cilantro, garlic, ginger and cloves. It’s a great way to use up cilantro that’s starting to look a little bit sad, like mine.
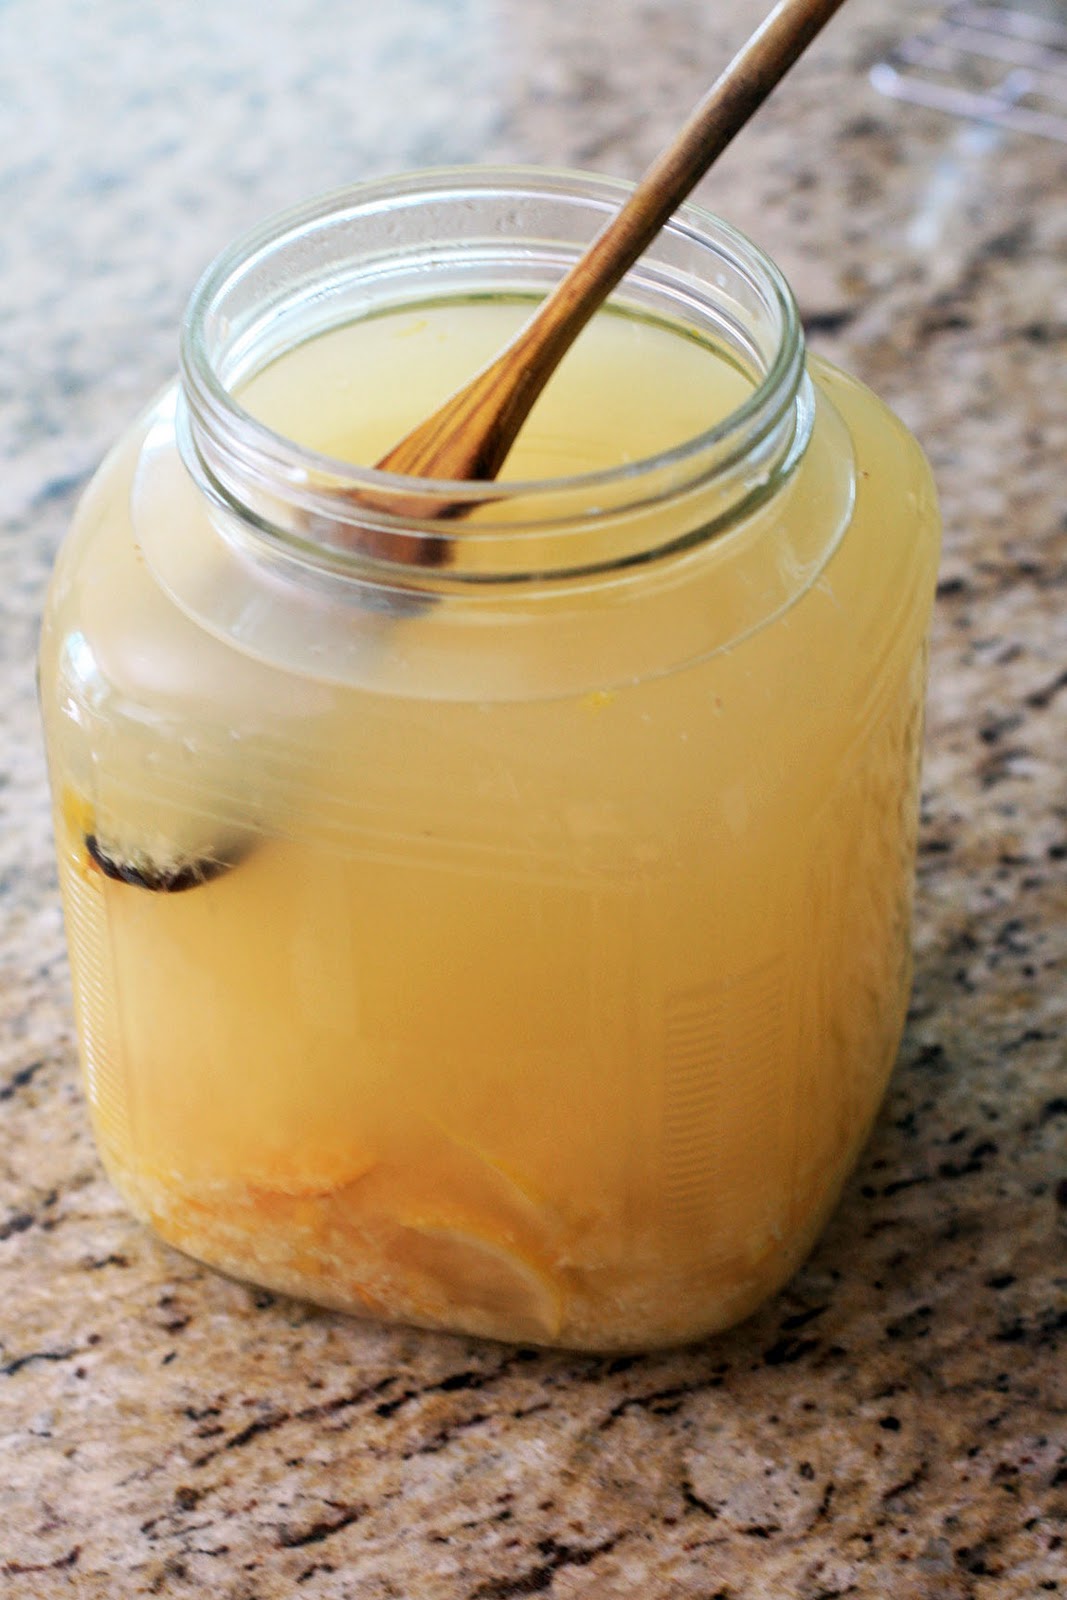
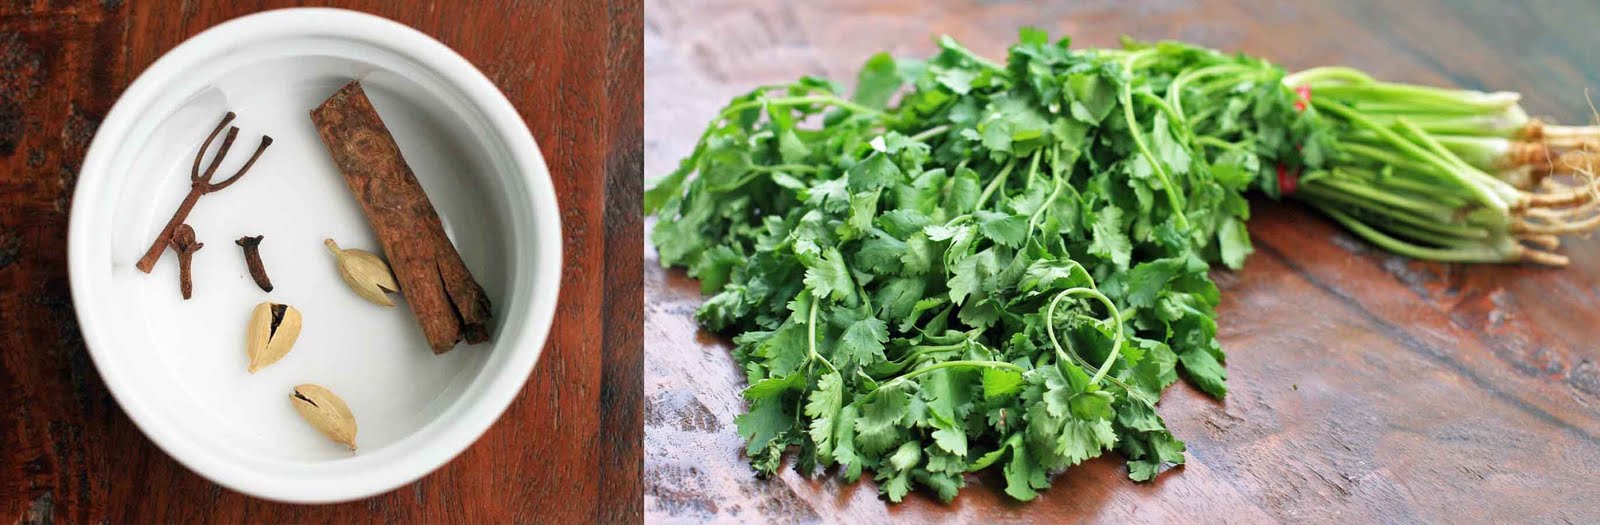 Although I love being able to just throw some rice and water into the rice cooker, these spiced rice dishes really don’t take all that much more time or effort. And don’t be alarmed if the various spices float to the top after the simmer and your rice ends up taking on a sort of swamp-thing like appearance like mine did. Just give it a stir or two and it’ll be good to go.
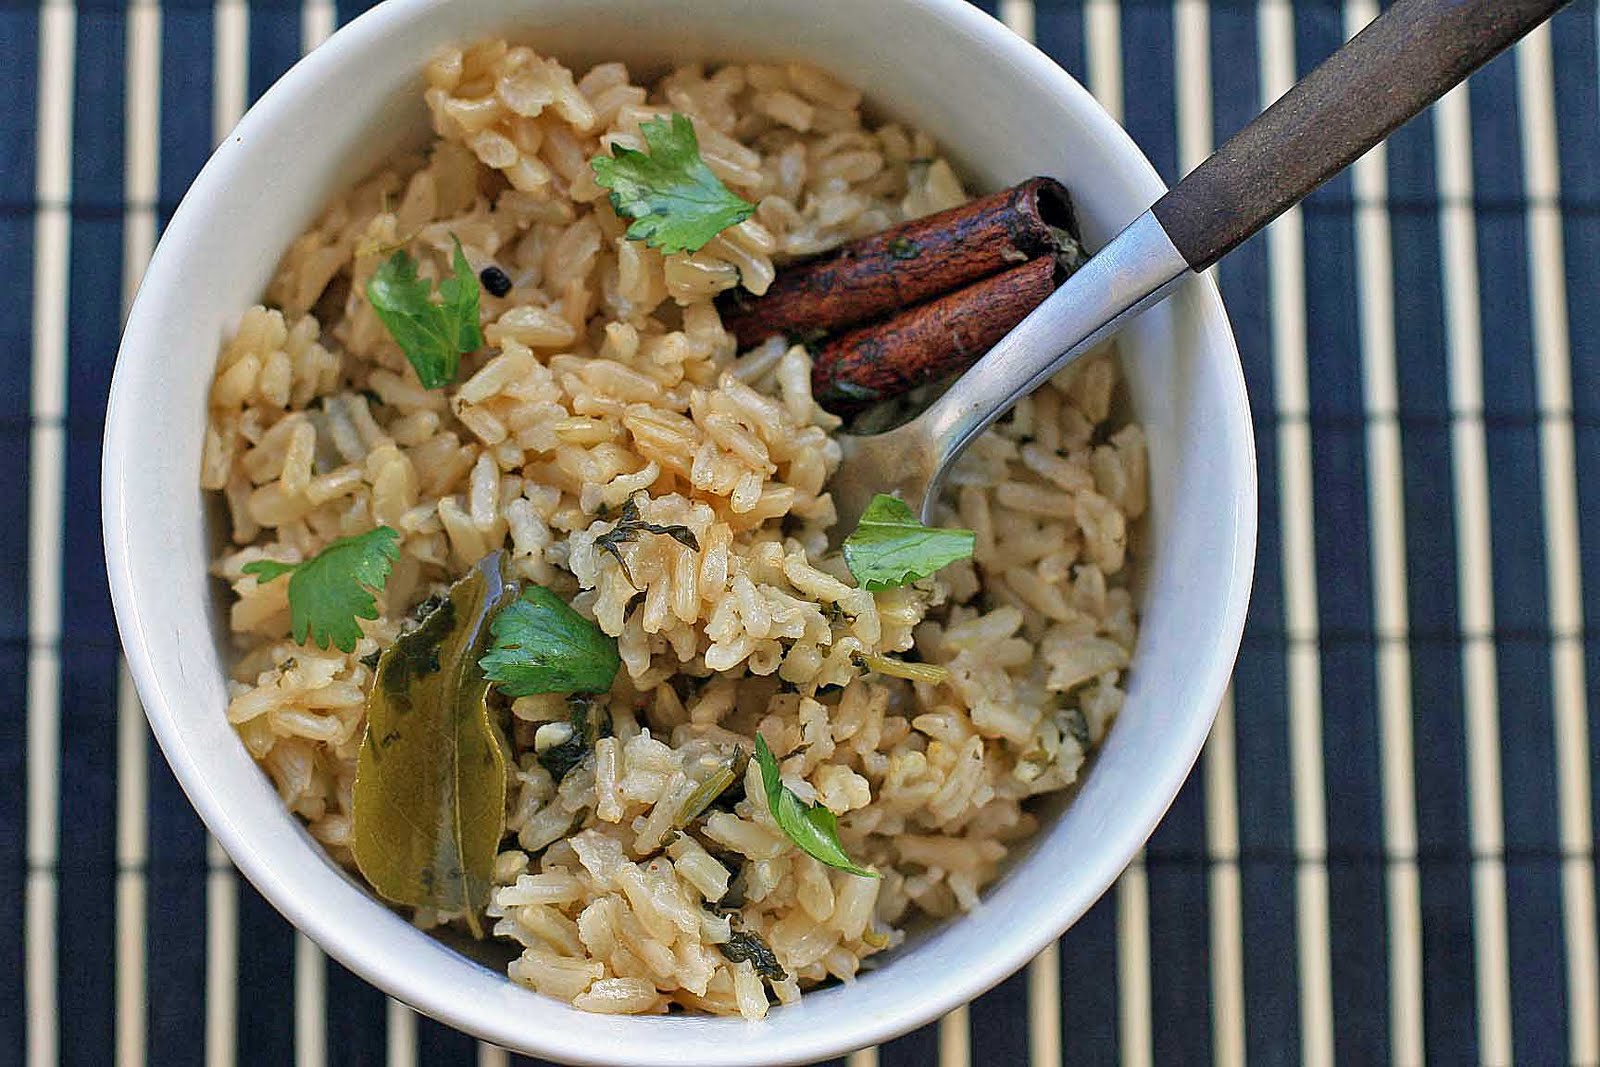
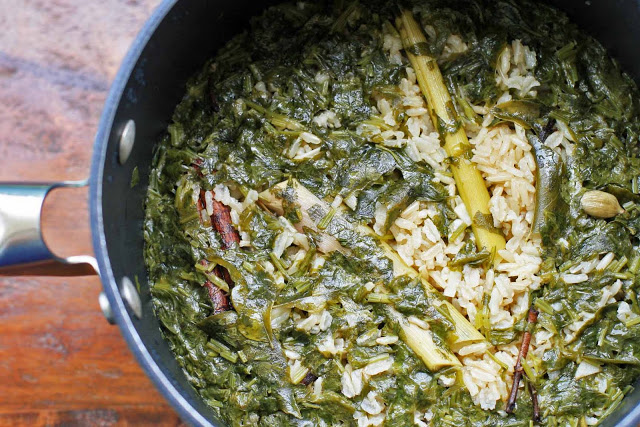
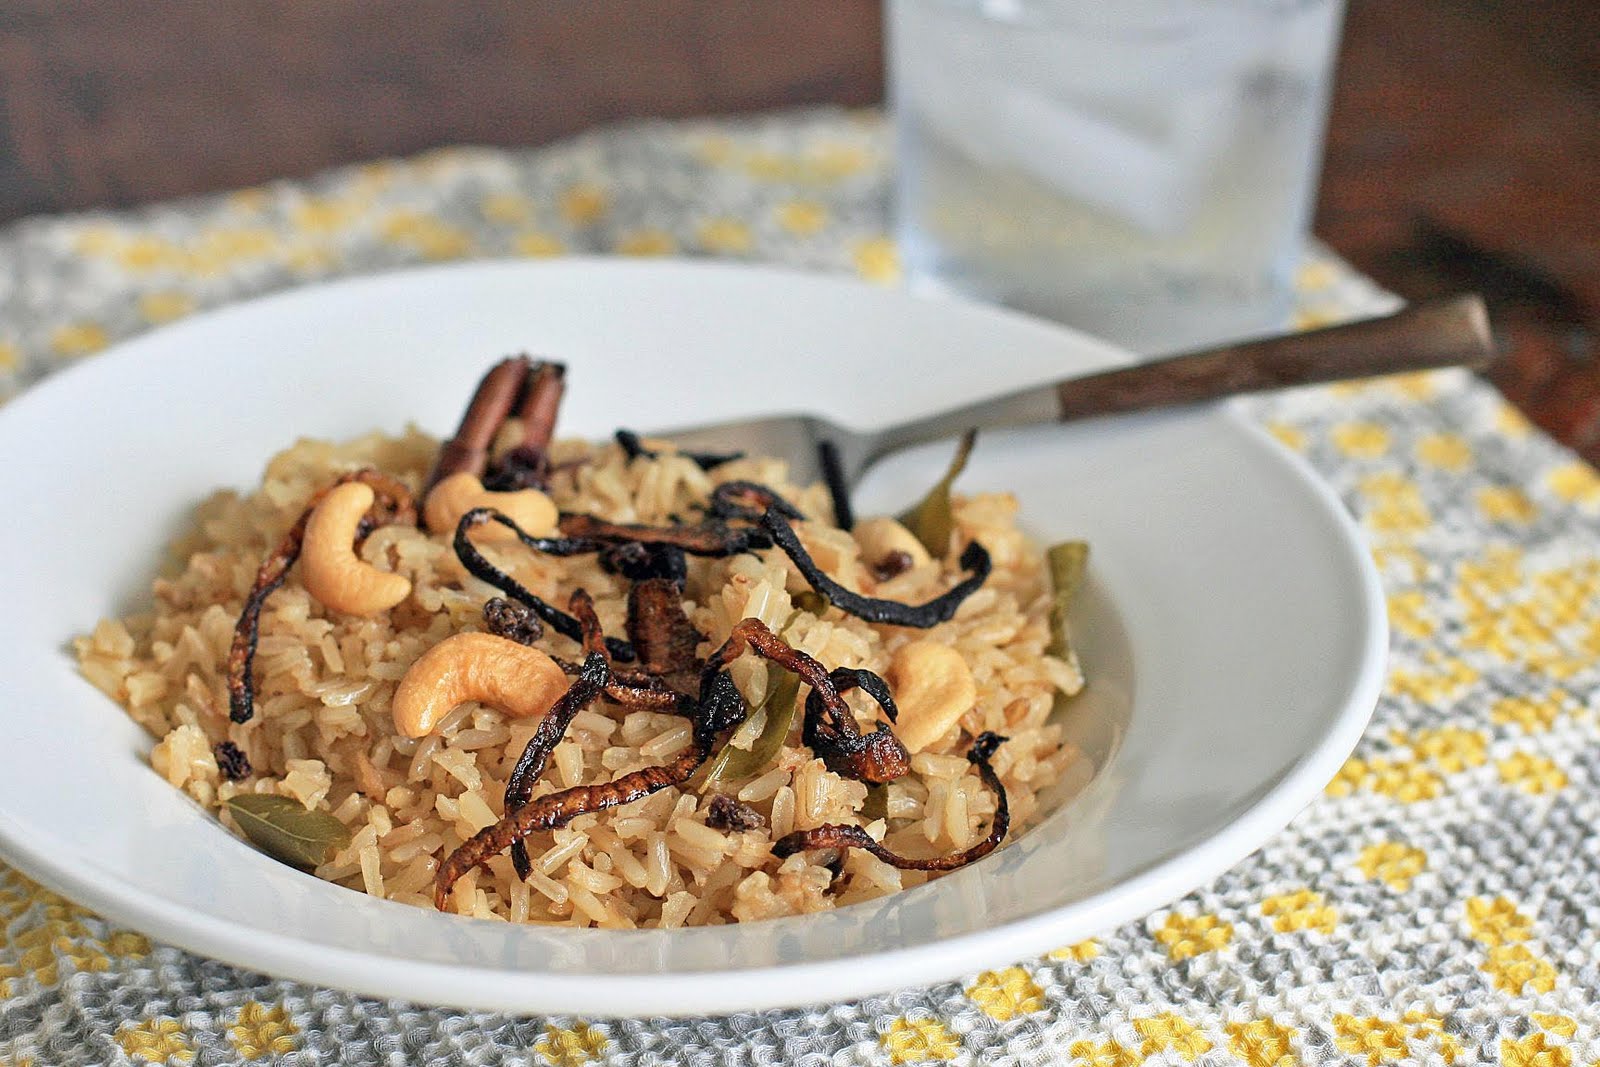
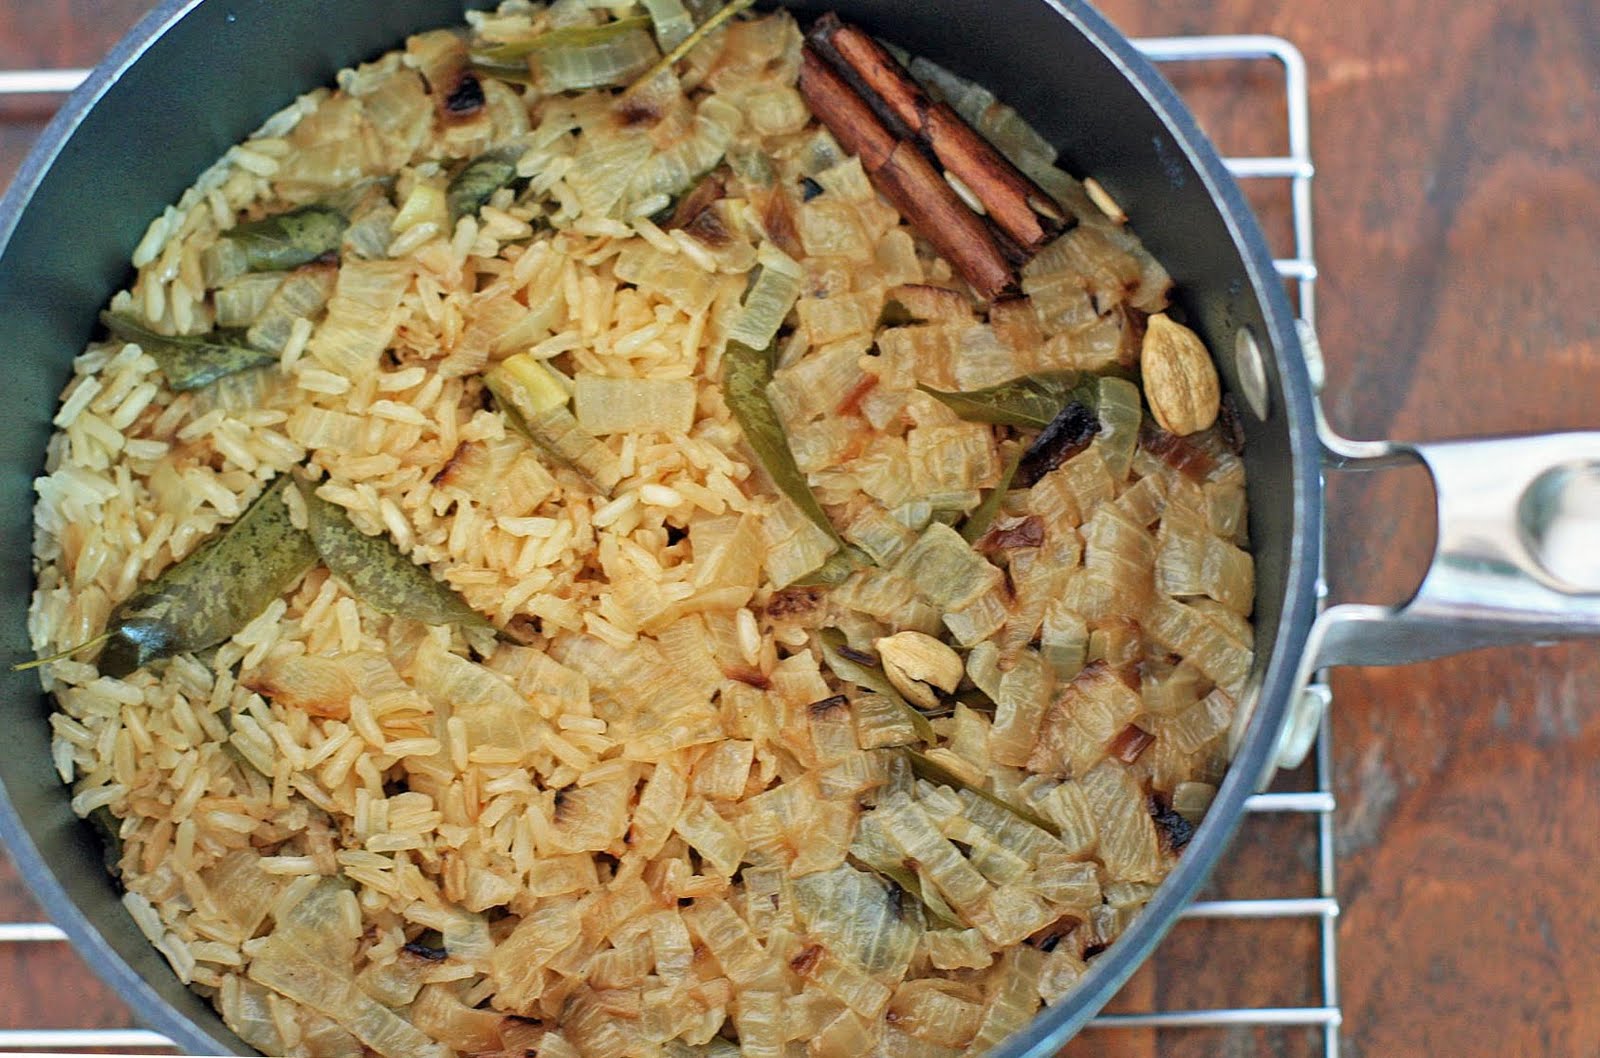
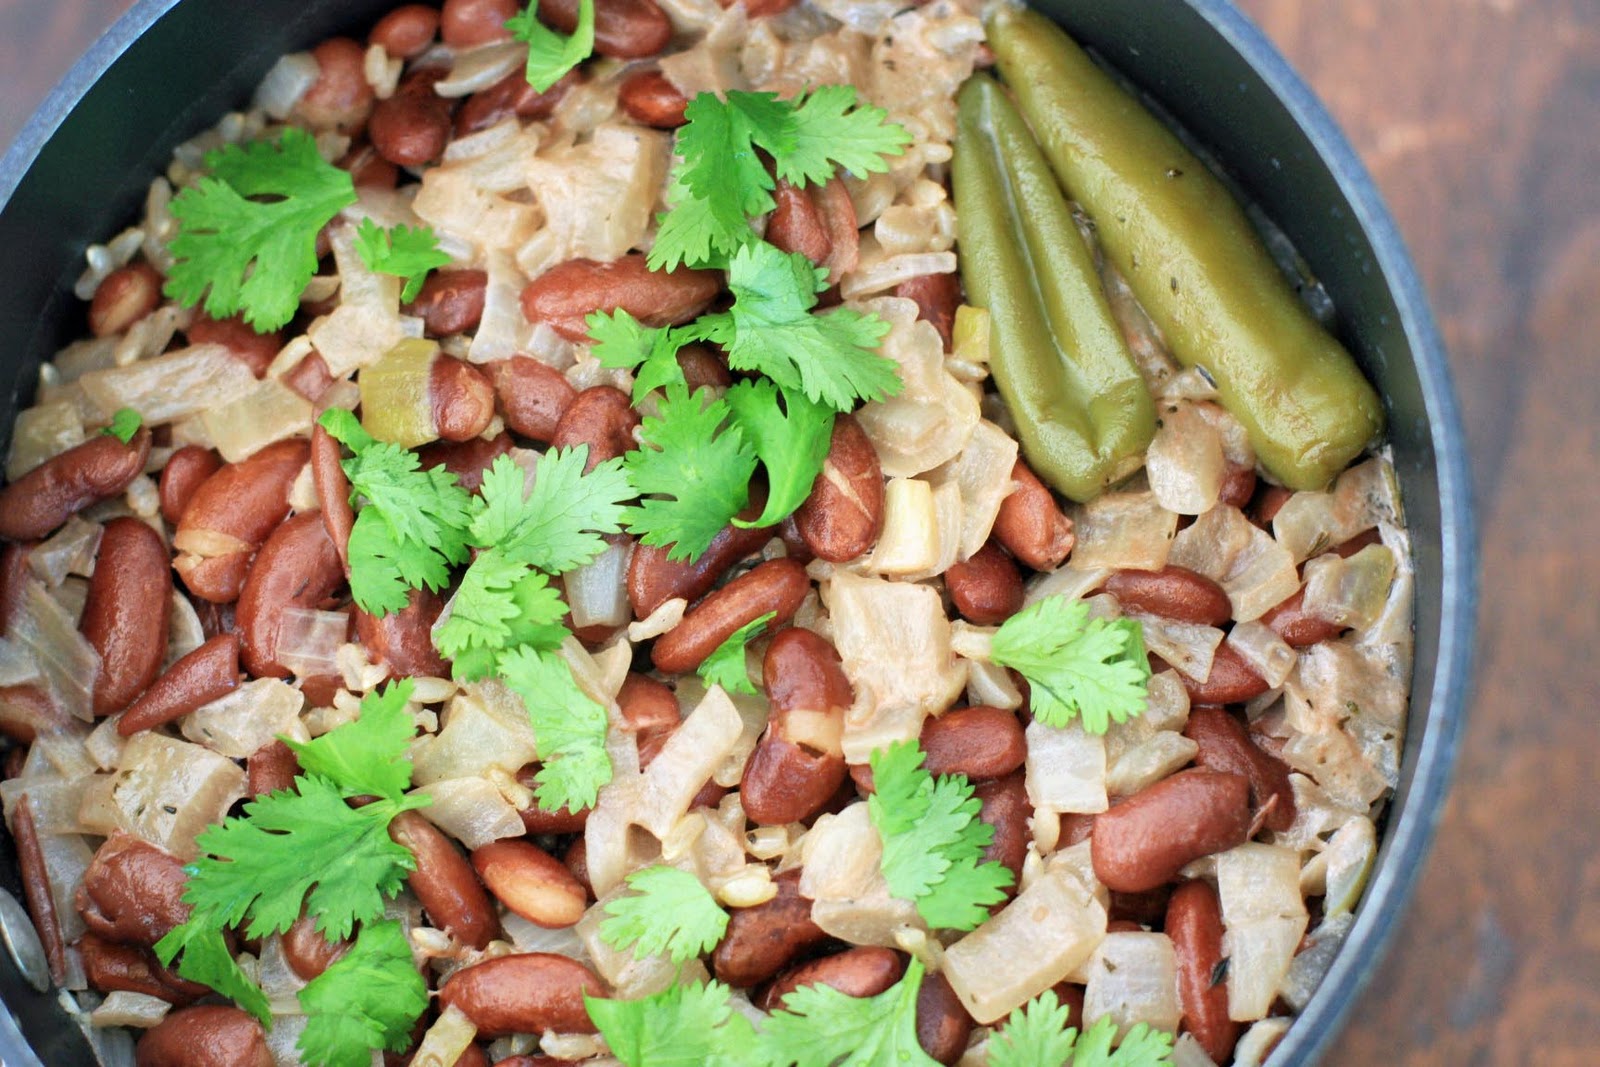
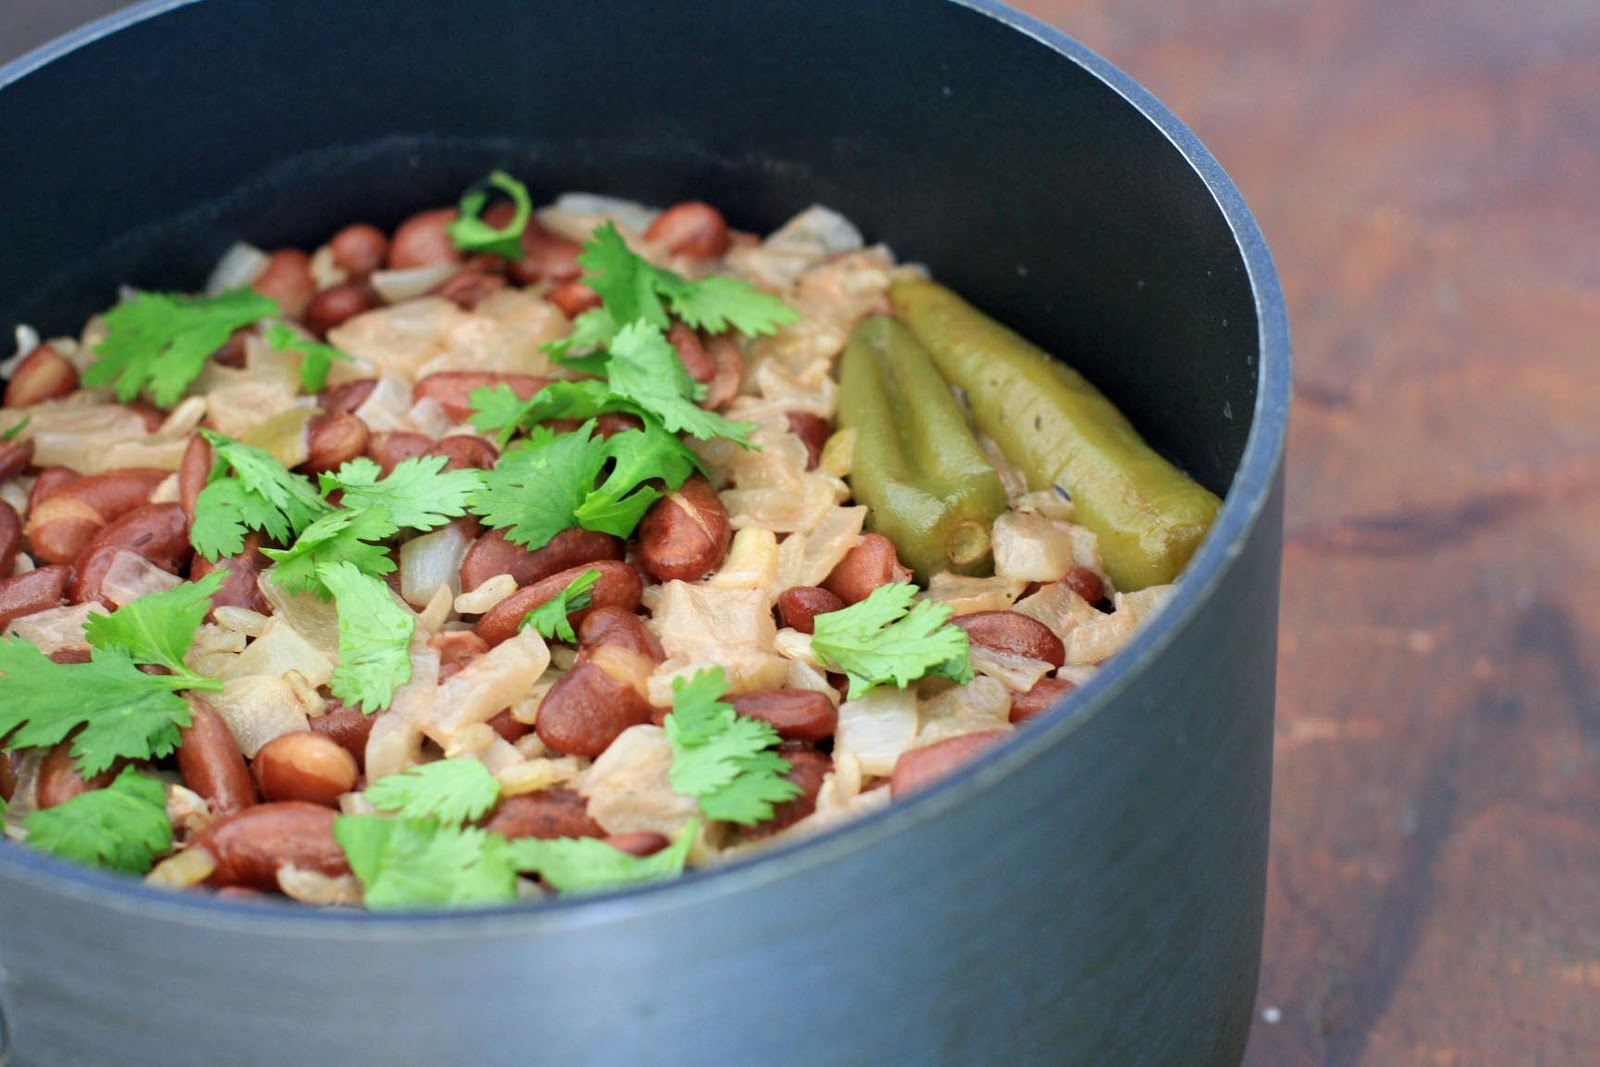
 Sri Lankan Rice with Cilantro and Lemongrass

Adapted from At Home with Madhur Jaffrey: Simple, Delectable Dishes from India, Pakistan, Bangladesh, and Sri Lanka
Yield: 6 servings
Ingredients:
2 cups brown basmati or jasmine rice
3 Tablespoons vegetable oil
v3 cardamom pods, slightly smashed
3 whole cloves
1 2-inch cinnamon stick
1 sprig curry leaves, about 12-15 leaves
2 cloves garlic, minced
2 teaspoons grated fresh ginger
lower white part of lemongrass stalk, bruised and cut into two pieces
1 cup packed, chopped fresh cilantro leaves and stems, plus extra leaves for garnish (optional)
2 2/3 cups vegetable or chicken broth or stock
1 teaspoon salt
Directions:
Put the rice in a fine sieve and rinse under cool water. Place the rice in a bowl, cover generously with cold water and let cook for 30 minutes. Drain.
Heat the oil in a medium, heavy bottomed saucepan over medium-high heat. Add the cardamom, cloves and cinnamon. Stir quickly and then immediately add the curry leaves, garlic, ginger, and lemongrass. Cook, stirring often, for one minute.
Add the drained rice and cilantro, and stir to coat in the oil and spices. Reduce heat to medium and cook for another minute. Add the broth and salt and bring to a boil. Reduce heat to low and simmer, covered, for twenty to twenty-five minutes, or until all of the broth has been absorbed. Remove from heat and let sit, covered, for another five minutes. Fluff with a fork and garnish with fresh cilantro, if desired.

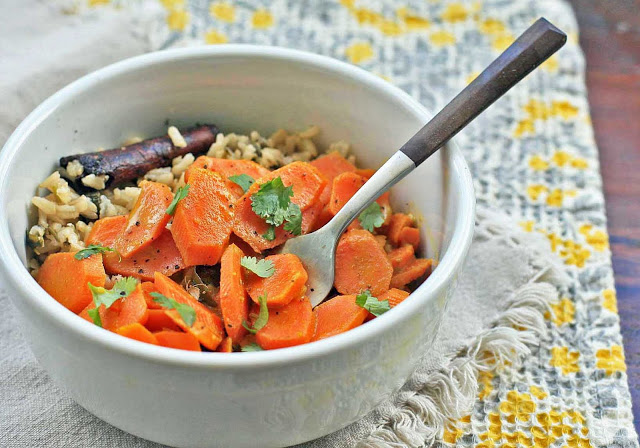 Why somebody like me, who is very much not a big carrot fan, felt the overwhelming desire to make this carrot curry is beyond me. I’m all for carrots in a mirepoix, small chunks of it in chicken pot pie, or in small stick form as a vehicle for large globs of peanut butter; i.e, they’re fine enough in a supporting role, but certainly not something I particularly enjoy as the star of the show.
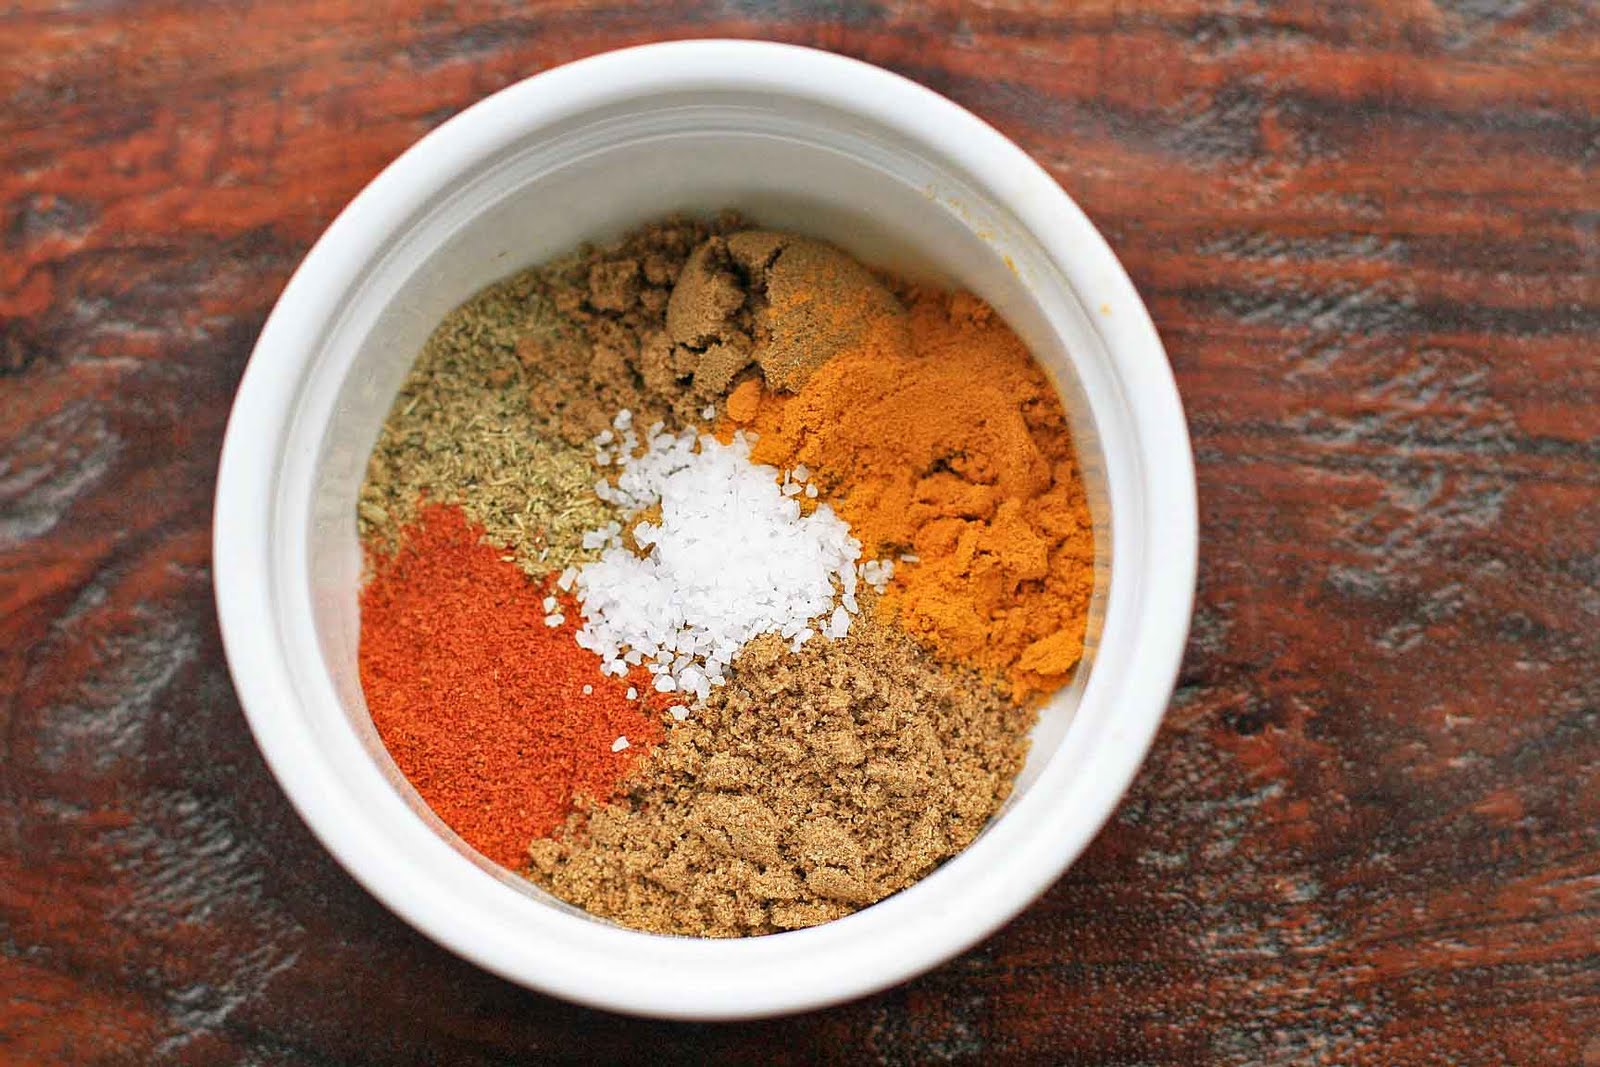


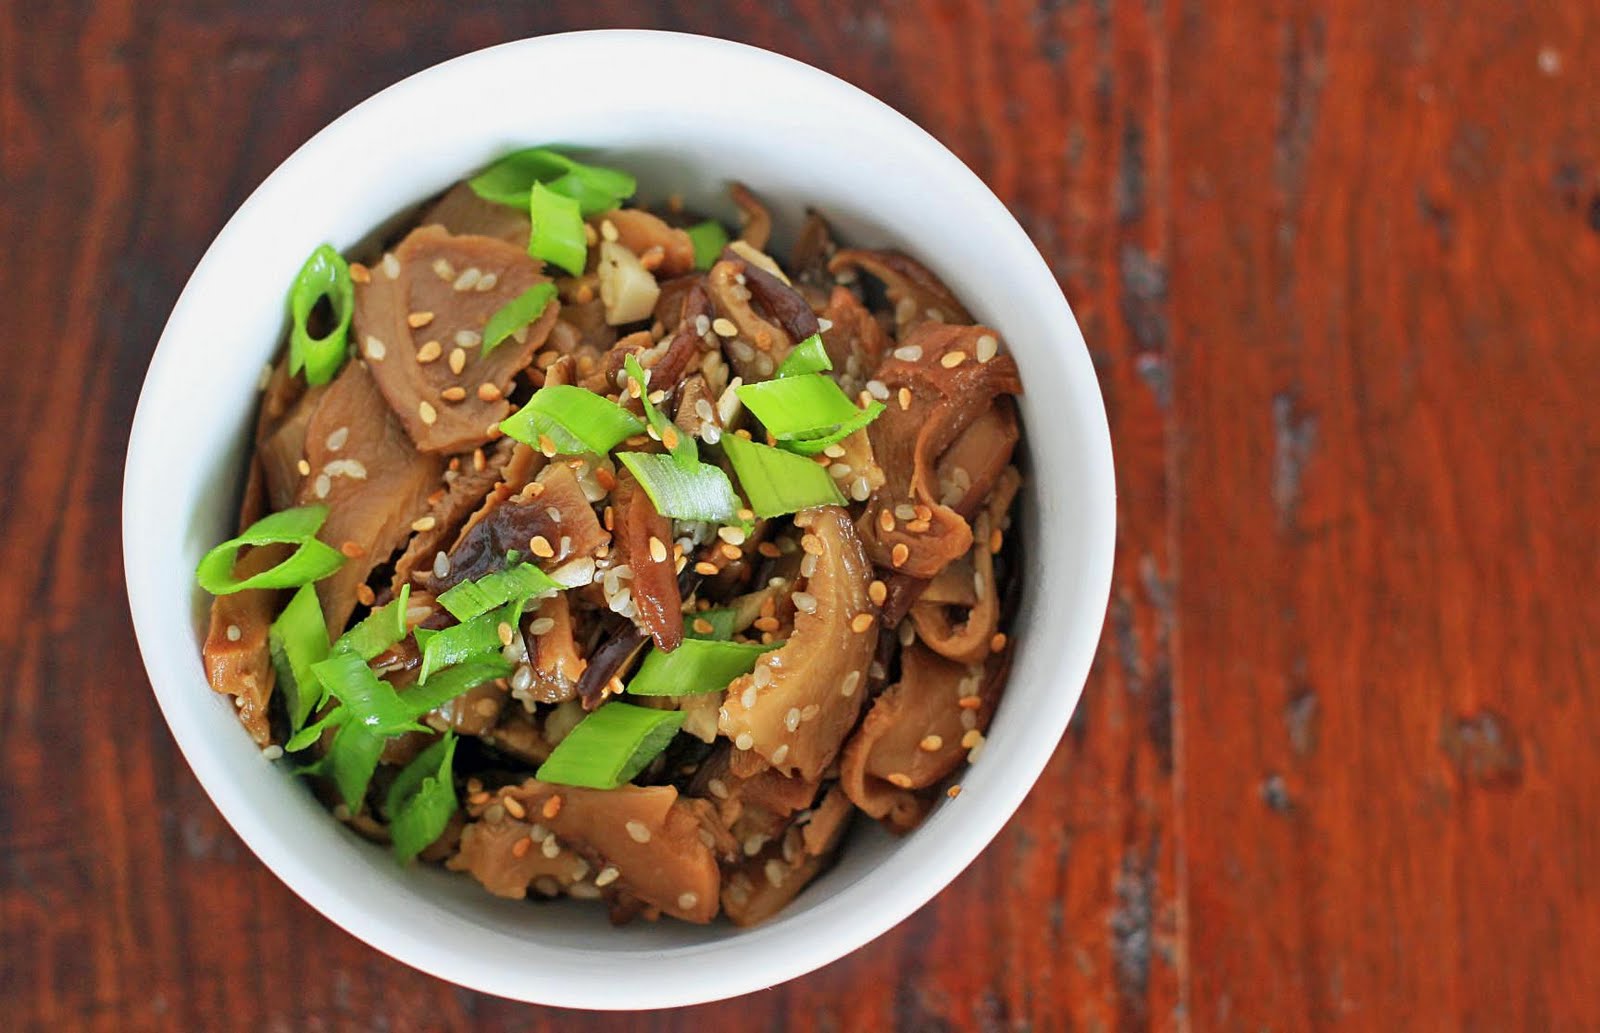


 It’s long overdue, but I’ve finally come to the realization that life isn’t going to be slowing down anytime soon. I’m always going be preparing for some trip/work project/house guest/dinner party or recuperating from some trip/work project/house guest/dinner party.
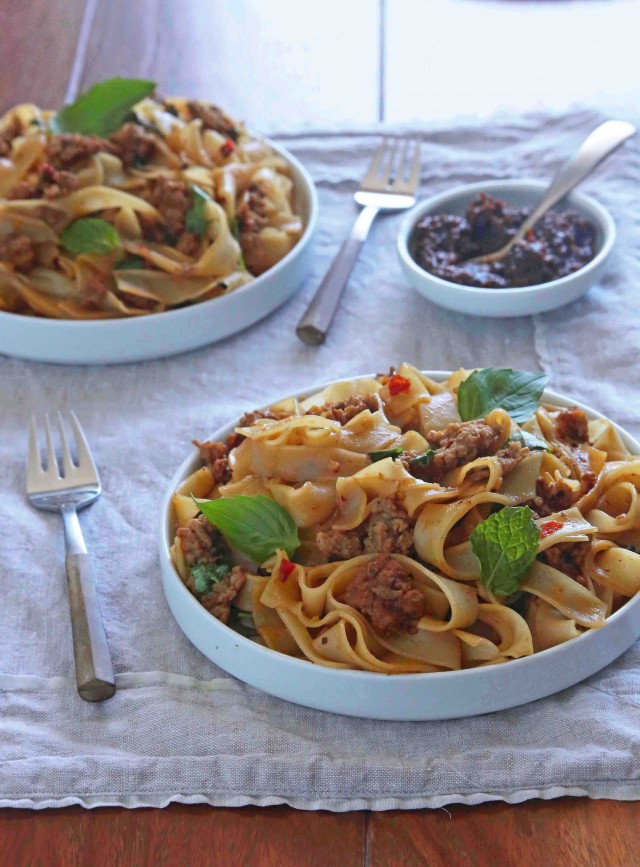
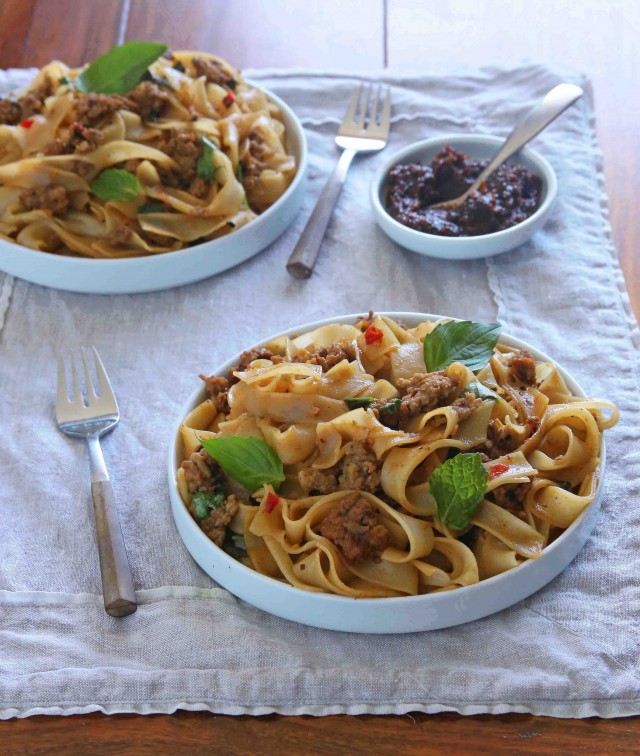
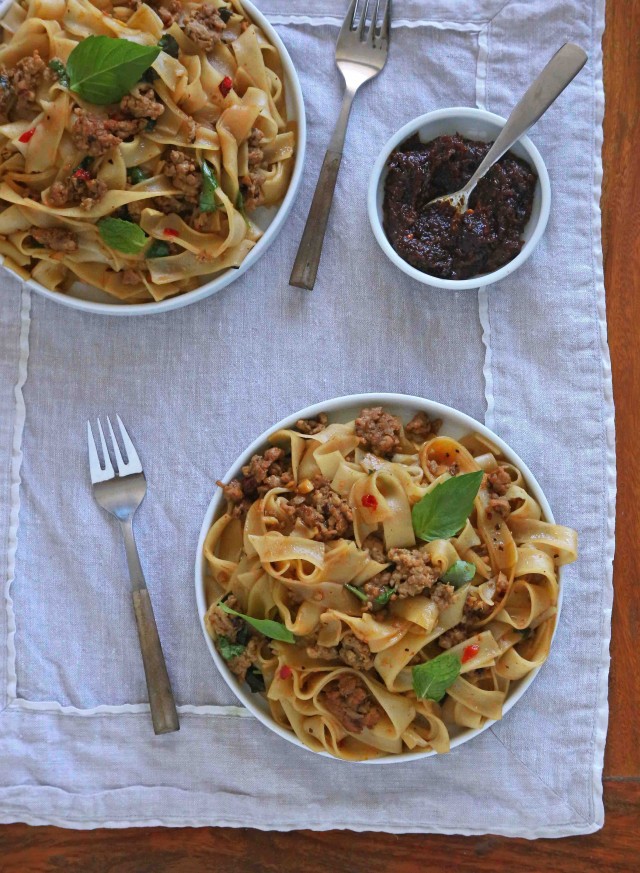 So in between this weekend’s holiday baking, chaotic dinner with friends, and massive pantry clean out, there were these spicy Thai noodles. In all of their imperfect, barely-styled glory. But one bite of the porky, carb goodness and I think you’ll be willing to forgive me for their somewhat homely appearance.