 For years I’ve been meaning to make the Pioneer Woman’s Bacon-Wrapped Jalapeno Thingies. I mean, how good do those sound? The Pioneer Woman proves once again that you really can’t go wrong with bacon. But it never occurred to me that stuffed mini peppers could go decidedly upscale, like with these little guys.
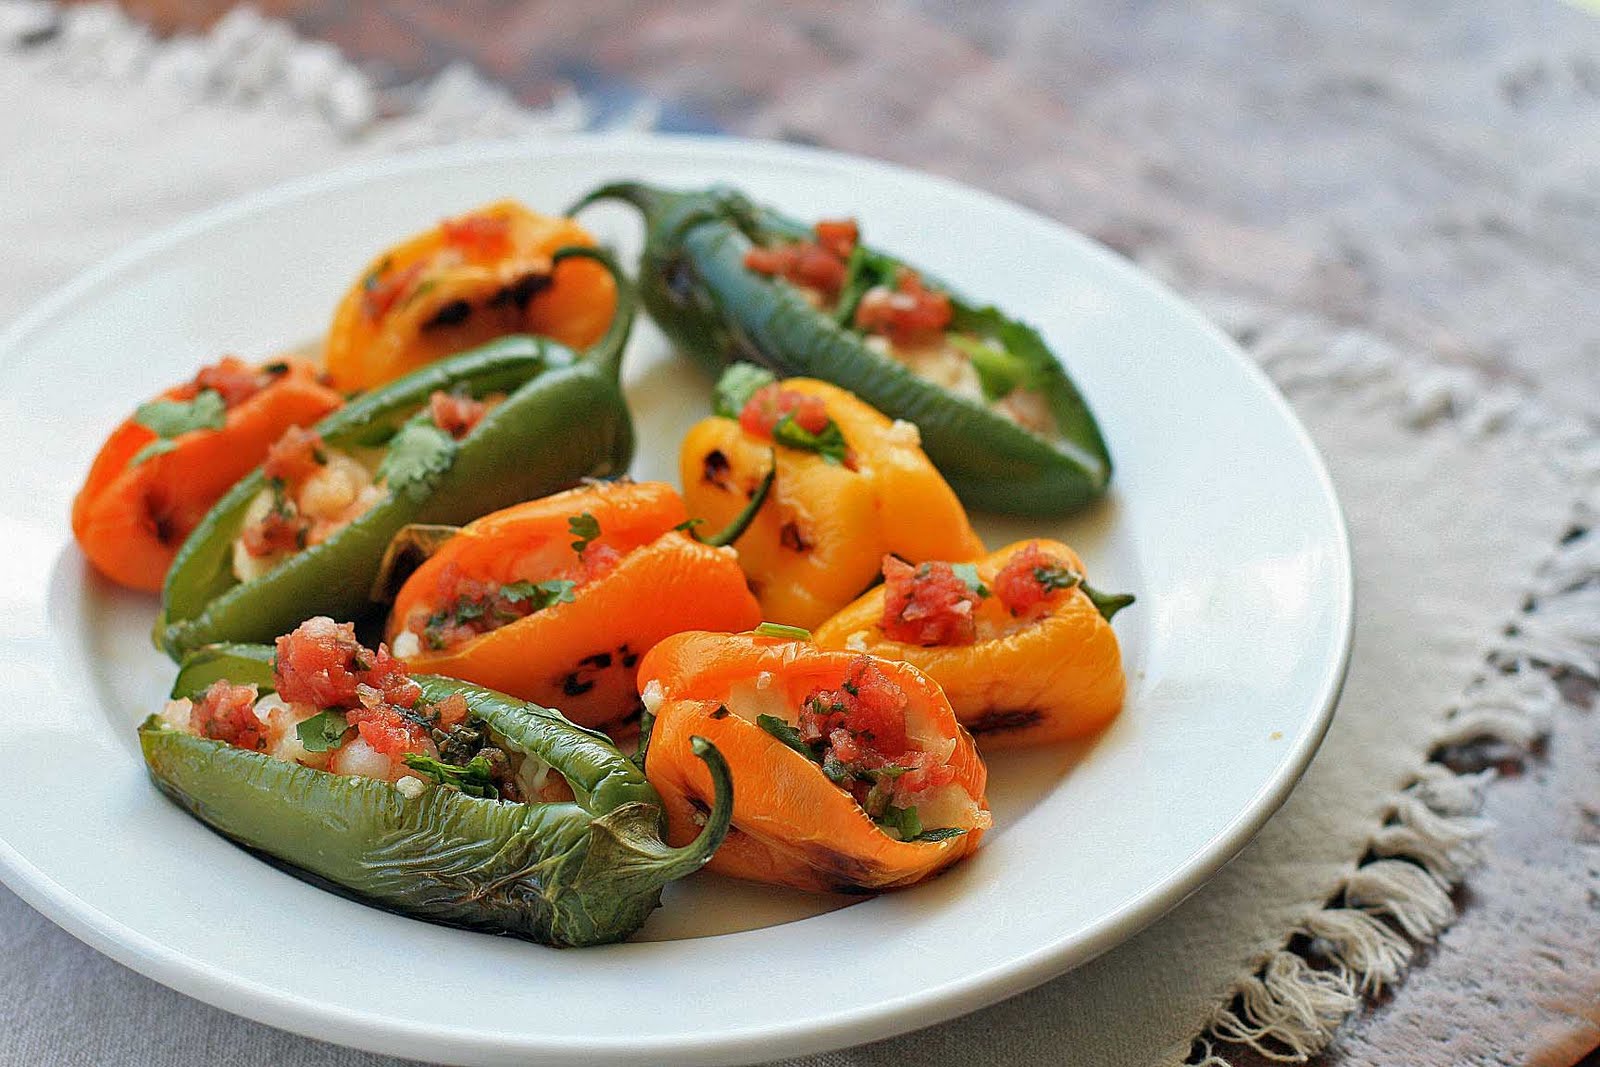
Colorful peppers stuffed with shrimp and queso fresco? Yes, yes and yes. The fact that these can be made ahead of time and just popped in the oven last minute makes me love them even more.
For this particular filling, I preferred the sweet peppers to the jalapenos. The jalapenos just seemed to overpower the subtle shrimp and queso fresco filling. But I imagine the jalapenos would be great with a heartier filling, like black beans, corn and cheddar. Next time I’m making both. And I can pretty much guarantee you that you’ll want to make at least a double batch.
Mexican Mini Peppers Stuffed with Shrimp and Queso Fresco
Ingredients:
8-9 small peppers about 3 inches long, like a jalapeno or a sweet mini pepper
1 Tablespoon butter
2 cloves minced garlic
1 green onion, chopped
3/4 cup chopped raw shrimp
1/4 teaspoon salt
3/4 cup crumbled queso fresco
chopped cilantro and fresh salsa to serve
Directions:
Preheat oven to 350 degrees.
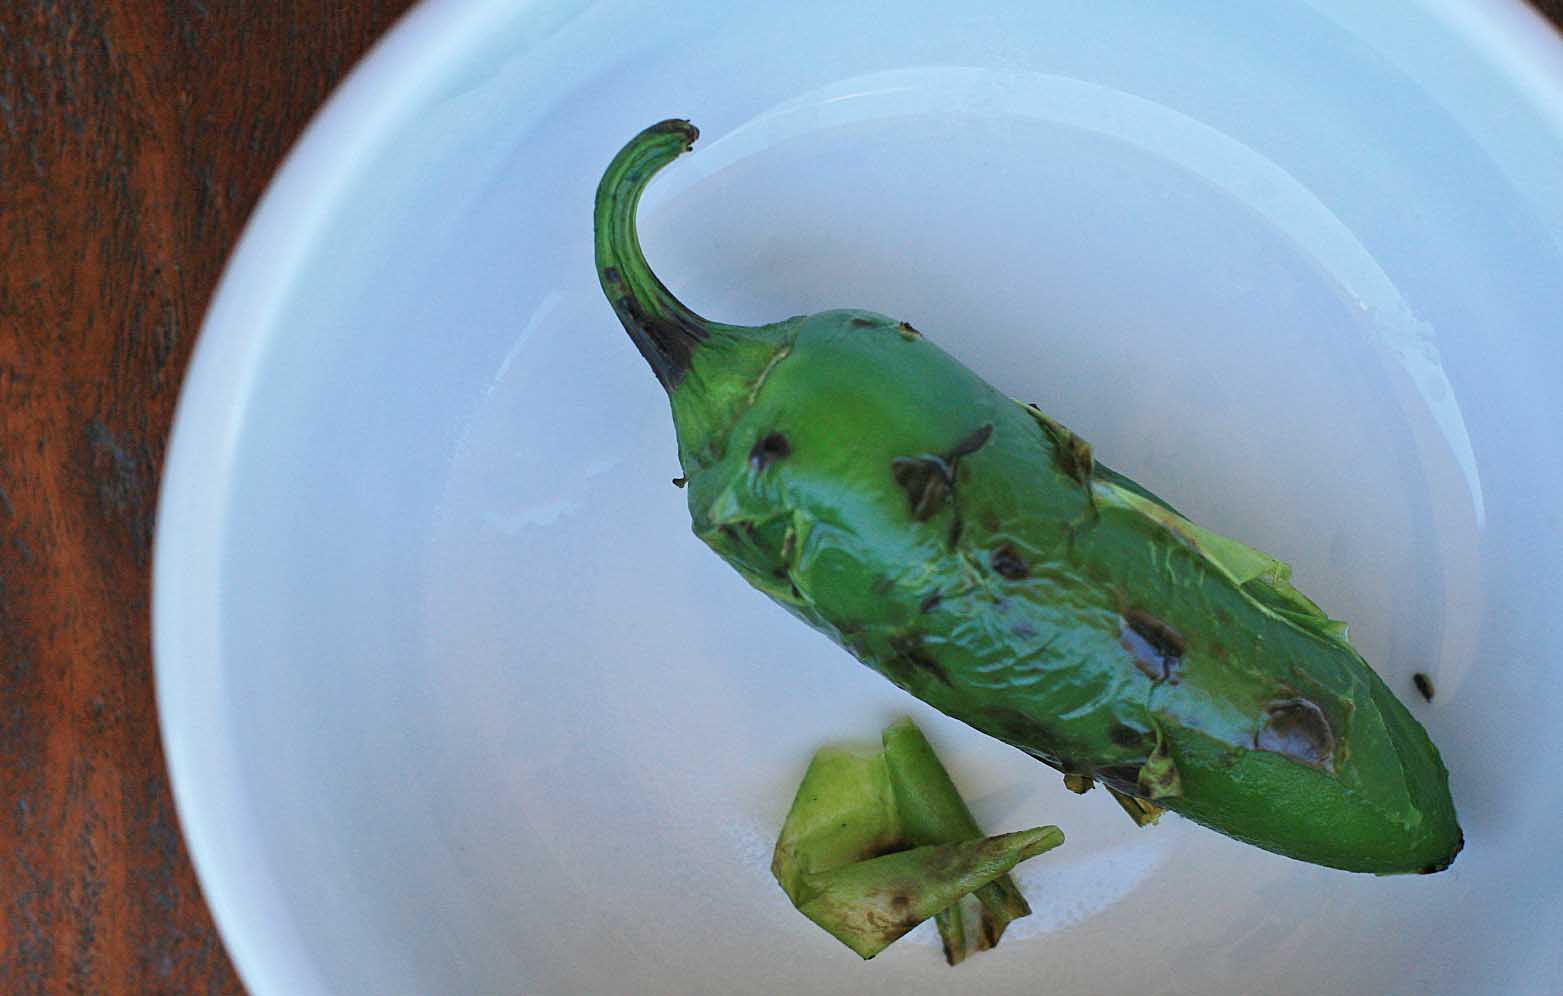
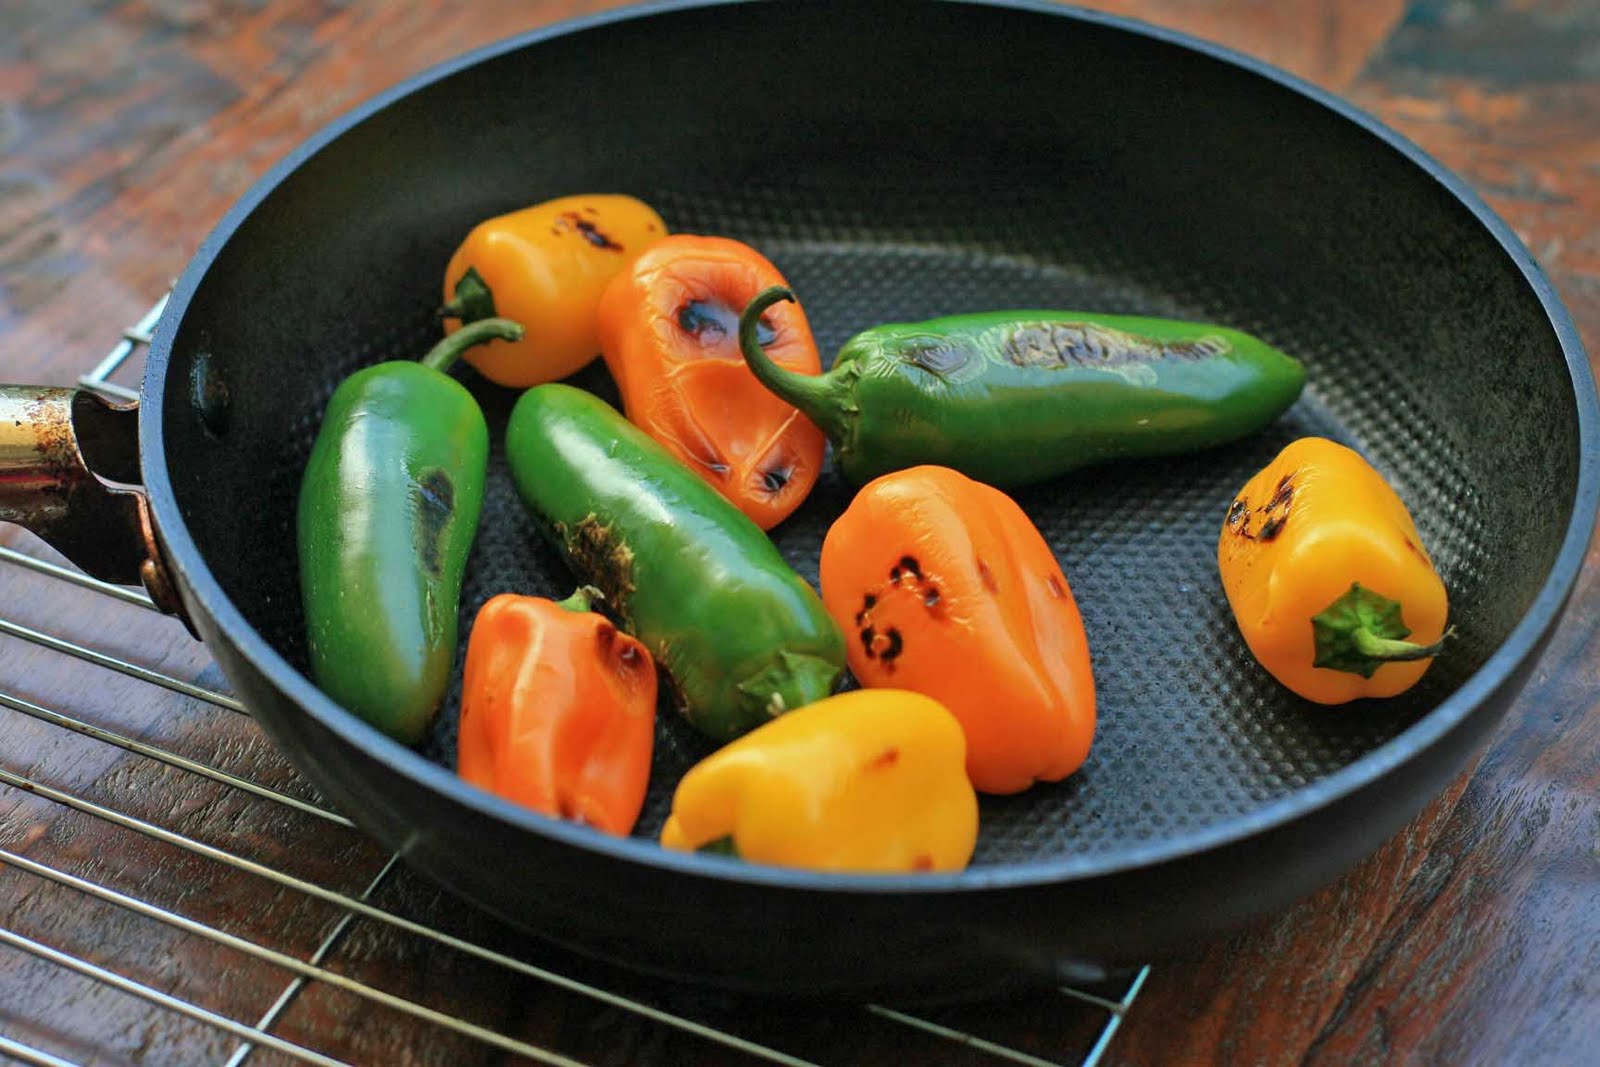
Dry fry the chilies in a frying pan over medium-high heat until the skins begin to scorch. Remove from heat and let sit until they’ve cooled enough to handle. Make a slit lengthwise in the pepper and remove the seeds, keeping the stems intact- I found a really small pair of tongs worked really well for this.
In a small frying pan, heat the butter over medium heat and add the garlic and green onion and cook until fragrant. Add the chopped shrimp and salt and cook until the shrimp turns pink. Remove from heat and pour the seasoned shrimp and any accumulated juices in a medium bowl. Add the queso fresco and stir to mix. Taste and adjust the salt, if needed.
Use a small spoon to fill each pepper with the shrimp mixture. Place the peppers on a small baking sheet or on an ovenproof plate and bake for 5-7 minutes, or until the filling is hot. Top with your favorite fresh salsa and chopped cilantro.
Note: if you’d like to make these ahead of time, cover and refrigerate the peppers immediately after stuffing for up to 24 hours. Just take them out and bake in the preheated oven until hot.