Home Blog Page 100

Joy The Baker’s Goat Cheese and Black Pepper Truffles

0

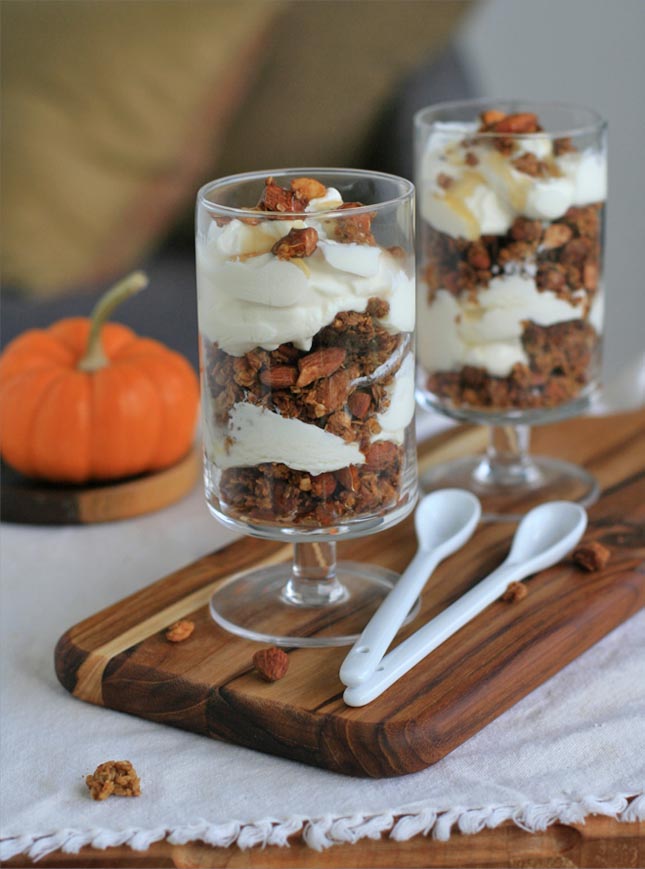
Before I started typing this out I had to Google, “Are chocolate truffles French?”  Good news folks, they are (supposedly the chocolate truffle was first created by Antoine Dufour in Chambéry, France in December 1895).

But even if they weren’t I was still going to try to slip these goat cheese and pepper chocolate truffles into this France segment with some sort of irrefutable logic like, “French people eat chocolate, French people eat goat cheese, therefore these chocolate and goat cheese truffles are French.  Which, of course, would have been a total lie because they’re 100% California courtesy of the super talented and hilarious Joy the Baker.

Do any of you remember a time when chocolate was just that- chocolate?   And even the idea of sprinkling salt seemed foreign or scandalous.  But then folks like Katrina Markoff came along and before I knew it I was eating chocolate bars infused with chile peppers and chocolate topped with hickory smoked bacon.  And all was right with the world until I realized that I couldn’t sustain a Mast Brothers or Vosges Haut Chocolate habit without dipping into my retirement account.

But what’s a girl to do when she wants fancy-pants chocolate with a unique, funky flavor but doesn’t want to spend an arm and a leg?  Joy the Baker to the rescue.

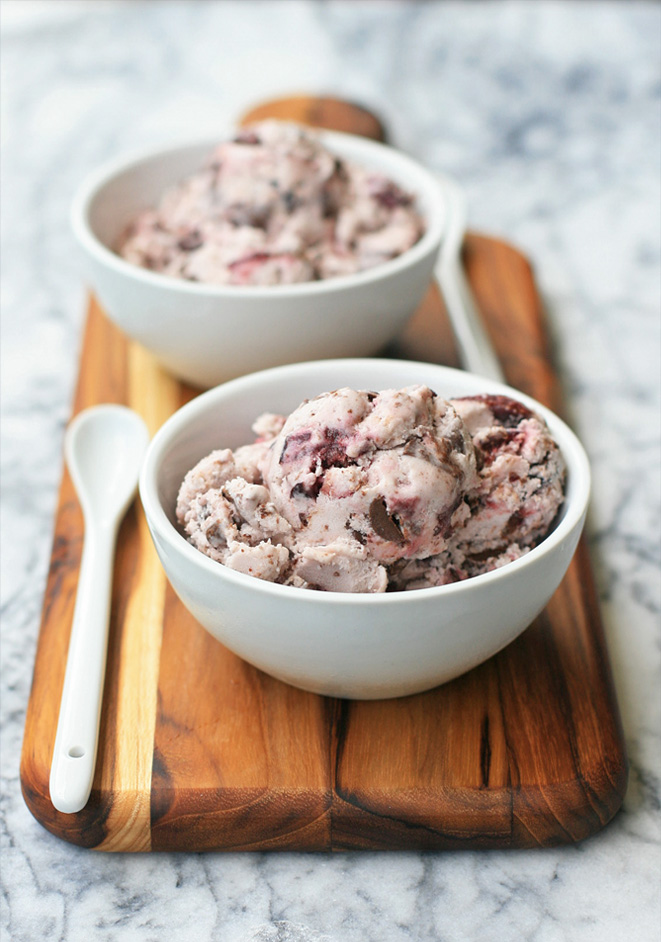
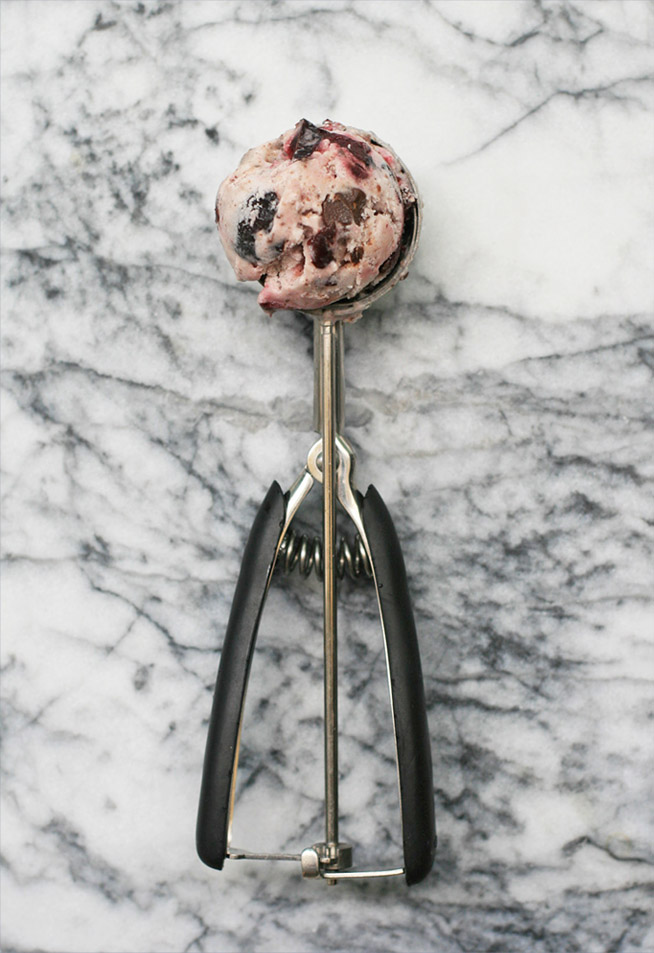
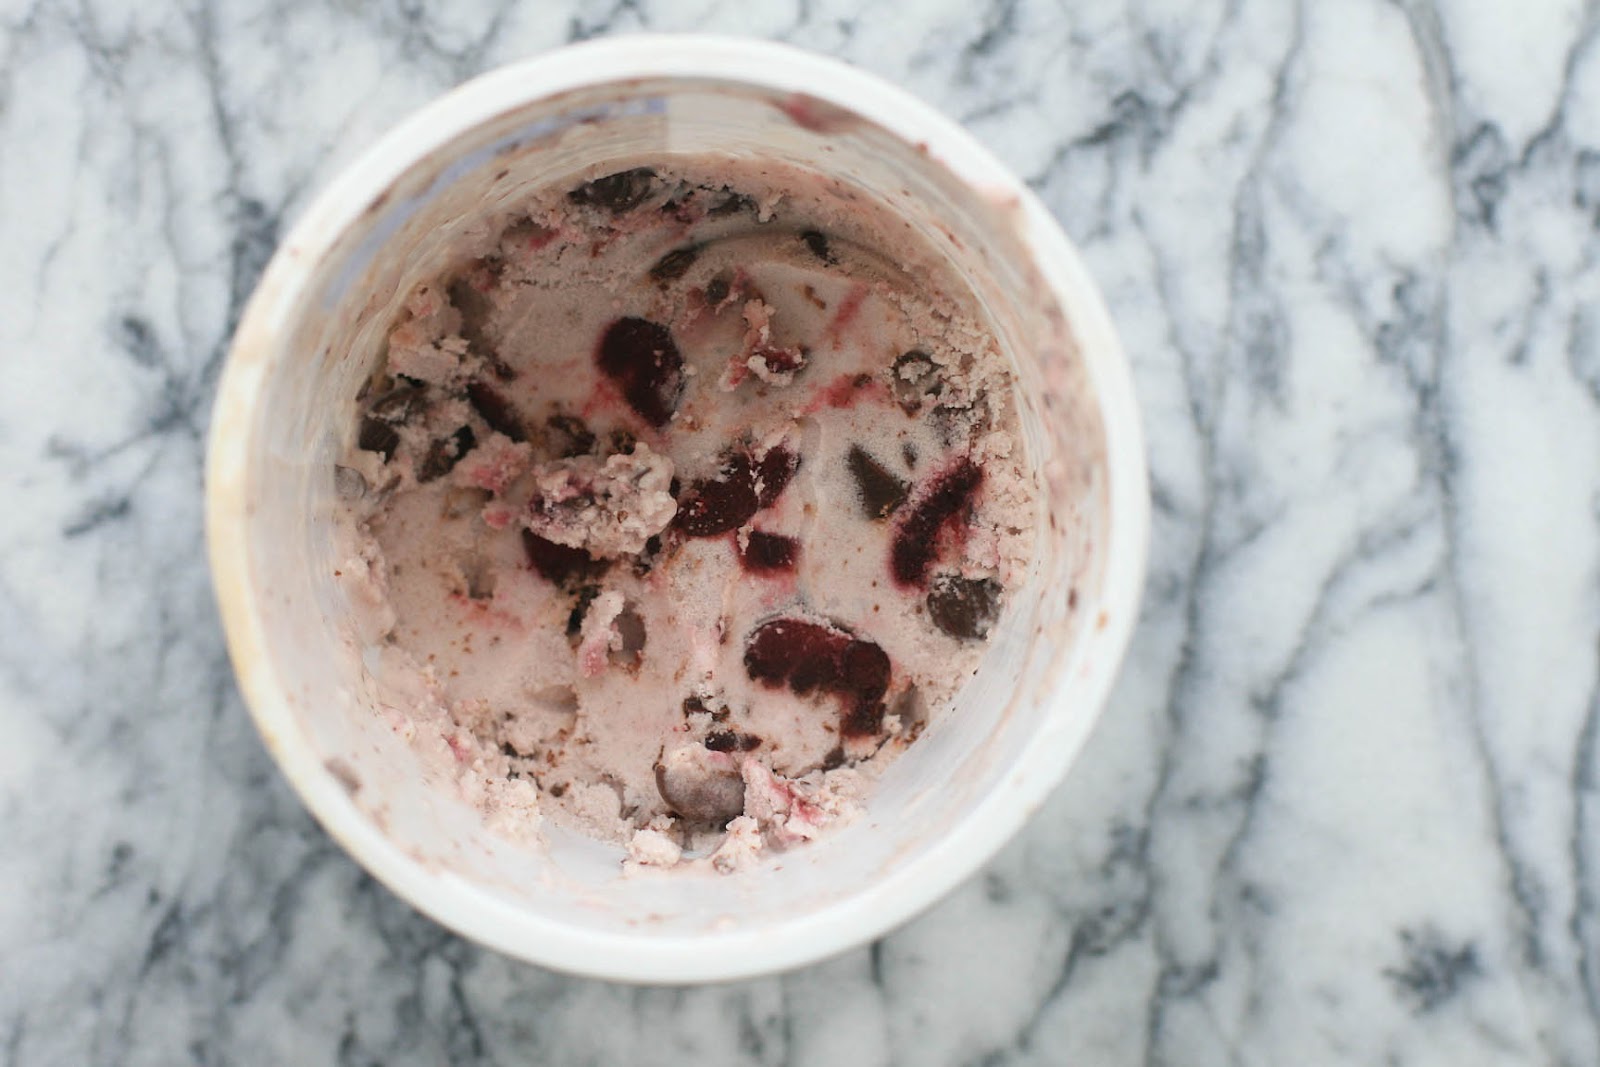
Joy brilliantly combines melted dark chocolate, plenty of fresh, crumbly goat cheese and freshly crackled black pepper into a smooth truffle that knocked my socks off.  The goat flavor is assertive, so you can’t be on the fence about goat cheese for this one.

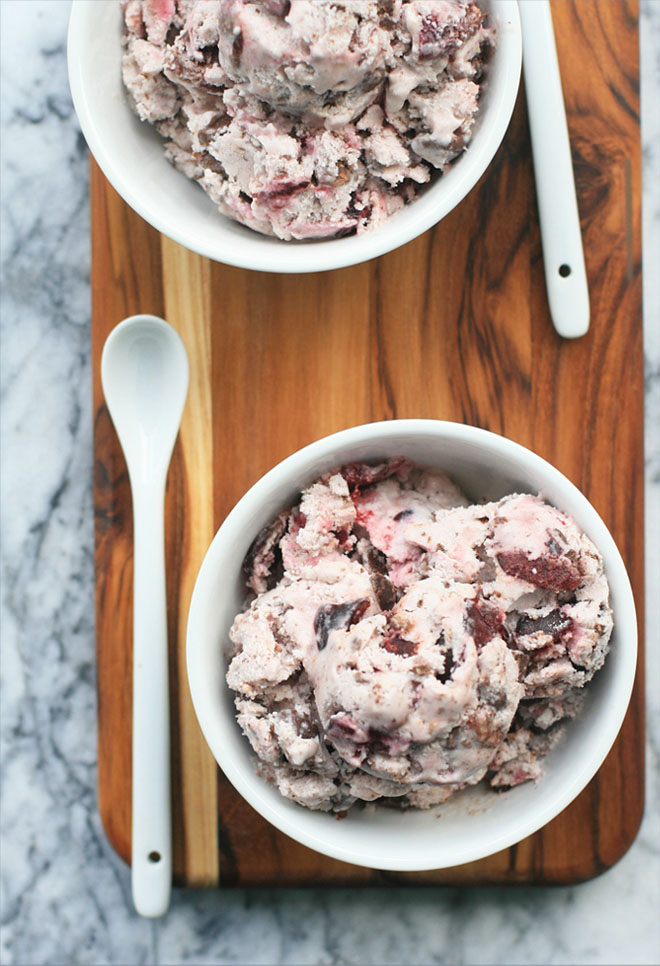
But if you are a fan of goat cheese and goat milk, the kind of fan that thinks Laloo’s ice cream isn’t goaty enough, then you’re going to want to try these sooner or later.  Preferably sooner.  And I need to get to work on turning this into an ice cream, stat.

Joy The Baker’s Goat Cheese and Black Pepper Truffles

Yield: about 15 truffles

Prep Time: 10 minutes

Cook Time: 10 minutes

Total Time: 1 hour, 30 minutes

Ingredients:

 2/3 cup dark/bittersweet chocolate chips (or 4 ounces chocolate, coarsely chopped)
4 ounces goat cheese, at room temperature
3 Tablespoons granulated sugar
1/2 teaspoon vanilla extract
1/2 teaspoon coarsely chopped black peppercorns
2-3 Tablespoons unsweetened cocoa powder
coarse sea salt, for finishing

Melt the chocolate in a double boiler. Remove from heat and set aside to cool slightly. Add the goat cheese, sugar, vanilla and pepper and stir until well combined. Cover and set in the refrigerator for one hour, or until firm.

Once the mixture has cooled, use clean hands to roll the mixture into small balls of your desired size. Place the cocoa powder on a plate and roll the balls to coat and then top with a couple grains of sea salt.

Serve slightly chilled.

Vegan Curried Pumpkin Cream Soup

0

Since I live in a relatively small condo with very limited closet space, it’s a constant battle to keep clutter at bay.  Although I try to weed through things fairly often, my enthusiasm for purging is quickly overpowered by my sentimentality and I usually end up with only a small bag or two in the donation pile.

But after having a stuffed-to-the-gills pantry and a leaning tower of paper boxes in my bedroom closet for far too many months, it’s time to get serious.  Nothing is safe, including that old folder with recipe print-outs that, since I’ve discovered Pinterest, has sat largely untouched.

I spotted this circa 2007 recipe for curry pumpkin soup and couldn’t even remember whether I’d ever tried it.  Since I had all of the ingredients in the pantry, I thought I’d give it a shot.  If it was good, I’d post it.  If not, into the recycling bin it would go.

Well, since you’re reading this post about it, I guess there’s not much of an element of surprise when I tell you that it was good.  So good that I’ve been lamenting the fact that the past several years of my life have been vegan curried pumpkin cream soup-less.

And the silver lining on this silver cloud?  It’s also helping me work my way through my excess supply of curry powder.  Win-win.

Vegan Curried Pumpkin Cream Soup

Yield: 4-6 servings

Ingredients:

* 1/4 cup coconut oil
* 1 large onion, chopped
* 2 cloves garlic, minced
* 2 teaspoons curry powder
* 1/2 teaspoon ground coriander
* 1/4 teaspoon crushed red pepper flakes, plus extra for garnish
* 1/2 teaspoon salt
* 2 cups vegetable broth (or use chicken stock if soup doesn’t need to be vegan)
* 15-ounce can pure pumpkin puree
* ~13.5-ounce can full fat coconut milk
* coconut cream (see note below) or, if soup doesn’t need to be vegan, crème fraiche or sour cream
* chopped fresh cilantro leaves
* ground black pepper

Directions:

Heat the coconut oil in a large saucepan over medium-high heat. Add the onion and garlic and cook until softened. Add the curry powder, coriander, red pepper flakes and salt and stir to coat the garlic and onions. Cook, stirring, for about a minute or until the spices are very fragrant.

Add the broth and pumpkin puree and stir to mix. Cover, reduce heat and simmer for 15 minutes. Remove from heat and use an immersion blender until the mixture is smooth. Add the coconut milk, stir and return to heat. Heat for another five minutes, until heated through.

Ladle into individual bowls, top with coconut cream, crème fraiche or sour cream, some cilantro, a sprinkle of black pepper and a small shake of crushed red pepper flakes, if desired.

Note: place a unshaken can of coconut milk in the refrigerator overnight. When ready to serve, carefully open the can and scoop off the thick cream that rests on top.

Pumpkin Spice Granola

I didn’t set out to develop a pumpkin spice granola recipe.  I mean, why reinvent the wheel?  There’s certainly no shortage of recipes out there in cyberspace.  But I wasn’t sure the recipes I looked at would meet my desired objectives: I wanted sweet, buttery granola with clusters that had both crunch and chew.  And, most importantly, the granola needed to taste like mini pumpkin spice oatmeal cookies.

So those of you looking for a healthy snack or breakfast are probably going to have to look elsewhere.  But if you’re looking for an indulgent fall treat then you’re in the right place.

I ended up using my cranberry coconut nut granola as a starting point.  But instead of the cranberries and coconut I added pumpkin puree and the usual holiday spice suspects: cinnamon, ginger, nutmeg and cloves. The spices are assertive but not overpowering: the butter and honey flavors also shine through.

I used almonds because that’s what I had on hand, but pecans would also be great.  And I like my pumpkin spice granola free from dried fruits, but dried cranberries would work well here, and provide a little burst of color.

And since we’re going to go the all-butter, super indulgent route, might I suggest taking it even one step further?  Layer the granola with some honey-flavored full fat Greek yogurt (p.s., this stuff is unreal good) and you’ll have the best yogurt parfait out there.

Pumpkin Spice Granola

Ingredients:

* 6 Tablespoons butter, divided
* 2-1/2 cups gluten-free oats
* 1-1/2 teaspoons ground cinnamon
* 1/2 teaspoon ground ginger
* 1/2 teaspoon ground nutmeg
* 1/8 teaspoon ground cloves
* 1/2 teaspoon salt
* 1/3 cup pumpkin puree
* 1/3 cup honey
* 1/4 cup brown sugar
* 1 teaspoon vanilla extract
* 1 cup chopped almonds or pecans

Directions:

Preheat oven to 300 degrees. Lightly oil a large, rimmed baking sheet or line with a Silpat mat.

Melt 2 Tablespoons of the butter in a medium saucepan over medium heat. Add the oats and stir to coat. Cook, stirring, until the oats have darkened a shade or two. Pour oats into a large bowl. Add the cinnamon, ginger, nutmeg, cloves and salt.

In the same saucepan, combine the remaining butter, pumpkin puree, honey, and brown sugar and bring to a boil. Stir in the vanilla and remove from heat. Pour mixture over the oats and stir to combine. Mix in the almonds and then spread onto the prepared baking sheet. Bake for approximately 20 minutes, or until golden and the nuts are toasted. Remove from oven and let cool. Break up any large chunks and store in an airtight container for up to one week.

Vegan or Detox Cherry Garcia Ice Cream

I might be on a cleanse, but that certainly doesn’t mean that desserts are off-limits.  During past cleanses I’ve been a big fan of frozen banana-based ice creams (check them out here and here).

This time around I knew I wanted to develop a healthy version of Cherry Garcia to use up some very, very last of the season Bing cherries.

Some early attempts using bananas didn’t pan out quite as I’d hoped, but Marla’s Vegan Chocolate and Cherry Ice Cream inspired me to change course and use coconut milk for the base instead.

So I adapted my coconut ice cream to be sugar-free, and added in lots of chunks of fresh, sweet Bing cherries (frozen would also work) and some chopped chocolate.

Obviously if you’re making this vegan, you’ll want to add vegan chocolate to the mix.  And if you’re not on a cleanse or detox, feel free to use sugar instead of stevia… three-quarters of a cup will do the trick.

I should note that sugar affects not only the sweetness of ice cream, but also its texture and freezing point.  Should you go the stevia route, you’ll want to eat it right out of the ice cream maker or take it out of the freezer at least 10-15 minutes to allow it to soften.  The stevia version is also not going to have quite the same texture as your average ice cream.
But I’m guessing that if you’re a week or two into a strict cleanse and this will probably do the trick just fine…

Vegan or Detox Cherry Garcia Ice Cream

Yield: 6-8 servings

Prep Time: 5

Cook Time: 10

Total Time: 5-24 hours

Ingredients:

 Two 15-ounce cans full-fat coconut milk, divided
3 full droppers of Vanilla stevia (or 3/4 cup sugar if you’d like it closer to traditional ice   cream)
Pinch salt
2-1/2 Tablespoons cornstarch
1 cup roughly chopped cherries (frozen is OK) plus 3-4 extra for ice cream base
1/2 cup chopped chocolate

Directions:

Combine all but 1/4 cup of the coconut milk, the stevia or sugar and salt in a heavy-bottomed saucepan. Bring to a simmer over medium heat. In a small bowl, whisk together the cornstarch and the remaining 1/4 cup of coconut milk until smooth. Add to the saucepan and cook, stirring constantly, until the mixture thickens and can coat the back of a wooden spoon.

Remove from heat and let cool to room temperature. Pour into blender and process with 3-4 cherries to tint the base a light pink color. Cover and chill at least 3-4 hours, or up to 24 hours.

Freeze the mixture in an ice cream maker according to the manufacturer’s instructions. In the last minute or two, add the cherries and chocolate to mix into the base. Serve immediately or place in the freezer.

Goi Ga- Vietnamese Spicy Chicken and Cabbage Salad

0

When the oppressive heat and humidity of summer hits, nobody likes turning on their oven.  I sure wish I was one of those who people who craves salads exclusively until the mercury drops, but sadly I usually turn to items with significantly less nutritional value: ice cream, gelato, frozen peanut butter pie, sangria, etc., etc.

But if there was ever a salad to change my ways, this would be it.  It’s filling, healthy, colorful and has that hot, sour, salty and sweet combination that those Southeast Asians do so well.

What really makes everything pop is the herbs- two full cups of chopped mint, cilantro and Vietnamese coriander (also called rau ram or rau rahm). A final sprinkle of toasted peanuts adds a little crunch.

The cabbage and chicken combo is classic, but I think the salad could be easily adapted to whatever you have on hand. Shrimp would be great, as would leftover grilled pork or beef.

Goi Ga- Vietnamese Spicy Chicken and Cabbage Salad

Yield: 8-10 servings

Ingredients:

2 large chicken breasts (about 1-1-1/2 pounds)
large head Napa cabbage, cored and shredded
1 small to medium red onion, halved and very thinly sliced
4 carrots, peeled and shredded
2-4 Thai chiles (depending on heat tolerance/preference),thinly sliced
4 cloves garlic, minced
2 Tablespoons sugar
1/4 cup fresh lime juice
1/4 cup plus 2 Tablespoons rice or rice wine vinegar
1/4 cup plus 1 Tablespoon fish sauce
1/2 cup fresh cilantro leaves, finely chopped
1/2 cup fresh mint leaves, finely chopped
1 cup fresh Vietnamese cilantro (also called rau ram or rau rahm), finely chopped. If unable to find, omit and increase the cilantro and mint to 1 cup each.
1/2 cup coarsely chopped, roasted peanuts

Directions:

Place the chicken in a medium saucepan and cover with water. Place over medium-high heat and bring to a boil. Reduce heat and simmer until cooked through, about 10 to 15 minutes. Transfer the chicken to a plate to cool. Discard the chicken stock or reserve for another use. When cool enough to handle, use forks or your fingers to shred the chicken breasts.

In a very large bowl* combine the cooled, shredded chicken, cabbage, onion and carrots. Set aside.

In a small bowl, combine the chiles, garlic and sugar. Use a wooden spoon to mash together until the chiles and garlic have broken down a bit and have tinted the sugar an orangey-red color (you can also use a mortar and pestle for this step if you have one). Add the lime juice, rice or rice wine vinegar and fish sauce and stir. Pour the dressing over the chicken and cabbage mixture and toss well. Add the cilantro leaves, mint and Vietnamese cilantro and toss again. Let sit for at least ten minutes to allow the flavors to meld and for the cabbage to wilt just a bit. Transfer to a serving platter or individual plates and top with the peanuts.

* Note: Before the dressing is added and the cabbage wilts, this is a very voluminous salad. Unless you have a 5+ quart mixing bowl, you might have to divide the ingredients in two large bowls to be able to fit everything. Alternatively, you can halve the recipe.

Ga Kho- Vietnamese Caramelized Spicy Chicken

0

Judge me if you’d like, but I sure miss being able to eat American Chinese food.  Not the fancy stuff or dim sum… I’m talking about Panda Express-style orange or General Tso’s chicken.  And while I’m in disclosure mode, I may as well admit that I wouldn’t mind a goldfinger or crab rangoon either.

Sure, this caramelized spicy chicken isn’t Chinese food.  But the good news?  It’s even better (and naturally gluten-free!).  Chunks of boneless, skinless chicken are simmered in a sweet and spicy fish sauce-based broth until the liquid has reduced into a sticky, super flavorful sauce that coats every tender bite.  It’s traditional to make this dish in a clay pot, but I found a basic skillet worked just fine.

I’m thinking this is a dish that could appeal to the whole family- just adjust the Thai chiles according to heat tolerance and preference.  I’m the kind of girl who gravitates to menu items marked with the little chile/heat symbol, so I used 3 sliced Thai chiles AND a couple whole chiles as well.  But that’s probably excessive and not necessarily traditional, so feel free to adapt it to make it work for you.

Ga Kho- Vietnamese Caramelized Spicy Chicken

Yield: 4-6 servings

Prep Time: 15 minutes

Cook Time: 15 minutes

Total Time: 30 minutes

Ingredients:

* 1-1/2 pounds boneless skinless chicken (thighs preferred, but breast also works)
* 2 Tablespoons vegetable oil
* 4 cloves garlic, minced
* 1-inch piece peeled fresh ginger, grated (peeled, frozen ginger is easy to grate)
* 2-3 small shallots, minced (I used shallots about the size of ping pong ball)
* 1-3 Thai chiles (depending on your heat tolerance/preference), sliced
* 3 Tablespoons fish sauce
* 2 Tablespoons palm sugar or brown sugar
* 1 Tablespoon sugar
* 1/2 teaspoon black pepper
* 1/4 cup water
* 6-8 green onions, sliced on the diagonal into approx 2-inch lengths

Directions:

Cut the chicken into large chunks and set aside.

Heat the vegetable oil in a large skillet or frying pan over medium-high heat. Add the chicken and cook, stirring occasionally, until most of the pieces of chicken are no longer pink. Push the chicken to the perimeter of the saucepan and add the garlic, ginger, shallots and Thai chiles. Cook for several minutes, until softened.

Combine the fish sauce, both sugars and black pepper in a small bowl and stir to mix.

Toss the chicken and garlic mixture and then pour in the fish sauce mixture and stir to coat. Bring to a boil for a minute or two and then add the water. Adjust heat to a low simmer and then let the chicken cook, stirring occasionally, until the sauce is thick and the chicken is cooked through. Add the green onions.

Remove from heat and serve with rice.

Rhubarb and Ginger Mojito

0

Although I’m happy (and lucky) to live in Honolulu, there sure are a lot of things I miss about living on the mainland.  Proximity to family, reasonable real estate prices, and Trader Joe’s probably top the list.  And one more thing?  Sidewalk bars and cafes.

When I lived in Chicago, I loved watching the streets came alive in the spring.  After being cooped up indoors for a long, cold and windy winter, everybody wanted to spend all of their free time outside, happy hours included.  And so Chicagoans transitioned from drinking beer and shots in loud, smoky bars to sipping margaritas and mojitos on sidewalks and in back patios.

Sure, I drink mojitos year round, but they always remind me of spring and summer in Chicago, when we’d hit up post-work happy hours to soak up the day’s last rays of sunshine and partake in some people-watching on the streets of my Lincoln Park neighborhood.  Even busy, stressed-out types lingered for hours… savoring the warm evenings and freshly made drinks.

Obviously you can’t go wrong with a basic mojito (lime and mint are one of those magical combinations), but I’m also a fan of dressing them up according to whatever fruit is in season.  When summer rolls around, I’m all about watermelon and tequila mojitos.  Until then, I’ll be enjoying this rhubarb and ginger version.  Just be careful:  this seemingly innocent drink (pretty… and pink!) will sneak up on you after just one or two.

Rhubarb and Ginger Mojito

Yield: one serving

Ingredients:

10 mint leaves
1/2 of a lime, cut into three wedges
rhubarb and ginger syrup, to taste
3 Tablespoons white rum (I also like using white or silver tequila)
ice cubes
sparkling water
mint sprig and a slice of lime for garnish (optional)

Directions:

In a glass, muddle the mint and lime wedges (I use a wooden spoon). Add the rhubarb and ginger syrup and alcohol and stir to mix. Add ice and a splash of sparkling water. Garnish with a slice of lime and mint leaves, if desired.

Cancha- Peruvian Corn Nuts

Although I’d hardly consider myself to have been deprived as a child (or as an adult for that matter), I’ve never eaten corn nuts before.  After all, if I’m in the market for a salty snack at a grocery or drug store, potato chips pretty much have my full and undivided attention. And now, having tasted the far superior fresh version, I’m pretty sure that the bagged variety will fail to impress me.

Cancha is a staple snack in Peruvian bars and set out on tables in Peruvian restaurants in lieu of a bread basket. For commercial producers, it’s often packed in custom mylar bags to maintain crunch and protect it from moisture. It’s also oftentimes added as a garnish or side to ceviche. Some call it unpopped popcorn, which isn’t necessarily true. It pops, but it just doesn’t puff up.

If, like me, you’re a fan of the old maids (the half-popped kernels) at the bottom of a bag of popcorn, then you’re in for a real treat.  You get a pleasant crunch with a whole lot of salty starchiness.

The recipe couldn’t be easier; the toughest part will probably be finding the special jumbo Peruvian corn. The tiny Latin American market in Honolulu carried it, so there’s always hope.  And it looks like Amazon also carries several options (albeit at very expensive prices).  Just do a search for maiz cancha.

Although I loved it plain, I couldn’t resist spicing half of it up with some ground Mexican chile pepper and some sugar.  Salty and sweet with a little kick?  Now we’re talking… You can serve them as a side to a tasty chicken quesadilla like Chef Dennis does as well.

Cancha- Peruvian Corn Nuts

Yield: 2-3 snack-sized servings

Ingredients:

1-2 Tablespoons canola or vegetable oil
1 cup Peruvian corn kernels
salt
ground red chile pepper and sugar (optional)

Directions:

Heat the oil in a large, heavy-bottomed skillet or frying pan over medium-high heat for 1-2 minutes. Add the corn kernels, cover with a lid and reduce heat to medium. Once you hear the kernels begin to pop, shake the pan to prevent the kernels at the bottom from burning. Cook until the kernels have stopped popping and are deep golden brown, about 5-8 minutes.

Drain on a plate lined with paper towels. Season with salt and, if desired, a sprinkle of ground red chile pepper and sugar.

Apple and Cucumber Juice

Before getting into the apple and cucumber juice conversation, let me tell you something about myself. I grew up in a household where the only spices used on a regular basis were garlic salt and black pepper.  These days, I probably fall at the other end of the spectrum: I have shelves and shelves of spices from all over the world and, if anything, I tend to over rather than under spice my food.  And I’m constantly adding ingredients to try to recipes to add some kick, spice, heat, acidity or some other dimension to excite the taste buds.

But even a girl like me can appreciate a simple recipe that use just a handful of (or in this case just two!) ingredients.  It’s a good reminder for me that sometimes basic is best.  Unlike many of the other juices I’ve posted recently, there’s very little acidity or saltiness in this drink.  The apple and cucumber combine to create a cool, refreshing juice that’s not overly sweet.

Apple and Cucumber Juice

Yield: 1-2 servings

Ingredients:

 2 apples, washed and quartered
1 cucumber, cut into several pieces

Directions:

Process the apples and cucumber through a juicer. Serve immediately over ice.

For more drink recipes, just visit my drinks page.