It was the fall semester that I spent studying in Paris, which meant that my favorite holiday, Thanksgiving, was spent on the other side the Atlantic, far from friends and family.
Although the French obviously don’t celebrate Thanksgiving, we were given the day off from classes. We celebrated with a holiday meal at a lovely restaurant at the Parc des Buttes Chaumont.
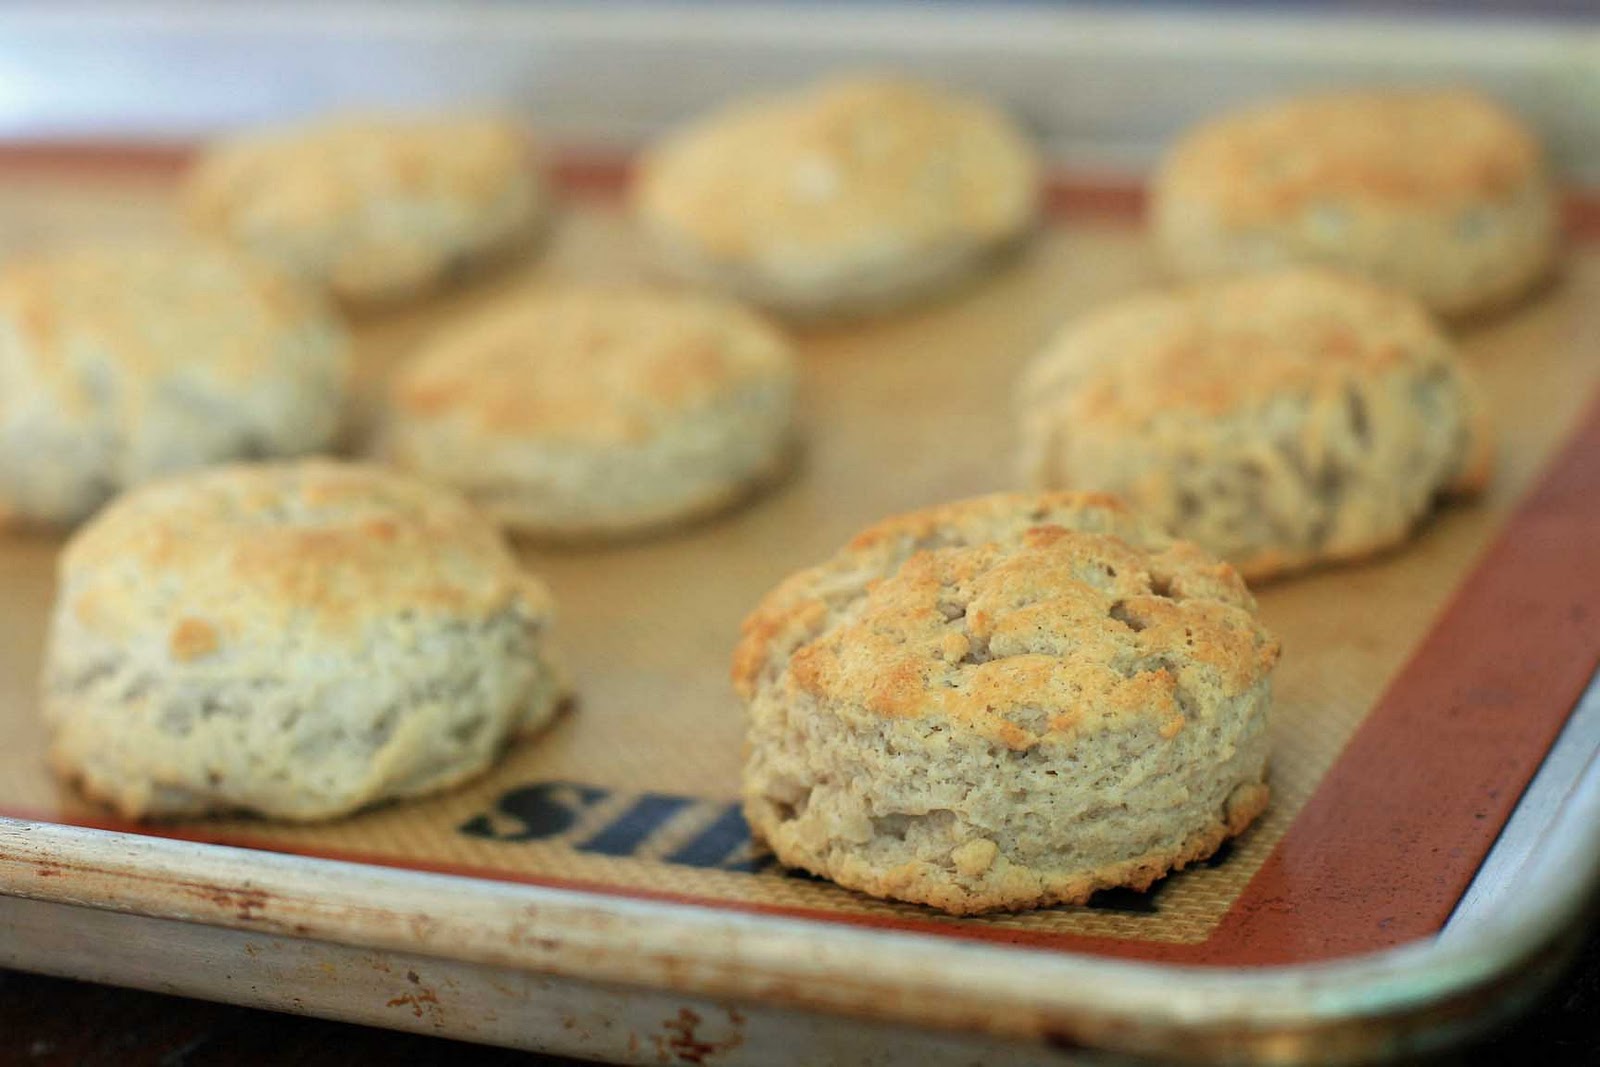
 Now it’s a fair bet to say that up until that point, I had participated in about 19 Thanksgiving meals, all pretty much identical. (With the exception of one Thanksgiving spent on an ill-fated camping trip to Kings Canyon where I think my sister and I dined on some canned beans). You know the meal: a classic turkey, stuffing, cranberry sauce, mashed potatoes, sweet potatoes and maybe a green bean casserole. Pumpkin pie, naturally, was for dessert.
But whoever the chef was in Paris that day felt no need to take the traditional route. They took the basic flavors and textures of Thanksgiving and gave everything a major shake-up. Mashed potatoes? Nope… that’s celery root puree. Pumpkin pie? Negative, but there is a creamy pumpkin soup.
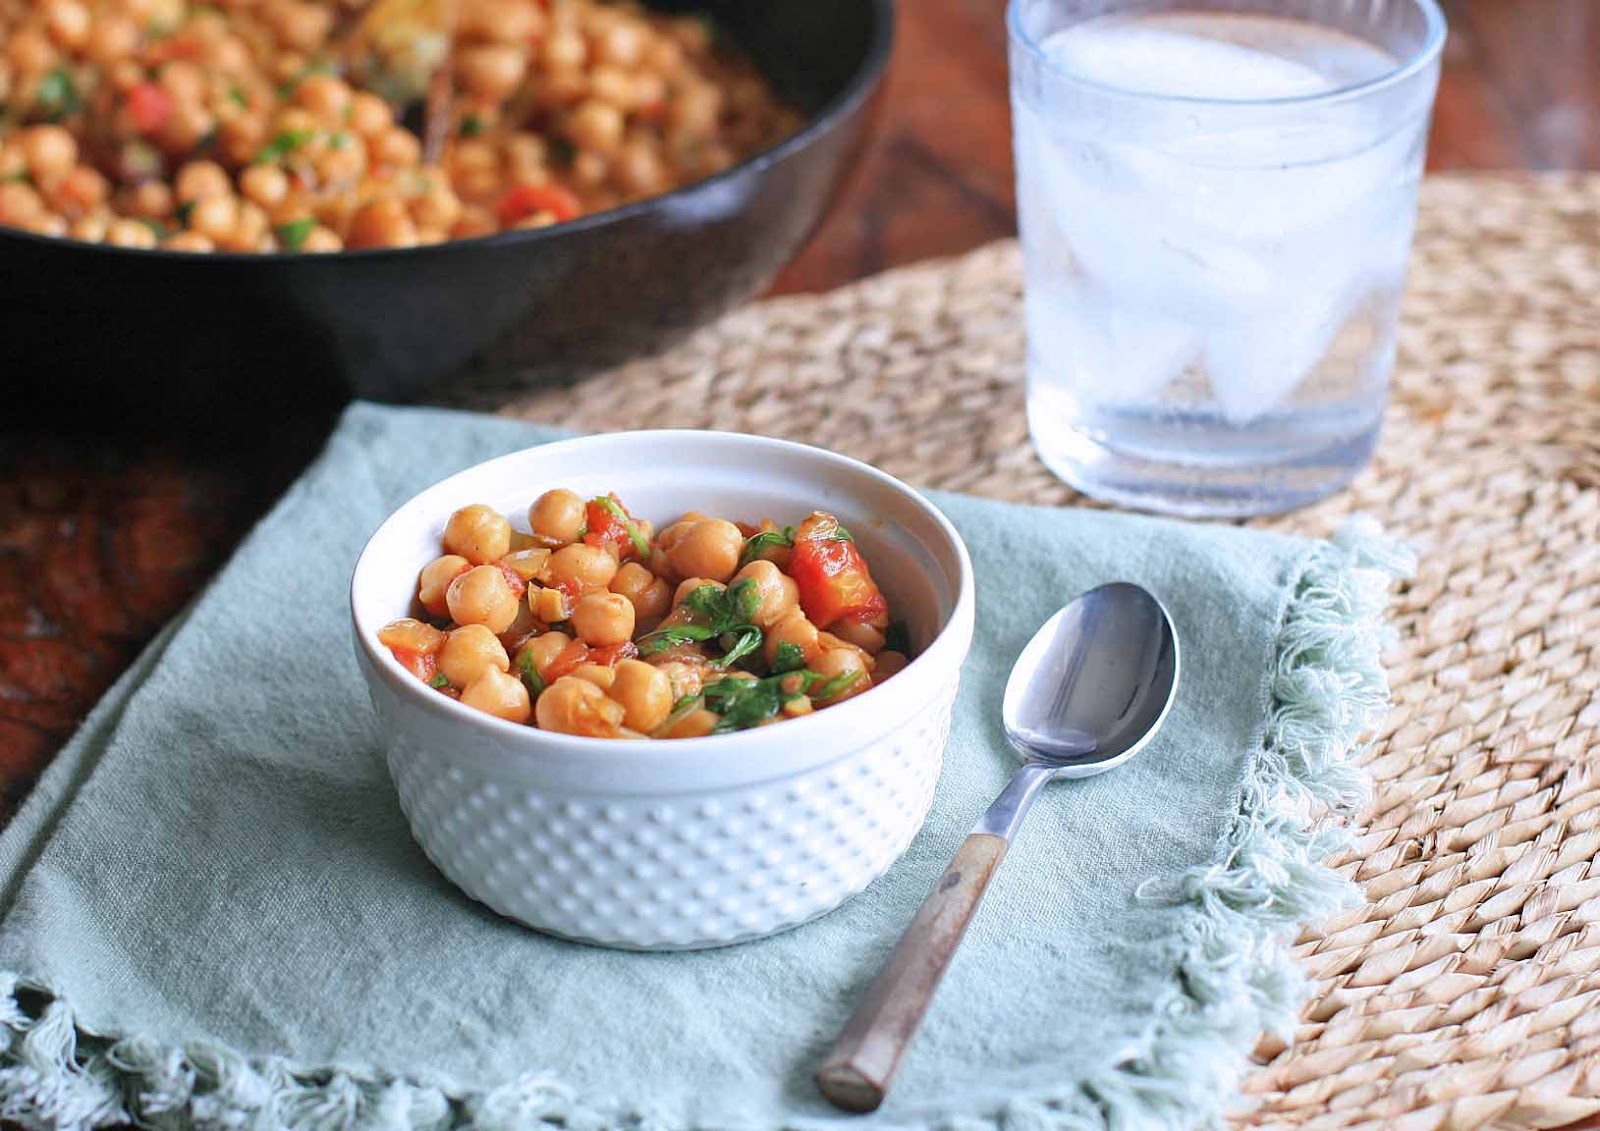
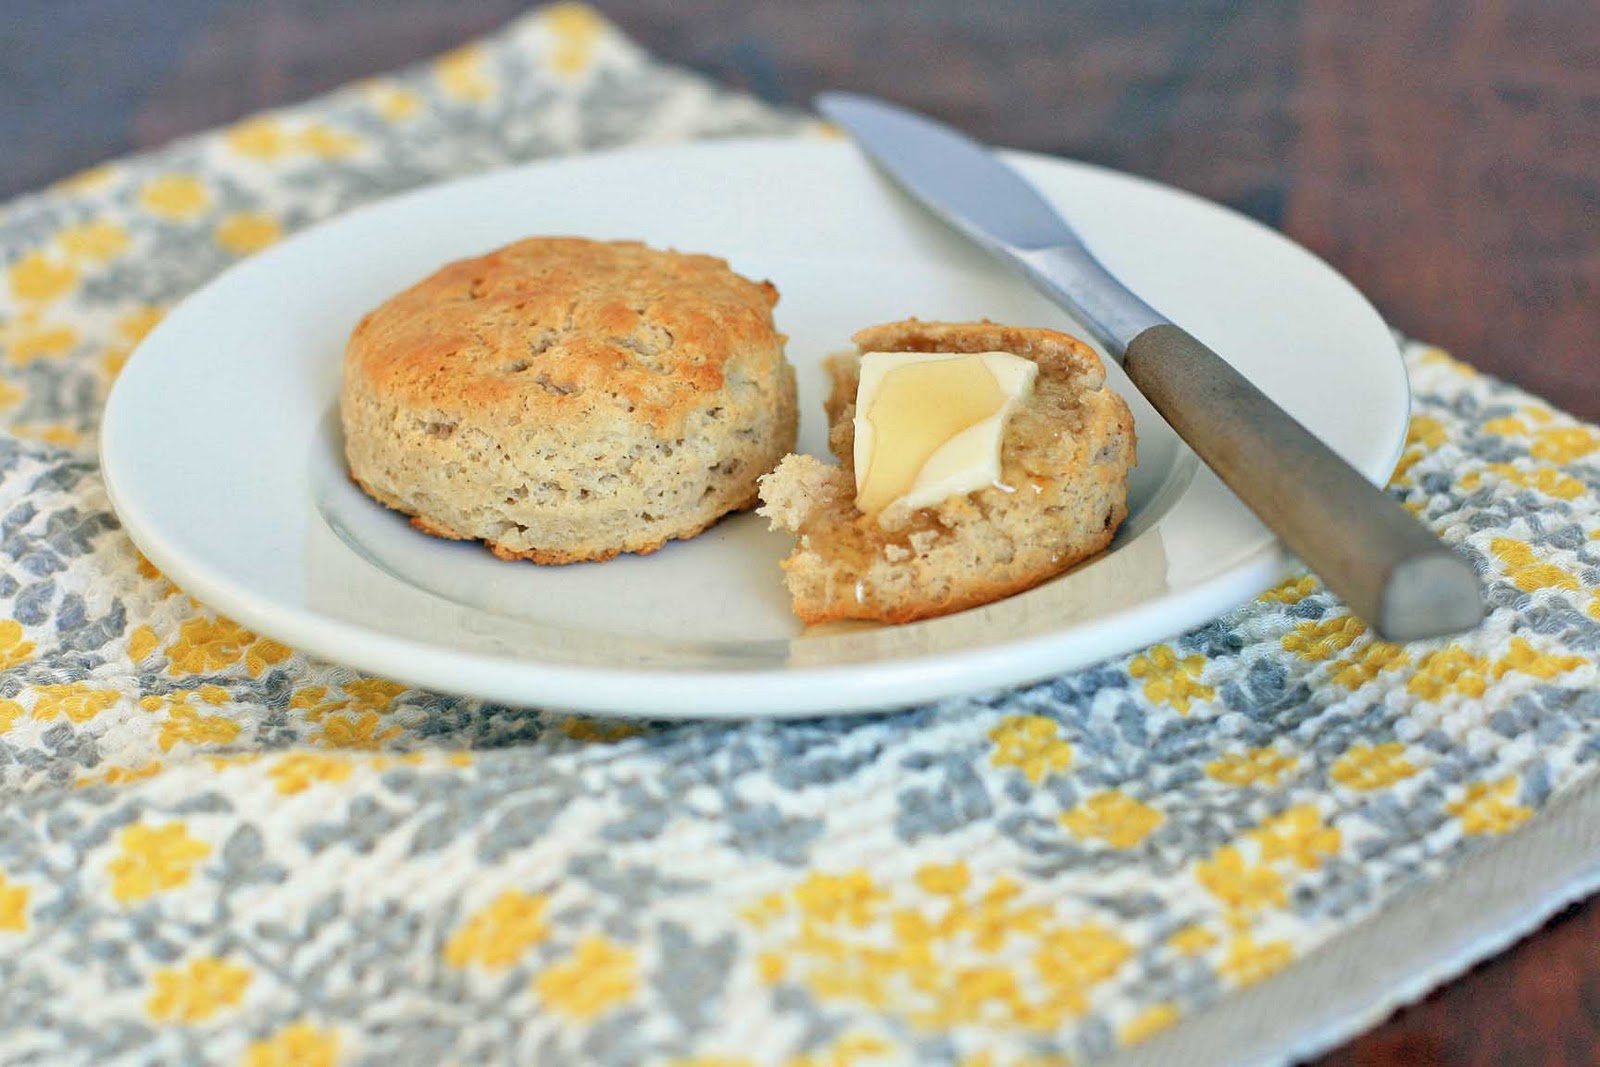
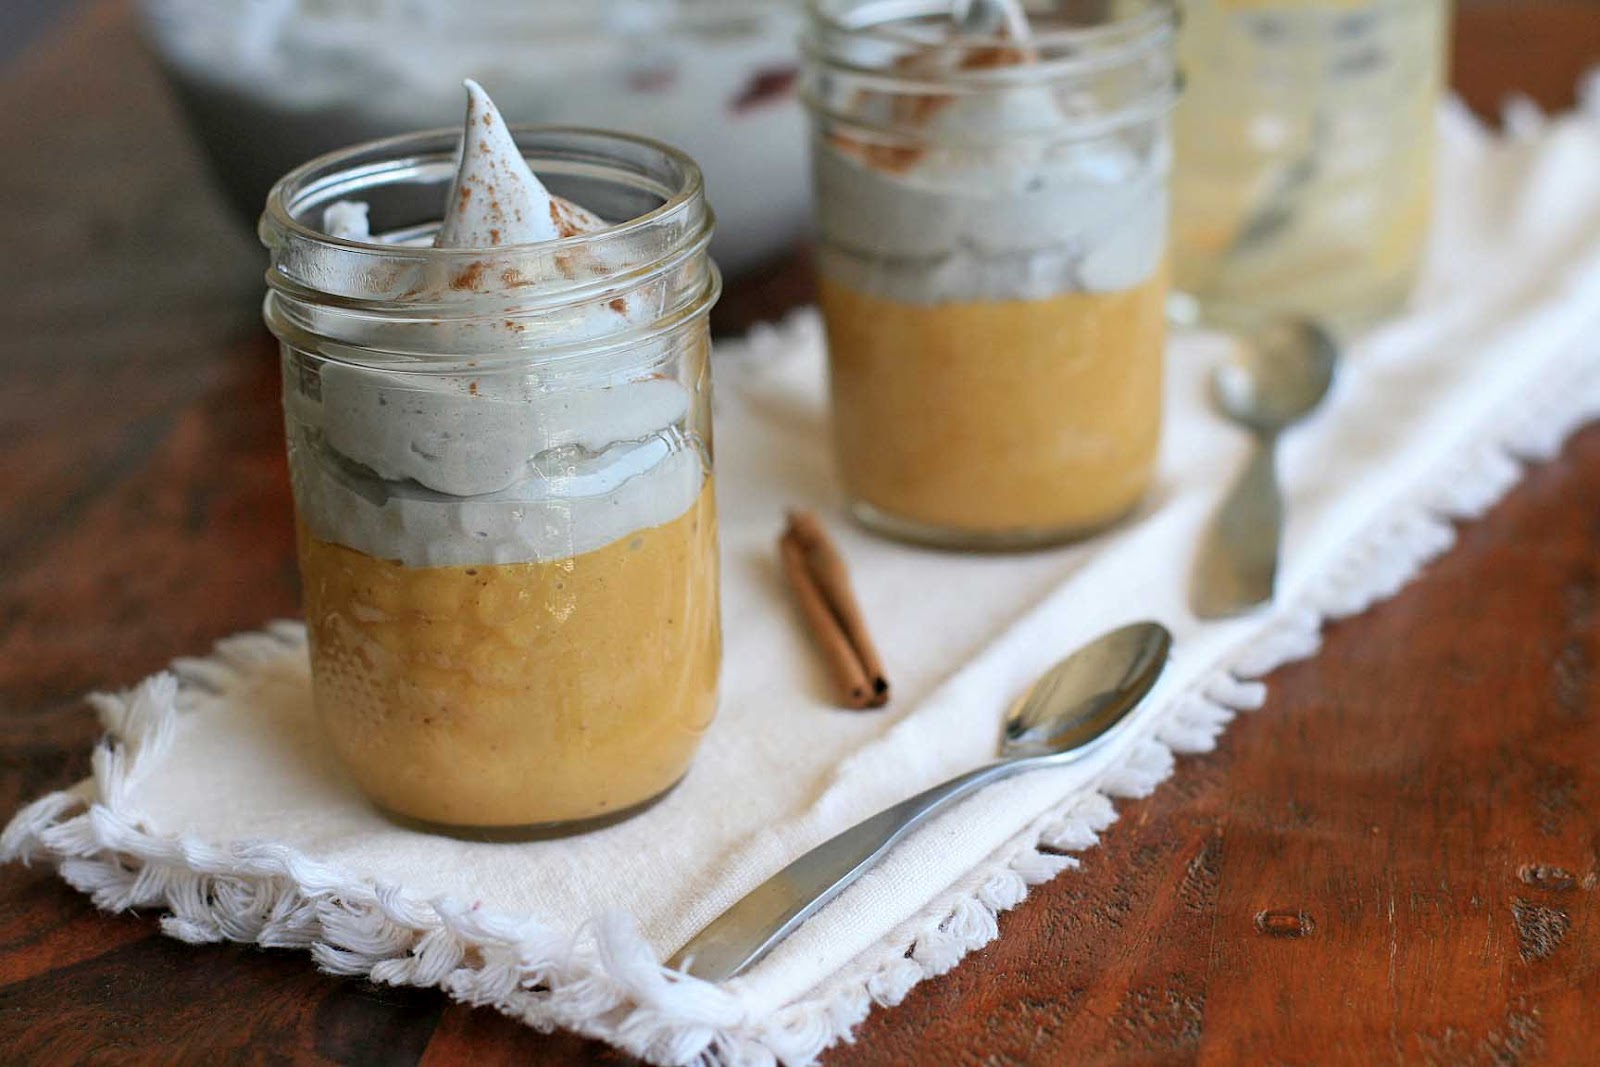
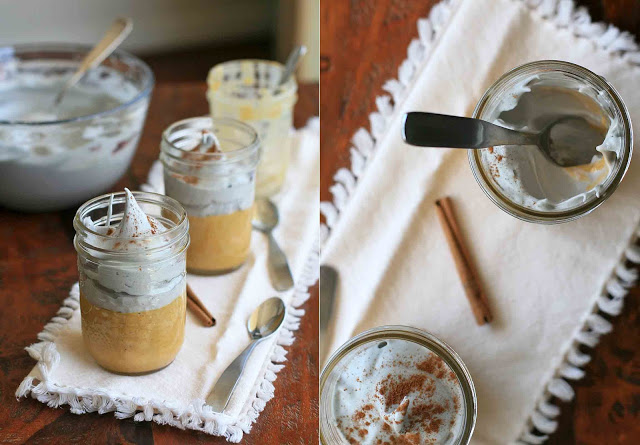
 Dorie Greenspan’s pumpkin flans remind me of that day. You get a dish that’s vaguely reminiscent of the original, but with some major tweaks and surprises. Pumpkin flan is topped with Gorgonzola cheese and some chopped walnuts. Add a dollop of crème fraiche and a drizzle of honey or maple syrup and you’ve got a pumpkin dish that’s part sweet, part savory.
Now this sort of menu addition would never fly in my mother’s house. (She’s a staunch traditionalist when it comes to the Thanksgiving meal menu). But if you’re the more adventurous sort, this could be a fun way to shake up your own Thanksgiving or holiday meal.

Dorie’s Pumpkin, Gorgonzola and Walnut Flan
Yield: 6 servings
Prep Time: 10 minutes
Cook Time: 40 minutes
Total Time: 1 hour 15 minutes
Ingredients:
* 1-3/4 cup pureed roasted pumpkin or one 15-ounce can pumpkin
* 3 large eggs
* 2 large egg yolks
* 1/2 cup heavy cream
* salt and pepper
* 1/2 cup crumbled Gorgonzola cheese
* 3 Tablespoons roughly chopped walnuts
* Crème fraiche for serving
* Maple syrup or honey for serving (optional but recommended)
Directions:
Preheat oven to 350 degrees and heat a saucepan or kettle of water to a boil while you prep the flan.
Butter 6 custard cups or large ramekins. Line a large roasting pan with a double layer of paper towels and place the cups on the paper towels. (This will help prevent the cups from slipping and sliding in the water bath).
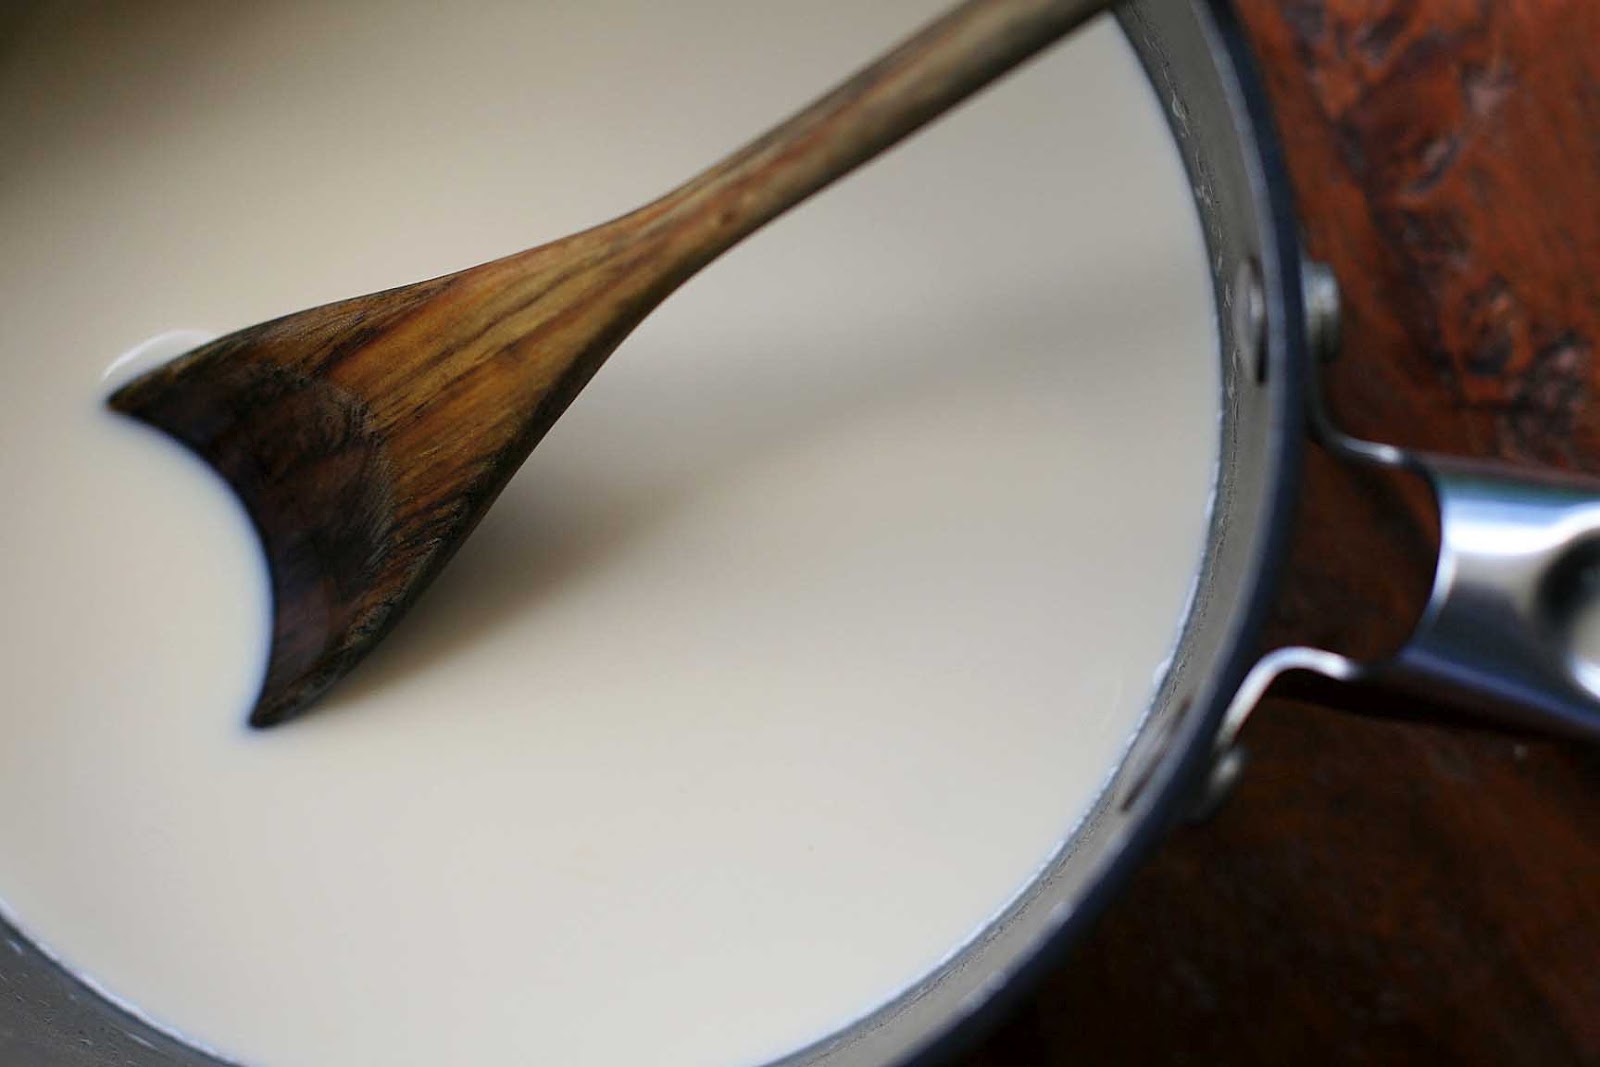
Combine the pumpkin, eggs, egg yolks, cream and a couple shakes/grinds of salt and pepper in the base of a food processor or the jar of a blender. Process quickly, just until blended. Pour into the prepared cups and sprinkle with the Gorgonzola and walnuts.
Pour enough hot water into the roasting pan to each halfway up the sides of the cups. Bake for 25-35 minutes, or until a knife inserted in the center of one of the cups comes out almost clean. (It will continue to cook even after removing from the oven).
Remove from oven, place on a cooling rack and let the flans cool slightly in the water bath. Serve warm or at room temperature with a dollop of crème fraiche and a drizzle of maple syrup or honey.


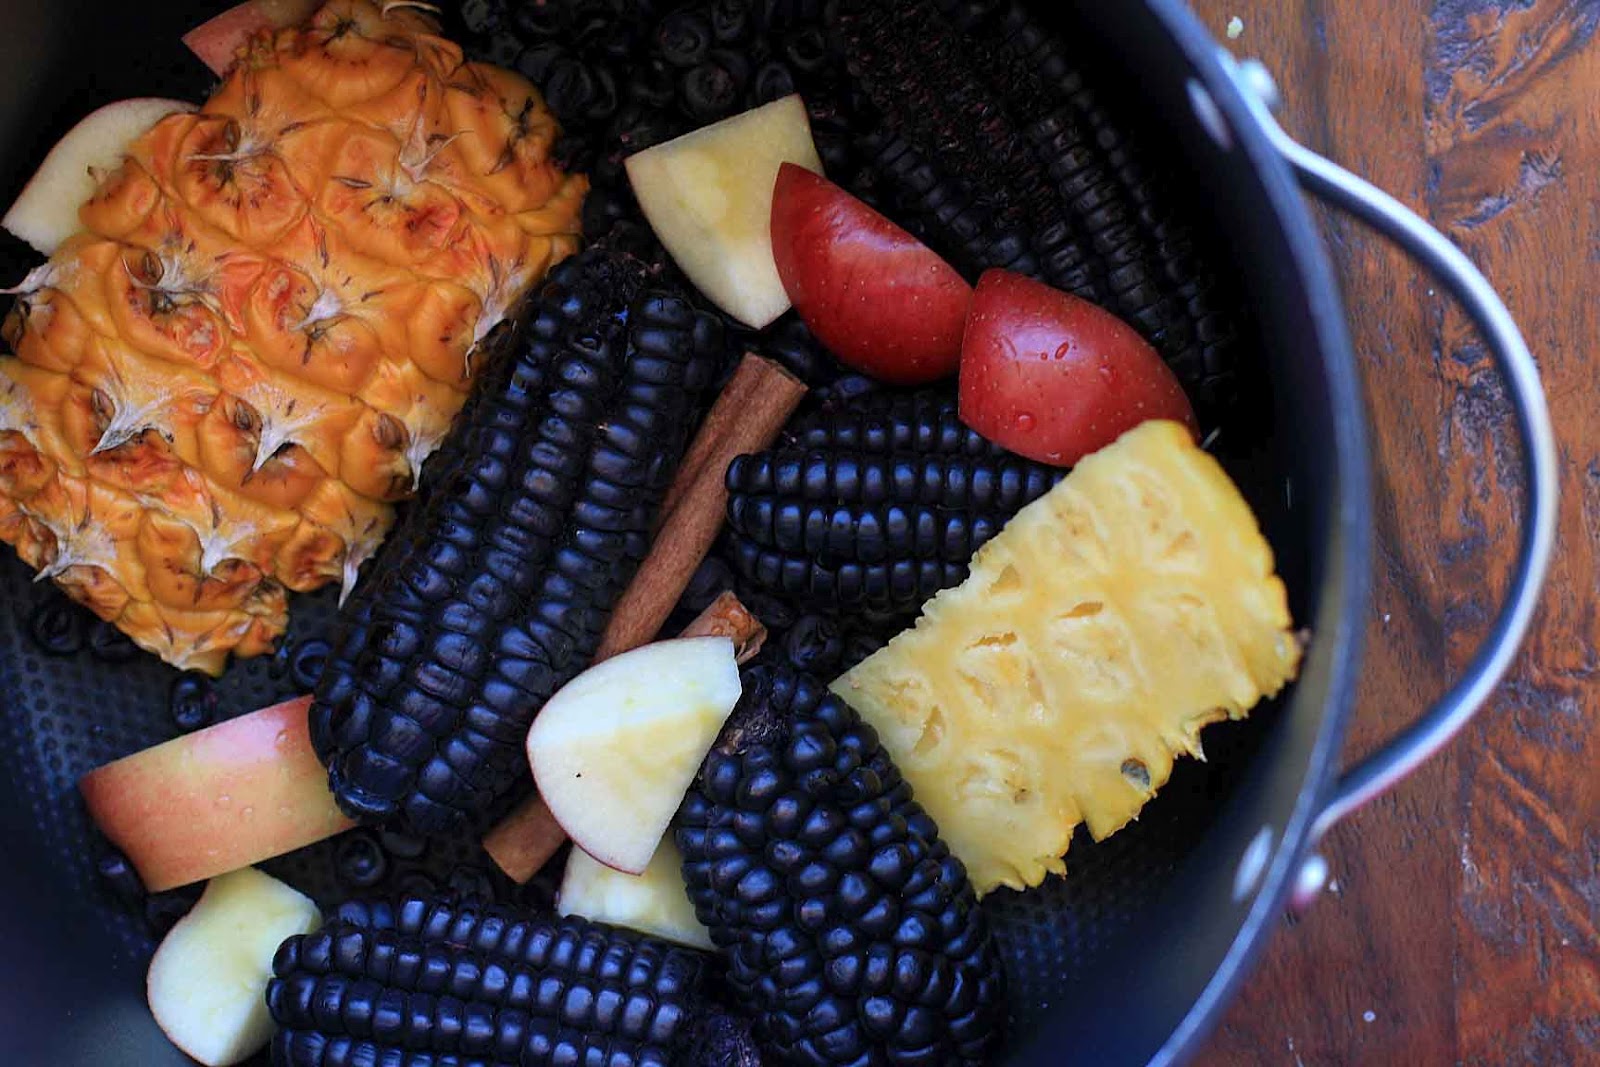
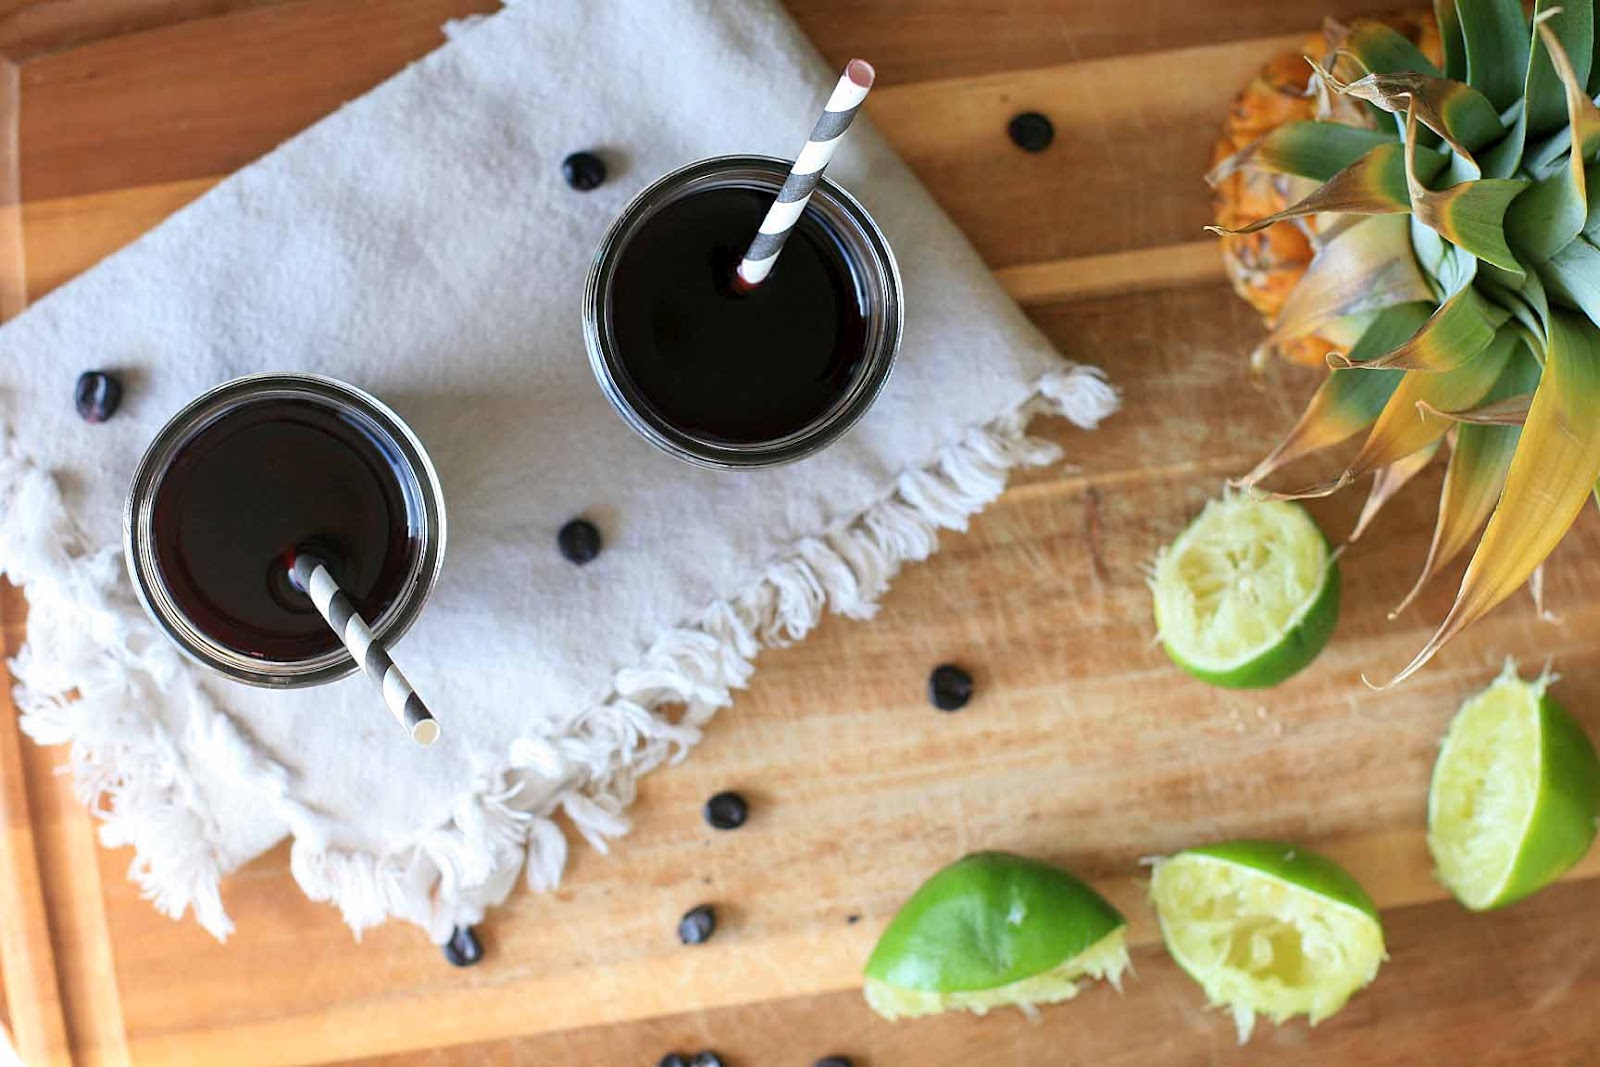
 Suspiro de Limena- A Lady from Lima Sighs
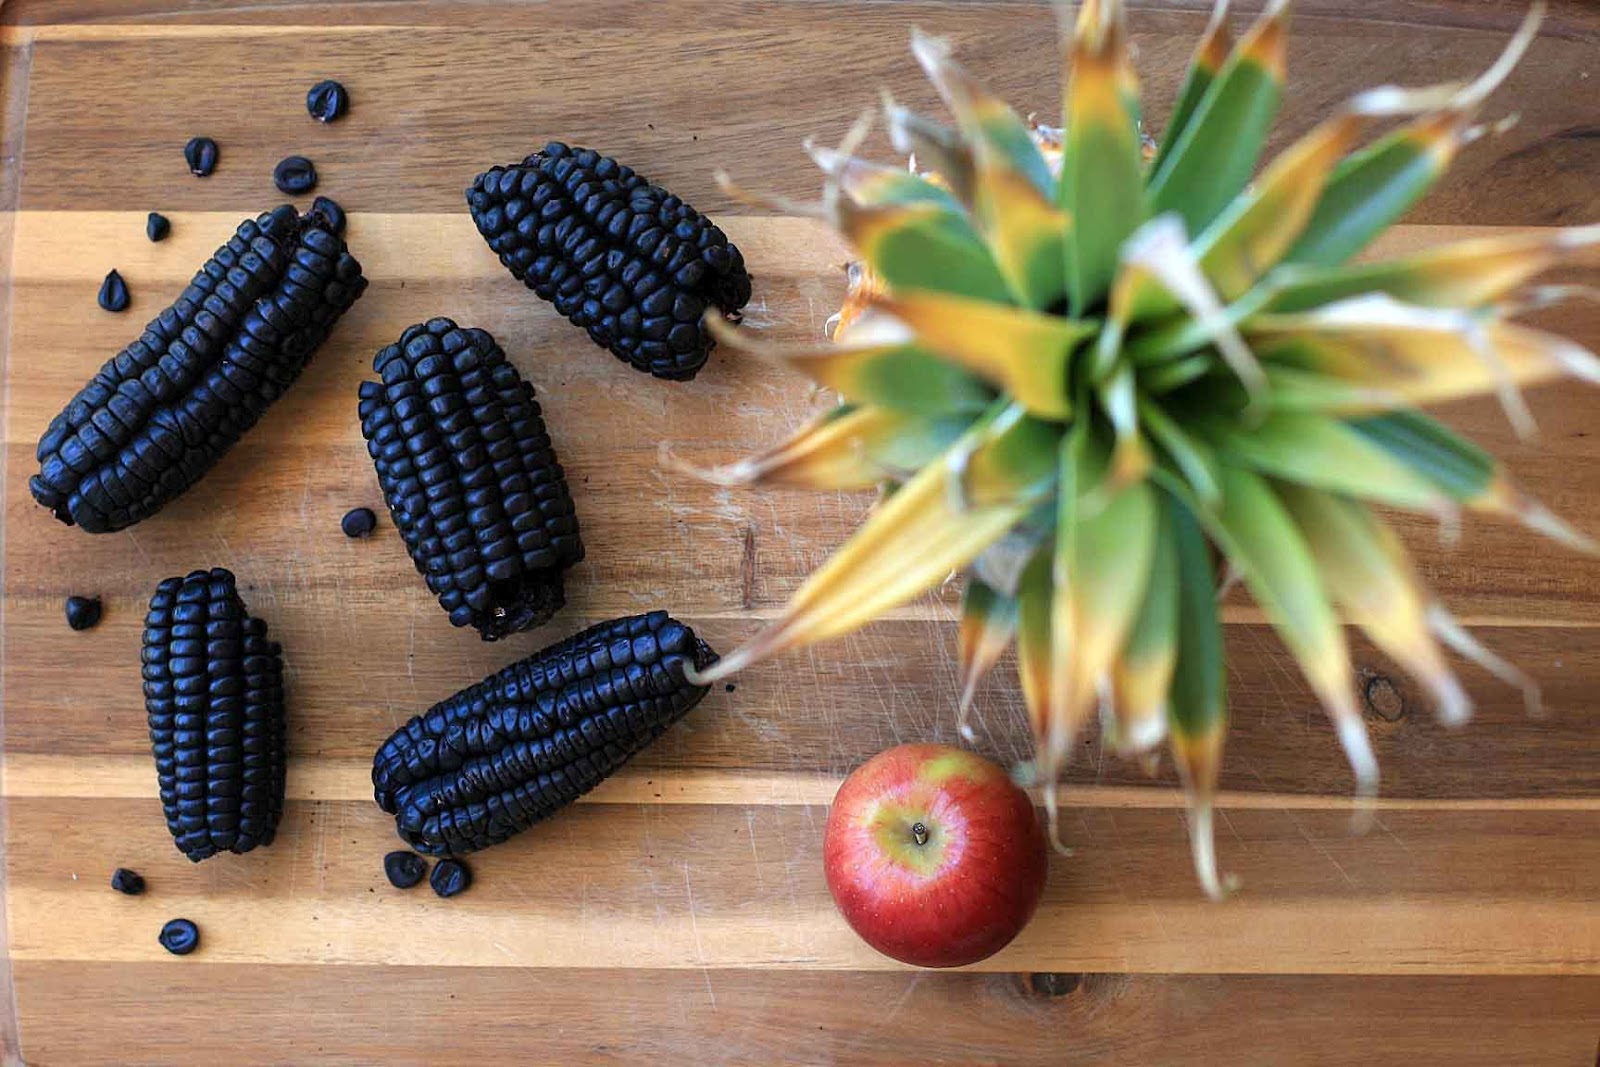
 Had I seen these gorgeous purple corn husks outside of a Latin American grocery, I would have guessed that they were purely ornamental, much like the ones that emerge as decorations every fall in picturesque places like New England (I’ve never seen anybody attempt fall decorations beyond a pumpkin or mum plant out here in Hawaii).