 I have a friend whose mother makes the most amazing pickled vegetables. Seriously, if you put them next to a tray of peanut butter brownies, I might still reach for the pickled veggies. She’s given me the recipe but I’ve yet to actually make them. I guess I get nervous because you have to pre-salt all of the vegetables and the amount of salt needed isn’t specified. I’m worried that I’ll overdo it with the salt and, even after rinsing them, will end up with several pounds of ruined, salty produce. Hey, it’s happened. Daikon kimchi, I’m talking to you.
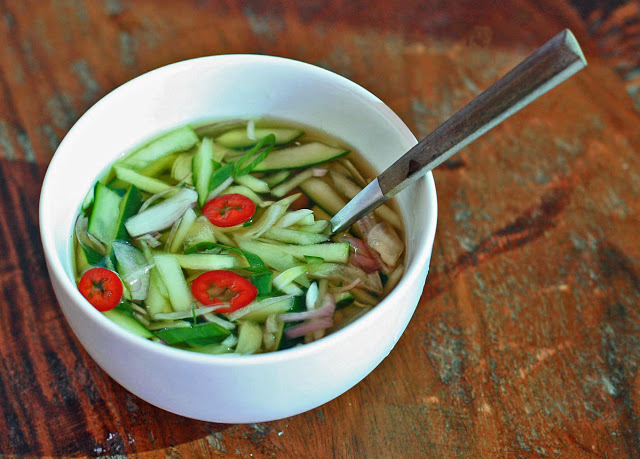
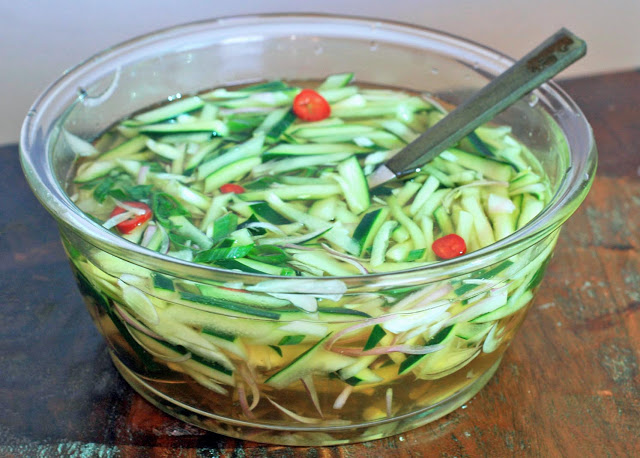
But when I saw this soup recipe, I was pretty sure I wouldn’t be able to mess it up. It’s quick, easy, refreshing and as pretty as a picture. Sweet, salty, sour with just a little bit of heat, it’s a really nice way to balance out a spicy Korean meal. If you have a love of sour foods like me (any other Traditional Chinese Medicine Wood element folks out there?), I think you’ll enjoy this one.
I also wanted to let you guys know about a cool Foodgawker/Photograzing-like site specifically for Korean food. It’s Korean Food Gallery and it’s a great place to find inspiration for your next Korean meal. For you food bloggers, it’s another place to post photos of your favorite Korean recipes. Thanks to Jenny for letting me know about it!
Chilled Cucumber Soup
Yield: 3-4 servings
Ingredients:
4 mini cucumbers or 1 regular cucumber, seeded and cut into matchstick strips
2 shallots, cut into matchstick strips
2 teaspoons sea salt
4 Tablespoons rice vinegar
3 Tablespoons sugar
1 Tablespoon gluten-free soy sauce
3 cups cold water
1 green onion, sliced into thin rings
1 hot red chili pepper, seeded and cut into thin rings (I used a red Jalapeno pepper)
ice cubes, optional
Directions:
In a large bowl, combine the cucumbers, shallots and salt. Set aside.
In a medium bowl, combine the vinegar, sugar, soy sauce and water. Add this mixture to the cucumber.
Add the green onions and mix well. Place in the refrigerator until well chilled. Garnish with red pepper rings. Add an ice cube or two in each bowl to keep the soup extra cold, if desired.

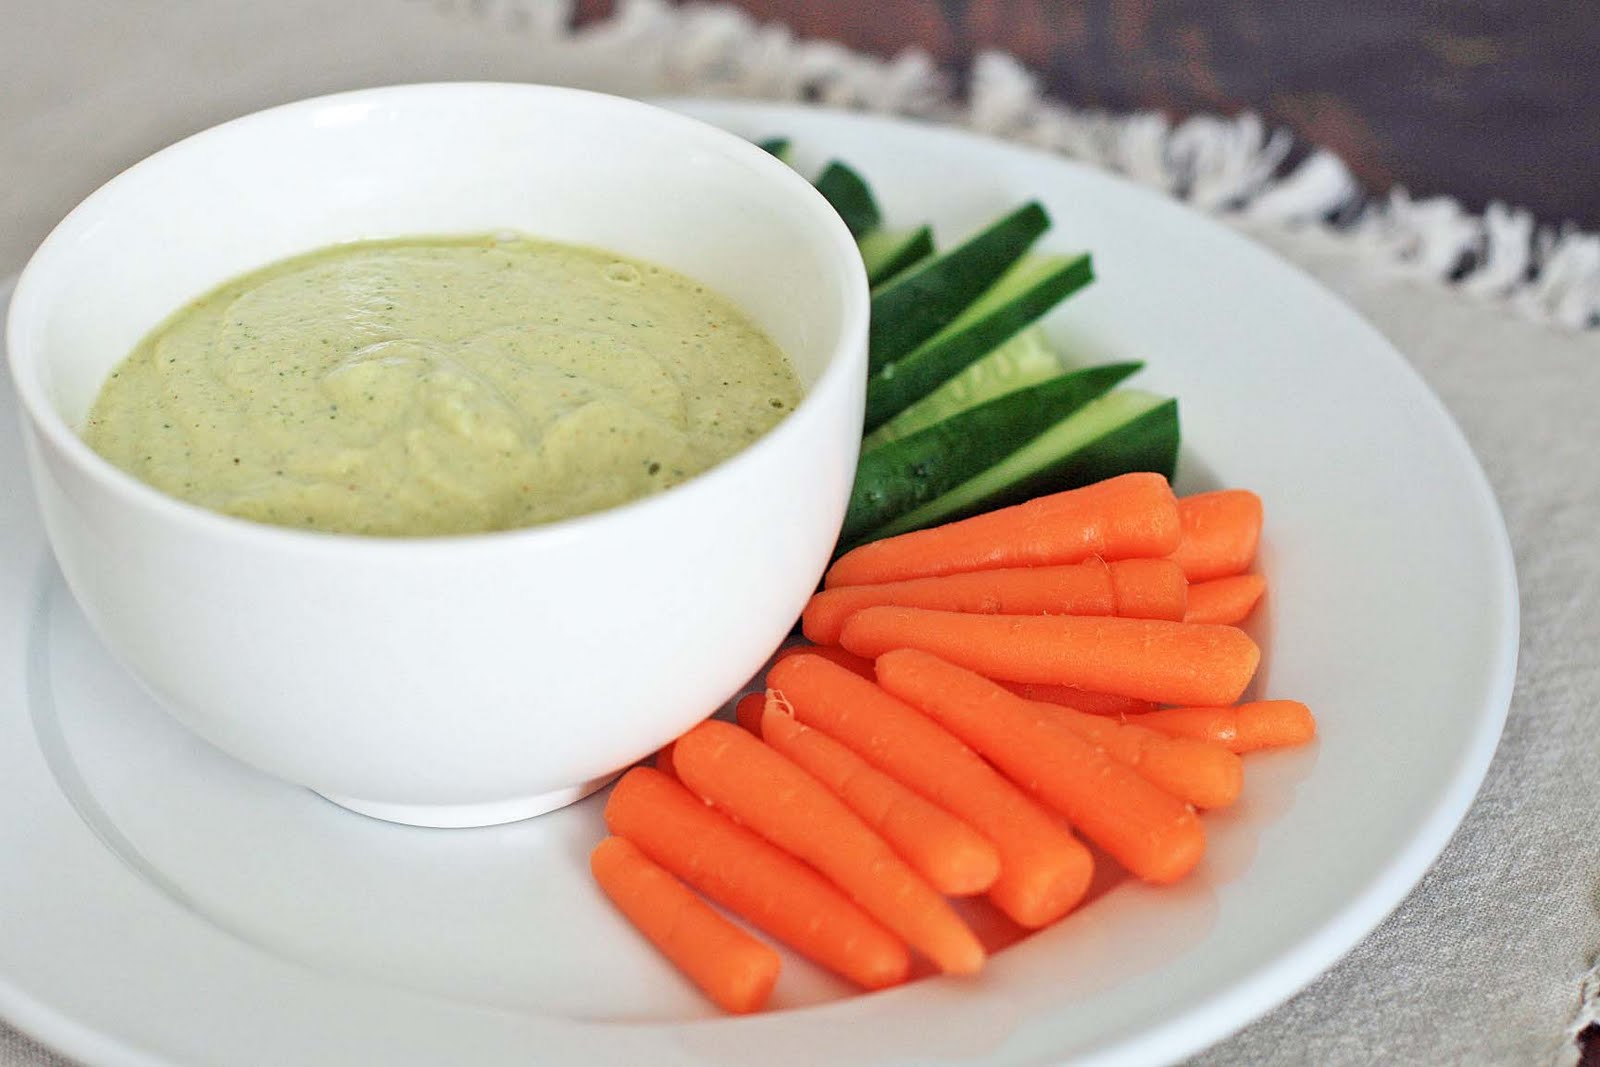 Even though I’m not a raw foodist, and have no plans of becoming one in the immediate future, I love looking through raw cookbooks. Not only do they have great recipes for juices and smoothies, you find a lot of neat tricks that you won’t necessarily find in mainstream cookbooks. One example is using raw zucchini to make hummus.
 Zucchini Hummus
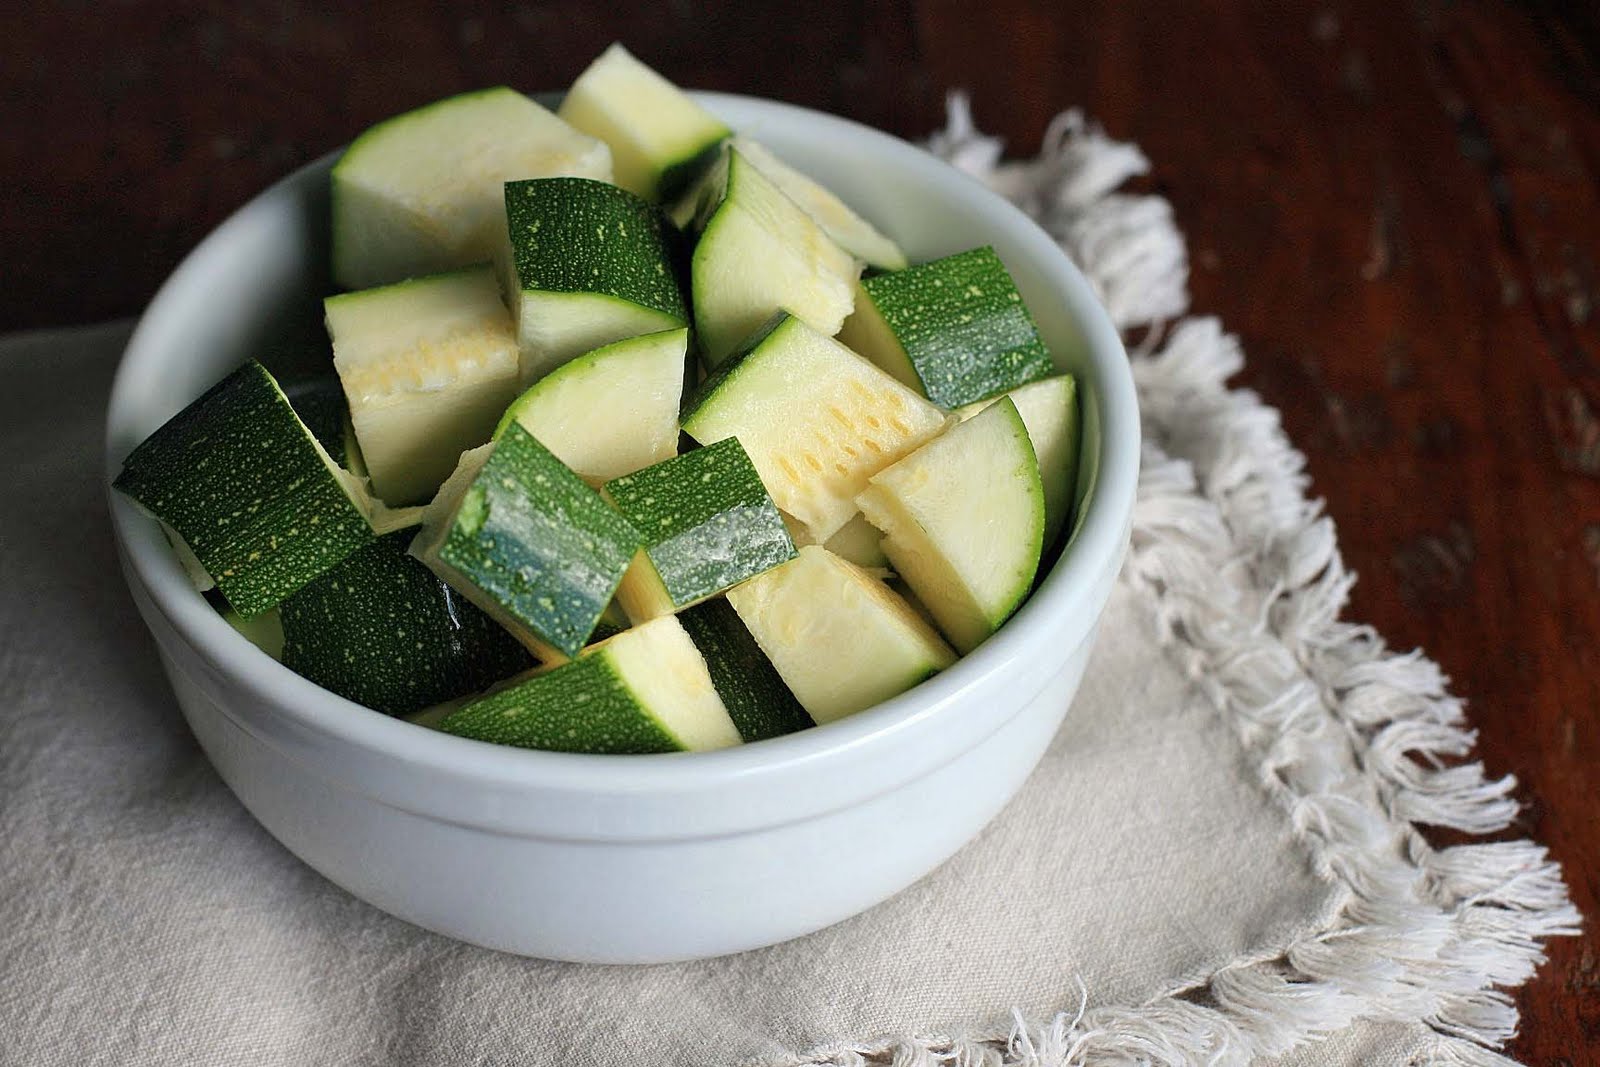


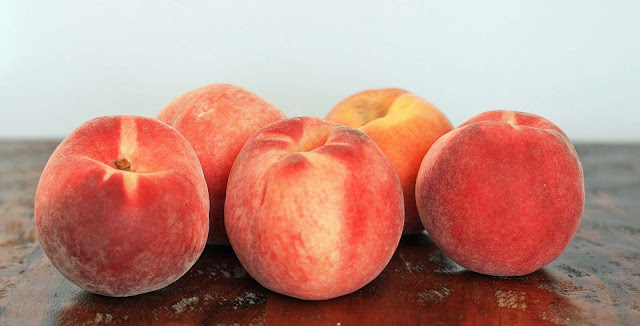 Peach and Ginger Smoothie


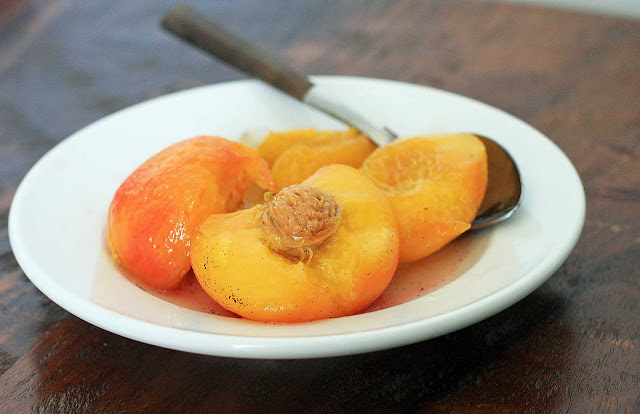
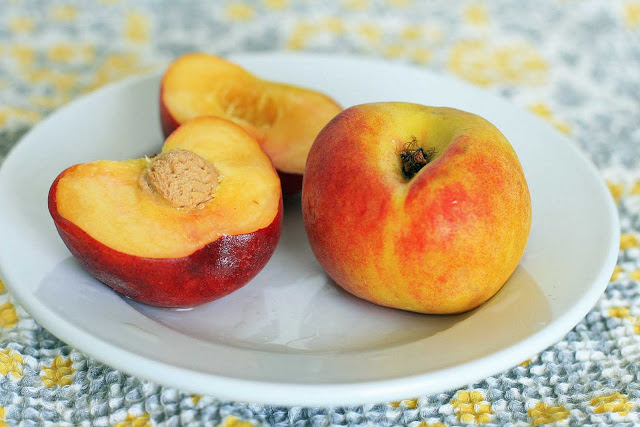 But vanilla ice cream layered with fresh peaches quickly poached in a vanilla syrup and a freshly made raspberry sauce? Sign me up. Its a pretty summer dessert that you don’t even have to turn on the oven to make.