Now I’ve made (and eaten) a lot of Asian-style jelly desserts in my day. However, I think I have to declare these Burmese Kyauk Kyaw (coconut agar-agar jellies) as my new favorite. If you’re interested in an amazing agar agar recipe, you might want to give this a try. Not only do they have that delicate, lightly sweetened coconut thing going on, but they’re one of the most striking desserts I’ve ever seen. When cooling, the jelly separates into two distinct layers. These are an opaque coconut layer and a translucent agar-agar layer.
And did I mention that they’re just about as easy to make as jello?
 I finally mustered the courage to experiment with the agar-agar that’s been sitting in my pantry for the last 8-10 months. Most recipes I saw used the agar-agar in its strand form. However, the powder is much more readily available, at least around these parts. Although I couldn’t find a straightforward explanation as to how to substitute one for the other, I finally came up with the exact texture I was going for. (Which is a bit softer than some of the other agar-agar desserts, like Vietnamese rau cau, that I’ve had in the past).

If you’re set on recapturing the fun of the Jell-O Jigglers, these can easily be set in silicone molds. Alternatively, you can do it old school-style and just use cookie cutters. Although I used rose water because that seemed to be the most traditional, feel free to play around with different extracts and flavorings.
 These heart-shaped molds were the only ones I had without a Christmas theme, so I decided to make this batch extra saccharine sweet by adding a drop or two of red food coloring. Be warned, however, that the different layers weren’t quite as striking and obvious when food coloring was used.

Coconut Agar-Agar Jellies
I’ve seen agar-agar sold in health food stores like Whole Foods for outrageous amounts. You should be able to find small packets for $1-$2 at an Asian grocery store.
Yield: 8-10 servings
Prep Time: 10 minutes
Cook Time: 10 minutes
Total Time: 1 hour
Ingredients:
2-1/2 cups water
2-1/4 teaspoons agar-agar powder
1/4 cup plus 1 Tablespoon sugar
1 cup coconut milk
pinch salt
1 Tablespoon rose water (or add a 1/4-1/2 teaspoon of your favorite extract)
1-2 drops food coloring (optional)
Directions:
Combine the water, agar-agar, sugar, coconut milk and salt in a medium saucepan. Stir and let sit for 10 minutes. Set the saucepan over medium heat and bring to a boil. Reduce heat and simmer for 2-3 minutes. Remove from heat and let cool 5 minutes. Stir in the rose water and food coloring, if using. Pour into special silicone molds, a loaf pan, or a square 8″x 8″ pan.
Let the mixture cool for 30-40 minutes to set. Cut into pieces and serve.

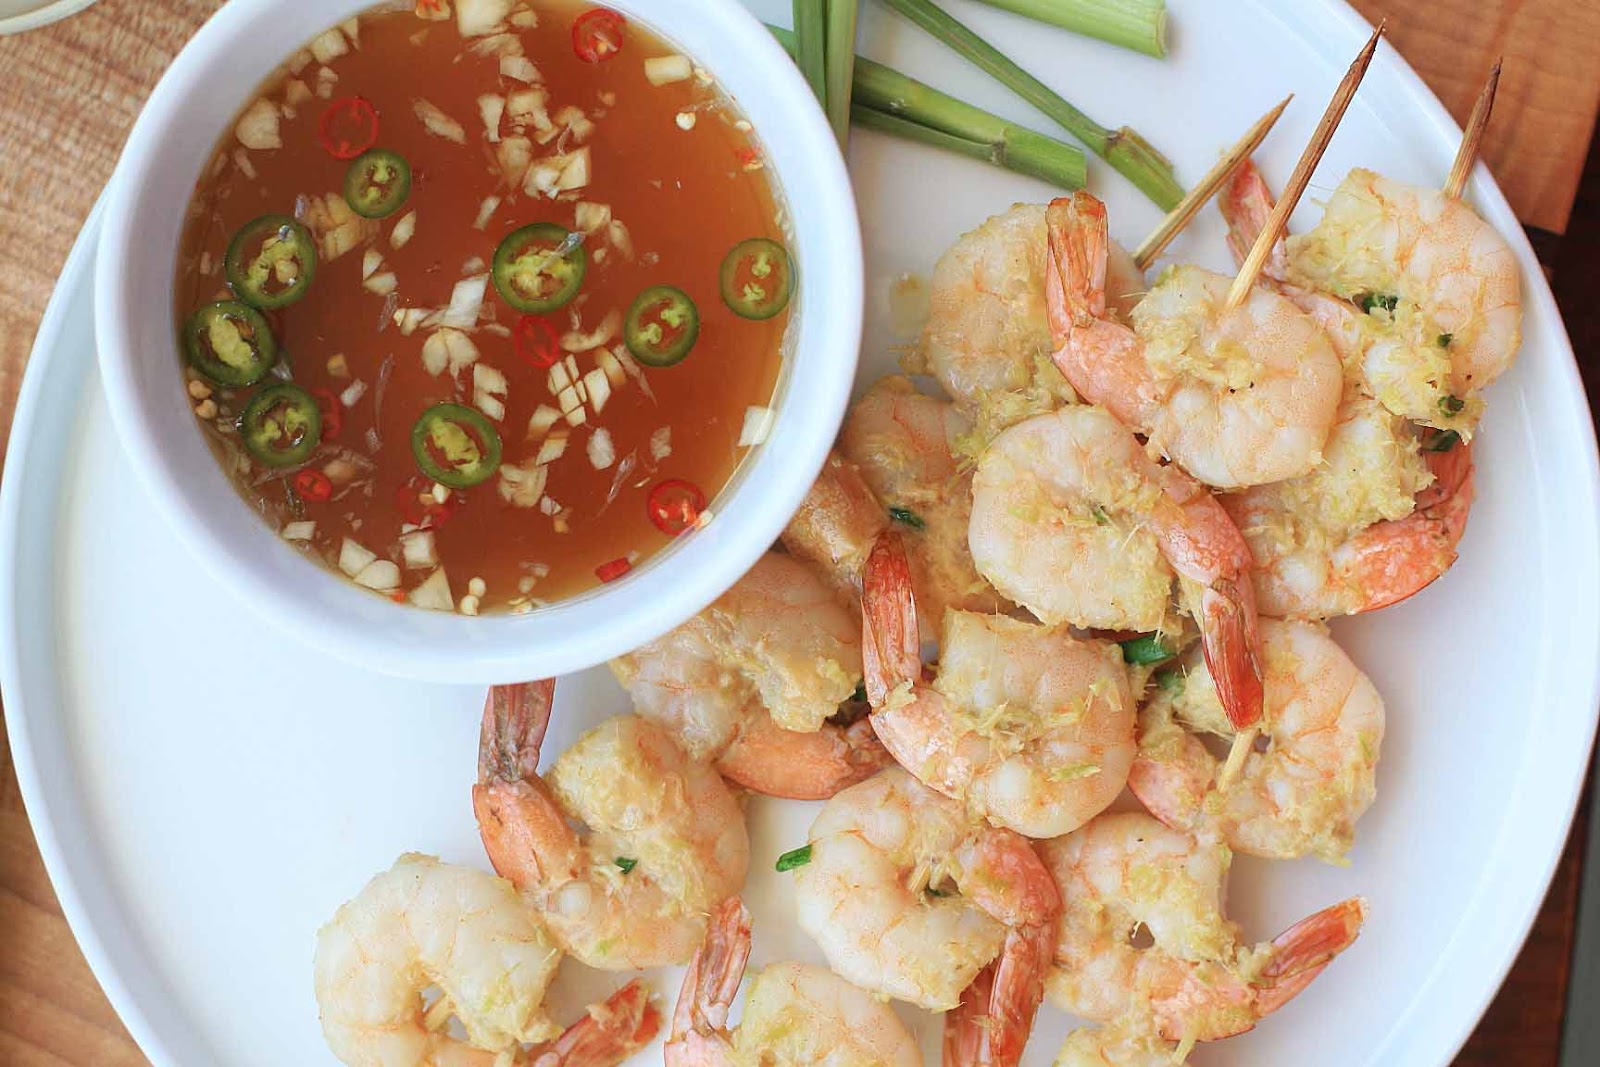
 So I now have two shrimp and cucumber salads posted. But even though they’ve both got quite a few of the same base ingredients (shrimp, cucumbers, chile peppers, lime juice, fish sauce), the similarities end there.


 Instead I’m going to start things off with a nice detox tea, for those of you who may have overdone with with the spiked eggnog and champagne over the holidays. You’ll find burdock root, also called gobo, in just about every detox tea on the market because it’s known to support and detoxify the liver. And because burdock is a key ingredient in