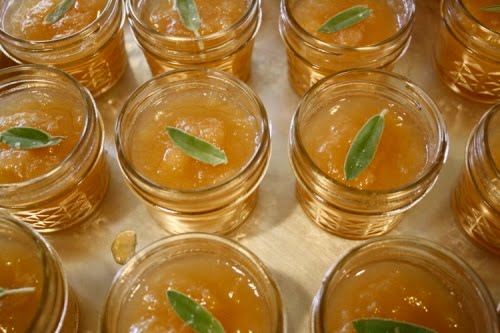
I know, I know, another one. Look, I’m not trying to hide the fact that during January and February I’m a citrus pickle making machine. Nor am I trying to hide my addiction to what I call Indian ‘sun’ pickles. Meaning pickles that are preserved – fermented actually – by allowing them to sit in the sun for a number of weeks.
I figure since I’m gettin’ in your face with a whole lotta these recipes this season, the least I can do is give you a little background info:
These citrus pickles are really not much different than the typical middle eastern preserved lemons by way of which they are preserved. In the middle eastern variety, there is always salt and sometimes spices in the mix.
In the Indian variety, there’s salt and always spices. Sometimes a lot of spices. There’s sweet chutney-like versions with sugar. And some traditional Indian citrus pickles even include oil, but those are not my favorite.
gap
One distinct difference between the two is the amount of salt – the middle eastern version typically has more. Because of the high amount of salt, each section is usually rinsed before eaten, and the lemon flesh is discarded or used for other purposes. Middle eastern preserved lemons are most often added to a dish; chopped and tossed in a tagine, a lentil dish, or a salad.
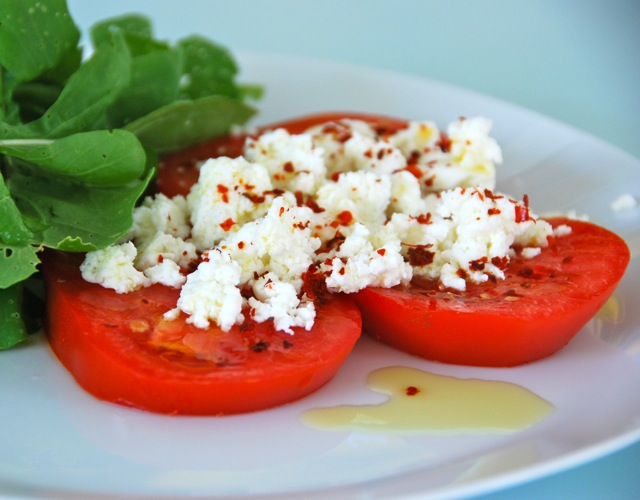
An Indian pickle is served as a condiment on the side of the plate, or more accurately in a little bowl all it’s own. They are most often eaten with the main curries, flatbreads, or rice dishes. They are not rinsed, but usually only a scant tablespoon will be consumed with the entire meal. Taken in little bites along with mouthfuls of the main dish, a good Indian or south Asian pickle will be powerfully salty, hot, sweet, or sour. Often more than one of these combined. And it will almost always be too intense to eat on its own.
GAP
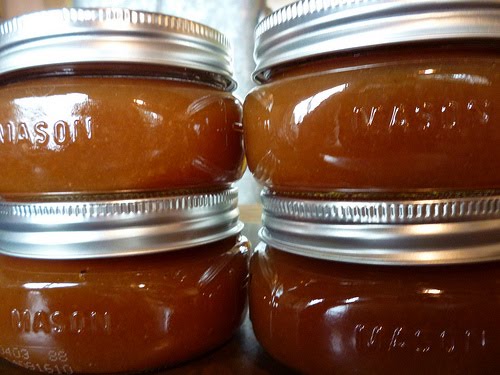
A 2 pound batch of citrus can make enough to last a year or more. For the best keeping quality of both Indian pickles or middle eastern preserved citrus, follow these precautions:
- When making them, be sure that the peels are absolutely free of water, they must be completely dry. Water-wet peels going into a jar are pretty much guaranteed to foster mold.
- Once it has completely broken down, and for long term storage in the fridge, make sure all of the citrus is submerged in the gel-like liquid.
- A clean and dry spoon must be used to take out what will be served. Place the cap right back on, and if you go back for more, use a new spoon. If there is an uneaten portion, never put it back in the jar, just eat it later!
- When making big batches, I transfer them to smaller jars before putting in the fridge, and go through them one at a time. Doing this usually eliminates any problems as you are not going in and out of a jar for over a year.
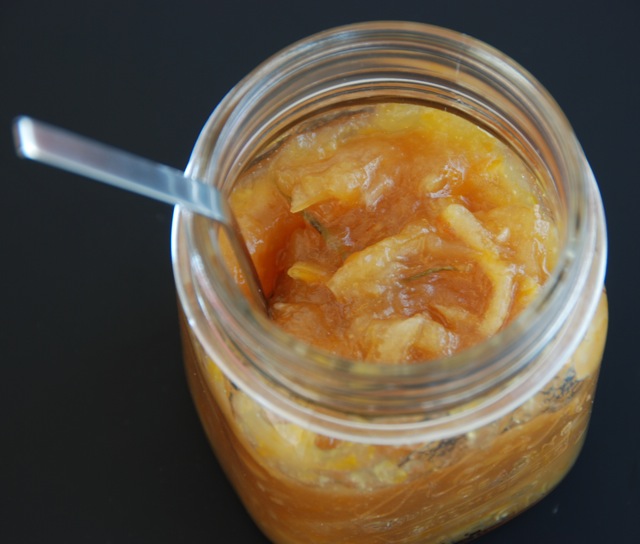
This is my yearly lime version – hot and gingery!
Gingery Lime Pickle
8 large organic limes
juice of 3 limes (or 2 lemons)
1/2 cup sea salt
1/2 cup sugar
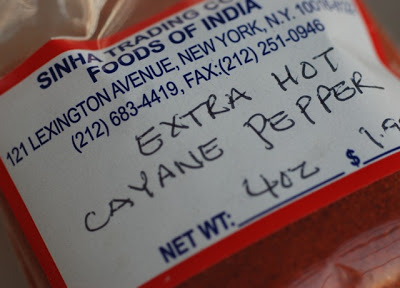
1/4 cup cayenne powder (or paprika, or 1/2 & 1/2)
1 cup julienned ginger
3 teaspoons turmeric powder
1 tablespoon plus 1 teaspoon fenugreek seeds
1 teaspoon black or brown mustard seeds
1/4 teaspoon asafoetida powder
1/2 gallon jar
Directions:
1. Wipe limes clean with a wet cloth, and then a dry. Let sit in a warm place for an hour or so to dry completely. Slice off button ends, and quarter.
2. Place one teaspoon of fenugreek seeds, mustard seeds and asafoetida powder in a dry skillet and toast for about 3-4 minutes, until the fenugreek seeds are just a shade darker. (If you have never smelled asafoetida powder before, don’t be alarmed, it’s supposed to smell that way). Let cool and grind in a spice grinder or with a mortar and pestle.
3. Fill the jar with limes and ginger. Add the spice powder, fenugreek seeds, salt, sugar and turmeric. Add the cayenne powder, paprika, or some mixture thereof. Or you can go for this:
gap
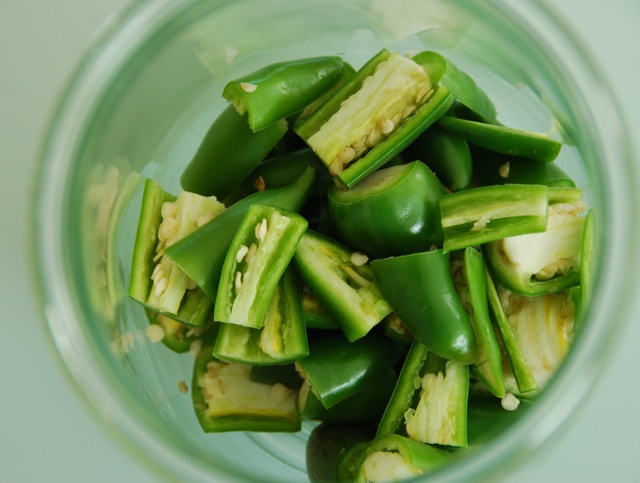
Extra hot cayenne pepper. Do take note, that though this seems like a lot of hot, it mellows out during the preserving process – and you do want a bite.
4. Pour the lemon juice into the jar. Place the cap on and give it a good shake this way and that, making sure that the spices distribute evenly around the ginger and citrus.
5. Place it in the sun, giving it a good shake once a day. If you see the cap lifting in the center from pressure, or the whole thing hisses at you when you walk by, don’t take it personally, slowly open it and release the fermentation gasses. Gently. If it’s hot outside when you make these, put them outdoors, making sure to bring them in at night. Or just keep them on a sunny windowsill.
6. This Indian pickle generally takes about 6 weeks, and sometimes up to 8 or 9. Test after the 5 week mark. Limes are usually slower to break down than lemons. You want to be able to sink your teeth into them, and your mouth should explode when you do.