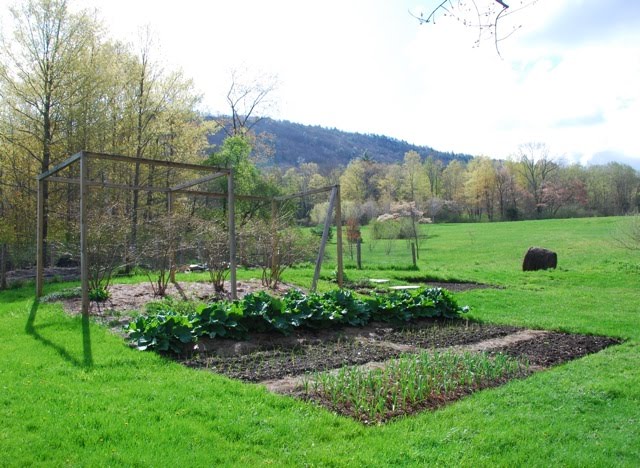
Blueberries must like rain, and cool weather cause I have four bushes that look like Christmas trees right now. All lit up with a ton of dark blue orbs. Well as I said… It’s been rainy. And I’ve been drinking a lot of tea this summer (forget the coolers, folks). I’ve been thinking about the months I spent in London some years ago. And all the wonderful sweet preserves and baked goods that are the tradition in that part of the world, served at nigh around 4 o’clock daily.
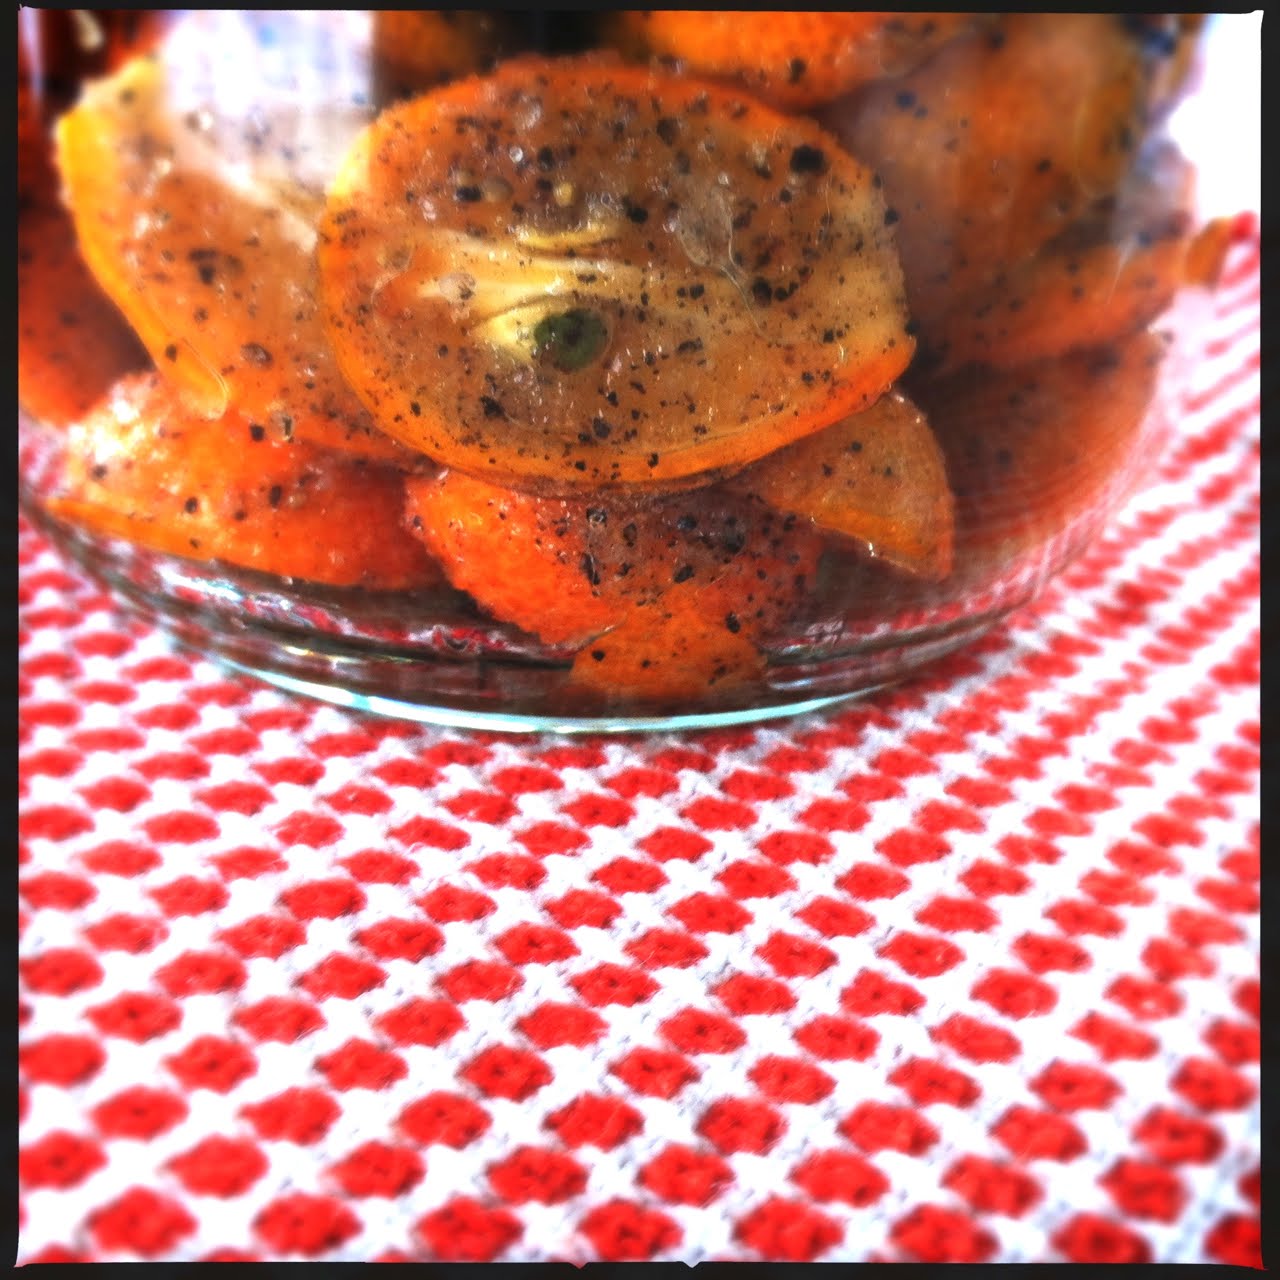
Sweet fruit curds people! That’s what I’m talkin about!
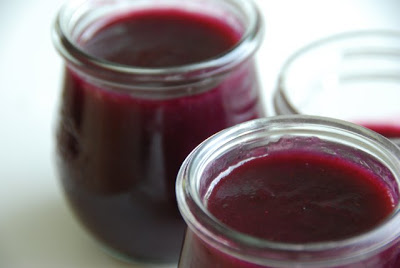 Blueberry Curd

Adapted from Fruits of the Earth by Gloria Nicol
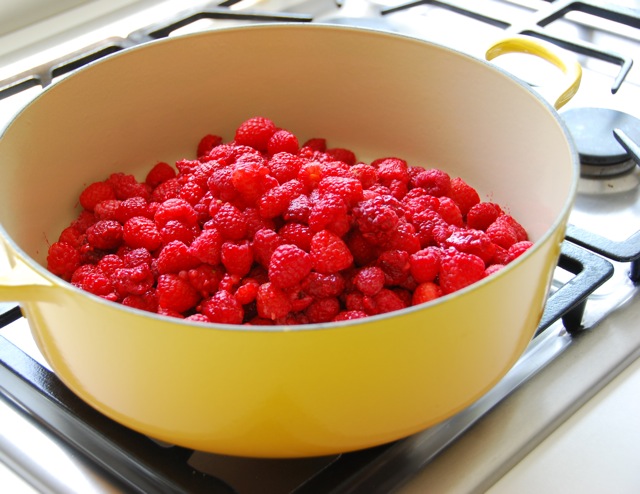
1 1/2 pints blueberries
zest and juice of two lemons
6 tablespoons unsalted butter, cubed
1 3/4 cup fine granulated sugar (I use raw)
3 large eggs, preferable organic, beaten
double boiler, or heat proof bowl to place in pan
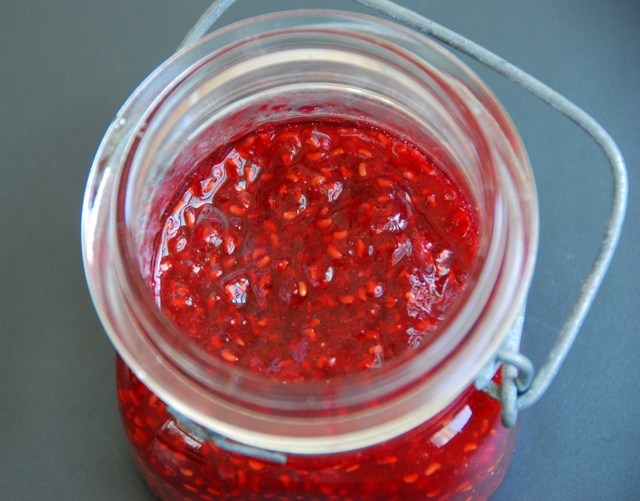
Yield: this makes approximately 3 cups so have 3 small jars or containers ready. One to go directly into fridge and two for the freezer.
Directions:
1. Place whole blueberries, lemon zest & juice in pan and cook on low until berries are very tender – about 10 minutes.
2. Place a sieve over the bowl you are using as the double boiler and mash berries through, so that the juice flows to the bowl and the berry skins and lemon zest stay in sieve. If you have a very fine sieve you can use that and all of the tiny blueberry seeds will also stay in the sieve. Mine isn’t fine but I don’t mind the little berry seeds in the curd.
3. Set the bowl over simmering water and add the sugar. Mix until sugar is dissolved. Add butter cubes.
4. Pour the beaten eggs through a sieve into the bowl and stir the curd. Make sure everything is blended.
5. Continue to cook and stir until the curd becomes thick enough to coat the spoon. This will take about 20 minutes.
6. Fill the three small containers.
Note: in the olden days, home canners used to hot water bath can curd in order to store it at room temperature. This is not considered safe anymore because of the egg and butter content.
But it’s the egg and butter content that makes it, oh so good! Curd stays fresh in the fridge for 2 weeks and you can preserve it in the freezer for up to 6 months.
Or you can be like me:
 And eat the whole first container on the day you make it before it ever gets to see the light of fridge.
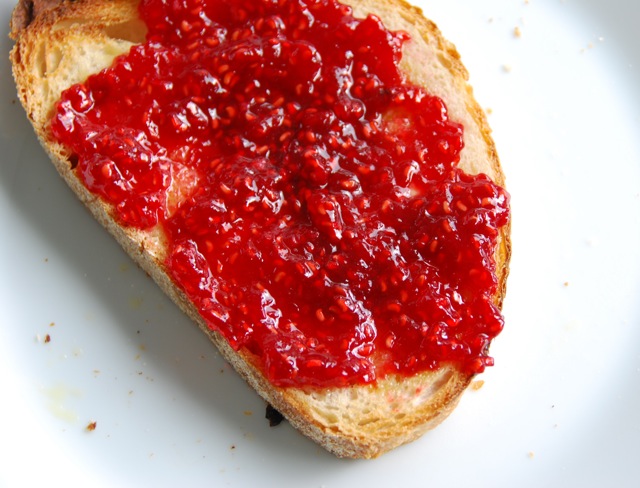
Just a suggestion… spread a bit atop a lovely scone, or perhaps a dollop in a tiny pastry cup.