Huge changes to consumer habits in recent years mean small independent businesses are rising in popularity. There are loads of reasons why you might be interested in creating a food stall, but there is no denying that this is one of the most exciting times to join the small business party!
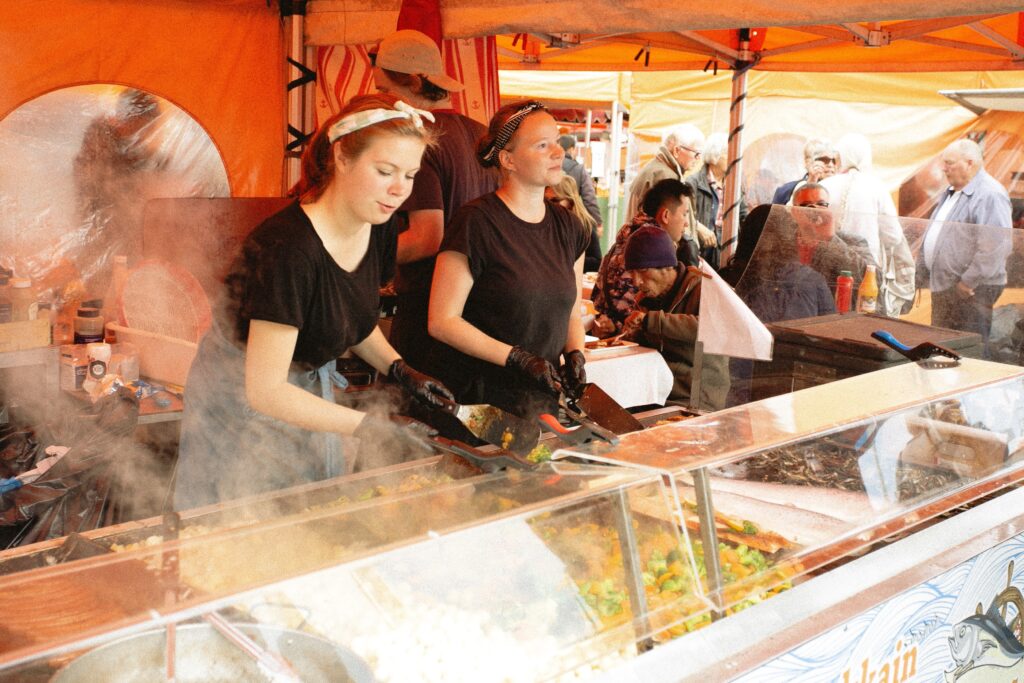
There has never been a better time to explore your passion for cooking by sharing your food with customers, and building your own successful small business in the process.
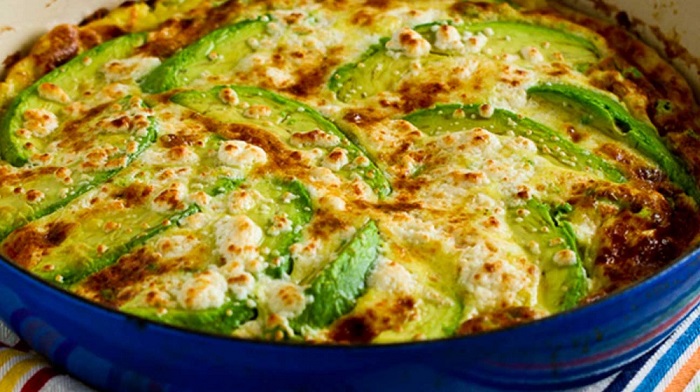
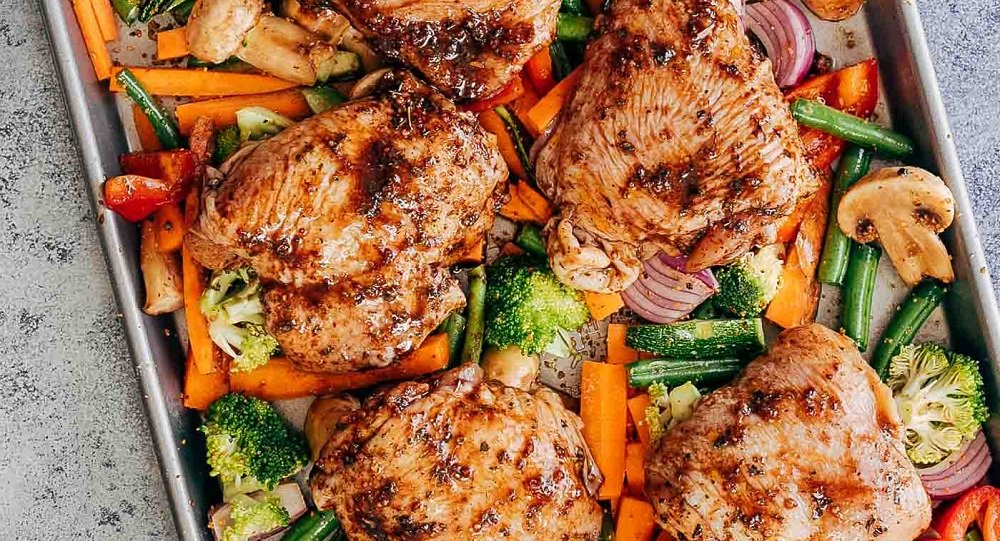
If you are a star baker or a master chef, and want to let others enjoy your food, creating a food stall is a great way of sharing your passion. Because food stalls can take full advantage of seasonal produce, there’s scope to make them a year-round attraction.
From Halloween-themed cupcakes, through Christmas gingerbread, to Easter tray bakes, you can ring the changes with your food stall throughout the year. If you are ready to take the plunge but you are not sure where to begin, read on to find some tips on how to get started.
Who Are You Going to Target?
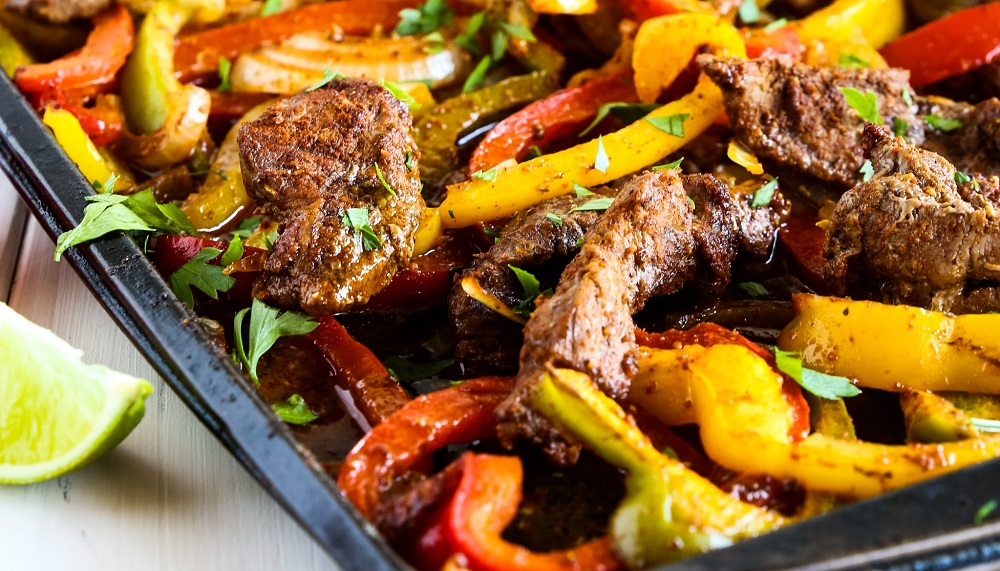
Consider first who you want your target consumer to be. Are you better at baking impressive and unique birthday cakes? Or do you have a passion for eat-on-the-go street food? Do you prefer seasonal food like Christmas cake? Or do you specialize in international cuisine?
Whatever you prefer to cook, focus on honing your offering in that area in order to find those customers who absolutely love your niche. Your customers will be able to sense the passion in your food, making it all the more tasty.
Think About your Packaging
Packaging plays a huge part in your customers’ perceptions of your brand. It is the first thing they see when you hand them their food, and the last they see once they have finished with it. So your packaging is a key part of your food business’s identity and if you haven’t selected your brand logo here’s a tool to create your free logo generator online.
If you are searching for a packaging company in the North West that provides attractive, biodegradable packaging options, you should take a look at Pirate Packaging. With bespoke and personalized packaging available, you can make the presentation of your packaging entirely your own!

Appearance is only one aspect of packaging. You need to make it appealing to customers in lots of other ways too; otherwise you may lose out on some business. In today’s world, consumers are increasingly concerned about the environment.
Address your customers’ environmental concerns by making sure you have sustainable packaging options. Not only is this good for your business, it is also much better for the environment, and today there are wide choices available for most types of food packaging.
Branding your Business
As we outlined earlier, creating a brand that represents you and your food stall is crucial. Consider your target customer, combine that with what you want from your packaging, and come to a conclusion about what kind of brand you want to create.
Pirate Packaging can help you create an attractive brand appearance that you will feel proud of. It is not always enough to rely solely on your fantastic food, and eye-catching printed packaging is a great tool in your sales armoury.
With the popularity of social media, people want food that looks good in photos. People want to show their followers what they are eating, so making your packaging social media-friendly encourages them to spread the word about your food business online.
Whether you are hoping to impress baked goods lovers, sandwich connoisseurs, or takeaway fanatics, creating an attractive brand through appealing packaging can give your small business a boost online. Making a brand that translates amazingly onto social media gives you free advertising, and the potential for substantial exposure to a wide range of customers.
Get Licensed
Make sure you are sticking to the law in making your food stall as safe as possible for your customers. People want to buy from genuine and reliable businesses, so being able to provide the paperwork is really important. Not only does it ensure that everyone stays safe, it also means that your customers remain happy, reducing the risk of complaints and cutting your food waste.
Most importantly, it is against the law to serve food without the relevant hygiene accreditation, so don’t hold back your food stall dreams. Hazard Analysis and Critical Control Point (HACCP) regulations lay out the food safety management procedures that are necessary, so make sure you do your research before opening your stall.
Just Take the Plunge
If you have followed all of our advice, and have created an excellent (and legal) food stall brand, and backed it with some amazing packaging, then there really is no need to delay. Now is the perfect time to take the plunge into your new small business venture, and to open your pop-up stall for customers.
We can’t wait for you to start sharing your delicious and beautifully presented food. We’re sure it won’t be long before the customers start flocking in.