As you probably know already, I love making things from scratch. Not only foods but also cosmetics, oil blends, simple decorations, et cetera. But in this post, we will be talking about food. Specifically, pasta!
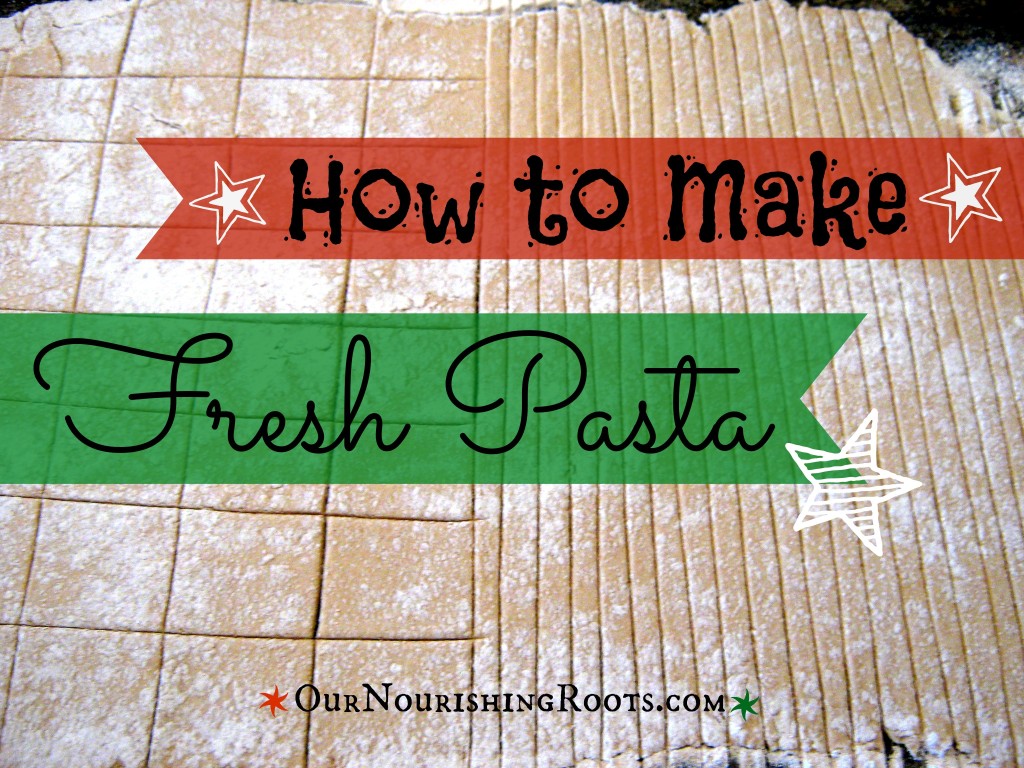
Making your own pasta seems like a big hassle but it doesn’t need to be. My recipe is fairly straightforward and doesn’t take up that much of your time. Once you cook up your own pasta a few times, like me, you will be done in a couple of minutes!
The image of the process of pasta being difficult probably stems from the fact that when we see people make pasta on TV’s culinary shows, they usually use special pasta-making equipment, like a pasta roller. But the truth is that you don’t need to necessarily use these machines! You obviously can, and it will probably make your job even easier, but I have successfully made pasta using only a rolling pin to flatten the dough and a pizza cutter to cut out the pasta shape. Heck, you don’t even need a pizza cutter, you can just use a regular knife.
Why Homemade Pasta?
There is absolutely no comparison between store-bought pasta and the homemade version. And the satisfaction that you get from making something with your own two hands is unbeatable.

I prepared two separate pasta recipes for you today. The first one is very quick. It uses eggs which I think makes the pasta texture more tender. You just prepare the dough, flatten eat, cut the pasta into your desired shape, boil it, and voila – you’re done! You can even add fresh herbs to the dough to make it even more interesting. This pasta is best served immediately.
The other one is made using soaked flour which means that you need to start the preparations a day before. But in return, your pasta will be easier to digest and have more nutritional value. I feel that it’s also better for making pasta for later use. You can easily dry it and it will hold for several weeks. That’s why I usually make in large batches once a few months.
Necessary equipment:
- a large mixing bowl
- a kitchen towel
- optional: a large dehydrator
- a rolling pin
- a pizza cutter OR a pastry scraper OR a sharp knife
- optional: cooling racks (for drying the pasta)
Homemade Egg Pasta
Ingredients:
- 3 1/2 cups of sprouted flour (how to make sprouted flour)
- 7 eggs
Instructions:
- Pour the flour into a large mixing bowl. Make a well in the center with your finger.
- Crack all the eggs and put them in the well you just made.
- Gently knead the flour with your hands, starting from the center where the eggs are. Knead until both ingredients fully combine and the surface of the dough is smooth.
- Press the dough with your hands to make roughly a rectangular shape.
- Use a rolling pin to flatten it further to about 1/8 inch thickness.
- Use your cutting tool to cut the dough into any shape you want. Try to be consistent with the size of each piece so that they boil evenly.
- Put the fresh pasta in salted boiling water and cook for 3 to 5 minutes or until the pasta becomes slightly tender.
- Serve immediately.
Homemade Soaked Pasta
Ingredients:
- 3 1/2 cups of freshly ground flour
- 1 cup of warm water
- 2 T. of apple cider vinegar OR whey
Instructions:
- Pour the flour into a large mixing bowl. Make a well in the center with your finger.
- Pour in the warm water and the apple cider vinegar.
- Gently knead the flour with your hands, starting from the center. Knead until both ingredients fully combine and the surface of the dough is smooth.
- Cover the bowl with a kitchen towel and leave at room temperature overnight (at least 12 hours).
- Remove the dough and put it on a counter lightly sprinkled with flour. Knead for one minute.
- Press the dough with your hands to make roughly a rectangular shape.
- Use a rolling pin to flatten it further to about 1/8 inch thickness.
- Use your cutting tool to cut the dough into any shape you want. Try to be consistent with the size of each piece so that they boil evenly.
- You can dry the pasta two ways: leave them as they are on the floured counter (takes more time) or transfer them onto a cooling rack.
- When the pasta dries and completely hardens, transfer it to an airtight container and keep in the pantry.
- Use within several weeks.
For another great pasta recipe, try my ricotta spinach pasta.