 I certainly haven’t hidden my love of cabbage from you guys. In just over a year I’ve posted a cabbage soup, two kinds of slaw, cabbage rolls, tangy ginger cabbage, curried cabbage, Napa cabbage kimchi, etc., etc. Cabbage sure is one heck of an adaptable vegetable.
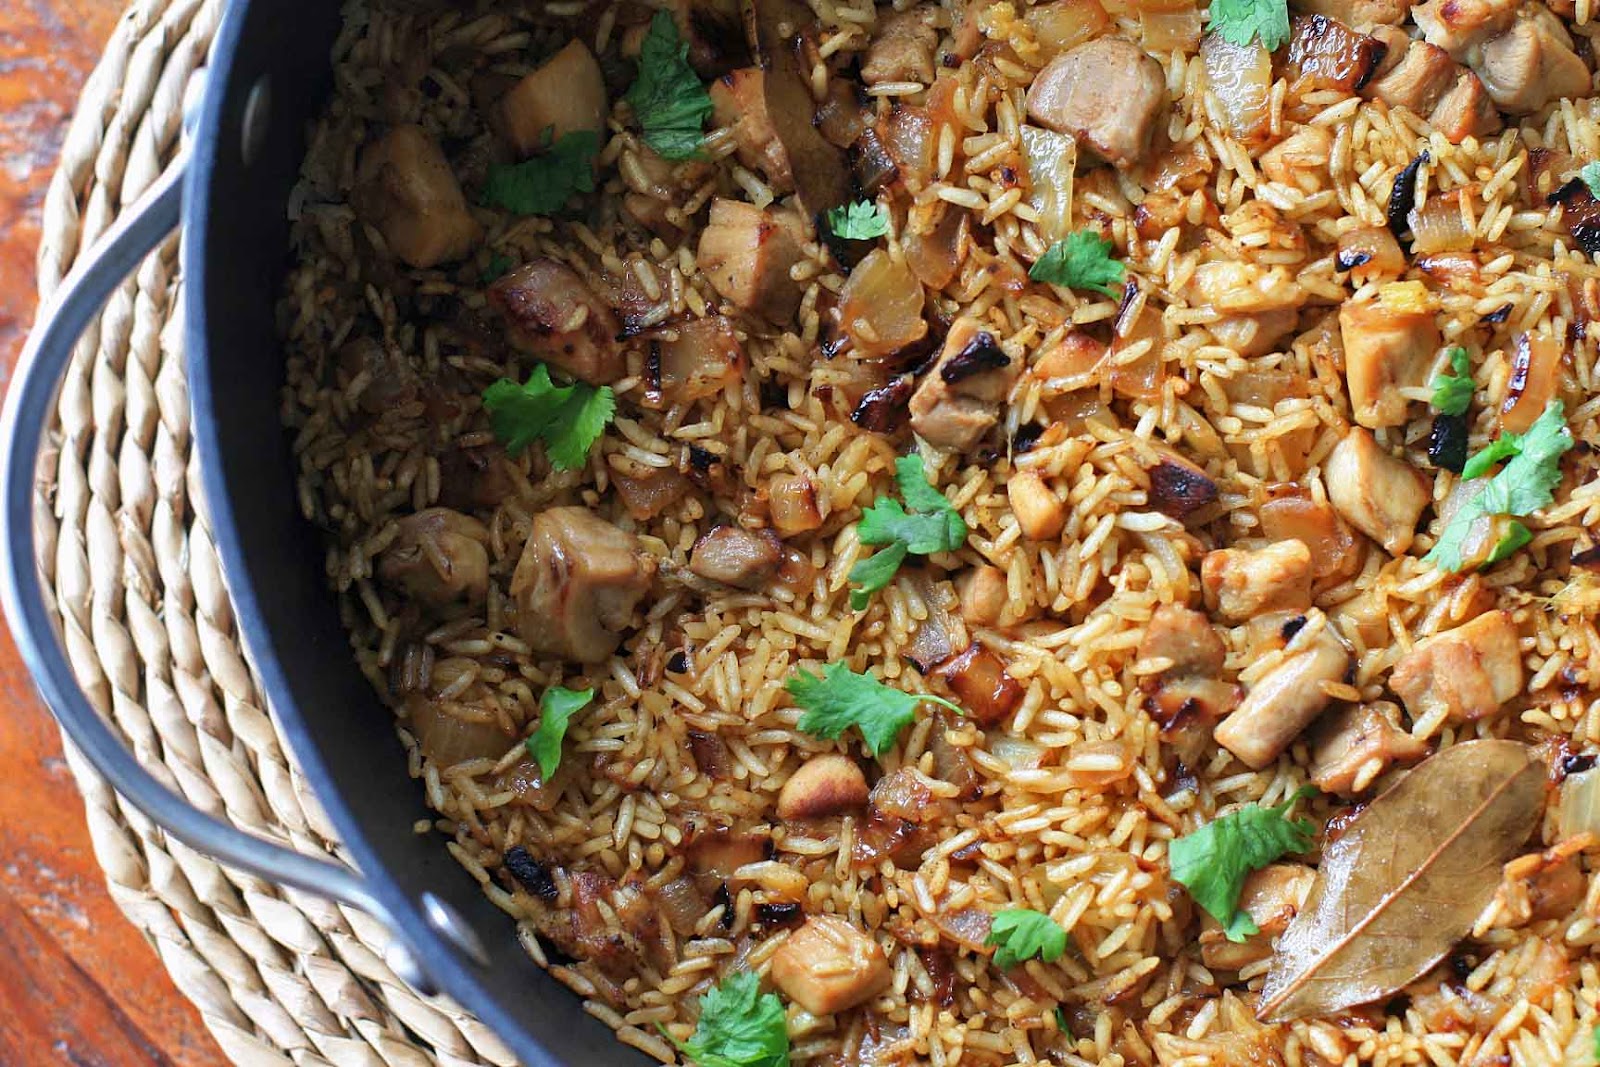
If you love it as much as I do, you owe it to yourself to head on down to the supermarket this weekend to pick up supplies for this Nepali cabbage. Would I have ever thought to combine sesame paste with cabbage? That’s a negative. But did I love the result so much that two people finished the whole thing almost immediately? That’s an affirmative.

 It’s recipes like this one that make me thank my lucky stars that I started this little culinary journey around the world. It’s pretty amazing that about a year ago I only had about two or three go-to recipes for cabbage.
Of course my number of cabbage recipes has increased exponentially and this particular recipe just shot to the top of my list of favorites. Hot, sour, salty, sweet- it’s got it all. And just like yesterday’s dish, it’s vegan and quick to prepare. I sure am on a roll…

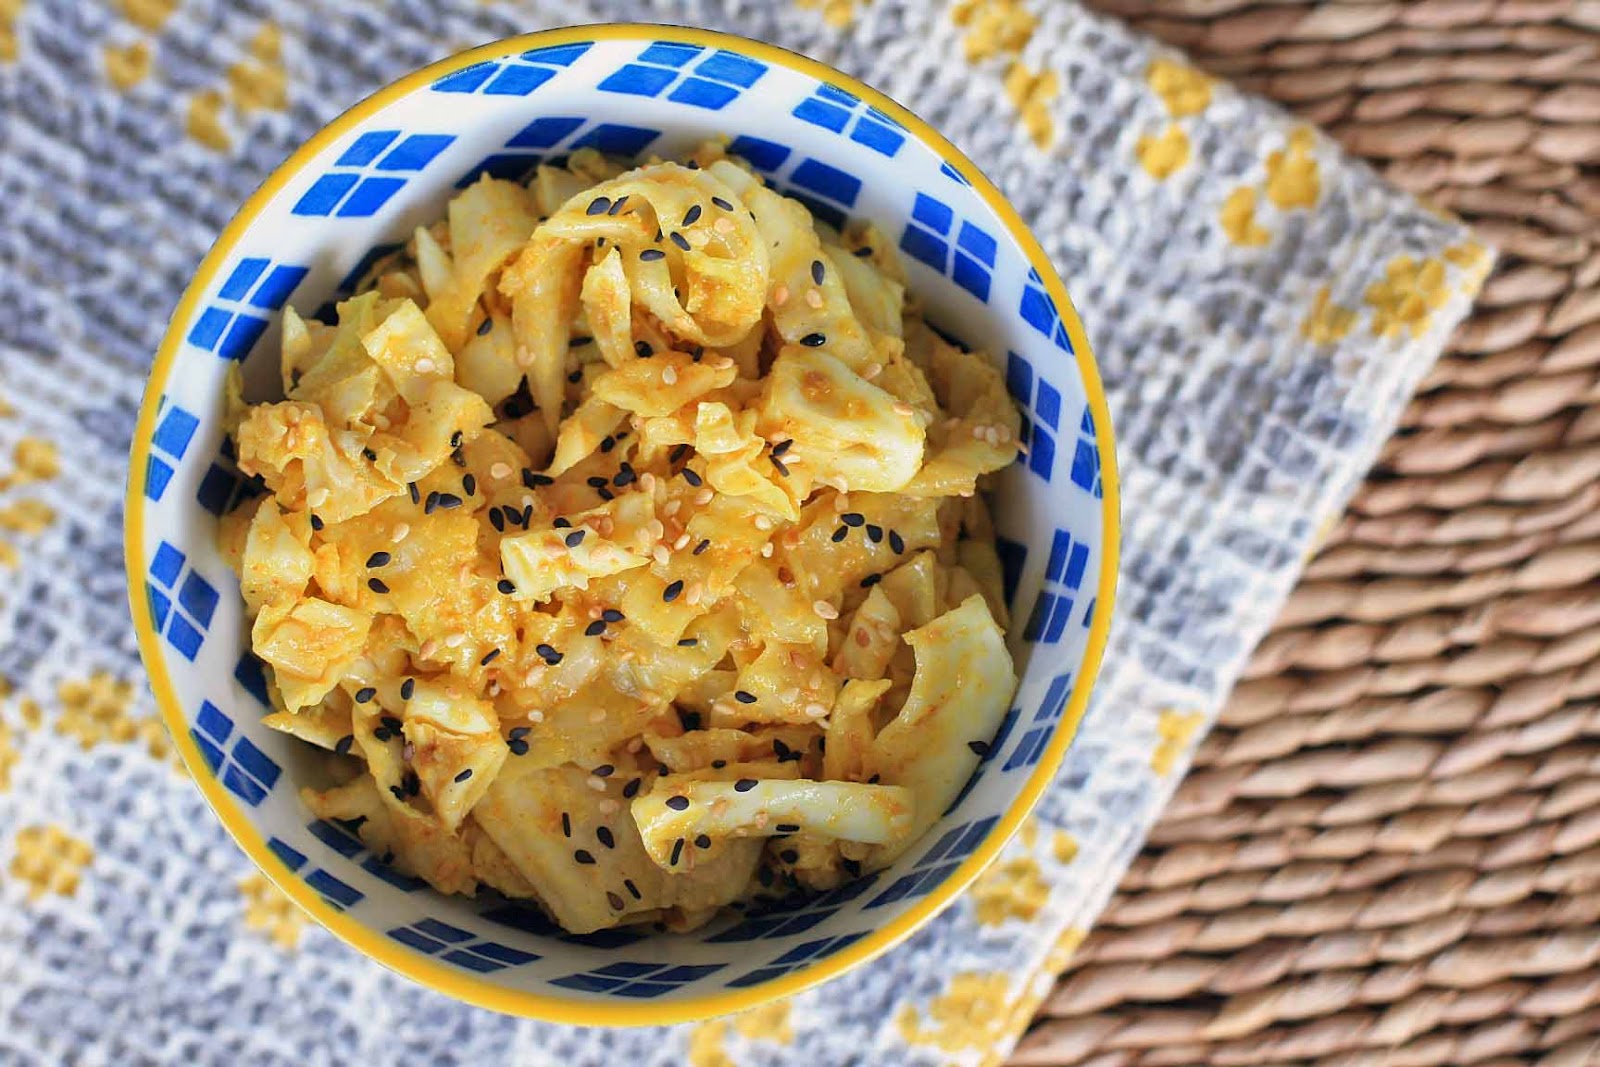
Nepali Sesame Cabbage
Yield: 4-6 servings
Ingredients:
1/2 cup brown sesame seeds
1/4 cup water
3 Tablespoons lemon juice
1/2 medium-sized cabbage, shredded
1 teaspoon salt
1/2 teaspoon cayenne pepper
2 Tablespoons canola or vegetable oil
1/4 teaspoon turmeric
black sesame seeds for garnish (optional)
Directions:
Toast the sesame seeds in a dry frying pan over medium heat, stirring constantly, until golden. Grind the toasted seeds in a blender and then add the water and lemon juice, and blend until it becomes a smooth paste.
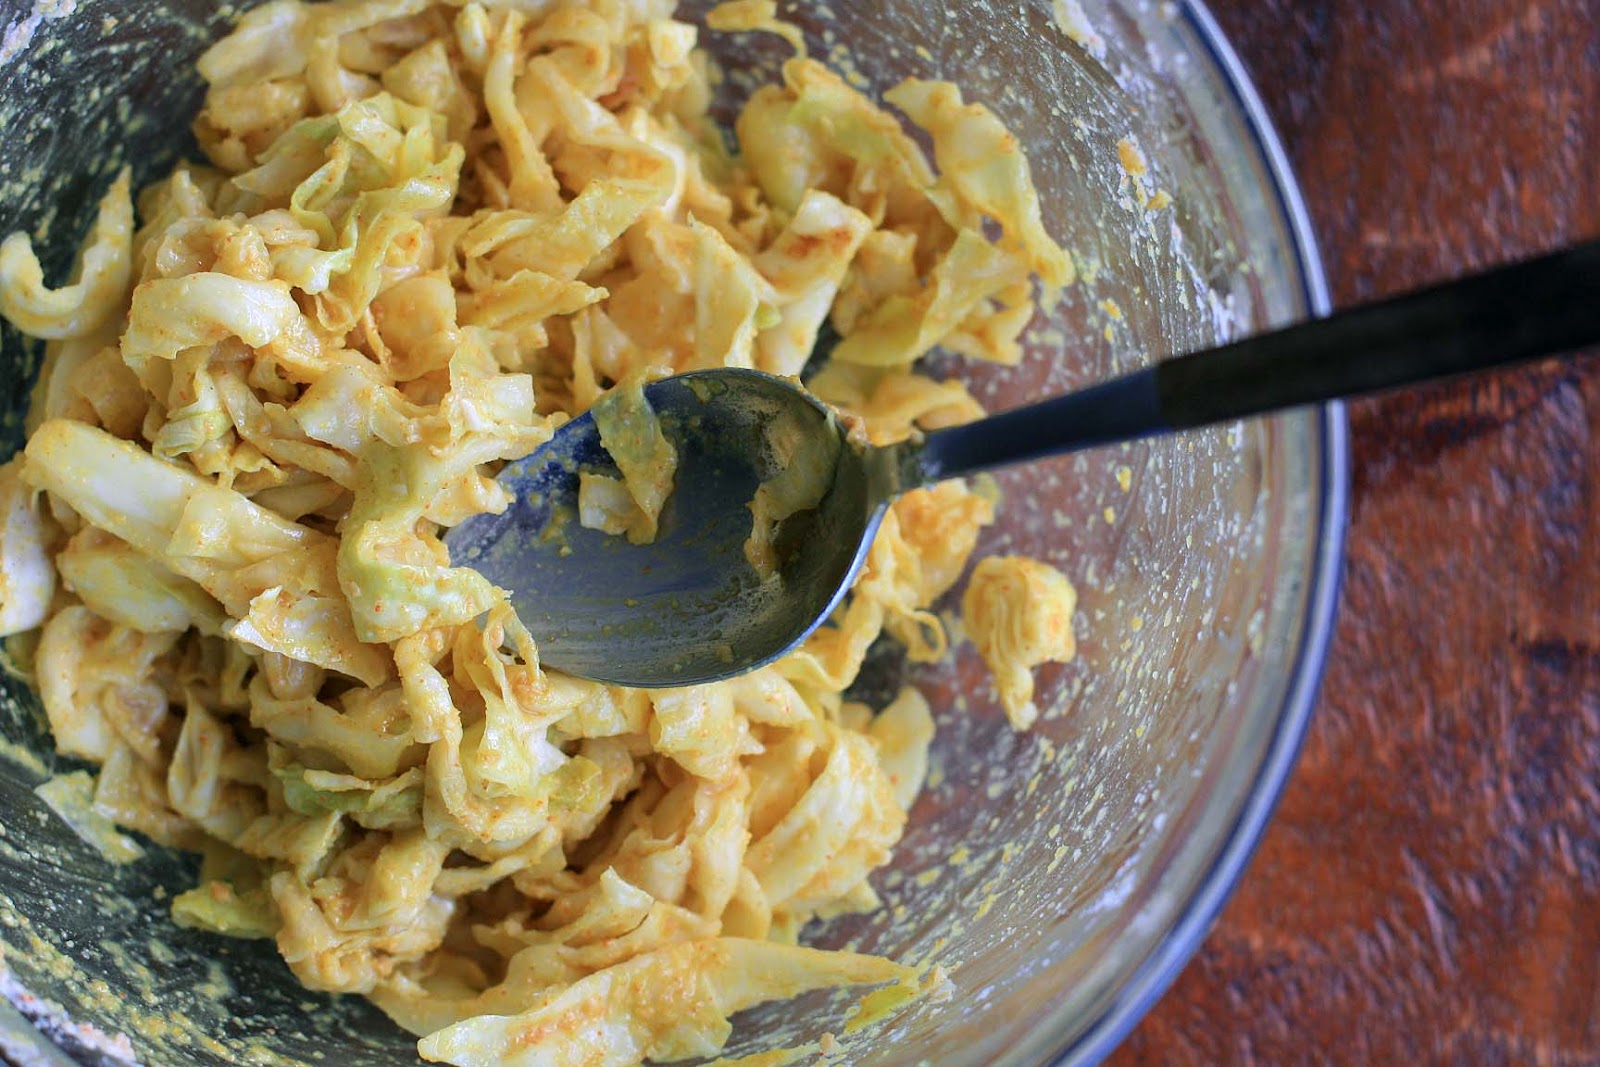
In a large bowl, combine the sesame paste, cabbage, salt and cayenne.
In a small frying pan, heat the oil over high heat until it begins to smoke. Immediately add the turmeric and then pour the seasoned oil over the cabbage mixture. Taste and adjust seasonings, if desired. Garnish with black sesame seeds.