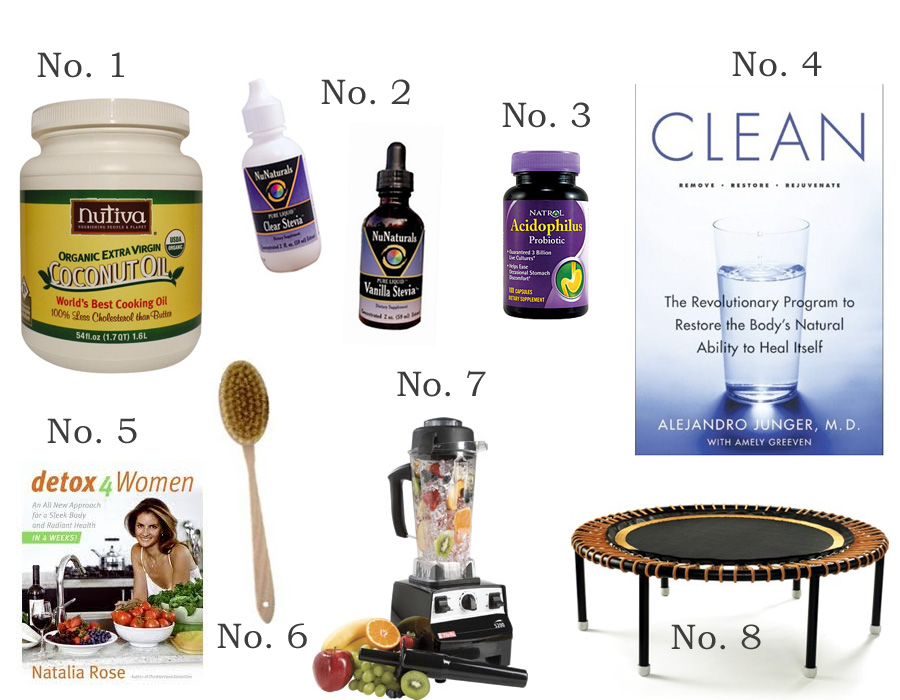
 Although I’ve done a cleanse or two in my day, I definitely don’t claim to be an expert. But for anybody who is interested, these are the things that I consider my detox essentials.
Detox Essentials:
1. Coconut Oil is one of my favorite discoveries over the past couple years, I use coconut oil in everything. Cooking, moisturizing, smoothies, etc., etc. I even use it as a substitute for cream of coconut in Pina Coladas. Anything that makes (virgin) Pina Coladas kosher for a cleanse definitely gets my seal of approval.
2. Stevia has become my new best friend. It’s an absolute must for those with a sweet tooth (like me!).
3. Probiotics will help keep your tummy happy and healthy.
4. There are plenty of detox books out there, but Clean is one of my favorites.
5. Natalia Rose has written several excellent books, but I like Detox for Women best. She’s a great cheerleader and her green lemonade is my new favorite drink.
6. A natural bristle brush for skin brushing, which helps circulate your lymph.
7. Since I don’t own a juicer, my Vitamix got even more of a workout than normal the past couple weeks (update: I recently bought this Breville Juicer and really like it).
8. Most nutritionists and naturopaths recommend rebounding (jumping on a trampoline) as the best, detoxifying exercise out there. Plus it’s super fun! I’ve got this one, which is well made and quiet.
9. It’s not in the nifty little photoshop document above, but I’m definitely of the opinion that a good vacation is super detoxifying. We all need to get out of the office and away from the computer every once in awhile.
gap
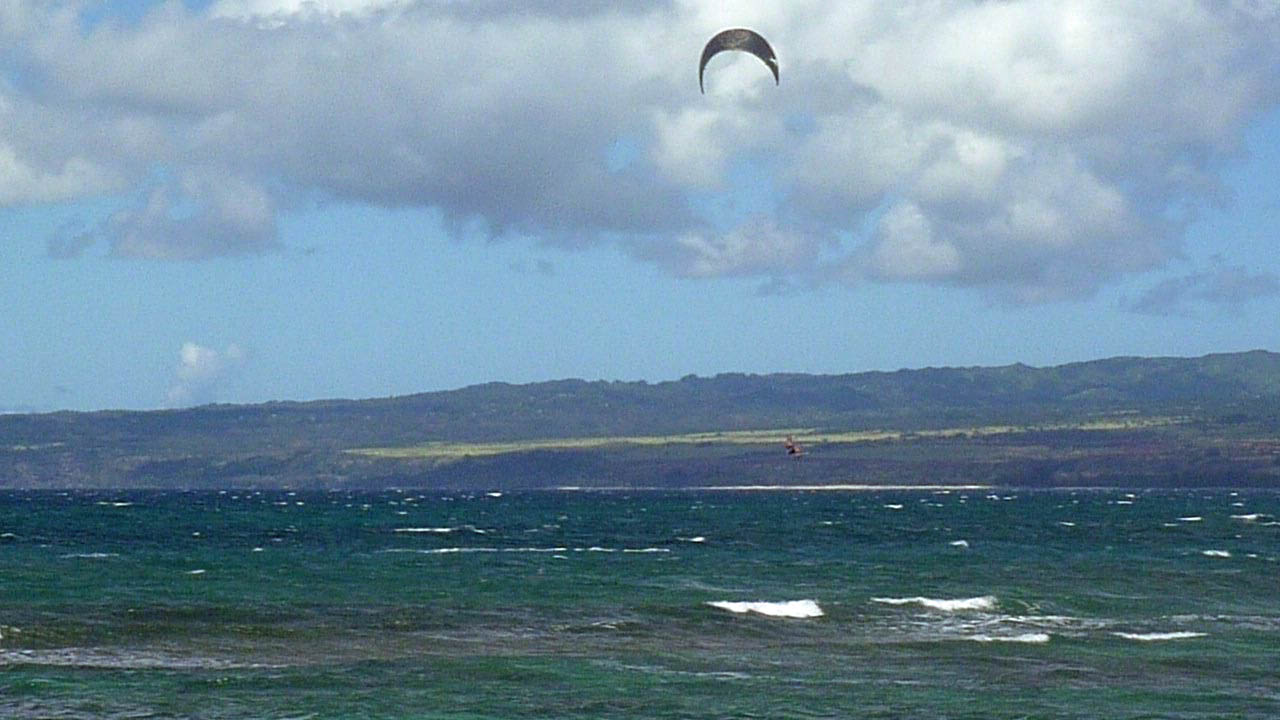
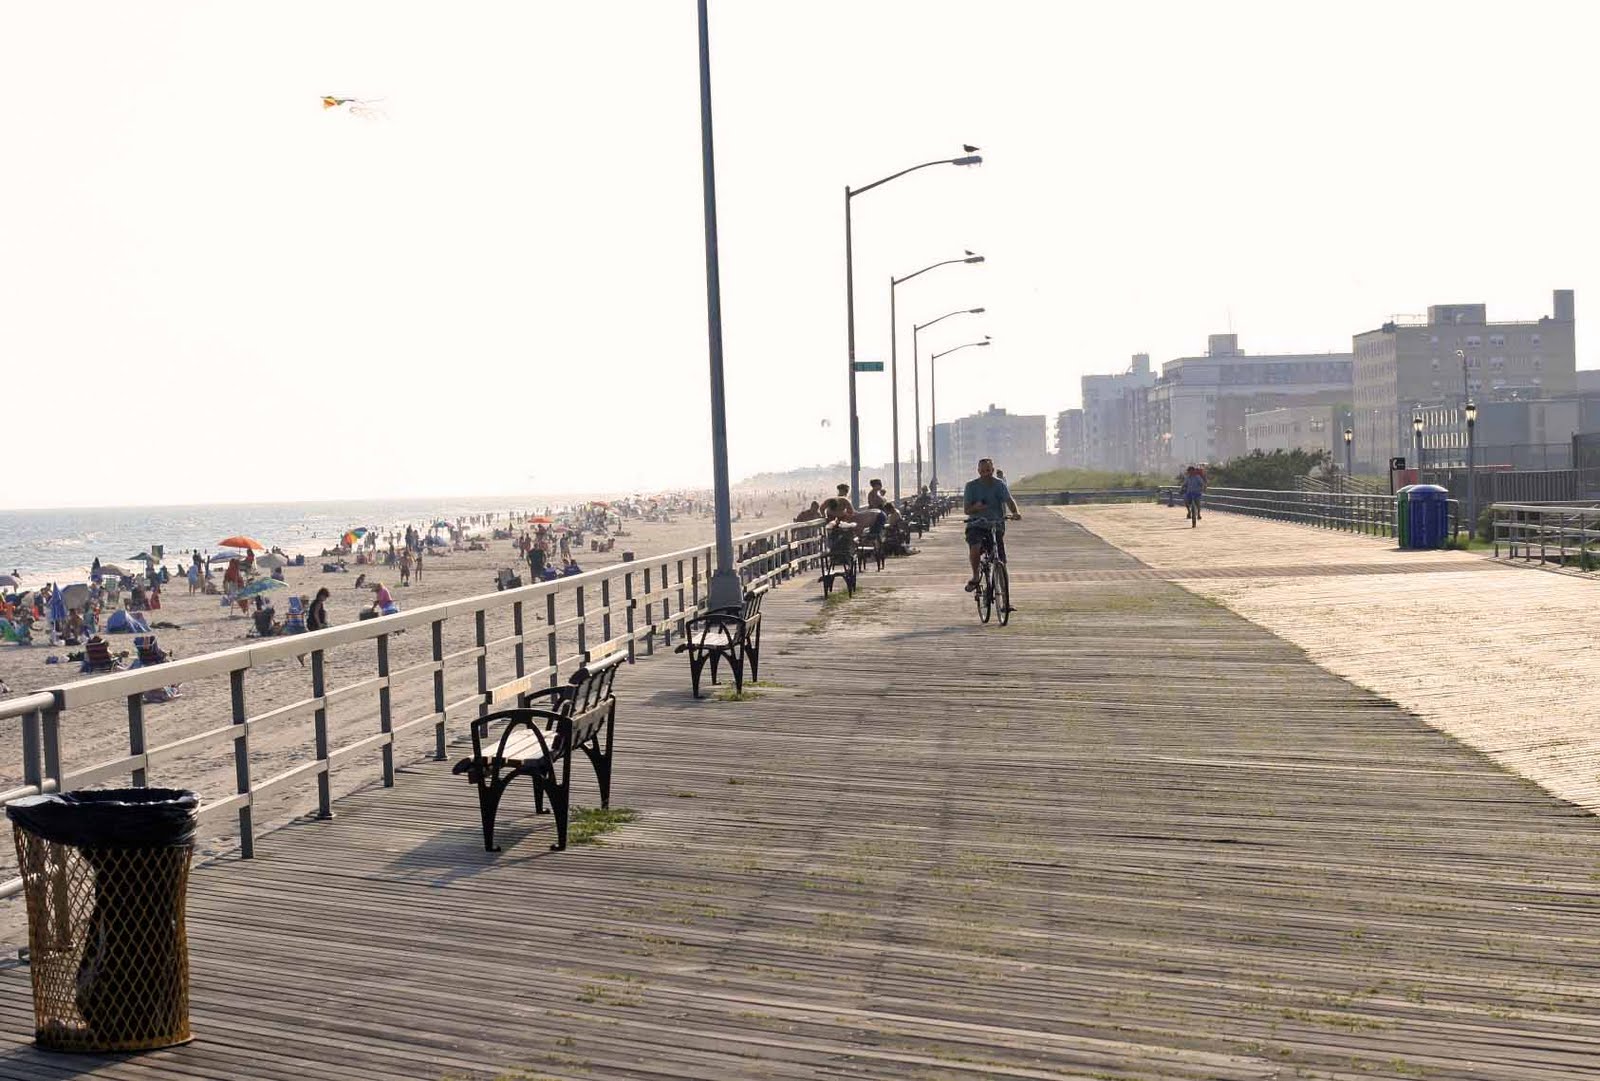
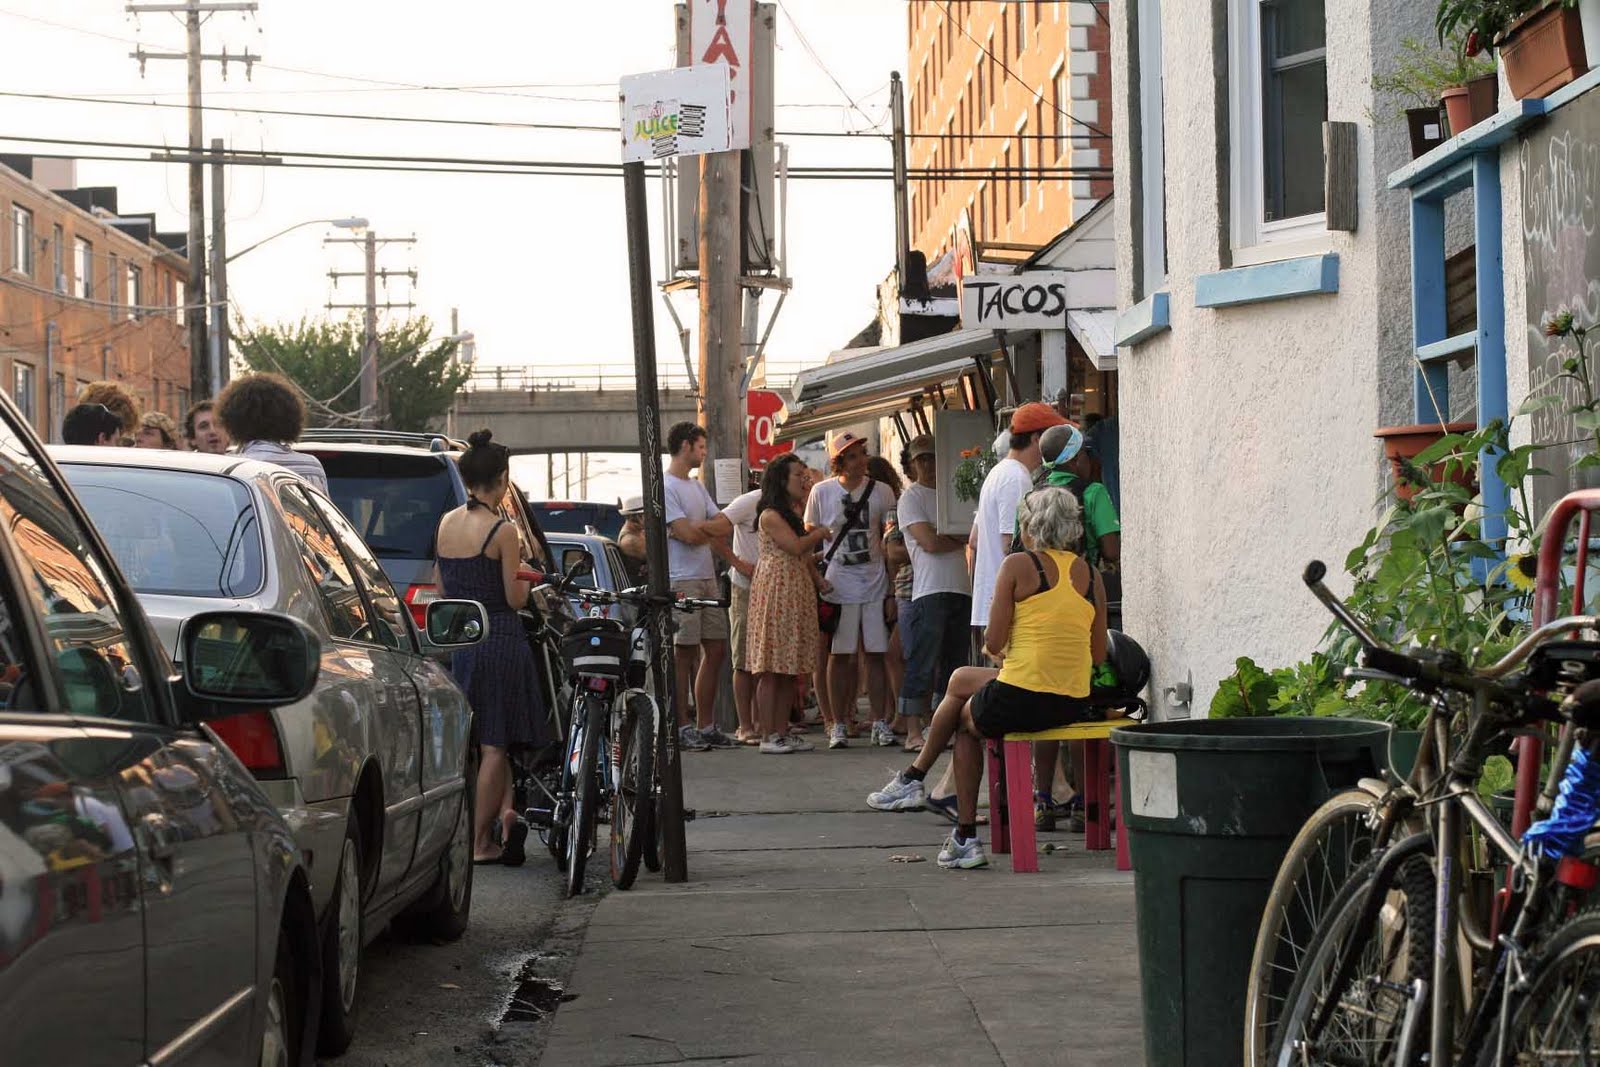
I took a quick break this past month and it was looooooong overdue. My vacation was too short, but I still tried to cram in as much as I could. I got to hit the beach and eat yummy tacos.
 I saw all sorts of creatures great and small (and just plain weird in the last case).
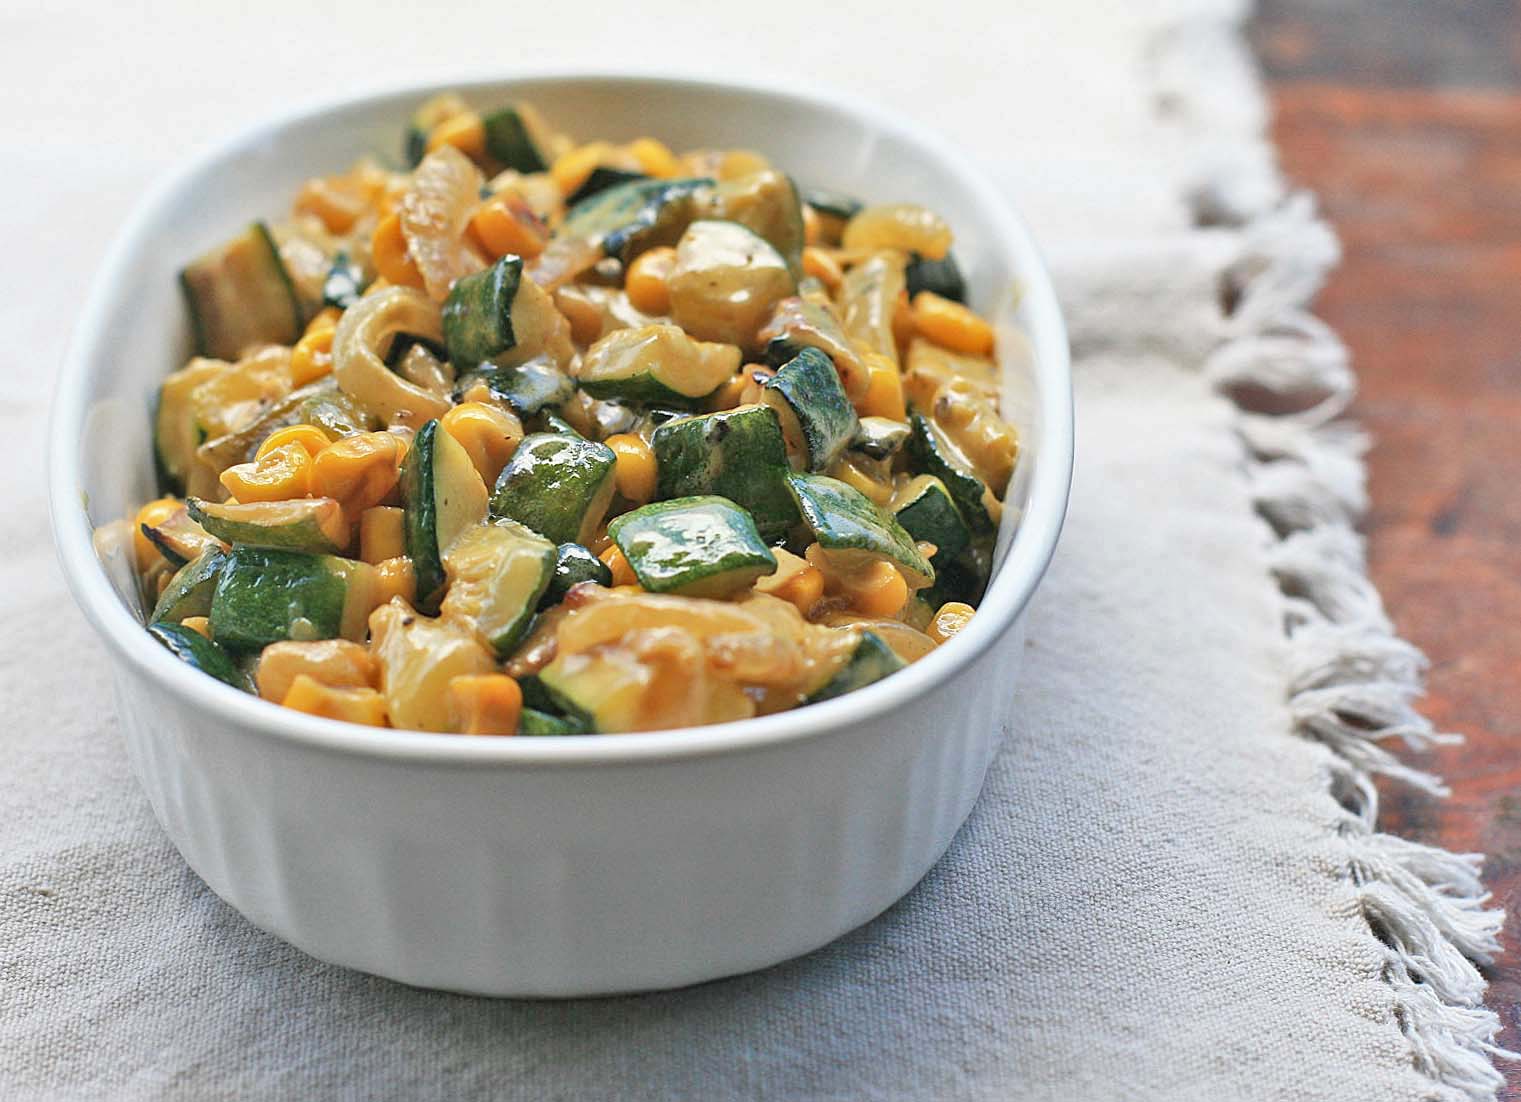
 And most importantly, I got to spend some quality time with family. This little cutie is eating plain old corn on the cob but in a couple years I bet she’ll be chomping down on some Roasted Corn with Mexican Sour Cream, Chile and Cheese 🙂
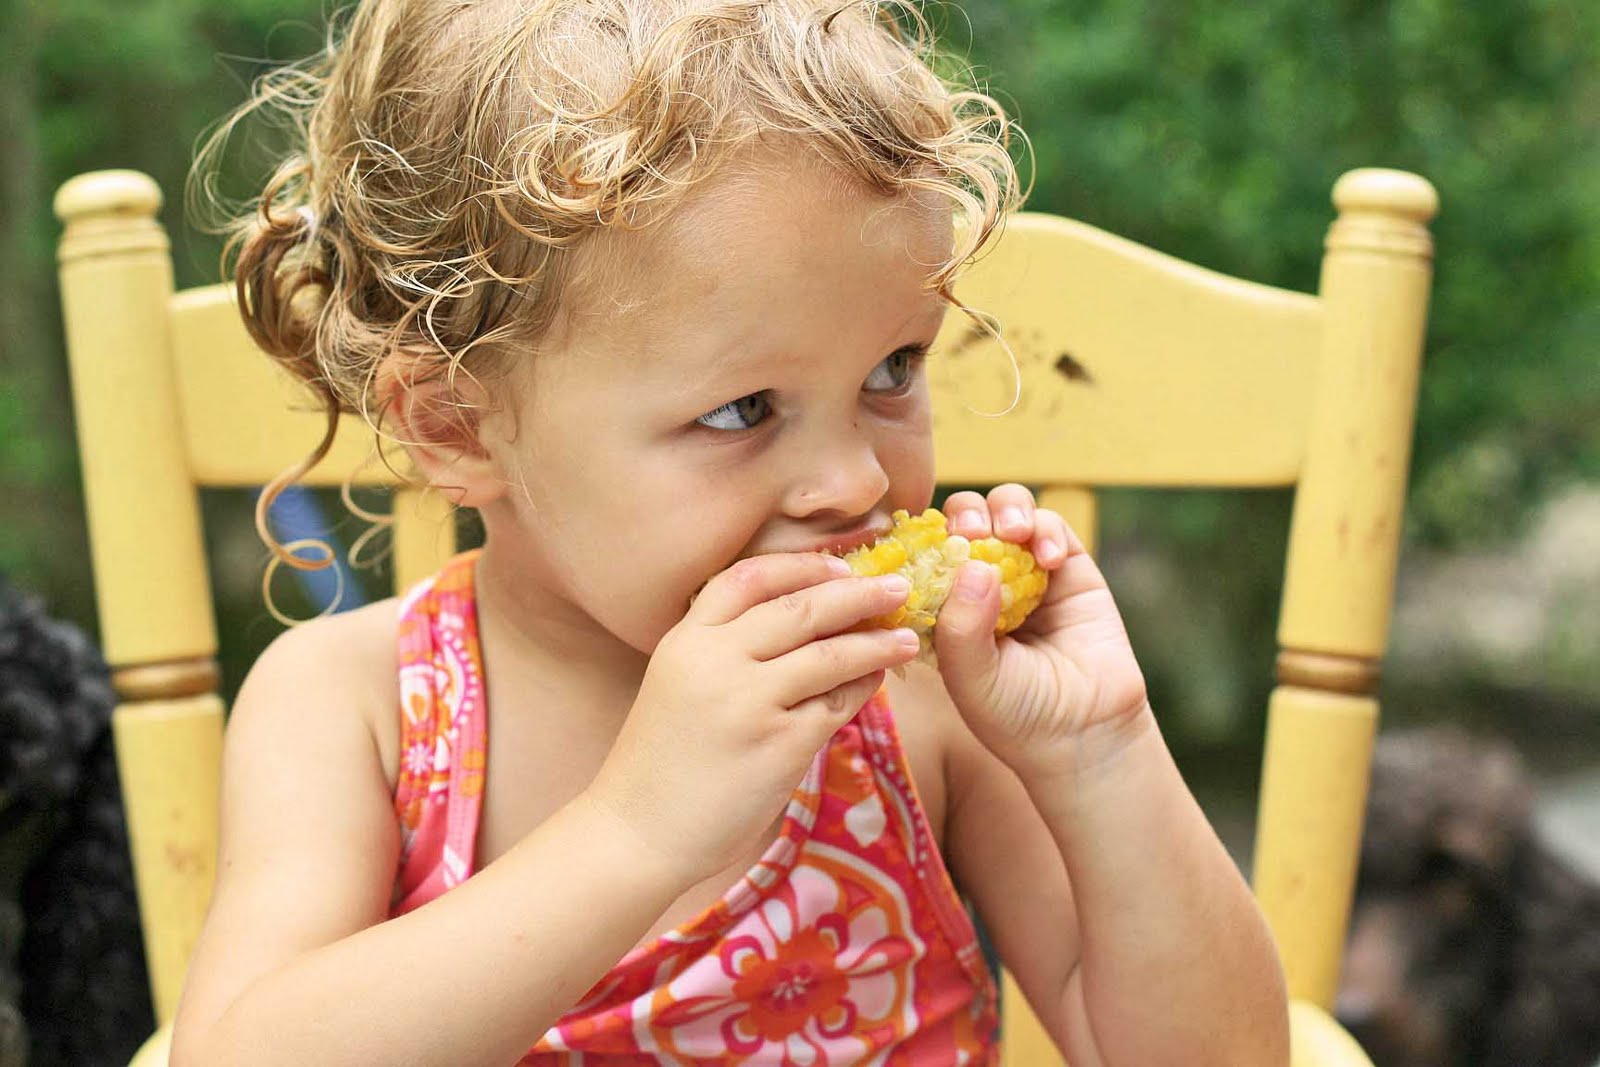 Thanks again for sticking out cleanse month with me… back tomorrow with my next culinary destination!