 Ethiopia… the land of milk and honey. Anybody up for a dessert that combines the two? Honey is a really important part of Ethiopian cuisine. There’s honey wine, honey bread, honey beer, etc., etc. I’m not sure how many Ethiopians really break out ice cream makers for honey ice cream, but when I saw a recipe in Marcus Samuelson’s book, I didn’t need much convincing to give it a shot.
 Full fat dairy and honey are a magical combination, although I didn’t always think so. When I was in my teens I’d freak out at the idea of drinking any milk other than skim. Even my family’s attempt at a 1% compromise was vehemently rejected. But when I wound up with a doozy of a cold, with the worst sore throat I’d ever had, my father went out to the store to buy whole milk. He heated some up and put in a long drizzle of honey. I protested, naturally, claiming that whole milk was gross. I changed my tune pretty quickly after my first taste.
The good news? My throat felt better immediately. The bad news? I’ve never been able to go back to skim.
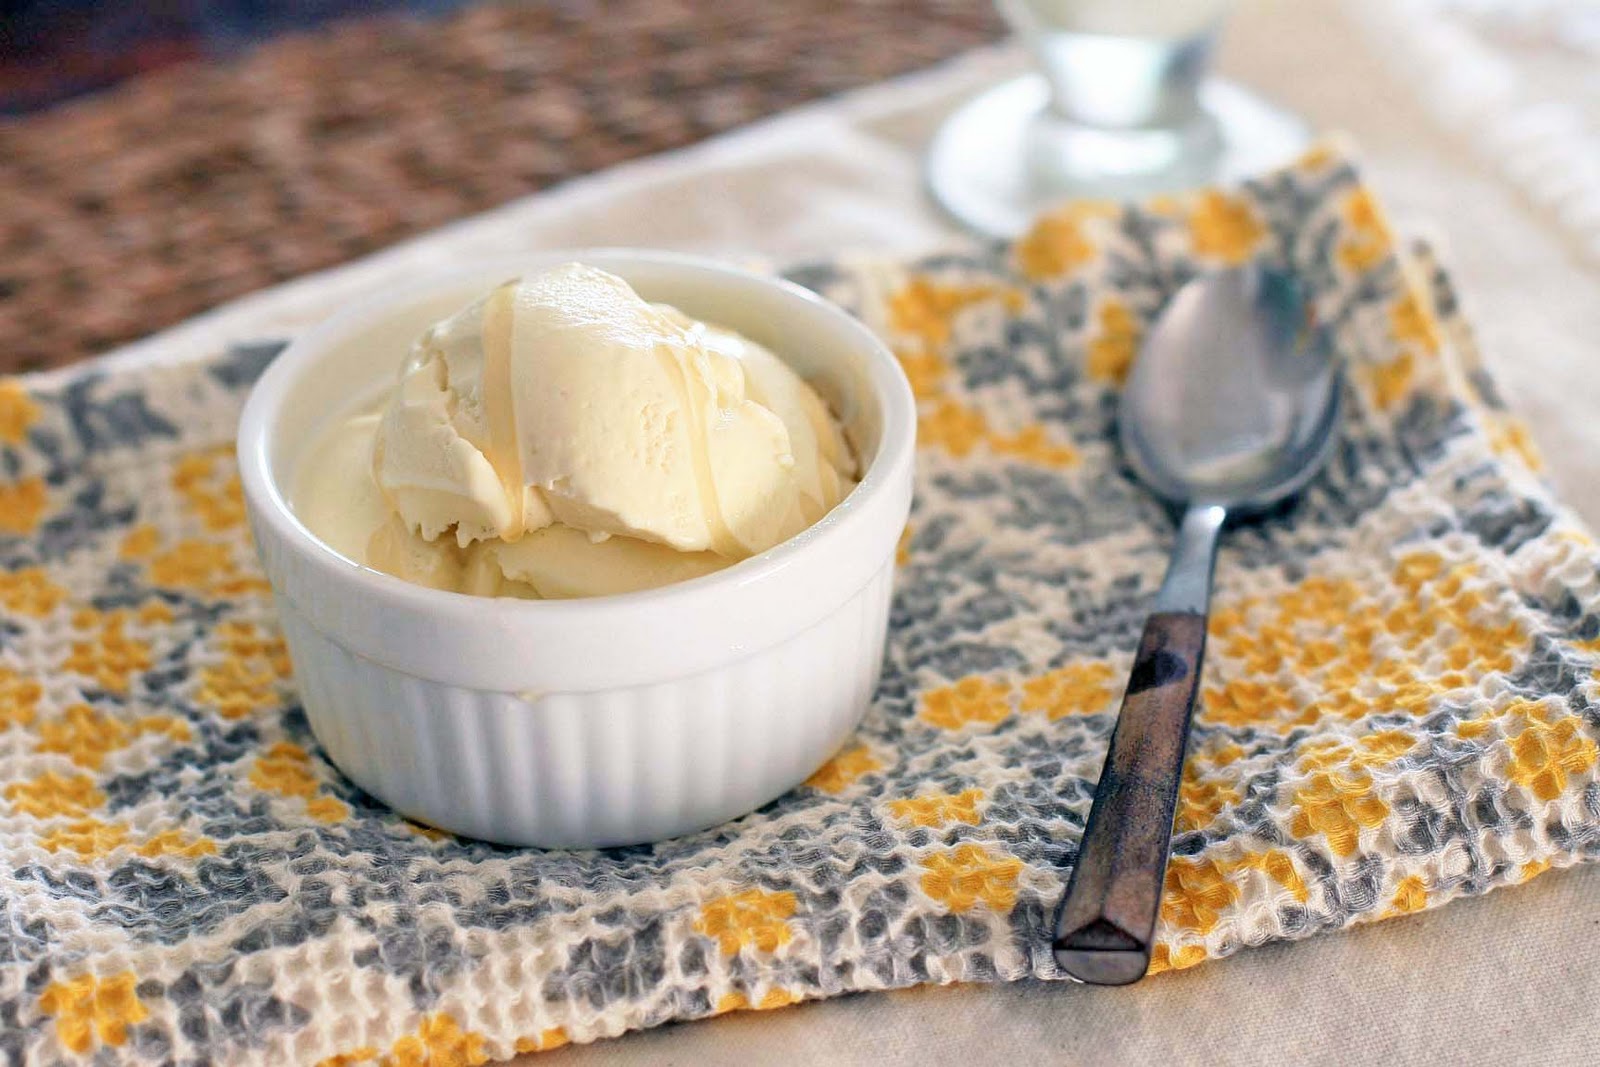
Since it’s almost December, I’m guessing that your ice cream maker, like mine, has been sitting idle for far too long. Why not break it out for some honey ice cream… it would be the perfect complement for some warm apple crisp or spice cake. Yum.
Honey Ice Cream
Yield: 8 servings
Ingredients:
1/4 cup sugar
1 cup heavy cream
1 1/2 cups milk
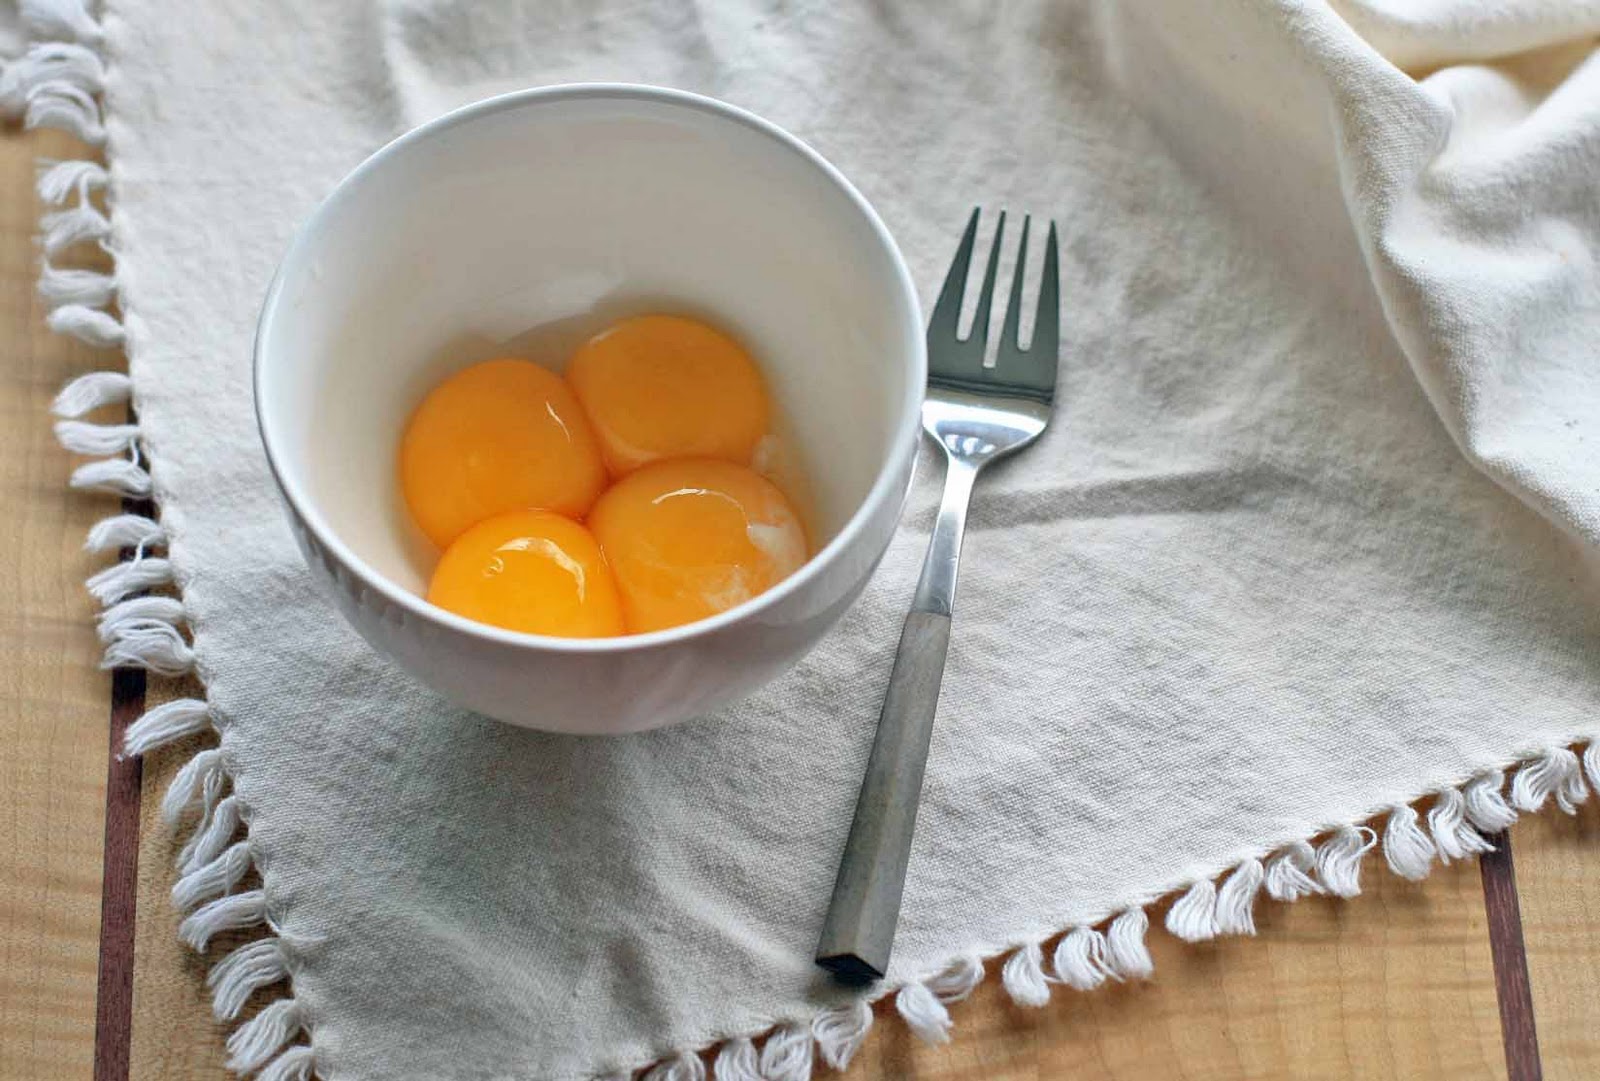
4 large egg yolks, slightly beaten
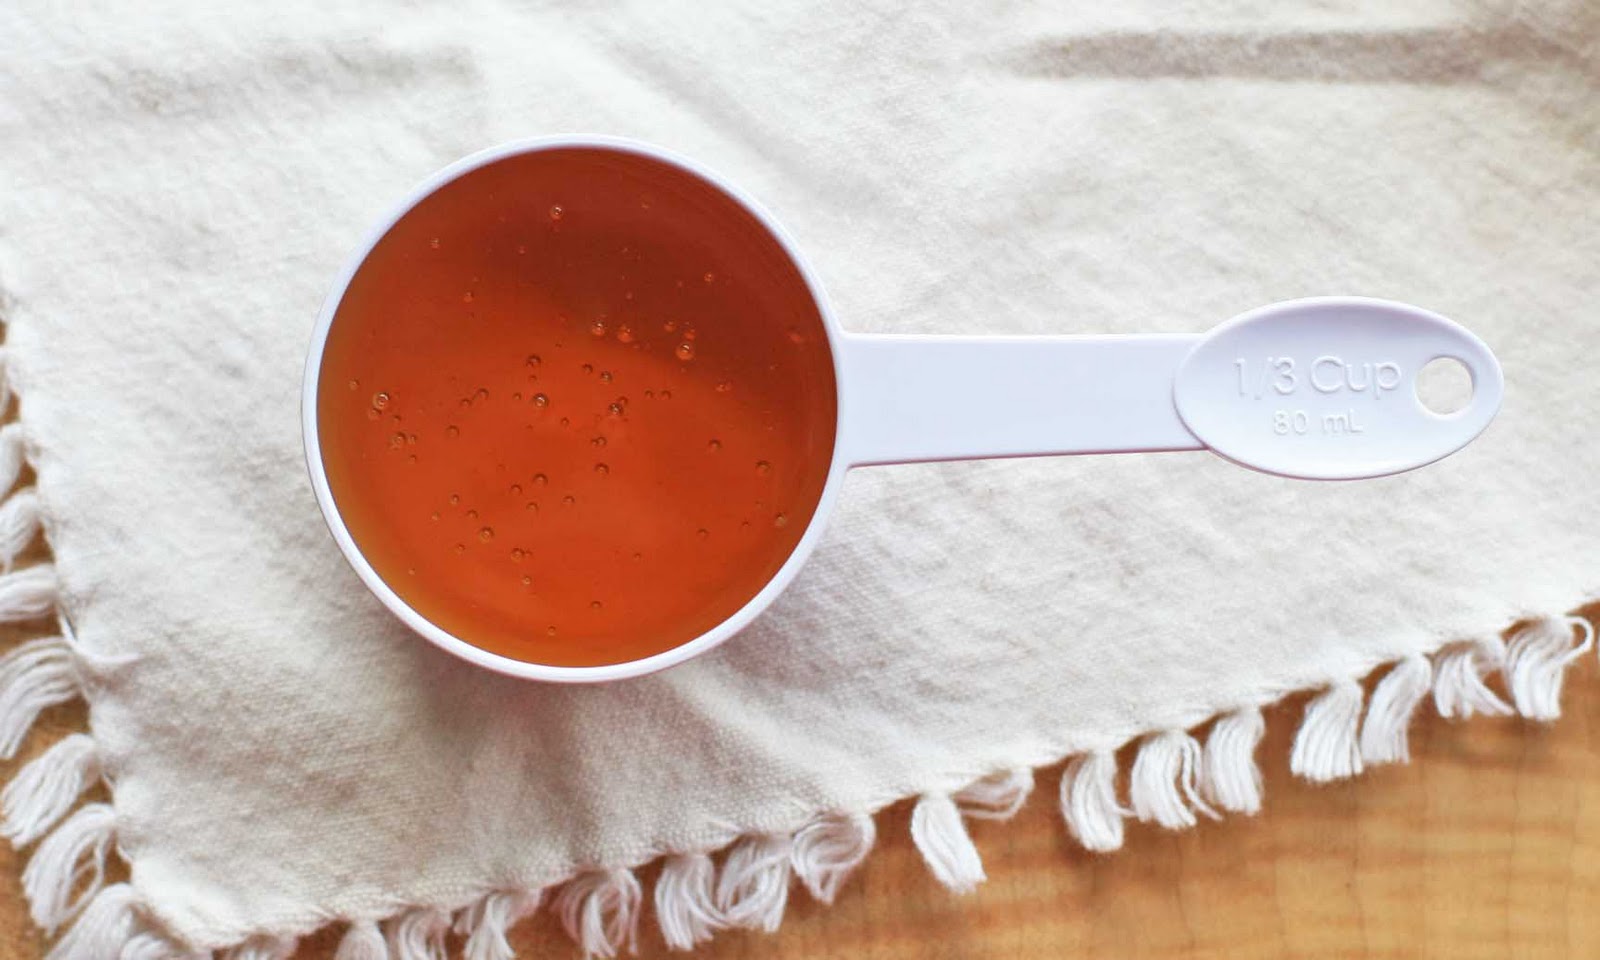
1/3 cup honey
Directions:
Combine the sugar, heavy cream and milk in a medium, heavy-bottomed saucepan over medium heat, stirring to dissolve the sugar.
When the mixture is smooth and the sugar is dissolved, temper the eggs yolks by whisking in about 1/2 cup of the hot cream mixture into the eggs. Pour the tempered yolks into the saucepan and cook, stirring constantly, until the mixture coats the back of a wooden spoon.
Remove from heat and place the entire saucepan into a shallow ice bath (I fill a couple inches of ice water in the bottom of my kitchen sink) and mix in the honey. Stir frequently until the custard has cooled. Pour the custard mixture into a container, cover, and refrigerate for at least an hour.
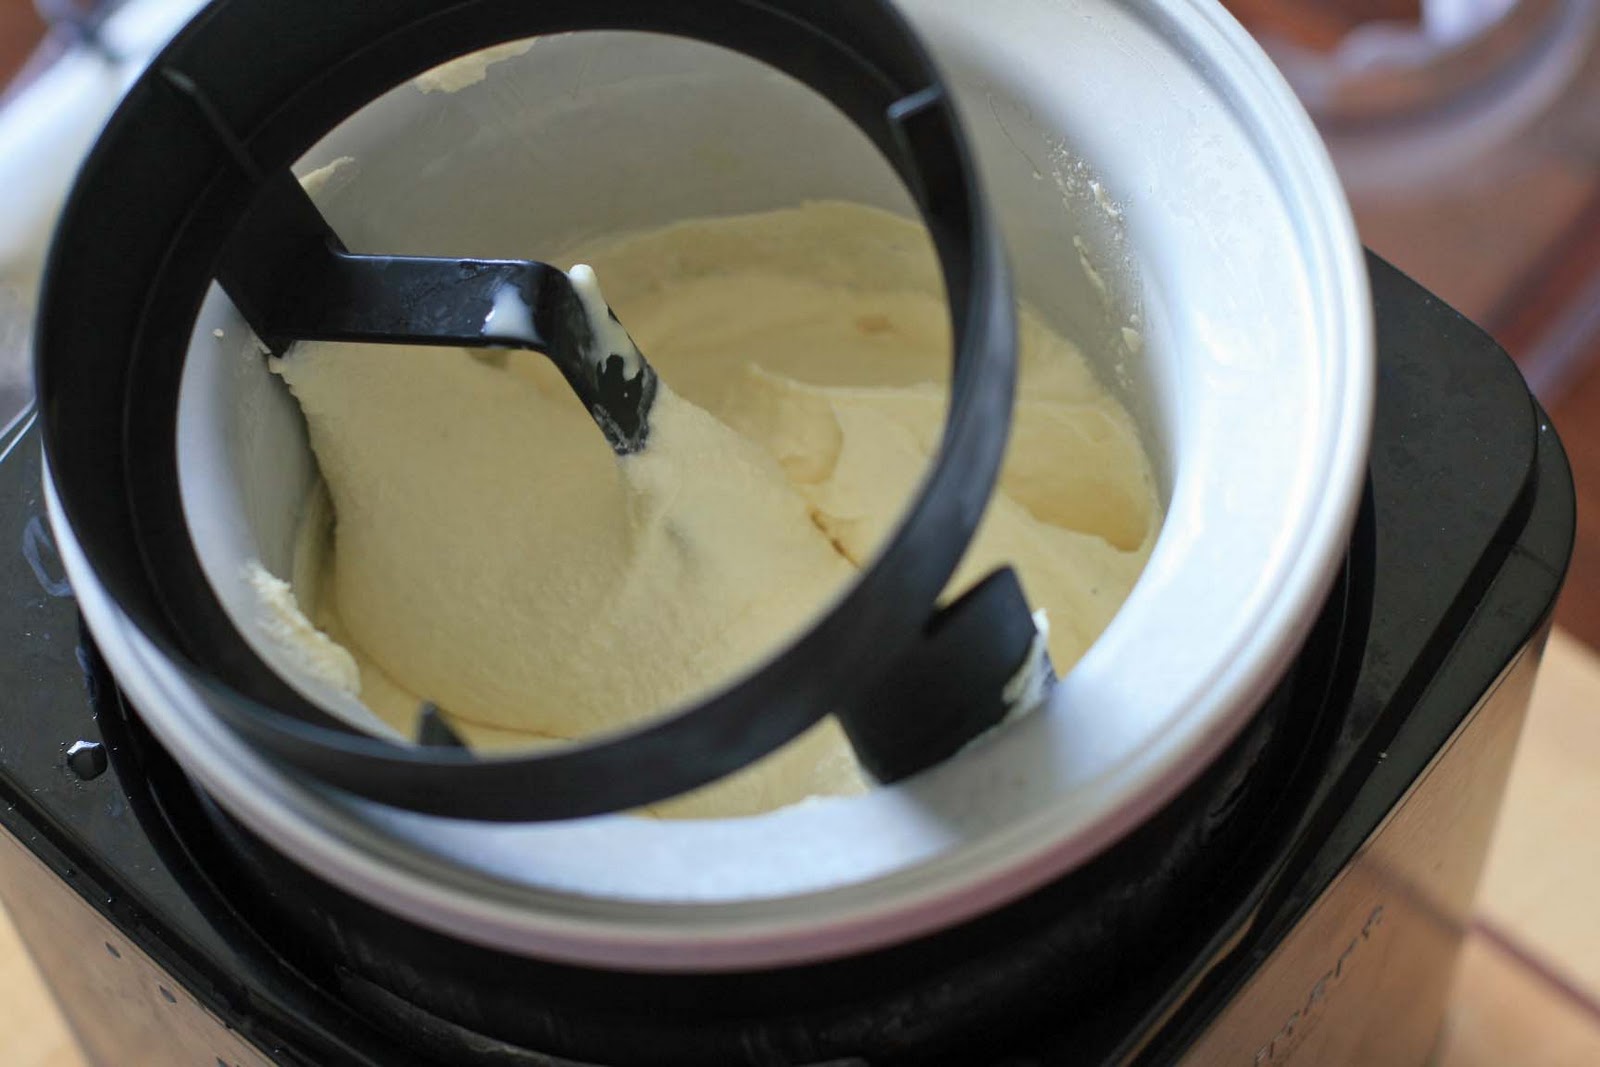
Freeze in an ice cream machine according to the manufacturer’s instructions.