Sure, there might not be consensus on where ceviche originated or even how to spell it (it’s also spelled cebiche and serviche), but I think we can all agree that raw fish “cooked” in a citrus marinade is good stuff. Ceviche is a pretty big deal in Peru- they even have a National Ceviche Day! It’s June 28th, for those of you looking for an excuse to celebrate…
And why not celebrate? Ceviche is quick and easy to make, healthy, and surprisingly varied. I’d encourage any hard core ceviche fans to check out The Great Ceviche Book by Douglas Rodriguez of Top Chef Masters fame. Sure, I probably won’t ever make his conch or sea urchin ceviches, but there are plenty more accessible recipes for home cooks like me.

gap
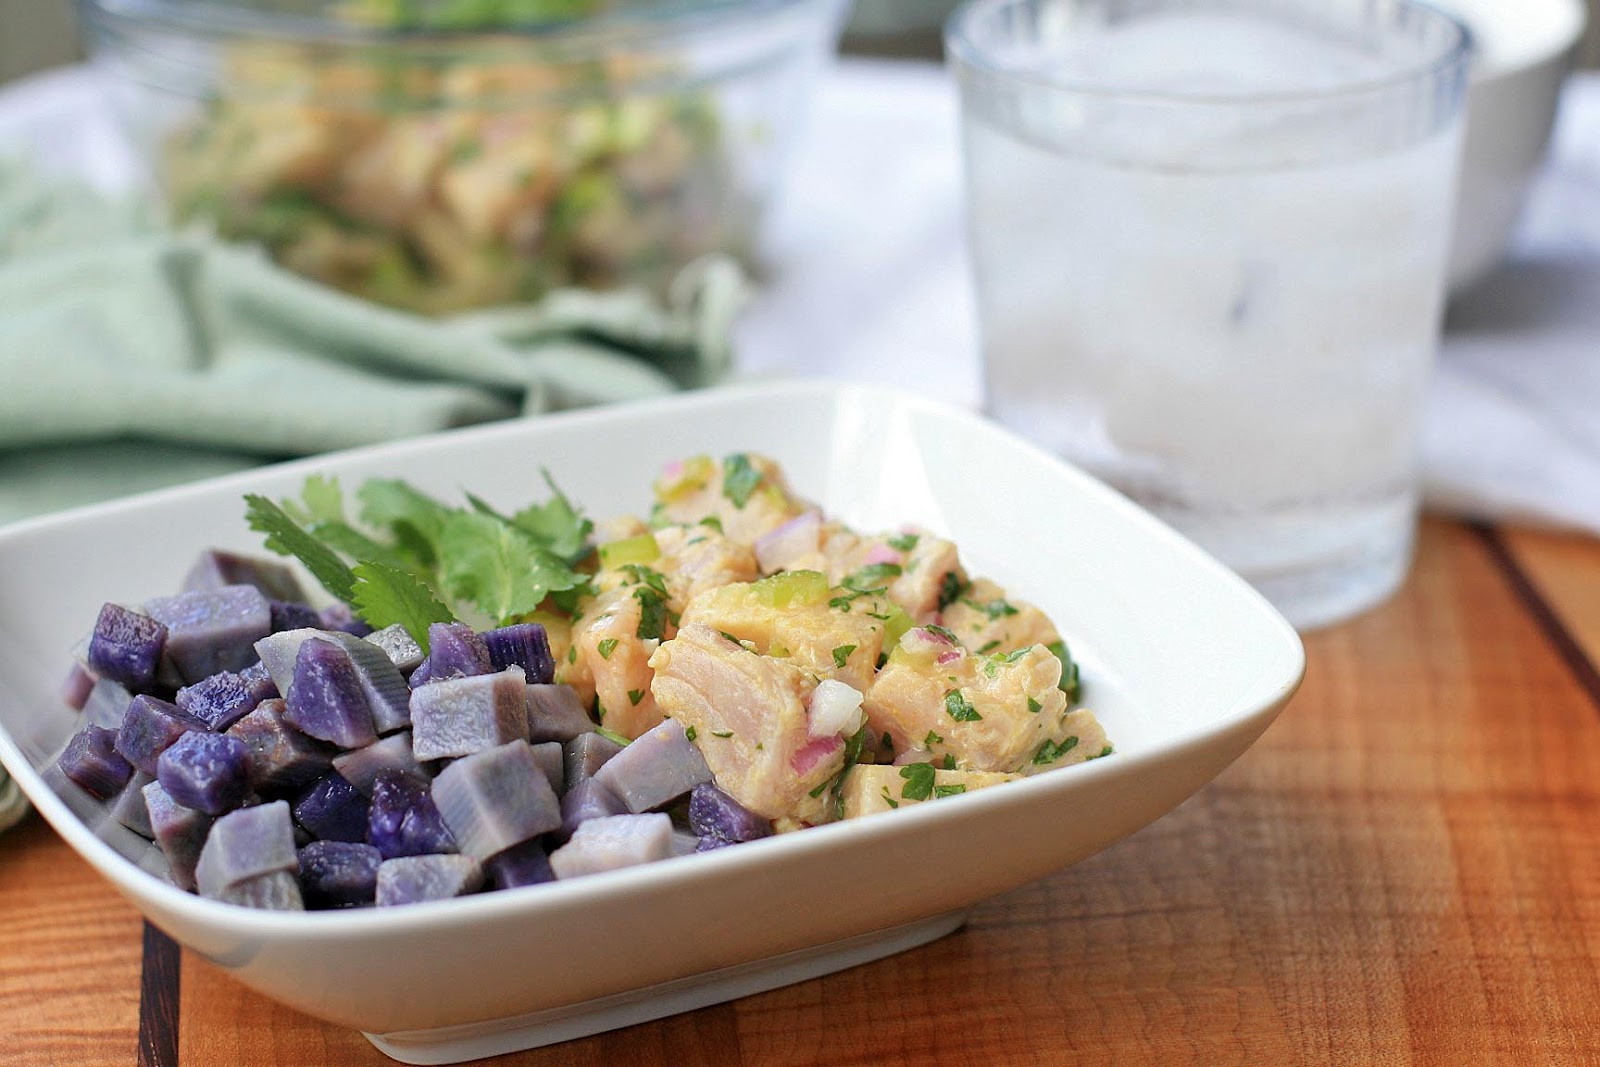
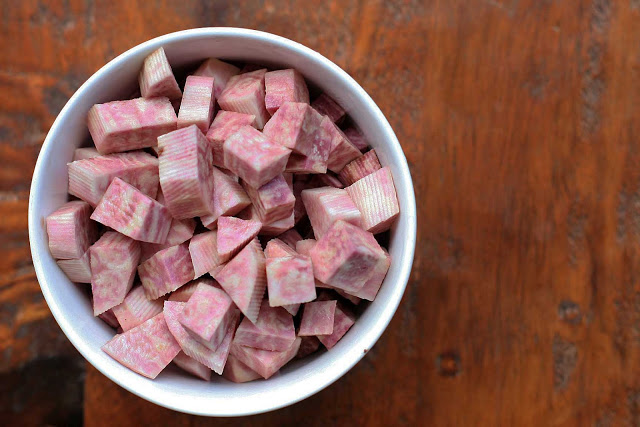
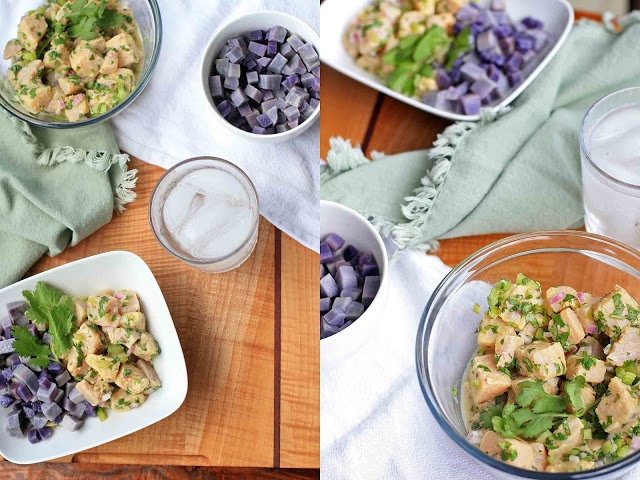
I was drawn to this recipe because it paired the ceviche with sweet potatoes, which is very typical in Peru. The sweet potatoes add a nice contrast to the spicy, salty and acidic fish. I didn’t intend to buy purple sweet potatoes (it’s always a mystery as to what color flesh will lie beneath the skin of the sweet potatoes that I get at the farmer’s market), but I ended up being really happy with the visual contrast the purple provided. I mean, let’s face it…. ceviche tastes great, but it doesn’t always look great.
And you can count on a top chef to put a special twist on his recipes. It’s the celery and celery juice that does that here. Yes, it was sort of a pain to pull out (and clean!) the juicer for 1/4 cup of celery juice, but I’m sure glad I didn’t skip that step. It made the citrus marinade, which can often seem one-note, much more balanced and nuanced.
And one final note: many Peruvian ceviche recipes call for sea bass, but I’ve found that many other fish work just as well… and are much more affordable. I’d be most inclined to experiment with whatever is freshest at your fish market. Ceviche should always be made the same day you purchase the fish.
Peruvian Ceviche with Candied Sweet Potatoes
Yield: 4-6 as an appetizer
Ingredients:
Potatoes:
1 large sweet potato (any color), peeled and diced into 1/4-inch pieces
2 cups water
1/2 cup sugar
Ceviche:
1/2 cup freshly squeezed lime juice
1/4 cup celery juice
1 Tablespoon kosher or sea salt
1 Tablespoon Mirasol yellow pepper paste (can substitute 1 Jalapeno, seeded and diced)
1/2 cup finely diced celery
1/4 cup finely diced red onion
1/4 cup minced cilantro
1 pound boneless, skinless fish, cut into 1/2-inch dice (sea bass, sole, flounder, swordfish, moonfish, etc.)
Directions:
Combine the sweet potatoes, water, and sugar in a medium saucepan. Bring to a boil and then reduce heat and simmer until the potatoes are tender, but still hold their shape. Drain the potatoes, reserving the syrup, and cool. Place the potatoes back into the syrup until ready to use.
Combine the lime juice, celery juice, salt, pepper paste, celery, onion, and cilantro in a large bowl. Add the fish and toss to coat. Serve immediately if you’d like the fish raw, or let marinate for 2-3 hours if you’d like the citrus to “cook” the fish. Spoon into a serving dish or individual bowls and serve with drained sweet potatoes.

 Here’s a fun, quick little recipe using those Vietnamese pork meatballs I posted last week. The traditional recipe includes rice noodles in these little lettuce cups, but I decided to keep things simple… and low carb for those of you who are interested in that sort of thing.
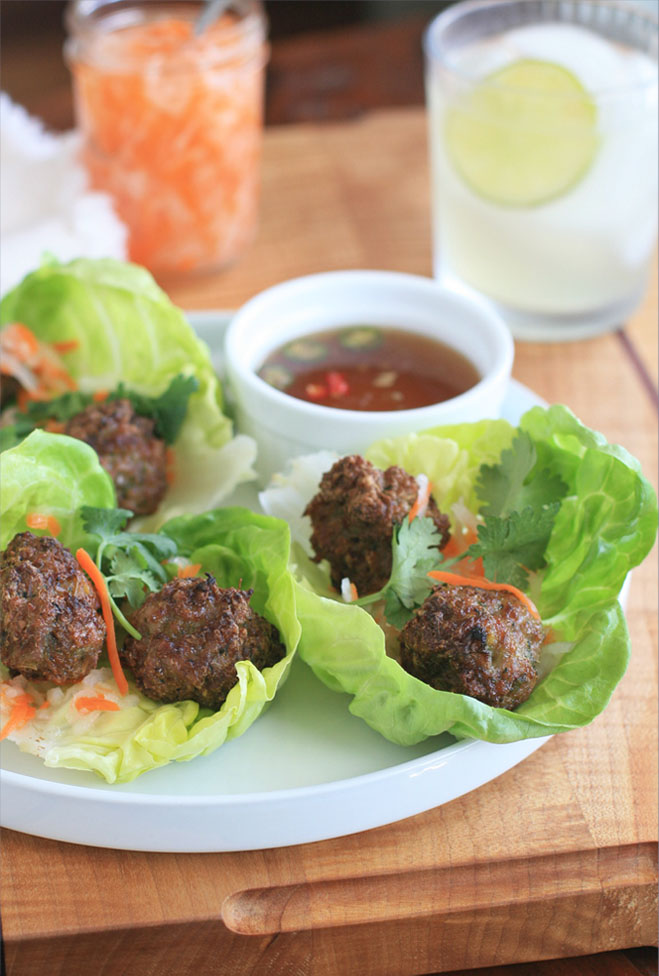
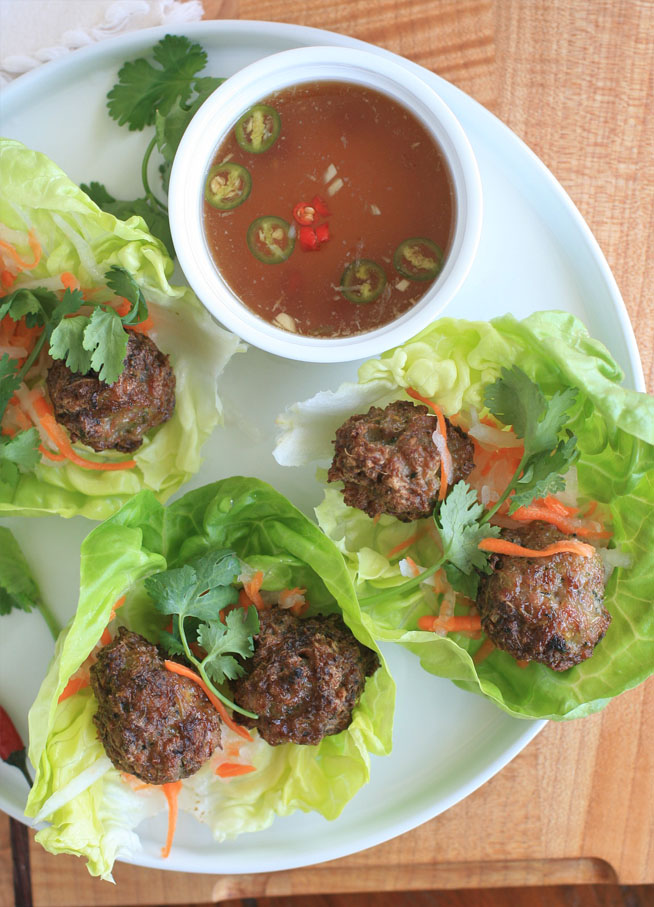 Little lettuce leaves are topped with springy pork meatballs infused with lemongrass and all other sorts of goodness, sweet and sour pickled carrots and daikon, and sprigs of fresh cilantro. Wrap this little number up and plop it into that hot, sour, salty and sweet Vietnamese everyday dipping sauce, nuoc cham.
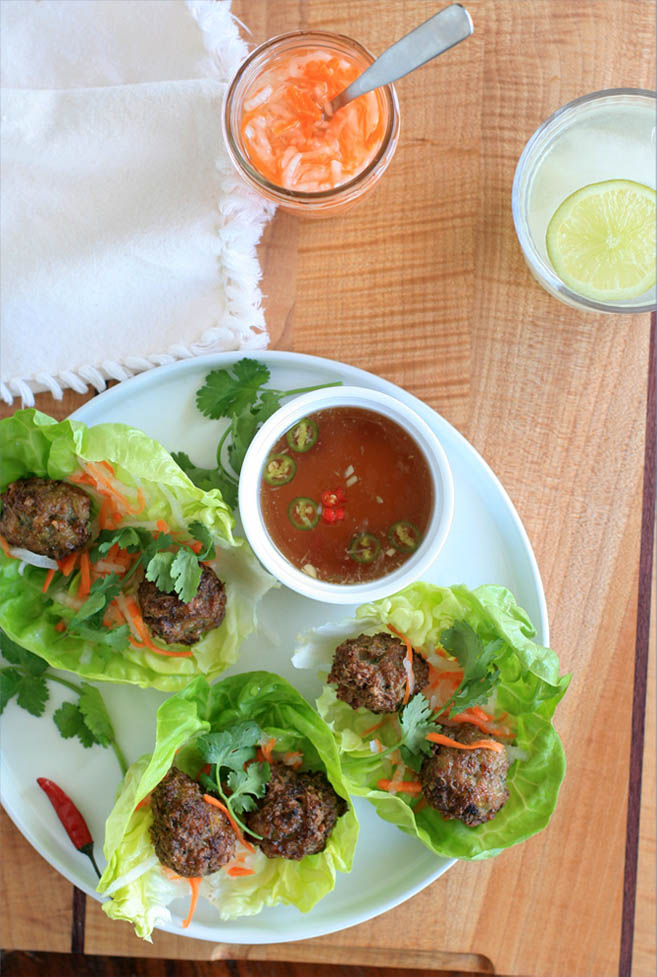 Vietnamese Pork Meatballs in Lettuce Cups