Before I went gluten-free, I always picked pizza as the one food I’d choose to eat for every meal for the rest of my life. After I was diagnosed with Celiac, I went through the obligatory rough patch when I hadn’t yet found good new recipes or products. Some people say there’s no such thing as bad pizza. They’re wrong… there’s definitely a lot of bad gluten-free pizza out there.
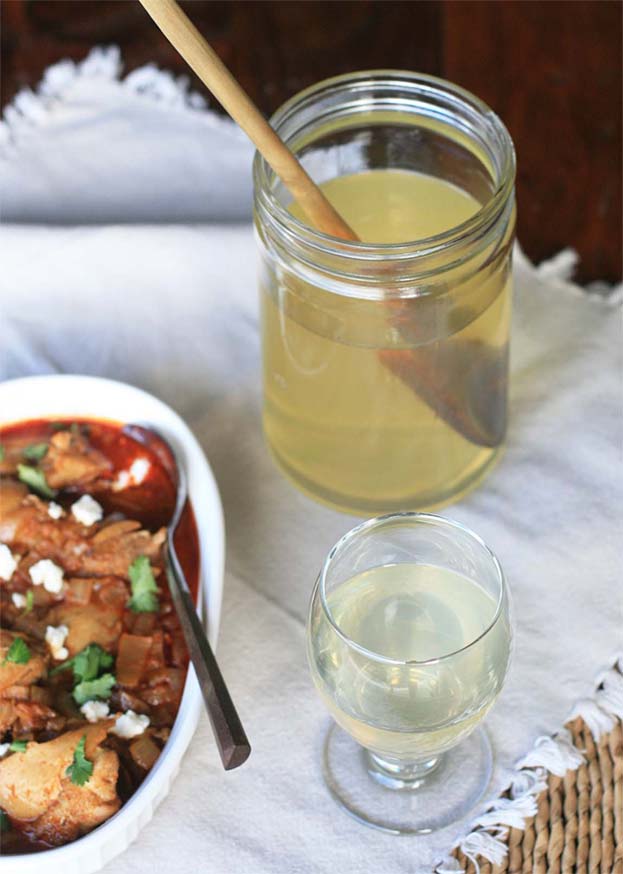
But I’ve finally developed a gluten-free pizza crust recipe that is pretty close to perfect, which I also use, slightly modified, for flatbread. In this version, caramelized sweet onions temper the peppery bite of the arugula and tanginess of goat cheese. It might sound like a weird combo, but it totally works.
 For those of you close to a Whole Foods: they have some small, round rice flour pizza crusts that would work really well for this recipe. Add a green salad and you’d have a super quick weeknight meal.

Caramelized Onions, Arugula, and Goat Cheese Gluten-Free Flatbread
Yield: 4 flatbreads
Ingredients:
Flatbread:
* vegetable or olive oil for greasing baking sheet
* 3/4 cup superfine rice flour
* 1/3 cup potato starch
* 1 teaspoon sugar
* 1 teaspoon xanthan gum
* 1 teaspoon instant yeast
* 1/2 teaspoon salt
* 3/4 cup warm water
* 1 teaspoon apple cider vinegar
* 1 Tablespoon olive oil
* sweet rice flour
Topping:
* 1 Tablespoon olive oil
* 1 onion, thinly sliced
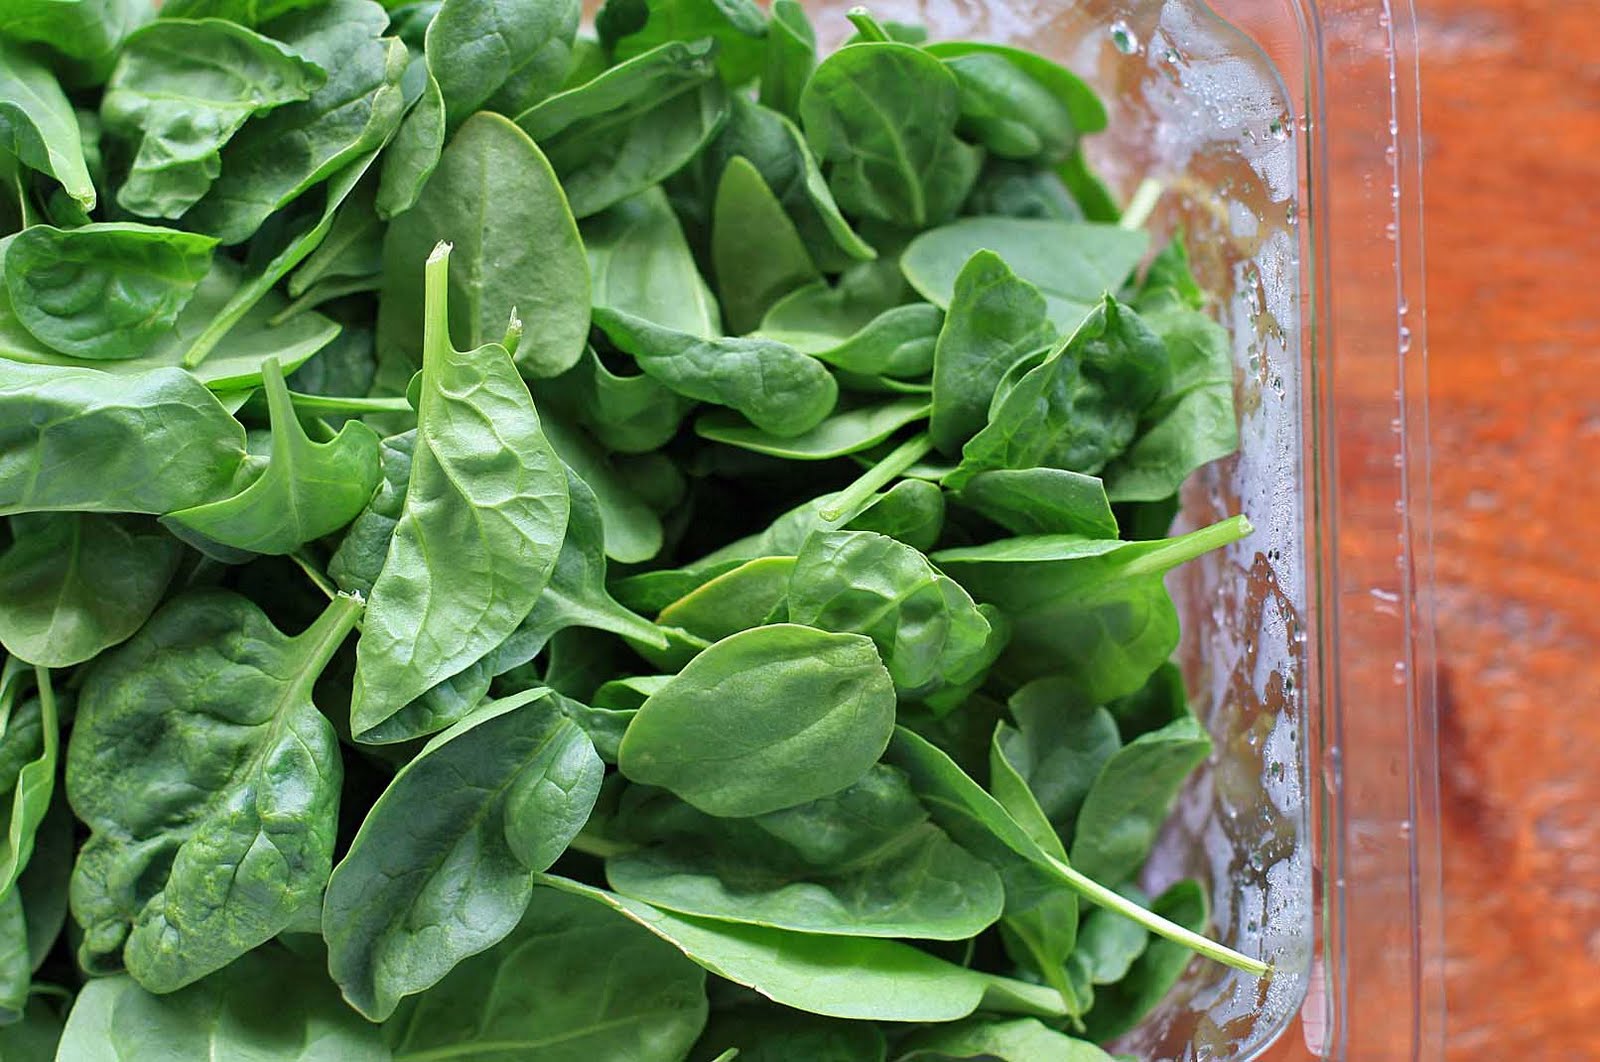
* couple handfuls of arugula, washed and roughly chopped
* salt and pepper
* 2-3 ounces goat cheese, crumbled
Directions:
Preheat oven to 400 degrees and generously grease a large baking sheet with you choice of oil.
In a medium bowl, combine the rice flour, potato starch, sugar, xanthan gum, yeast, and salt. Mix well and set aside.
In a large bowl, combine the water, vinegar and oil and mix on the lowest speed of your electric mixer. Slowly add the dry ingredients and mix for one minute.
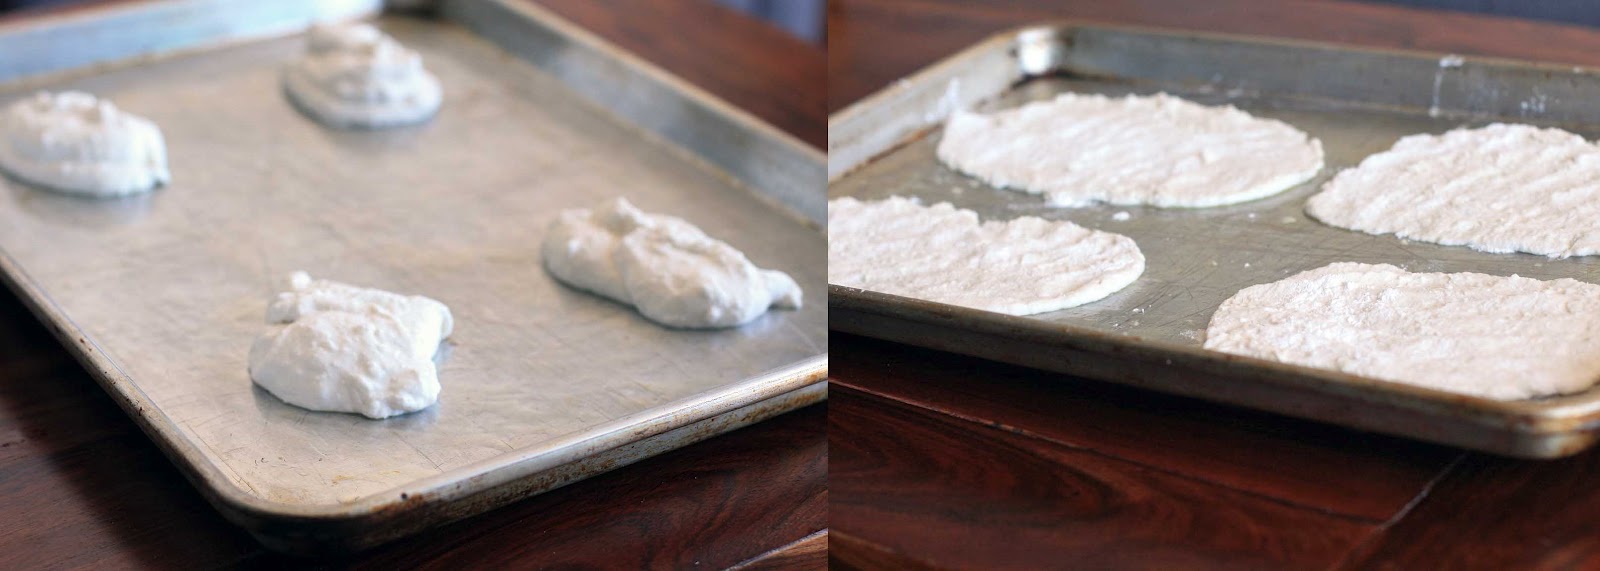
Use a wet spoon to spoon four mounds of dough on a cookie sheet. Sprinkle each with sweet rice flour and use your hands to press out into an rectangular or oblong shape, adding more sweet rice flour as needed. Bake in the preheated oven for about 20 minutes, or until the flatbread is just beginning to turn golden.
While the flatbread is baking, heat the olive oil in a large pan over medium-low heat. Add the onion slices and cook, stirring occasionally, until the onions are soft and caramelized, about 12-15 minutes. Add the arugula and cook, stirring, until the greens have wilted. Season the mixture with salt and pepper and top the flatbreads with the mixture. Sprinkle the flatbreads with crumbled goat cheese, cut into slices (if desired) and serve immediately.

")